Garden
Disclosure: This post contains affiliate links. Click here to read my affiliate policy.
What Is Organic Gardening? And How Do You Start an Organic Garden for Beginners? The Ultimate Guide
Organic gardening sounds difficult, and buying organic stuff is too expensive. We get it – you like the idea of healthier, organic produce, but it’s just so expensive.
You’re right – buying organic from the grocery store isn’t practical for most of us and it’s not sustainable long-term to buy all your fresh produce organic.

But you can grow your own organic produce, even if you only have a tiny garden. It doesn’t need to be complicated, difficult, or expensive. And it’s immensely rewarding.
Plus, of course, there are the obvious and not-so-obvious benefits of organic gardening:
- You know exactly what you’re eating
- Organic gardening encourages you to be active
- You’re not eating potentially harmful chemicals
- You’re reducing your carbon footprint and negative impact on the planet
- You’re saving (potentially a lot) of money
In our ultimate guide to organic gardening, we’ll cover exactly what organic gardening is, what you need to be successful, and how to start an organic garden.
Here’s what we’ll cover:
It really doesn’t matter if you have a few window boxes, a few pots in the yard or several acres – organic gardening is achievable for everyone, regardless of scale.
Even in a small yard, you could optimize your available growing space by using the vertical space and put together a vertical garden.
Yes, if you have the money, you can hire someone to create an organic garden for you – and even maintain it for you, but most of us can’t or don’t want to spend that kind of money.
Particularly not when we can do it ourselves with a little effort, a few tools, and a little basic know-how.
That’s where this guide comes in – I’ll teach you everything you need to know to get started and have a thriving organic garden.
I’ve been growing organically for decades and, after a lot of experimentation and education, I have plenty of pro tips to give you that will help your plants stay healthy and give you a high yield at harvest time.
What Is Organic Gardening?
To be certified 100% organic is, in truth, a complete headache.
To go this route, you have to have your soil tested and, to be truly 100% organic, it has to have been free of all chemical traces for years.
This is very difficult to achieve as some chemical runoff from neighboring properties can end up showing up in trace amounts in your garden and some fertilizers and pesticides can still show up in soil tests years after they were last used.
But, at this point, you don’t really need USDA organic certification to sell your produce, right? You just want to start your own organic garden.
So there’s no need to isolate and excavate your growing site and fill it back in with expensive sterilized organic topsoil.
Organic gardening involves growing your plants naturally, without the use of chemicals or synthetic substances.
Side note: If you did want to sell some of the produce you grow this way, while you couldn’t claim it was 100% organic (because you don’t have the necessary governmental certification), you can say that it’s grown using organic principles or something similar.
Organic gardening means that you grow with no synthetic fertilizers, pesticides, or herbicides.
Sound’s a little daunting?
Sounds like your plants will just be fending for themselves and if they survive it’ll be a miracle?
Don’t worry – there are a whole lot of natural, harmless ways you can boost plant health, reduce the likelihood of disease, get rid of weeds, and control pests.
It just takes a little natural know-how!

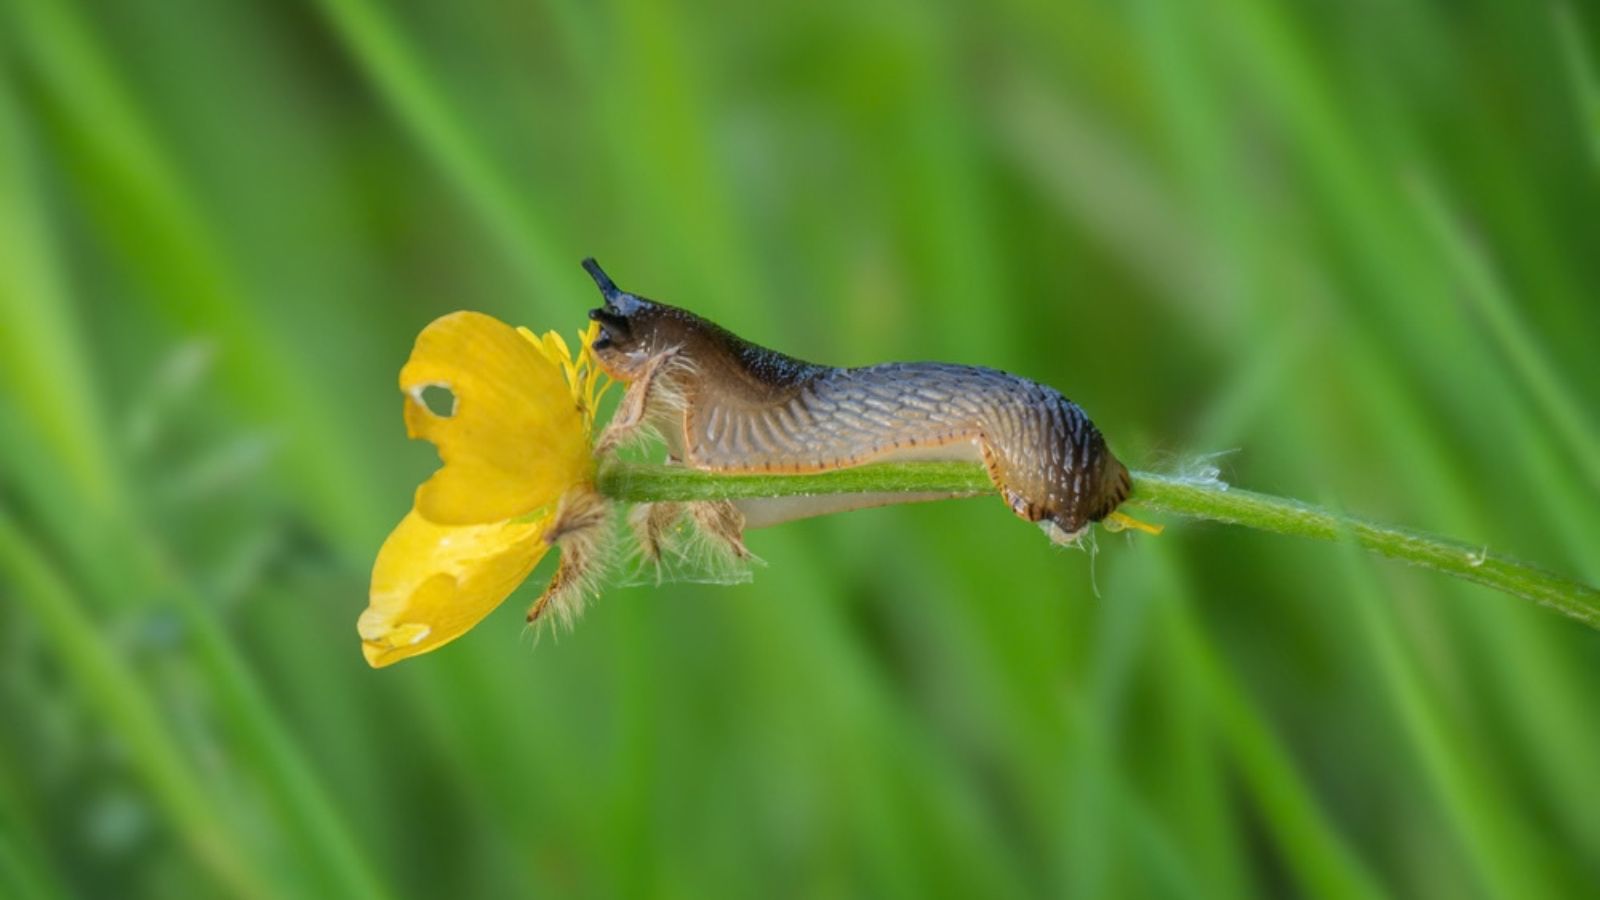
Example: Did you know that slugs can’t resist cheap beer? Sink a container of cheap beer into the ground near crops that are vulnerable to slug damage, and the slugs head away from your plants, into the beer, and drown.
Gruesome but effective! Just make sure to put a stick in the cup so useful insects that accidentally fall in can escape.
You can read more about controlling slugs naturally here.
Organic gardening isn’t just about making-do without chemicals, it’s also about replenishing the resources your garden uses in a healthy, natural way.
It’s about creating a diverse microbiome or ecosystem within your garden that creates a healthy environment for your plants to thrive.
When you grow organically, your plants are just one part of the natural ecosystem you create and manage. It involves elements of permaculture and regenerative agriculture.
The organic gardener works with nature – soil, water, insects, birds, and wildlife to create a thriving, healthy garden with bountiful, productive plants.
Organic gardening is far more than just dumping seeds in the ground and letting them grow.
There are a few fundamental elements that you’ve got to get right to make this work – but don’t worry, they’re pretty easy to master.
Here’s a quick summary – I’ll go into more detail later.
1 – Organic Soil Management
The idea is to create healthy, nutrient-rich soil which you can do by digging in compost, applying leaf mulch, using organic fertilizers, rotating crops each season, and more.
2 – Organic Weed Management
Keeping on top of weeds organically often requires good old-fashioned manual labor, but there are things you can do to reduce how much time you have to spend pulling out weeds. Using ground coverings, planting cover crops, and sterilizing soil are all helpful options.
3 – Organic Pest Control
Controlling pests organically is important to the health of your crops and it can be achieved with companion planting, encouraging beneficial insects, manual removal, and by keeping the plants healthy to make them less vulnerable.
4 – Organic Disease Control
Organic disease control means paying close attention to your plants to spot any sign of disease early, keeping the soil and wider environment diverse and healthy, using companion planting, and doing everything you can to ensure your plants are strong, healthy, and resistant to disease.
Growing food organically really isn’t difficult, I promise!
At its most basic, organic gardening is intermingling complementary plant species, keeping the soil full of rich organic matter, and encouraging beneficial wildlife.
While you may think you’re only having an impact on yourself, your family, and your own garden, actually, you’re having a much wider positive impact with your organic garden.
You’re providing bees and other pollinators with a safe source of food, you’re replenishing natural resources, and reducing your carbon footprint.

And, of course, every single person who decides to start an organic garden contributes to a larger positive impact.
Each little bit of organic home-grown garden is immeasurably valuable.
What Are the Benefits of Organic Gardening?
The benefits of organic gardening are varied and go way beyond how much produce you get from your plants (although of course that’s an obvious benefit).
The benefits of organic gardening fall loosely into three categories: environmental benefits, health benefits, and monetary benefits.
Health Benefits of Organic Gardening
Reduced Toxin Intake
When you grow your vegetables and fruits organically, you’re not applying any potentially harmful toxins to the plants or to the soil, therefore the crops should essentially contain no toxins or chemical contaminants. And so you and your family end up eating fewer toxins.
Increased Nutrient Intake
Fresh fruits and vegetables contain higher concentrations of nutrients.
As soon as you harvest a fruit or vegetable it begins to degrade and lose its nutrients.
So it makes sense that produce that’s been harvested, sorted, washed, graded, and transported half way (or more) across the country before finally reaching the grocery store’s shelves a week or two after harvest contains fewer vitamins and minerals than the produce that has gone from plant to fork in just a few minutes.
The fresher the food, the better it is for you. And it’s also one of the reasons it tastes better – it’s fresher, the nutrients, vitamins, and beneficial compounds that produce flavor are at their peak, so naturally, what you’re eating tastes better.
Don’t believe me? Test it for yourself. Grow something – anything – zucchini, lettuce, strawberries, tomatoes. And when they’re ripe, also buy one from the grocery store. Taste them both and see the difference!

Increased Physical Activity
Organic gardening gets you moving! It gets you outside in the fresh air and makes you move around.
But unless you’re really getting stuck into something tough like turning large areas of soil by hand, it doesn’t really feel like a workout. Instead, it can be a gentle to moderate activity that simply gets you stretching and moving and off the couch.
We all know that sitting around is not good for us, even though we still do far too much of it. But with an organic garden, you’ve got to get outside, check your plants, water, feed the soil, and so on, on a regular basis.
Even just a gentle wander around the garden in the fresh air is good for you, letting you reconnect with nature and disengage from the digital world.
Better Mental Health
Studies show that gardening is fantastic for your mental health.
Gardening has been used as a form of therapy for thousands of years, too, with ancient physicians recognizing the mental and emotional benefits of working in the garden.
And, did you know that soil contains a microbe called Mycobacterium vaccae that can help to alleviate stress, anxiety, and depression?
It’s fascinating. And possibly explains why I love being outside with my hands covered in soil!
The same bacteria also have anti-inflammatory properties and are being studied for their potential use in improving cognitive function and relieving symptoms associated with Crohn’s disease and rheumatoid arthritis.1
Plus, let’s not overlook the benefits of being outside and engaging in physical activity.
Even short bursts of gentle activity can lift your mood and alleviate stress or feelings of depression. The connection between exercise and mental health is well-documented and should definitely not be overlooked.2
There’s a reason so many gardeners (me included) call their growing space their “happy place”!

Environmental Benefits of Organic Gardening
Improved soil health
Soil management is a big part of organic gardening – if you get this wrong, your crops will suffer and your garden will most likely fail.
Adding lots of organic matter replenishes soil, adds bulk, gives nutrients, and prepares it for producing large crop yields.
And improved soil health can only be of benefit for you – whether you’re growing edibles, ornamentals, or both, they’ll do better with your newly improved soil.
And, improving the soil also reduces erosion, which is great for the environment.
Better Water Conservation
Because your soil is rich and full of organic matter, it stays moist as it traps and holds more water, reducing how much water you need to provide to your plants.
This reduces your water consumption significantly year after year.
Reduced Carbon Footprint
You’re consuming less water, your food now requires no chemicals to grow, your food isn’t being transported hundreds of miles in gas-guzzling trucks.
Your carbon footprint is being reduced.
In fact, depending on what you grow, your plants could be outputting enough oxygen and consuming enough carbon dioxide to reduce your footprint a little more.
Does growing half a dozen tomato plants really produce enough oxygen and consume enough carbon dioxide to have a significant impact on your carbon footprint? No. But every tiny bit helps!

Wildlife-friendly
Because you aren’t using all of those awful chemicals, you are creating a haven for diverse wildlife, and that will only serve to improve your plants and the soil.
By not using harmful pesticides, you create an organic garden that is pollinator-friendly. And we all know the vital importance of bees and other pollinators.
Predatory wasps, lacewings, ladybirds, and other beneficial insects will also be attracted to your interplanted organic garden, where they will prey on common pests like aphids.
Diverse, Healthy Ecosystem
All organic techniques and tasks help to build a healthy, diverse ecosystem within the confines of your garden.
This improves crop yield and plant health, reducing incidences of disease and pest infestation.
Reduced Toxin Exposure
Not only are you not eating toxins, you are not introducing them into the environment. Pesticides and herbicides are dangerous to all life and wreak havoc on the ecosystem.
They can also leach into the local waterways where they can contaminate drinking water and can damage aquatic life. By choosing not to use them, you are actively helping the environment.
Monetary Benefits of Organic Gardening
Maximize Grocery Savings
The grocery savings are two-fold. Not only are you not having to pay the outrageous prices of organic produce, you’re not having to buy the produce at all.
Whatever you grow will reduce your grocery costs, it’s that simple. And you can further maximize your savings by preserving whatever you can’t use while it’s fresh.
Make jam, dehydrate veggies, make fruit leather, freeze it. Whatever works for your family, helps you save money, and ensure you have access to organic produce all year round.

Minimal Setup Costs
Yes, you can probably spend thousands of dollars getting started, but you really don’t need to. You need a few basic tools and pieces of equipment, and maybe, a little further down the road, you might want to purchase some beneficial bugs or nematodes. But when you’re first starting out, essential setup costs really are minimal.
Starting an Organic Garden for Beginners
Starting an organic garden doesn’t have to be complicated or expensive. Follow our simple steps to starting an organic garden, however big or small.
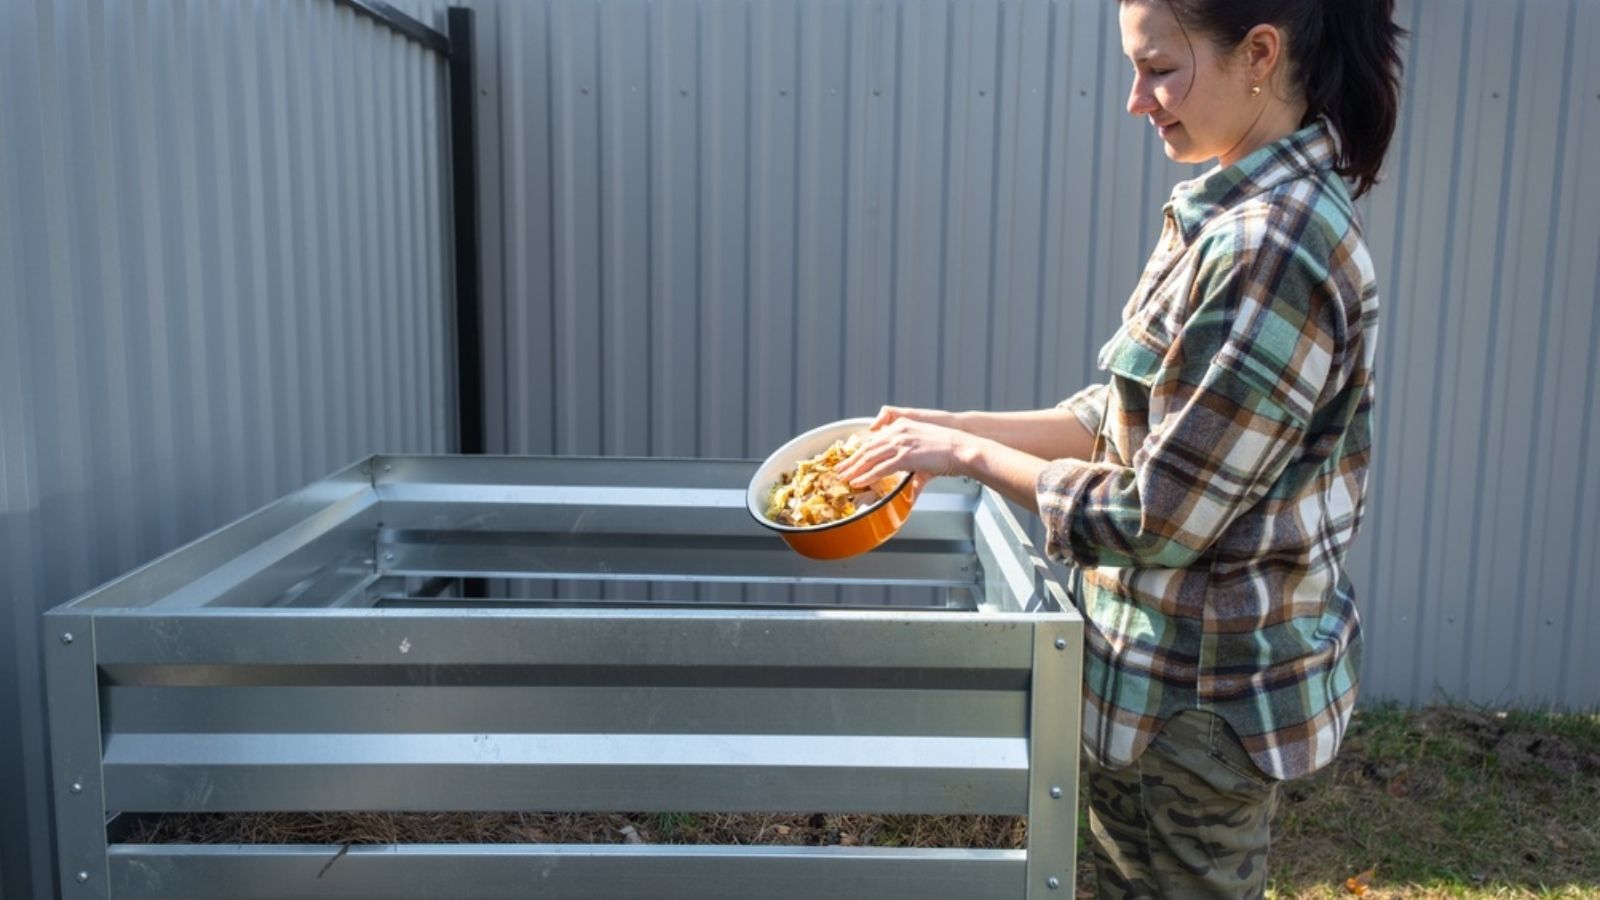
Step 1: Start Composting
Compost! Compost! Compost! Your soil desperately needs a regular supply of organic matter, and composting is the way you supply it without having to buy it.
Adding fresh organic compost to your soil helps to conserve water, replenishes the nutrients that growing plants remove. And it helps you reduce your waste because instead of sending all your food waste and garden waste to landfill, you can reuse a large percentage of that by turning it into nutrient-rich compost.
Now, lots of people seem to think composting is hard and many books on the topic make it seem like rocket science. And many of those books and websites will push you to buy special composting tools or kits that they tell you you just can’t manage without.
It’s really not rocket science and honestly – you need very little in the way of equipment – and definitely no specialist kits or tools.
Don’t get me wrong – there is a little bit of science behind it. You can’t just throw scraps and grass clippings in a pile and *poof*, compost magically appears. But it’s simple once you understand how it works.
How Composting Works
Composting involves beneficial microbes. These tiny but hard-working microbes work on solid organic matter, breaking it down into smaller pieces, turning the collection of green and brown material into nutrient-rich compost that’s so valuable for your garden.
Your job is to provide these battalions of microscopic compost makers with the right conditions and materials to encourage them to consume the organic matter and change it, molecule by molecule, into the rich humus – “black gold” – that’s so essential for a productive garden.
Because the microbes are aerobic, they require a continual flow of oxygen, hence the need to layer the pile with the right ratio of green and brown waste. Not enough oxygen and they’ll die off and you’ll end up with a stinky, slimy mess instead of compost.
You’ve got a few solid options when it comes to compost piles. You can DIY it and make a bin out of a few pallets and some black plastic, like this one.

This is the option I’d recommend if you have the skills and the space, and if your local regulations aren’t too fussy any allow something like this.
This particular example has three bins. One you fill up. One you turn into – it’s far easier to turn your pile into another bin than try to do it all in the same small space. And the third one you start to fill up with uncomposted matter after the first one is full or has started to break down sufficiently. This makes your composting super-efficient.
However, if you can’t have something like this, there are plenty of solid commercial options. This one is a reasonable size, doesn’t take up tonnes of space, and isn’t unsightly.
Or, if you want fast compost, you can get a tumbler, like this one.
Put your composter in a suitable location (preferably on bare earth) and start composting! Start with a layer of brown matter, like straw, twigs, or shredded paper up to two inches deep. This provides a good, open, aerated layer.
To give your compost heap a boosted start, I also strongly recommend adding a few shovels of soil. And remember that you’ll need to add a nitrogen-rich starter material to activate the composting process. You can use manure (from sheep, pigs, horses, alpacas, or goats), grass clippings, or compost starter. I don’t use the compost starter because I’ve never had the need – you can add an extra boost with a layer of nitrogen-rich grass clippings or manure, so why pay for an expensive product if you can do it for free with minimal effort?
When adding your composting material, you should try and do it in layers. This of course isn’t precise because it can’t be for the average gardener. But you should aim for around a 50/50 ratio of green and brown material.
I try to throw in a handful of brown matter every time I add green to try and keep it roughly balanced.
Brown matter is carbon-rich and includes twigs, straw, woody plants, leaves (in small quantities), shredded paper, and sawdust.
Green matter is nitrogen-rich and includes vegetable peelings, green plant pieces – leaves and stems, hair, manure, grass clippings, and seaweed.
You also need to make sure your compost pile remains damp (not soaking), so if it’s contained or covered, you’ll need to water it lightly on a regular basis.
And, of course, you’ll need to turn your compost at least every six weeks – this helps spread the composting microbes through the whole pile, releases areas of compaction, and creates new oxygen pockets to keep the microbes alive and healthy.
You can add compost to your soil at the end of every growing season, digging it in and letting it decompose.
If the compost is well-rotted, you can also apply it as a top dressing to give your plants a good nitrogen boost.
And you can make compost “tea” to use it as a fertilizer. You can also use it as a soil starting medium or add it to your seed starting compost.
Step 2: Get the Right Tools
I did say you didn’t have to spend much money, and you don’t. But there are a few tools every gardener should have. How much you spend and how much you buy is up to you.
I’ve built up my supply of tools and equipment over many years, so I do have quite a few “nice to haves” as well as the essentials.
But to get you started, here are the tools and equipment I recommend for organic gardening.
Comfortable, ergonomic hand tools
Hose with multi-spray nozzle
Digging spade
Digging fork
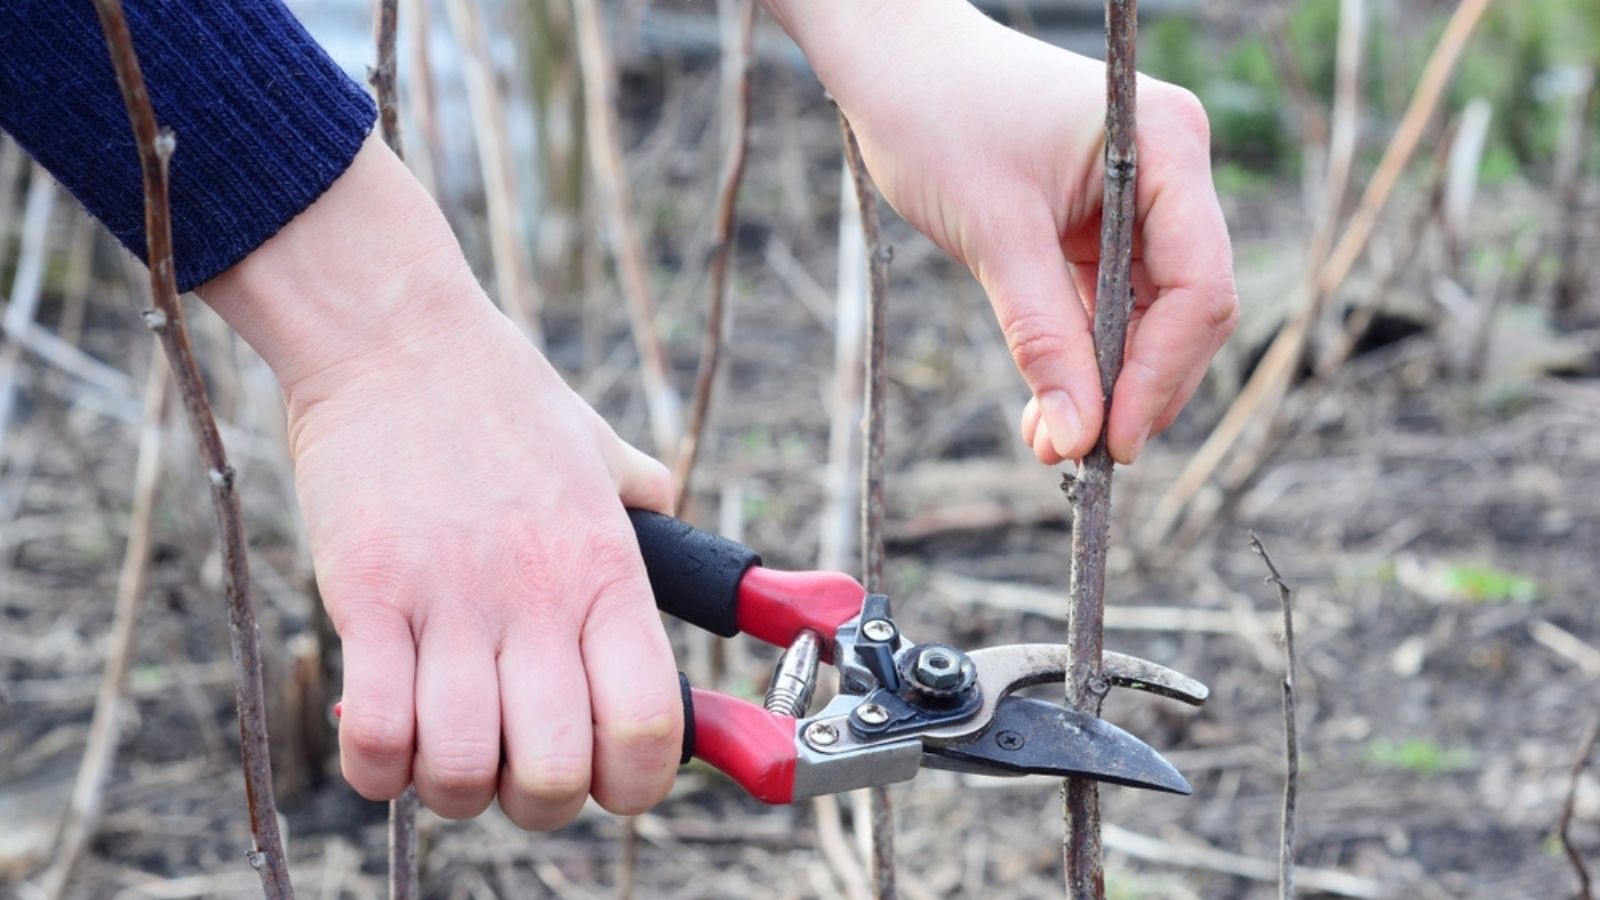
Pruners
Gloves
Jute twine
Permanent markers
Organic Seed Starting Mix
There are many other nice-to-haves, such as a tiller. I adore mine – it saves me a lot of time and work – turning the beds to prepare them for the new season, working in green manure, compost, and so on.
But these aren’t strictly necessary when you’re first starting out.

Step 3: Prepare the Soil
Your soil is the foundation of your organic garden. If you don’t have good soil, your plants will suffer, your garden will be prone to pests and diseases, and you’ll have very little produce to harvest.
So preparing the soil is a crucial first step. If you like to cut corners, whatever you do, don’t do it when improving your soil. Remember, your plants need fuel, just like you do.
Plus, your soil is also home to other beneficial creatures and microbes that help your plants to thrive – and they need the right nutrients and living conditions, too.
You can test the quality of your soil with a home soil test kit like this one, but I don’t usually bother with this unless I have an issue I can’t identify.
I prefer to amend my soil by what I can see and what I already know it needs.
If your soil is heavy and clay-based or sandy and loose, you need to add more brown organic matter, such as straw, leaf mulch, manure, and sawdust (make sure it hasn’t been treated with anything).
This helps to build a healthy soil structure that has air pockets, can retain moisture, and that nutrients, worms, and microbes can easily travel through.
For all soil types, you should add plenty of compost. If you’ve done it right, your compost already has a pretty perfect structure, so adding lots to your garden beds will only serve to improve your soil structure and provide more nutrients to your plants.
If you don’t have compost yet, you can do some composting in place. And, assuming you won’t plant in the beds for at least two months, you can dig in manure, too.
But first things first.
You need to clear the ground you want to grow on. Or you can go for a no-dig method. Or try a weed blanket.
The no-dig method involves outlining where you want the bed to be, covering it in several inches of straw (or clean, untreated cardboard), then adding at least 6 inches of organic topsoil.
You can also dig in fresh compost to make sure there’s plenty of nutrients in there. And you have two options – you can plant shallow-rooted plants straight into it (if you use a minimum of 8 inches of topsoil) or you can leave it until next season, then plant.
If you just want to use a weed blanket and wait for a few months until the blanket and the heat kills off the grass or weeds, that’s perfectly fine.
If you know you have significant weed, disease, or pest problems, you can sterilize your soil.
Learn how to sterilize soil and if it’s the right option for you here.
The other method, for those who just want to get stuck in right away and who didn’t have time to prepare the previous Fall, is just to start digging!
Outline where you want your bed to be and start clearing the grass and weeds. Once you’ve gotten rid of this top layer, start digging and turning the soil beneath.
Add plenty of compost if you have it already (or take this opportunity to do some composting in place.
Composting In Place
Composting in place is a great way to add some immediate nutrients and soil amendments before you’ve got actual compost. Establish where your planted rows will be.
Then dig trenches in between those rows, fill the trenches with compostable organic matter – vegetable peelings are great for that – then cover the trench with soil again.
Then forget about it. The organic matter slowly breaks down over the course of the season and releases nutrients into the surrounding rows.
Step 4: Choose the Right Seed Starting Medium
Yes, if your compost is particularly light and fine, you make your own by combining it with coco coir or sphagnum moss, and perlite or vermiculite.
But if you’re new to organic gardening, it’s most likely that you want a ready-made seed potting mix. And that’s fine – as long as you buy a good organic product.
Can you just skip this step and buy seedlings already ready for planting?
Yes, but I wouldn’t advise it.
Why?
Because you have no idea what chemicals have been applied to the soil or the seedlings to encourage growth. And buying plug plants like this is so expensive!
You can buy a pack of 500+ broccoli seeds for a dollar or two, but it’ll cost you $5 – $10 for 6 or (if you’re lucky) 12 seedlings! Save your money and grow your own!!
The best organic seed starting mix is lightweight and retains plenty of moisture and obviously contains no synthetic products like chemical fertilizers.
Coco Coir vs. Sphagnum Peat Moss
Coco coir is sustainable and renewable and, using it in seed starting mix prevents it from ending up as a waste product.
And it can hold 8 times its weight in water, so has fantastic moisture retention properties.
When it’s dry, it’s super lightweight and comes in compressed blocks that are cheap to ship. So I’d say, if you have a choice, go with a coco coir-based seed starting mix.
Peat moss is not really a renewable resource – it’s harvested from bogs and has taken hundreds of years to form.
And, if it’s harvested irresponsibly, as it is in many cases, the loss of so much of the peat moss destroys the local ecosystem and the wildlife that depends on the moss for habitat and food, putting multiple species at significant risk of extinction locally and on a wider scale.
So think carefully and exercise your consumer power. Choose coco coir if possible, but if you absolutely must have a peat moss based mix, make sure it’s from a responsible brand that carefully manages its peat bog harvesting.
I’d recommend this coco coir seed starting mix.
And if you fancy making your own, I’d choose these coco coir blocks.
Perlite vs. Vermiculite
Perlite or vermiculite is required in a seed starting mix to add aeration, allowing air flow and helping the roots of emerging plants to find purchase and establish themselves.
There isn’t much to choose between them – they both do the same thing and both are naturally occurring.
Perlite looks like tiny light balls that blow away if you blow on them because they are so lightweight.
This lightness makes it great for seed starting mixes.
Vermiculite is slightly heavier than perlite and has a flaky, slightly reflective look.
Because of its flat, flaky structure and heavier weight it provides less aeration. However, it holds more moisture than vermiculite.
So, if your base is drier and lacks enough water retention, then vermiculite is the better choice.
If you’re planning on purchasing a readymade seed starting mix, there’s little difference between one that uses perlite vs. vermiculite, although my personal preference is for perlite, all things being equal.
If you’re planning on making your own, I’d choose perlite for it’s superior aeration, but if my base lacked an adequate amount of coco coir, then I’d choose vermiculite instead.
Diatomaceous Earth
Some seed mixes also contain diatomaceous earth. This is a mineral made of ground up, fossilized plants.
These ground diatoms kill insects and gastropods (like slugs) that would otherwise feast upon your young plants.
It’s a little bit brutal – the tiny diatoms are very sharp and cut the outer membrane of insect and gastropod bodies, essentially dehydrating them from the outside-in.
While it’s not essential, it can definitely help, particularly if you grow in an area prone to insect and gastropod invasion.
Does My Seed Starting Mix Need to Be Sterilized?
No. It’s not strictly necessary.
However, some manufacturers do sterilize their mix to ensure that all fungi and harmful bacteria are dead to limit the risk of infection for your young seedlings.
If you don’t have a sterilized mix and are concerned, you can sterilize it yourself in the oven, the microwave, or with steam.
You can read all about soil sterilization here.
Top Choices for the Best Organic Seed Starting Mixes
Espoma Organic Seed Starter
Purple Cow Organic Seed Starter
Burpee Organic Seed Starter
Coast of Maine Organic Seed Starter
Step 5: Make a Plant Plan and Get Planting!
Don’t skip the planning stage! For the healthiest plants and biggest crops in an organic garden, you need to work with nature to create a diverse microbiome.
What does that mean in practical terms?
Start with companion planting. Many plants complement each other in more than just appearance.
While we’ve put together a comprehensive guide to companion planting with herbs, flowers, and vegetables, I’ll summarize for you.
Certain plants can repel insects away from other at-risk plants.
For example, members of the allium family – onions, chives, and leeks, repeal carrot fly so should be interplanted with carrots.
Similarly, some plants can improve the health and flavor of a different plant simply by being grown in close proximity.
You can also strategically place some plants, such as marigolds, to use as trap crops, drawing certain pests away from your vulnerable vegetable plants, where they feast on the trap crop instead of your more valuable crops.

So, first, establish which edibles you want to grow, then find the appropriate companion plants for them to give them the best chance of producing a large crop.
Choose the Right Plants
You need plants that thrive in your climate. Not just in your general Hardiness Zone, but in the micro-system that’s unique to your growing space. So there’s multiple parts to choosing the right plants for your organic garden.
And, aside from figuring out your USDA Hardiness Zone, you need to answer these questions.
- How wet is your garden?
- Is your soil heavy clay? Sandy? Light and loamy?
- What’s the level of sun exposure and shade in your growing space?
- How good is your soil’s drainage?
- How much shelter from wind/rain/storms/frost is there?
Once you’ve answered these questions, you’ll be able to select plants that do well in your micro-climate.
Remember, though, that most likely, your growing spaces will have variations or gradations in these variables.
Some parts of your garden will likely have more shade because they’re against a fence or building, while other areas will be more exposed.
Therefore, you’ll need to take these differences into account when planning and selecting plants.
Our post about how to protect your plants from frost has some great tips for smart garden planning.

One absolute essential piece of advice when it comes to choosing the right seeds – do not buy F1 hybrids! These are modified seeds that produce crops in the first year you plant them.
BUT you cannot save seed from, because the seeds they produce are either infertile or will produce weak, stunted, or mutated plants that you will not get crops from.
Check out our guide to seed starting for beginners for great tips and advice to get your seeds sprouting and producing healthy, robust seedlings.
One key piece of advice is to talk to other local growers.
See which plant varieties do well in your local area. You may even be able to barter or buy a few seeds from a local grower.
These proven local and informal cultivars usually flourish because they’ve naturally evolved to do better in your area.
This might sound a little outlandish at first, but it does make sense. You start off with a pack of generic seeds that, in general, should do okay in your Hardiness Zone and soil conditions.
You let them grow, then you harvest. But you select a couple of really healthy-looking specimens and let them go to seed. Then you harvest that seed and plant it the next year.
From that sowing, you again select a few healthy specimens to save seed from. Rinse and repeat.
Each time you do this, you are essentially choosing the fittest, healthiest plants to save seed from. And each time, they are a little fitter and healthier than the year before.
So eventually you end up with seeds that are perfectly suited to your local conditions, and you have produced a unique cultivar.
You can check out our practical post on seed saving for beginners for more tips.
Utilizing Your Growing Space
You should also think about maximizing the output of your growing space by growing an early crop of quick-growing edibles like radishes or lettuces, then following that up with a crop of later-starting veggies like corn, squash, and pumpkins that require later planting out dates.
And don’t forget about properly interplanting to maximise growing space.
Using techniques like the three sisters companion planting helps you get the most crops off your land.
Maximize your harvest period by planting successionally. This helps you avoid gluts, too.
The idea is that instead of planting one big crop of a particular vegetable, you stagger the plantings, making sowings every two weeks instead of all in one go.
This increases your harvest window, letting you enjoy fresh produce at its peak for longer.
If your outdoor space is limited, you can always make use of the vertical space that’s often wasted by growing a vertical garden.

That could be as simple as hanging some pots on the fence or as elaborate as building a tower garden or using a vertical planter wall or vertical grow bag.
There are plenty of ways to get creative and optimize your growing space.
Step 6: Use Organic Fertilizers
Growing organically doesn’t mean you shouldn’t make some amendments to your soil.
Organic fertilizers are easy to make and often free, so why would you even think about adding expensive chemicals that can harm your health?
Nettle stew, manure tea, seaweed – there are a lot of options to explore. Check out our post that gives you 9 organic fertilizers you can make for free.

These are all effective, nutrient-rich fertilizers that will help to feed your plants and boost the nutrients in the soil.
Don’t go mad, though. These fertilizers are organic, but they are just as potent as their commercial counterparts – so only fertilize at appropriate times of year, and make sure you dilute them adequately so you don’t risk burning your plants.
Step 7: Perform Regular Health Checks
You’ll have the most success growing organic vegetables – and fruit, and flowers, and herbs – if you’re vigilant.
You need to catch signs of infestation or disease as early as possible. Take the time to give your plants a casual once-over every day – just take a few extra seconds when you’re watering.
And do a thorough inspection twice a week at least.
Lift up the leaves and look underneath, examine stems and flowers for discoloration or evidence of pest damage.
And if you spot a problem, figure out what you’re dealing with.
Have your plants been devoured by slugs? If they have, the damage will be extensive and pretty obvious, and you can take steps to limit further incursions.
Are you looking at aphid damage?
Or have you just spotted a whole colony of aphids taking shelter on one of your plants?
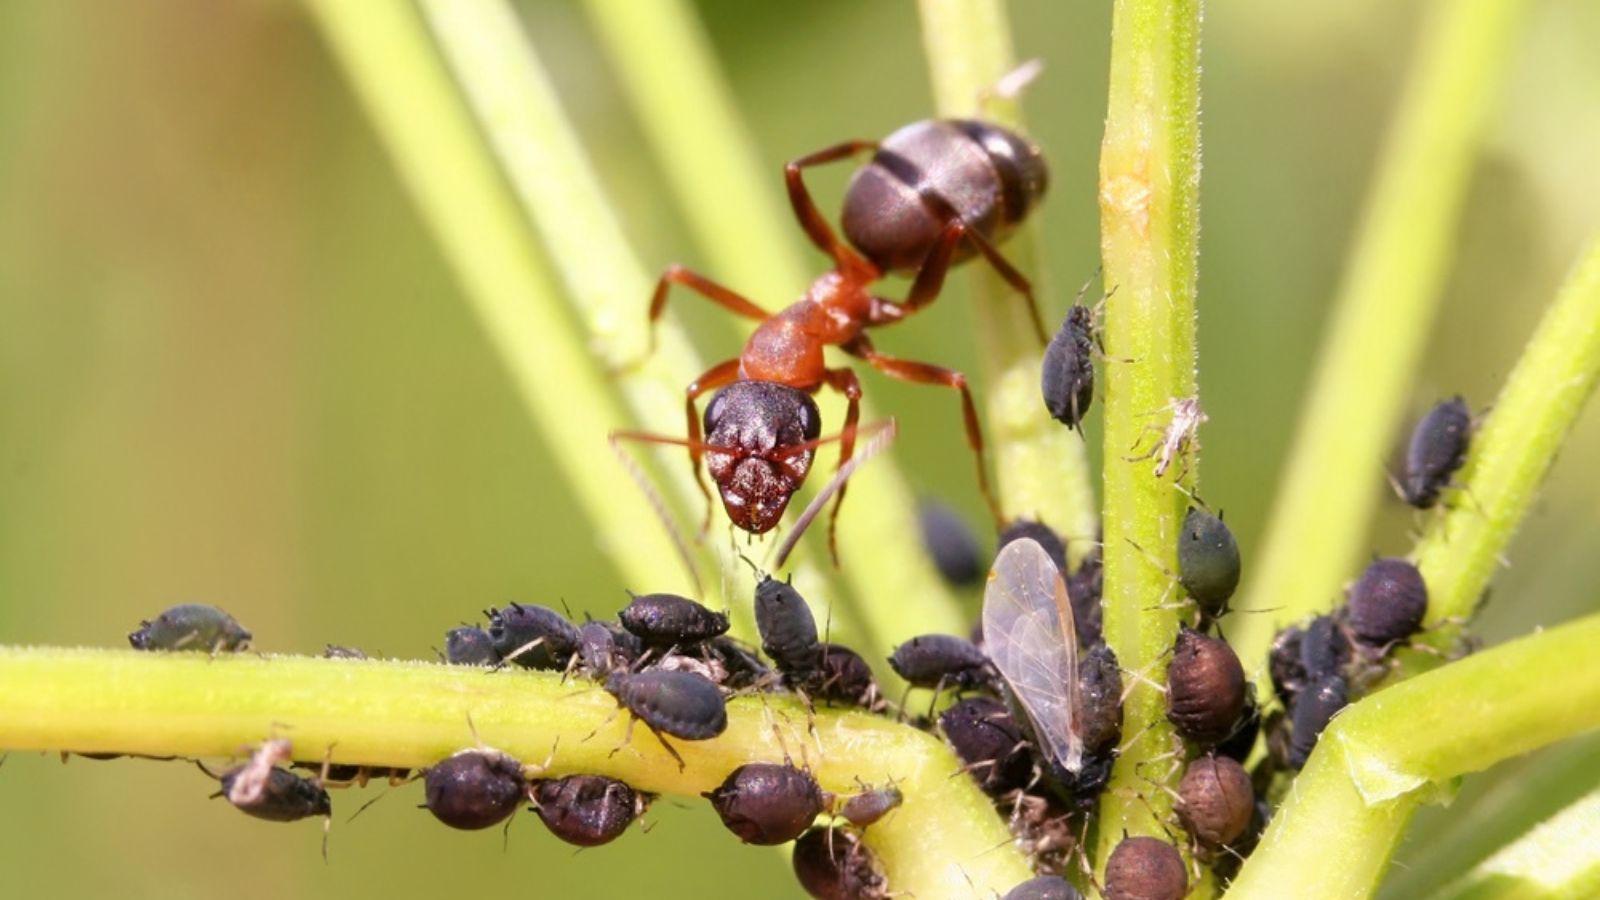
Hundreds of the blighters can appear overnight, with a little help from your annoying farmer ants (read more about ants farming aphids here).

Have you seen leaves starting to wilt with no obvious cause? Grey mold? Chocolate brown spots?
Be on the lookout for anything out of the ordinary. And expect that sometimes, even when you’re super-vigilant and taking every precaution, stuff happens.
In 2020, I lost an entire crop of tomatoes to a random fungus in just three days!
It was beyond frustrating, but there wasn’t anything I could do.
It appeared overnight and went through the entire crop.
Step 8: Use Organic Pest Control
You don’t have to spray chemicals to control garden pests. But nor do you have to let pests run rampant and destroy your crops.
You’re growing to feed your family (and maybe add color and beauty to your outdoor space), right? You’re not going to the trouble of growing stuff to feed the bugs.
Organic pest control is completely possible. But there isn’t a one-size-fits-all approach.
But please, don’t resort to chemical pesticides. They are only a temporary solution, and actually not that effective in the grand scheme of things.
They are cocktails of potentially harmful chemicals that can leach into the water table and into your food. Plus, of course, they kill off beneficial insects, too.
Including bees and other pollinators that are crucial to the survival of humanity.
There are so many things you can do organically to control pests. But, as with most natural solutions, a multi-pronged approach is most effective.
You can encourage (or buy and release) ladybirds, lace wings, predatory beetles, and predatory wasp species to your garden.
These insects devour aphids and other pests. And, some species of parasitic wasps prey on tomato hornworms.
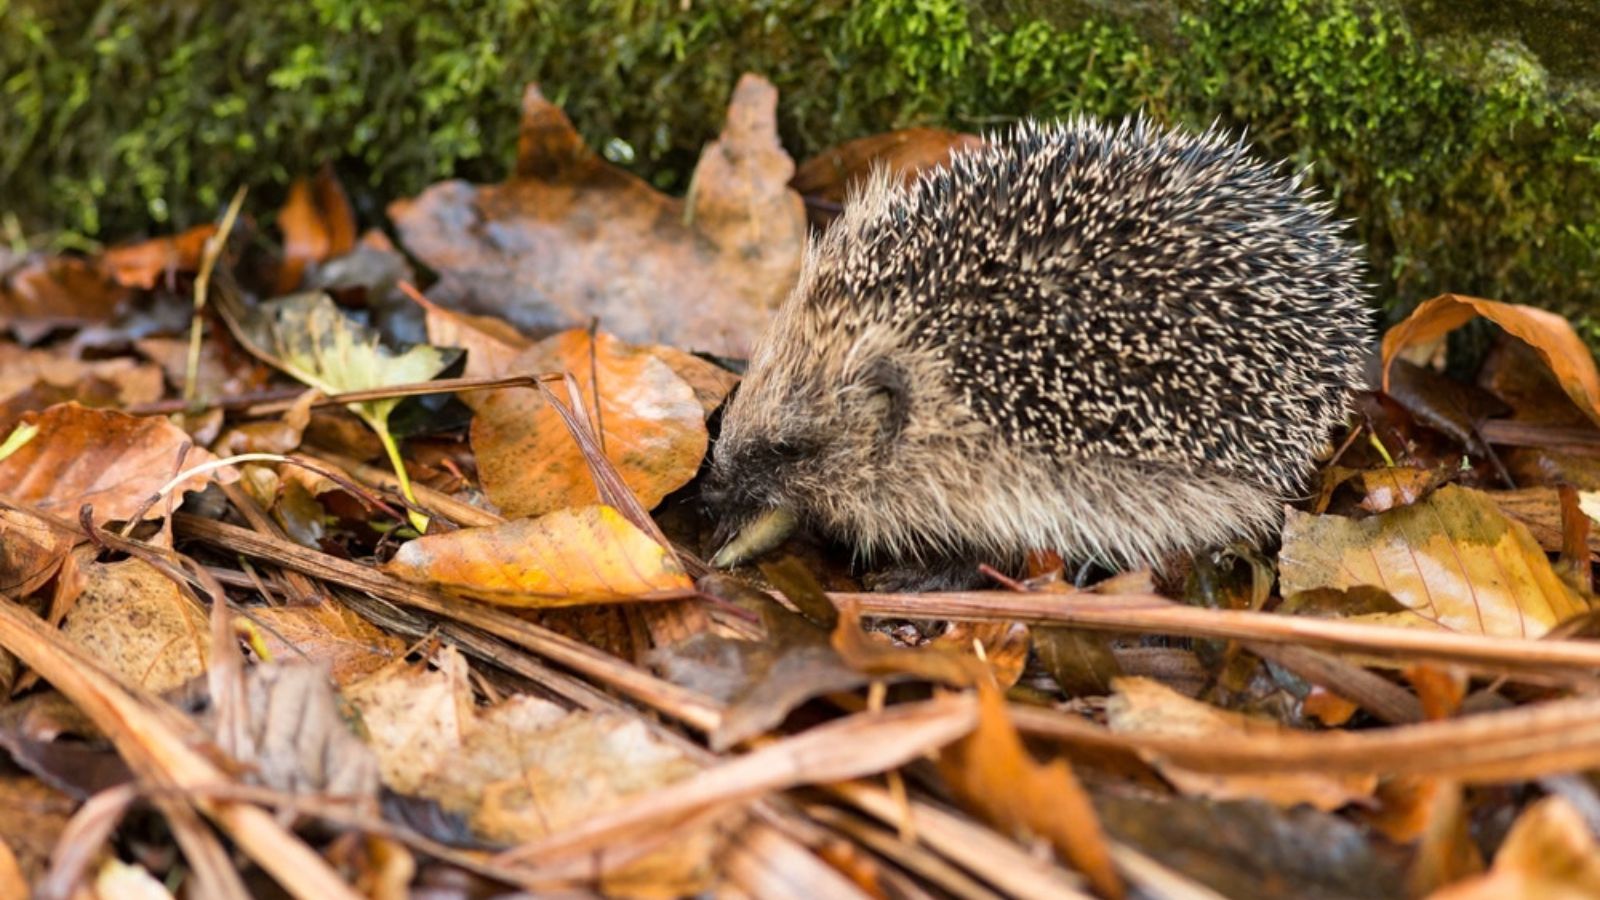
Ducks, hedgehogs, quails, chickens, frogs, and toads are also incredibly helpful in your constant fight against garden pests.
You can use companion planting very effectively to control pests.
Drown slugs in beer, make baking soda or DE “bait” traps for ants, use trap crops.
Lure pests like slugs and snails to an out-of-the-way spot then murder them at your leisure. Use the landscape to keep pests at bay.
For example, slugs don’t like crossing sharp things like egg shells, and they’re not keen on crushed up nut shells, sawdust, sand, DE, or charcoal dust. You can try each of these in your bed borders.
Similarly, mice, which are notorious for going after corn, bean, and pea seeds won’t cross or dig through wood ash, so a light sprinkling over top of where you’ve planted your seeds will help keep mice from digging them up.
You can also go the simple but brutal root of simply picking pests like caterpillars and aphids off your plants and drowning them in soapy water. It really is incredibly effective!
And don’t forget the basics, like nets and row covers. Simple, but effective. One of the simplest, most effective natural pest control remedies for your more robust plants is a spray of water.

It works really well against aphids – I change my hose head to the heavy spray settings and direct the stream directly onto the aphids underneath the leaves of the affected plants. Just be wary of using a powerful spray as it can damage plant tissue and even rip leaves, causing more damage than the insects themselves.
There are also sprays you can make at home, such as garlic and pepper spray or chrysanthemum powder, but some, such as all forms of chrysanthemum sprays or powders can also kill pollinators, so should only be used as a last resort.
Step 9: Decide on a Watering Schedule
Watering is so important. It’s far more than simply turning on the hose. You have to decide when to water and what system you’re going to use.
I prefer to water in the early morning, before the heat of the day sets in. If you water in the mornings, you run less risk of burning your plants and losing all the water to evaporation which would occur if you water during the hotter hours.
If you water in the evenings, your plants stay wet all night, which increases the risk of attack from slugs and snails, as well as puts your plants at greater risk of infection from fungi and bacteria.
How you water is up to you. I use a few different methods. For tomatoes, I usually make my own drip waterers from plastic bottles that I put nose cones on (or just put holes in the lid). Then I cut the base off. I bury these, nose-down, close to the roots of my tomato plants, and fill up the bottle with water. It supplies a constant feed of water without overwhelming the plants and, once it starts to empty out, I just top it up again. Very easy and does a great job.
You can lay PVC pipe between rows and drill small holes in it, then attach a hose whenever you want to water. You can use a hose with a multi-head on it, you can use a watering can – there are many options, and you can definitely get creative.
The key is to provide enough water at regular intervals so you don’t shock your plants or create nutrient uptake problems by random over-watering interspersed with periods of drought.
Step 10: Conserve Water
Remember, a big part of organic gardening is about working in harmony with nature and trying to do no harm. So water conservation should be a priority. Plus, of course, if you make the most of natural water sources, you save $$ on your utilities, too.
So set up rain barrels (like these ones) wherever you’ve got or can mount guttering. And, if you’re really serious about water conservation and you use natural bath products, you can use your bath water – called gray water – to water your plants.
Setting up your soil correctly with plenty of organic matter will also help reduce the amount of water you use by increasing the water retention abilities of your soil.
Step 11: Weed
Weeding is essential in the organic garden. Chemical weed killers are deadly concoctions and should be avoided at all costs. Instead, employ organic weeding methods.
The primary one being – you guessed it! – good old-fashioned manual weed removal. Get yourself a good set of hand tools, including a root lifter and maybe a stand-up weed puller. And get weeding!
To limit how much you have to do at once, try to keep on top of it. I know I find it easier to pull the weeds while they’re tiny, and I can quickly hoe over a large patch if I do it while the weeds are only just starting to grow.
If you let weeds run wild, you’re creating a lot more work for yourself in future seasons, because weeds grow and go to seed or produce more rhizomes rapidly.
Plus, of course, they can smother the plants you’ve been working so hard to nurture.
And they block light, steal water and nutrients, and inhibit airflow, which puts your plants at risk of fungi and pathogens.
You can use mulch to keep weeds down, and of course companion planting and planting large-leafed plants help to control weeds.
You can also try spraying 5% white vinegar with a dash of organic dish soap onto the weeds to act as a weed killer. But note that this is only effective in dry, hot weather.
Step 12: Harvest
Harvest regularly! The general rule of thumb is, the more you harvest, the more your plants will produce. And please, use a knife (here’s my harvesting knife) or scissors – don’t be a barbarian and rip or nip with your fingers. You damage plant tissue this way, meaning your plants are vulnerable to infection and infestation, and may not produce as well for the remainder of the season.
If you’ve got too much coming off your plants, still harvest it so that the plants can continue to produce. You can always dehydrate, freeze, make jam, or preserve the produce in other ways to last you through the winter.
If you’re harvesting greens or a cut-and-come-again variety like rocket or kale, be sure to take a little from each plant so that you get the maximum production and harvest from each one.
For direct-sown crops like carrots, beets, salad leaves, parsnips, and so on, you’ll find that you have to periodically thin them out to give the others room to grow. Don’t be afraid to thin them out – but don’t waste the ones you pull, either.
At the first thinning, they’ll be tiny but that’s okay, they’re still usable in salads and stir frys. As they get bigger, you’ll need to thin them again, probably two or three times, and that’s really okay – just make sure you use the thinnings. It’s all food, afterall. I love beet leaves, for example, in salads, and young carrot tops make a great addition to stews and stir frys.
Step 13: Rotate Crops
This isn’t a concern for your first year, but it should be a concern for every subsequent year. It’s the process of planting different crops in the same plot of land every season. Crop rotation is an important part of proper soil management for organic gardening.
Each type of plant has unique nutritional needs and is susceptible to specific pathogens and pests. So by changing – or rotating – which crops you plant in each location every year, you balance out the soil depletion and reduce the risk of infestation or infection.
Crop rotation helps maintain the balance of available nutrients in the soil and means you have to worry less about continual nutrient replenishment. It also helps to ensure that your soil doesn’t harbor an unmanageable amount of pathogens or pests, which would happen if you inadvertently created a monoculture by only ever planting one type of crop.
A crucial element of soil health, crop rotation increases biodiversity. Plus, it interrupts pest and disease cycles and, thanks to differing root structures, boosts biomass and improves soil structure.
When you’re planning, think about closely related crops – these will have very similar nutrient profiles and will have the same susceptibility to pests and diseases. For example, tomatoes, potatoes, peppers, or chilis should not precede or follow one another, because they’re all part of the same family.
And, if you saw evidence of a plant-specific disease, such as onion white rot, you should avoid planting other alliums in that ground for a few years – or until you sterilize/solarize the soil, as pathogens like this will infect related crops year after year.
Step 14: Keep it Clean
Speaking of disease, one of the best ways of ensuring you don’t spread bacteria or fungi is to keep tools and equipment clean. Get into the habit of wiping down your tools every time you finish with them.

And, at the end of every growing season, you should give them a thorough clean. Start by scrubbing the blades or tines with a stiff wire brush and some hot water (maybe with a touch of organic soap).
Next, fill a bucket with plain old white vinegar – it’s natural and effective. Soak the tools in the white vinegar for 30 minutes. Remove them, scrub them one final time, and leave them to dry in the open air.
For plastic-handled tools, simply wipe the plastic parts over with hot soapy water, then with the vinegar. Then set them aside to dry.
For tools with wooden handles, wipe the wood down with white vinegar, let them dry completely, then condition the wood by rubbing in linseed oil. This helps extend the life of the wood considerably.
If you spot any signs of disease in soil you’ve been working in, you should perform the above cleaning routine on your tools as soon as you finish in that bed, before you use the tools anywhere else, to limit the risk of spreading the pathogens.
You should also clean off your boots in the same manner.
Get more tips about tool maintenance here.
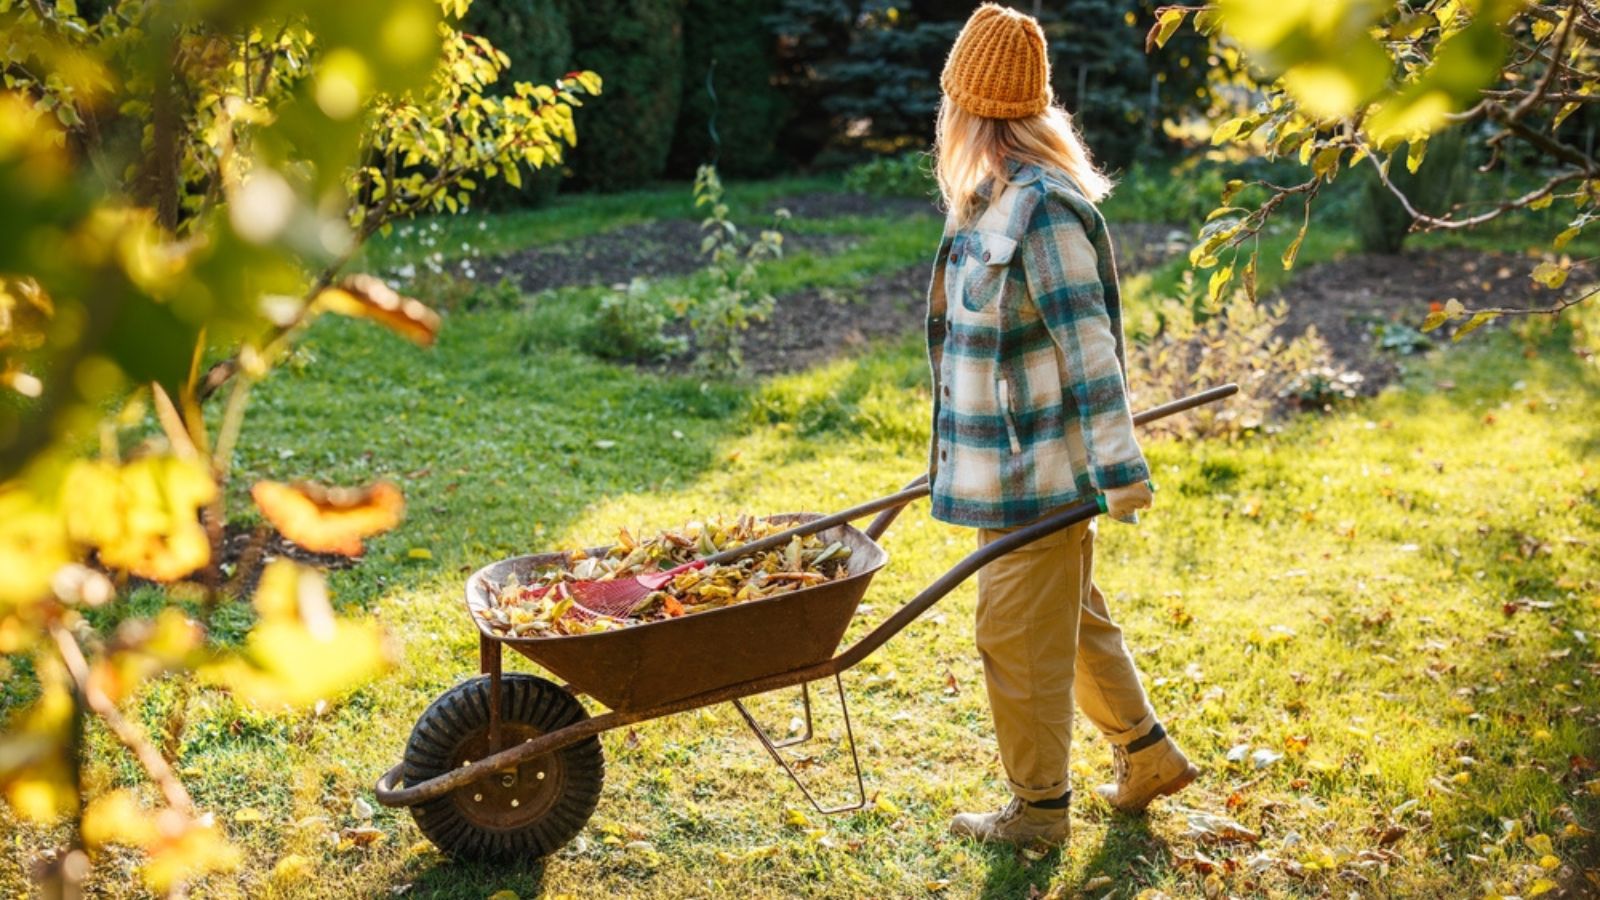
Cleaning the garden itself is also incredibly important. Remove leaf litter, fallen fruit, and other debris and turn a bed as soon as you’ve finished harvesting from it. This limits the risk of pests overwintering and bacteria and fungi laying dormant in your soil, ready to pounce once you replant in the spring.

You should turn the soil deeply, once more, in late fall, before a deep frost. This brings deeper roots to the surface and exposes pests and pathogens, killing them off when the frost hits.
Check out this post for some more essential fall gardening tasks.
Step 15: Consider Livestock
Livestock can be of huge benefit to the organic garden. Chickens! They are amazing organic gardening partners. These bug-eating poop machines provide fertilizer, much their way through all kinds of pests, and will clean up weeds, aerate soil, and shred the compost pile.
Yes, they are cheeky little birds who will, if given a chance, pluck up your seedlings, peck at fruit, and strip the leaves off their favorite plants. So you do have to manage them carefully – it’s not as idyllic as many websites would have you believe. I would not allow my chickens to free range in my vegetable garden – not if I ever wanted to actually harvest any vegetables.

Instead, you can use chicken wire or make a little chicken tractor to confine them to the specific area you want them to work on. Alternatively, you can use row covers to protect the crops you want to keep your hens away from.
And then there’s the outer edge method. This is only really useful for pest control, but it’s very effective. Don’t plant anything that’s particularly vulnerable to chickens around the outer edges of your garden, and use chicken wire to create a chicken corridor between your vulnerable plants and the fence/wall of your garden. Let your chickens go for it in this “corridor”. This is an incredibly effective method of preventing incursions of pests like slugs and grasshoppers – any pest that has to crawl, walk, or jump into your garden, rather than fly.
Even Beginners Can Have a Successful, Productive Organic Garden
As you can see, there’s more to organic gardening than just sticking some plants in the ground and hoping for the best, but it really isn’t that complex. You can get started with organic gardening with just a few tools and supplies, and by applying the basic principles and steps I’ve outlined above.
Everything in this category is centered around organic growing, from organic pest control to practical growing guides for fruit, vegetables, and herbs. We’re sharing our extensive organic gardening experience so you can get the most from your own organic garden. Learn how to protect your plants from frost, extend your growing season, regrow plants from kitchen scraps, control pests, use companion planting, and more.