Affiliate disclosure: This post may contain affiliate links. Please see full disclosure.
January feels like a write-off month in the garden, but it isn’t. This is when you quietly set up the whole year. While everything looks dead and muddy, you can be doing the boring, unglamorous jobs that make spring a lot less stressful and your harvests a lot more reliable.
You don’t have to tackle all of these at once. Pick a few that match your space, energy, and weather, and work through them steadily. The aim is to step into spring feeling prepared, not panicked. Pick a day when temperatures are bearable, the ground isn’t waterlogged or frozen (if you’re tackling an in-the-ground job), and get to work.
1. Give your tools a proper service

Most people mean to do this and never quite get round to it. January is the time. You’re not racing to plant anything, so you can sit down and deal with the tools that make every other job easier.
Gather your secateurs, loppers, pruning saws, spades, hoes, and trowels. Scrape off dried mud with a stiff brush, then wash and dry them properly. Use a bit of wire wool or fine sandpaper to remove rust. It doesn’t have to be perfect; you’re just aiming for clean metal and smooth, usable blades.
After that, sharpen anything with a cutting edge. A simple file or sharpening stone is enough for most home tools. Check how they cut by snipping a piece of paper or a soft stem – it should slice, not crush. Finish by wiping metal parts with a light oil to protect them. Future pruning, digging, and weeding will be faster, cleaner, and kinder on your wrists.
RELATED: How to clean and maintain your garden tools
2. Winter prune apple and pear trees

January is prime time to prune established apple and pear trees, while they’re properly dormant and you can see the structure clearly. Skip this for stone fruits like plums and cherries – they’re usually pruned in summer to avoid disease.
Start by taking out the obvious stuff: dead, damaged, or diseased branches. Then remove crossing branches that rub against each other, and anything that’s growing straight into the centre and blocking light. You’re trying to create a balanced, open framework, not a skeletonised twig sculpture.
You don’t have to cut everything in sight. A little, thoughtful pruning each winter is enough. Step back often and look at the shape from a distance. If you’re unsure, remove a bit less rather than more. Even a basic tidy-up will improve airflow and light, which means better blossom and healthier fruit later on.
3. Cut back autumn-fruiting raspberries
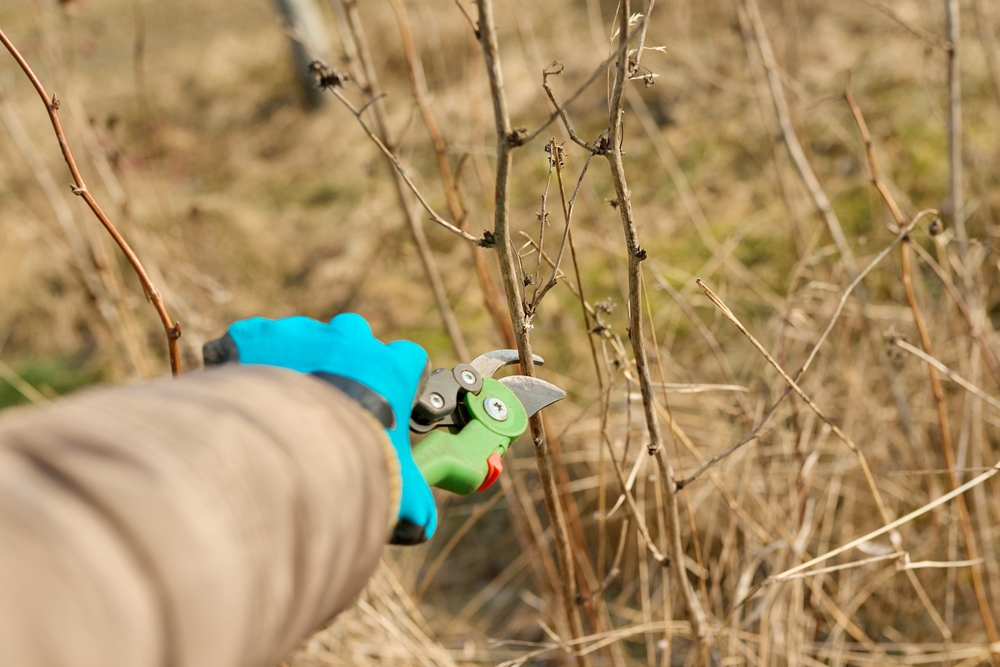
If you grow autumn-fruiting raspberries (primocanes), January is when you can be ruthless in a very useful way. These varieties fruit on the canes they grew the same year, so you can safely cut every cane right down.
Use sharp loppers or secateurs to cut all canes to a couple of inches above the soil. Rake out the old stems and any weeds, then mulch around the base with compost or well-rotted manure. It looks brutal for about five minutes, then you realise how much tidier and easier to manage the patch is.
Come spring, fresh canes will shoot up from the base and give you a clean, productive stand with less disease and fewer tangles. If you’ve got summer-fruiting raspberries as well, double-check which is which before you start cutting. Summer varieties usually keep their best canes for next year’s fruit.
4. Clear, tidy, and mulch your beds
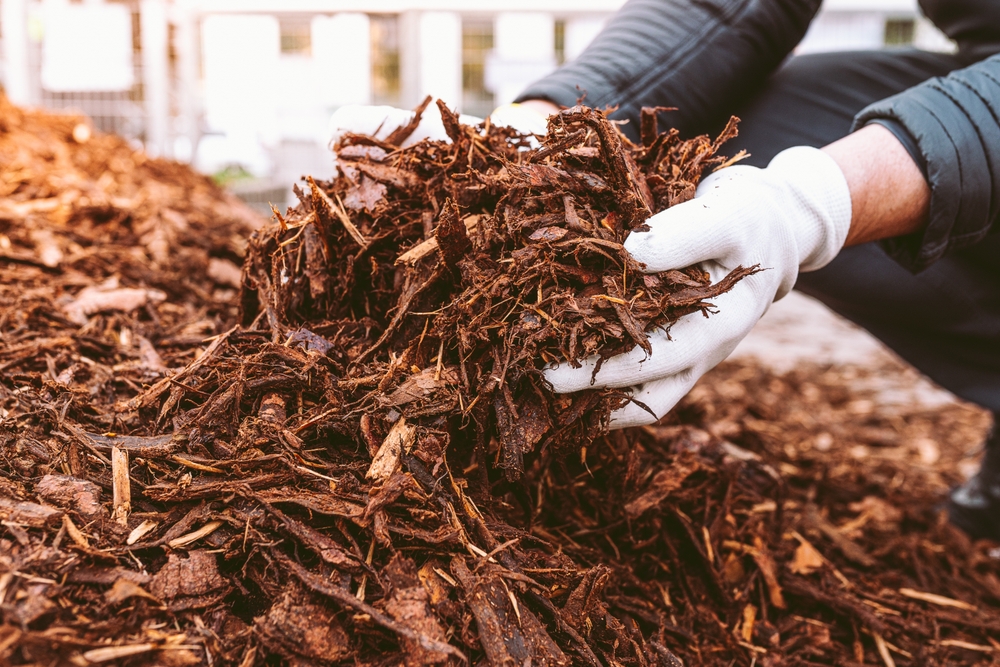
Bare soil in winter takes a hammering from rain, wind, and frost. January is a good moment to get ahead of that. Pick a bed at a time so it doesn’t feel overwhelming.
Rake off any slimy, diseased plant material and pull out obvious perennial weeds by the roots. Don’t worry about every tiny seedling; focus on the worst offenders. Once the surface is reasonably clear, spread a layer of compost, leaf mould, or well-rotted manure over the top. Two to five centimetres is plenty.
You don’t need to dig it in. Leaving it as a mulch lets worms and soil life pull it down naturally. This protects the soil, feeds it slowly, and means that when you’re ready to plant in spring, the beds already look and feel workable rather than compacted and sour.
5. Start chitting early potatoes

If you like very early new potatoes, January is when you can get a head start. You’re not planting them yet; you’re chitting them so they’re primed and ready to go as soon as the soil warms.
Lay your seed potatoes in egg boxes or shallow trays, with the “rose” end (the end with most eyes) facing up. Put them somewhere cool, light, and frost-free – a porch, spare room, or bright shed window is ideal. You’re aiming for short, stubby green or purple shoots, not long, pale, leggy ones.
By the time planting conditions are right, those chitted potatoes will get off to a faster start and usually crop earlier than ones planted straight from the bag. You can use this trick for first earlies and sometimes second earlies if you really want to stretch the season.
RELATED: Potato plant lifecycle
6. Check stored crops and deal with rot

January is the month when hidden problems in storage tend to show themselves. Don’t leave crates and baskets sitting untouched, hoping for the best. Go and have a proper look.
Work through stored potatoes, onions, garlic, apples, and squash. Lift and inspect each one. If anything feels soft, smells off, or shows clear signs of mould, remove it straight away. Keep a separate bucket for “use soon” fruit and veg that are just starting to go but still salvageable if you cut out bad bits.
It’s annoying to lose any homegrown food, but it’s much better to catch one rotten squash now than discover it has quietly infected everything around it. A quick check every few weeks through the rest of winter protects all the work you put into growing and harvesting these crops.
7. Protect vulnerable plants from frost and wind
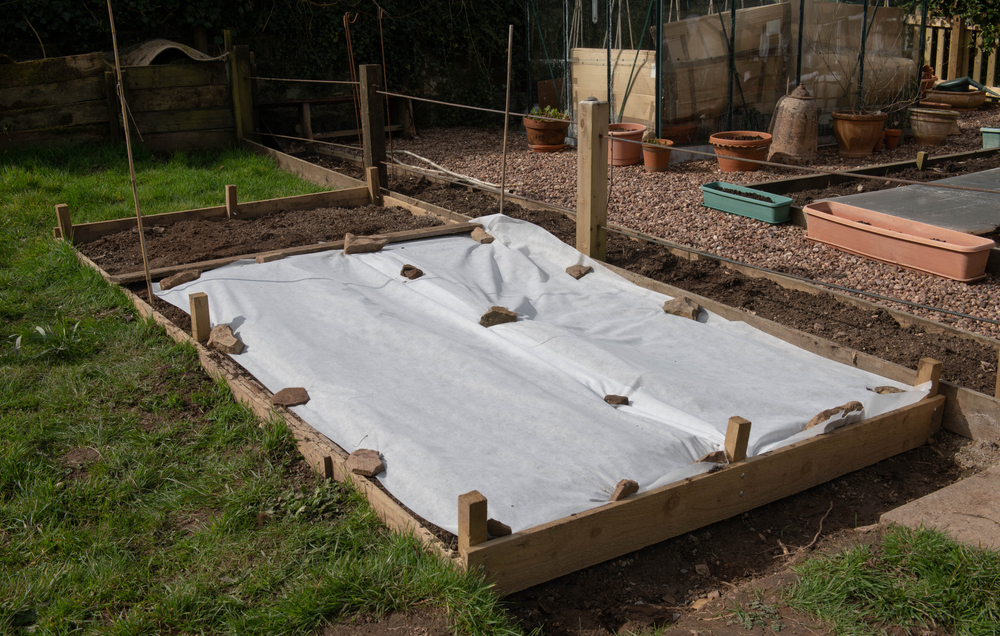
January often brings the roughest weather: hard frosts, icy winds, and sideways rain. Spend a little time walking the garden and checking anything borderline hardy or recently planted.
Make sure fleece, cloches, and windbreaks are still in place and properly tied down. Replace torn pieces and straighten up anything that’s half fallen over. For young trees and shrubs, check ties and stakes so they aren’t rubbing or strangling the trunk, but still hold the plant steady in gales.
At ground level, top up mulch around tender roots and shallow-rooted plants to give them a bit more insulation. You can also wedge pots closer to walls or group them together for shelter. These small tweaks can be the difference between “only slightly sulked” and “dead by February”.
RELATED: How to protect your plants from frost
8. Deep-clean greenhouses, polytunnels, and cold frames
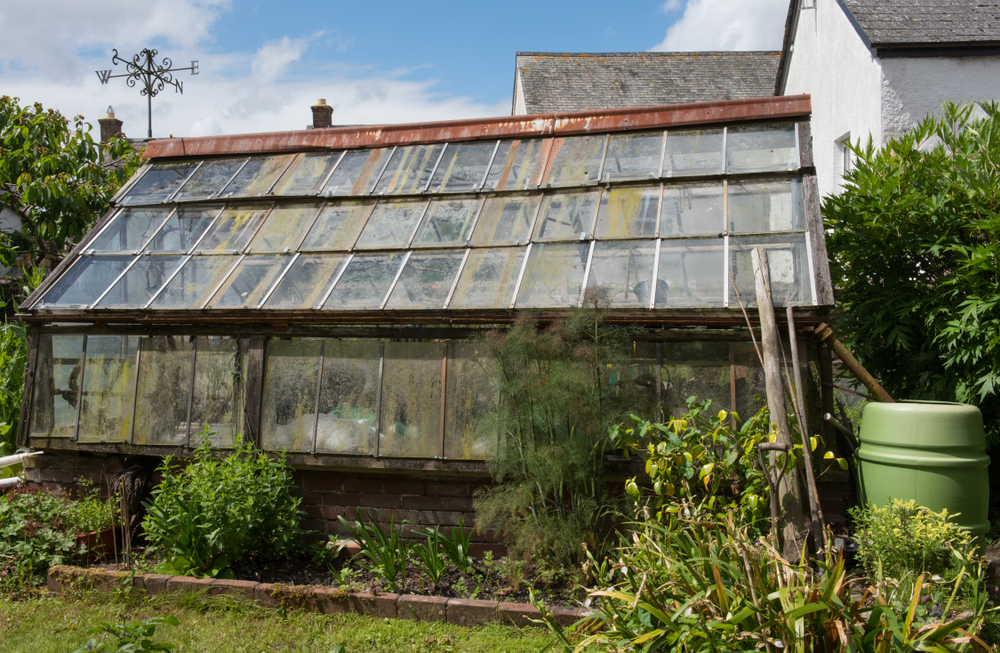
Light is precious in January, and a grimy greenhouse blocks a surprising amount. A good clean now also knocks back pests and diseases before you start filling the space with seedlings.
Pick a dry, fairly calm day. Take out as much as you can: old pots, tools, dead plants, and random clutter. Sweep the floor and brush away cobwebs. Then wash the glazing and frames with warm, soapy water, inside and out if you can reach. A sponge or soft brush works well; you’re not trying to strip paint, just remove algae, dust, and grime.
Wipe down staging, shelves, and any re-usable pots or seed trays. Rinse everything and leave it to dry with the doors or vents open for a few hours. It’s not the most exciting job, but it makes the space brighter, healthier, and much nicer to work in when sowing season kicks off.
9. Plan your growing year and order seeds
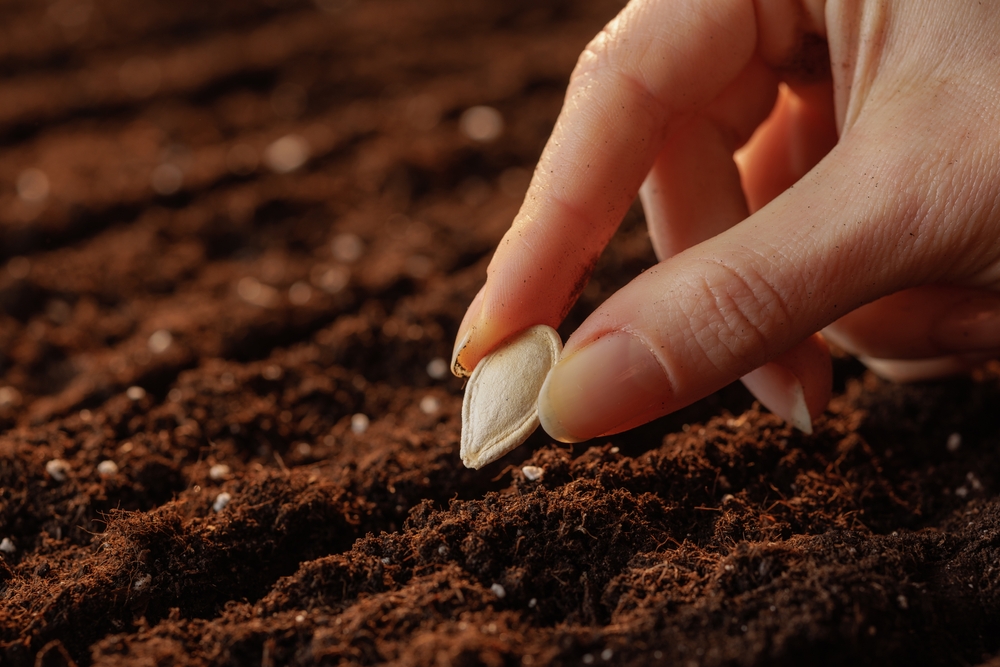
January is when seed catalogues and websites are at their most tempting. Before you go wild, take ten minutes to look at what actually worked for you last year, and what didn’t.
Go through your existing seed stash. Check dates, germination rates, and whether those varieties genuinely earned their place in your beds. There’s no point sowing yet another packet of a crop you don’t actually like eating or don’t have space for. Make a simple list of what you’re short of and what new things you’d like to try.
Then sketch out a rough plan for your beds or containers: where the main crops will go, and roughly when they’ll be planted. You don’t need a perfectly colour-coded map, just something that keeps you from cramming everything into the same space at the same time. When you do order seeds, you’ll be buying for a real plan, not just reacting to pretty pictures.
10. Sow hardy crops under cover
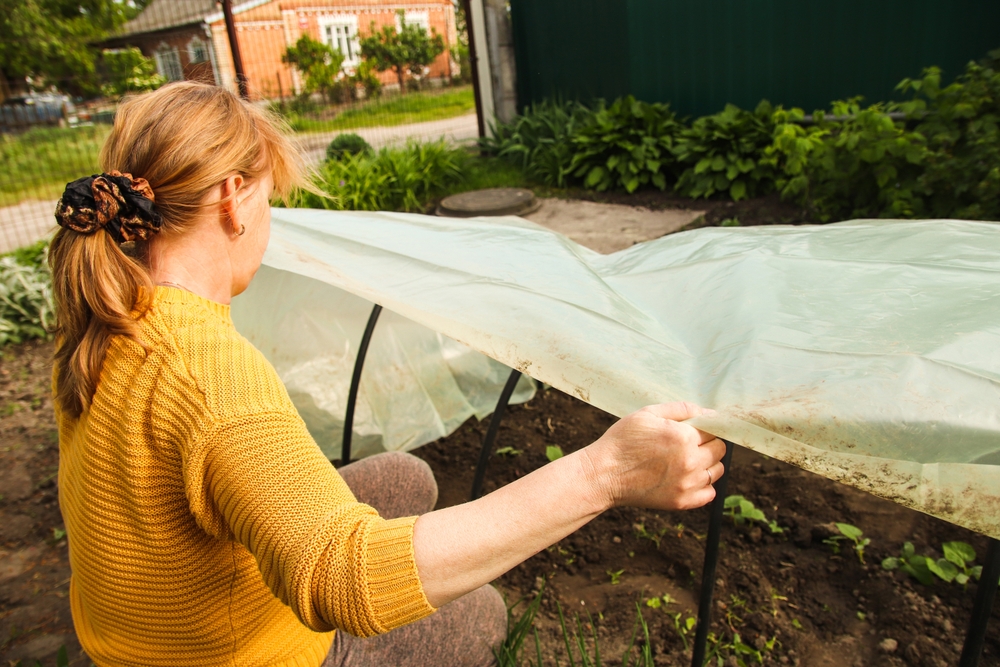
You don’t have to wait for spring to start sowing. If you have any kind of protected space – greenhouse, polytunnel, cold frame, or a bright, cool windowsill – you can quietly get a few early crops going in January.
Hardy choices include broad beans, early peas in modules or gutters, spring onions, leeks, and mixed salad leaves like winter lettuces, mizuna, rocket, and claytonia. Sow into trays or modules of decent compost, water gently, and keep them just above freezing if you can. They’ll germinate slowly and grow at a crawl, but that’s fine.
By the time the soil outside is ready, you’ll have sturdy little plants ready to plant out, rather than bare beds and a cold packet of seed. It’s a simple way to bring your first harvests forward by weeks, without needing heat mats or complicated kit.
11. Check and repair fences, beds, and supports
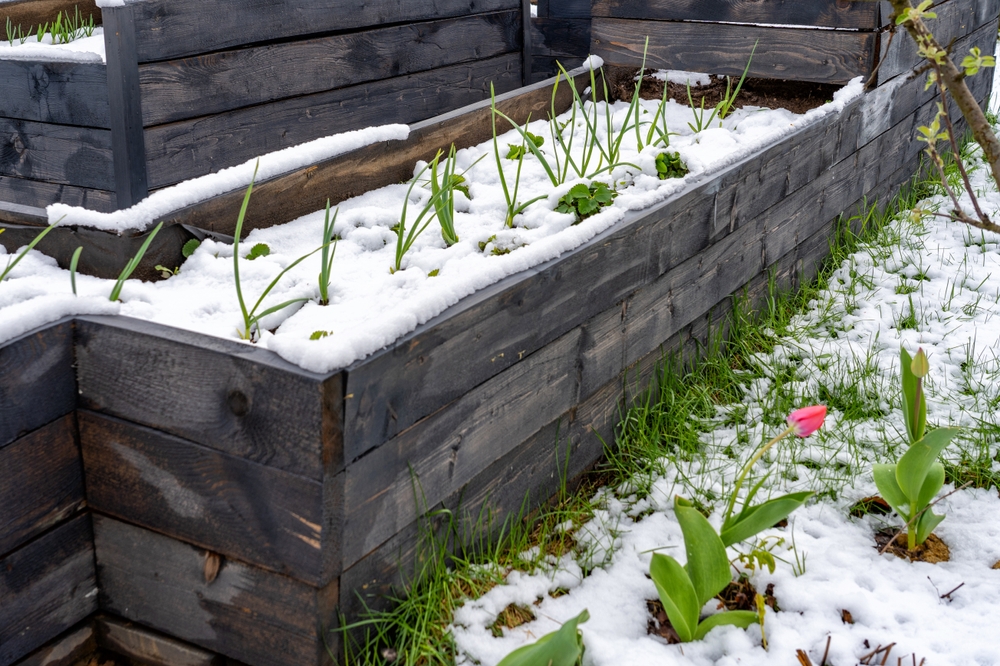
Winter storms have a knack for revealing weak points. Use January to fix things while growth is low and you can actually see what’s going on.
Walk the boundaries and wiggle fence posts. Look for panels that have shifted or loosened. Check trellis, arches, and obelisks that support climbers; if they’re wobbling now, they’ll be much worse under the weight of beans, sweet peas, or roses. Raised beds with rotting boards or bulging sides are also worth dealing with before they collapse completely.
Tackle the worst problems first. Replace or brace damaged posts, screw loose bits back together, and retire anything that’s clearly on its last legs. A few hours now can save you from having to dismantle a half-fallen structure in the middle of summer when it’s covered in plants.
12. Feed and support garden birds

Birds are working hard to survive January, and they can be a real help in the garden later, stripping aphids, caterpillars, and other pests from your plants. Supporting them now is both kind and practical.
Clean bird feeders with hot, soapy water and let them dry fully before refilling. This helps reduce the spread of disease in crowded winter feeding spots. Top them up with good-quality seed, suet, or fat balls, and keep an eye on how quickly they’re emptied so you can adjust.
Also think about water. A shallow dish or birdbath with fresh water, checked for ice, makes a big difference. More birds in your garden means more life and interest in a bare month, and a ready-made pest control team when the weather warms up.
13. Turn and tidy the compost heap

Compost heaps often get ignored once the rush of autumn is over. January is a good time to give yours some attention so it actually breaks down properly and doesn’t just sit there as a cold, slimy mess.
Use a fork to turn the heap, bringing material from the outside into the middle and breaking up any big, matted clumps of grass or kitchen waste. While you’re at it, pull out obvious non-compostables that have snuck in, like bits of plastic or string.
If the heap is very wet and compacted, add some dry, chunky material like shredded cardboard, torn brown paper, or small twigs to create air pockets. If it’s bone dry, give it a light watering. The goal is a springy, damp-sponge texture. A little effort now means you’re more likely to have decent, crumbly compost to spread later in the year.
14. Hunt down winter pest hideouts
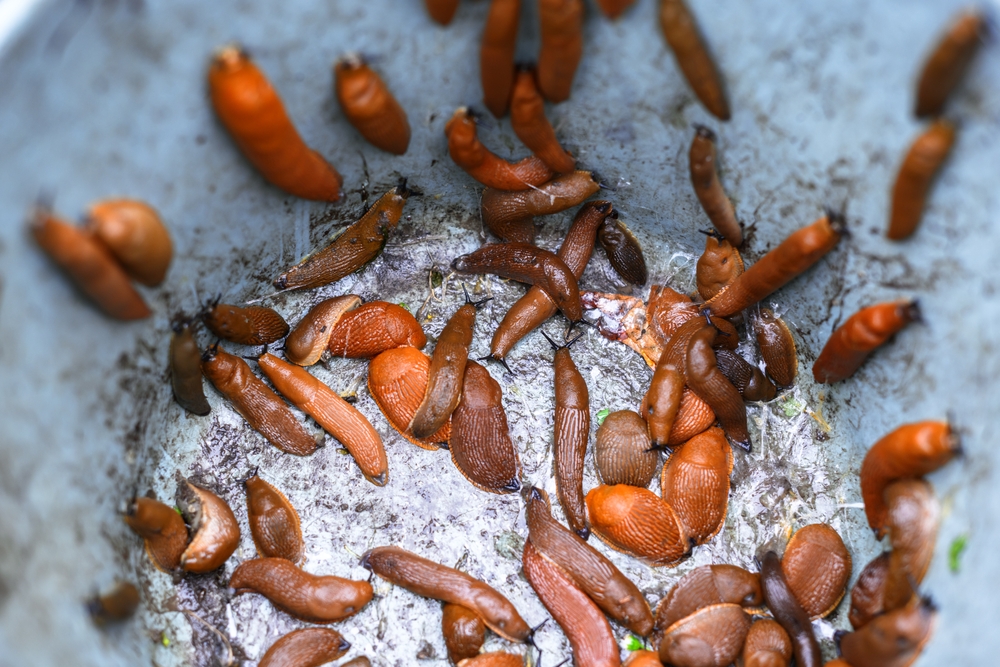
Pests don’t disappear in winter; they just move into sheltered corners and wait you out. January is a good month to poke around and disrupt them before your seedlings go out.
Check evergreen pots, old compost bags, stacks of bricks, and tucked-away corners for slugs and snails. You’ll often find them wedged into cracks and under rims. Remove as many as you can. If you grow in pots, tip out any that looked sickly last year and check for vine weevil grubs – creamy, C-shaped larvae with brown heads. If you find a lot, get rid of the compost and start again.
You won’t clear every pest, and that’s not the aim. You’re just knocking numbers down so young plants in spring aren’t overwhelmed the moment they go outside. Combined with good planting and healthy soil, it makes life a lot easier.
15. Be honest about your garden goals for the year
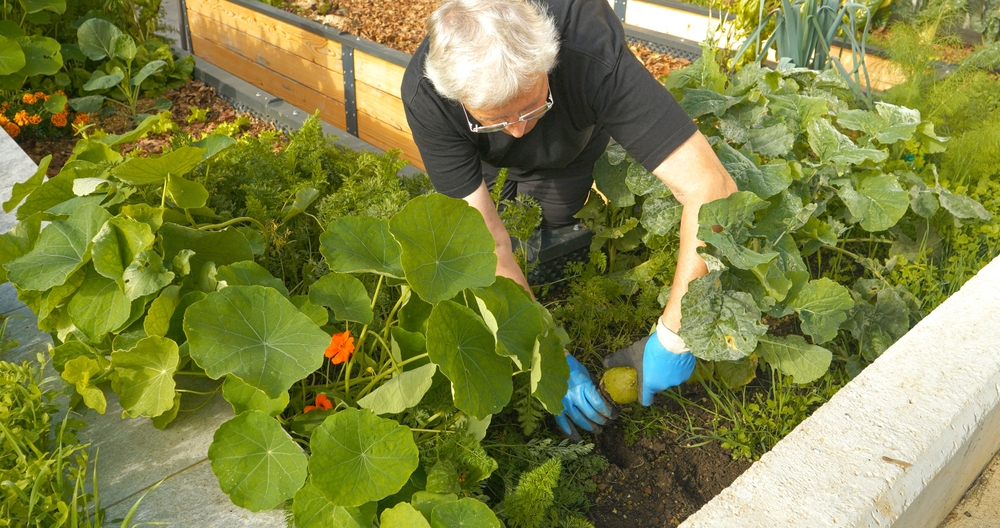
This one lives in your head more than in the soil, but it matters. January is the time to decide what you actually want from your garden this year, not what you think you “should” be doing.
Maybe you want maximum food from a small space. Maybe you’d rather have fewer, easier beds and more flowers. Maybe it’s about improving the soil and getting on top of the basics so next year is less hard work. Whatever it is, write it down and let that guide what you say yes and no to.
It’s better to run a smaller, well-kept garden than exhaust yourself trying to grow everything, everywhere, all at once. Being realistic now means you’re less likely to burn out in May and let everything slide just when it should be thriving.