Affiliate disclosure: This post may contain affiliate links. Please see full disclosure.
A greenhouse or polytunnel can be the best bit of your garden, or the place where everything quietly struggles. Same space, same structure. The difference is usually how clean and well kept it is, not how fancy or expensive.
Deep-cleaning isn’t exciting. It’s cold hands, soggy sleeves, and a lot of muck you’d rather not look at too closely. But once or twice a year, it’s worth doing properly. You get more light, fewer pests and diseases, better airflow, and a space you actually want to spend time in. That all shows up later, when seedlings are sturdy instead of leggy, and tomatoes don’t immediately get covered in mildew.
This isn’t about perfection. It’s about a sensible “reset,” then a few small habits that stop the place slipping back into slime and chaos.
Why a deep clean actually matters

In a protected space, you’re creating ideal growing conditions. Unfortunately, that applies to pests and diseases just as much as it does to your plants. Warmth, shelter, and moisture are exactly what they want.
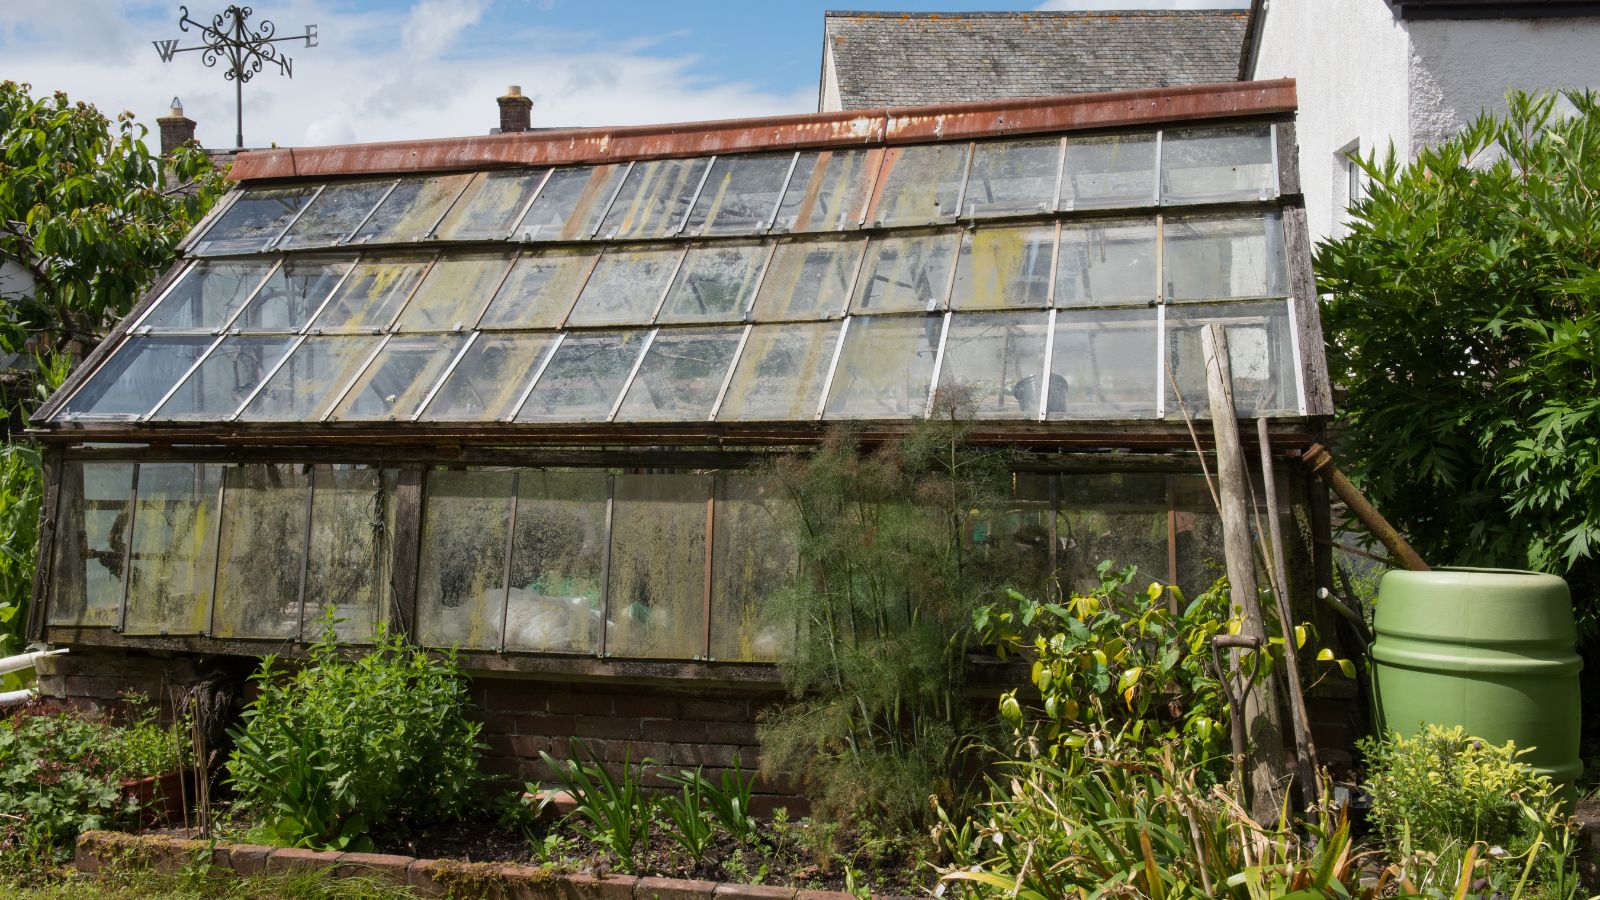
Over time, algae films the glazing, dust and grime build up on frames, and every corner fills with old leaves, dried stems, and forgotten pots. Fungal spores sit on damp surfaces. Aphids, red spider mites, whitefly, and all their friends use old plants and cobwebby corners to overwinter. Slugs tuck themselves into cracks in the floor and under staging.
Left alone, you walk into spring already on the back foot: seedlings under low light, pests in place and ready, mould waiting to pounce as soon as humidity rises. Then there’s the simple fact that dark, grimy spaces don’t make you want to be out there, so you use them less and get poorer harvests.
A proper clean cuts all of that back. You physically remove a lot of pests, eggs, and spores. You clear out the damp, stagnant corners and let the structure dry properly again. You strip the algae off the glazing so more light actually reaches your plants. And you clear your own head — it’s much easier to plan the new season when you’re not wading through last year’s mess.
When to tackle the big clean
You can do a thorough clean whenever the weather and your schedule line up, but a few windows make life easier.
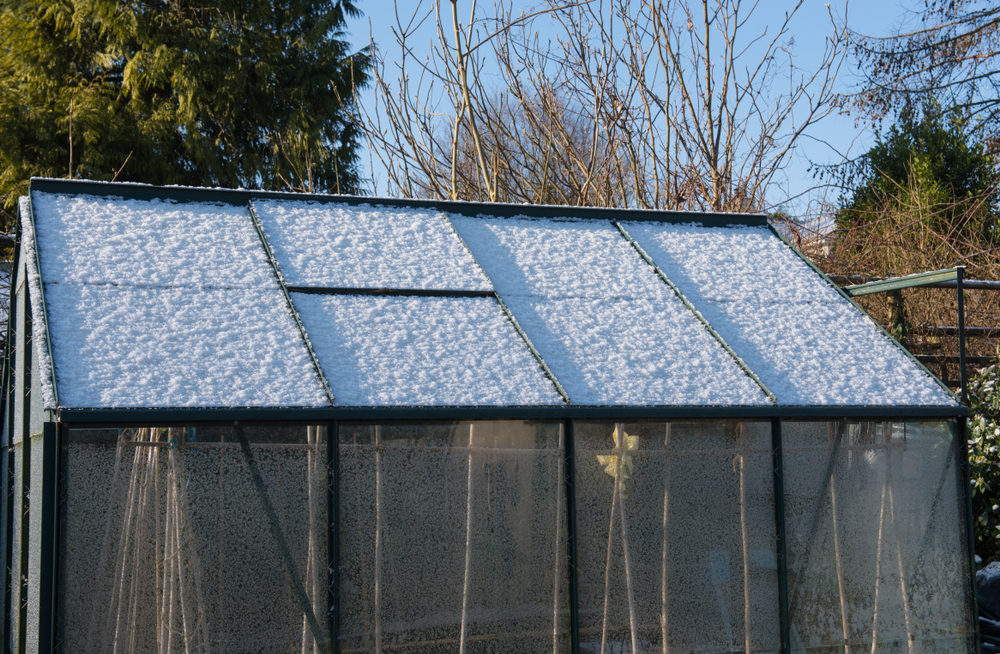
The first is late winter into very early spring, when tender crops are finished, overwintering plants are minimal, and you’ve not yet filled every surface with seed trays. The second is late autumn, once you’ve stripped out summer crops like tomatoes and cucumbers and before you settle winter salads and hardy greens in for the season.
You’re looking for a dry, fairly calm day. It doesn’t have to be warm, but it helps if you can prop doors and vents open without everything inside getting drenched. Give yourself a decent block of time so you can get the bulk of it done in one go, rather than spreading one messy job over a month.
If you’re overwintering a lot of plants and can’t empty the whole space, you can still deep-clean in stages: one side first, then move plants across and do the other. It’s more faff, but still far better than leaving it all.
Start by emptying the space
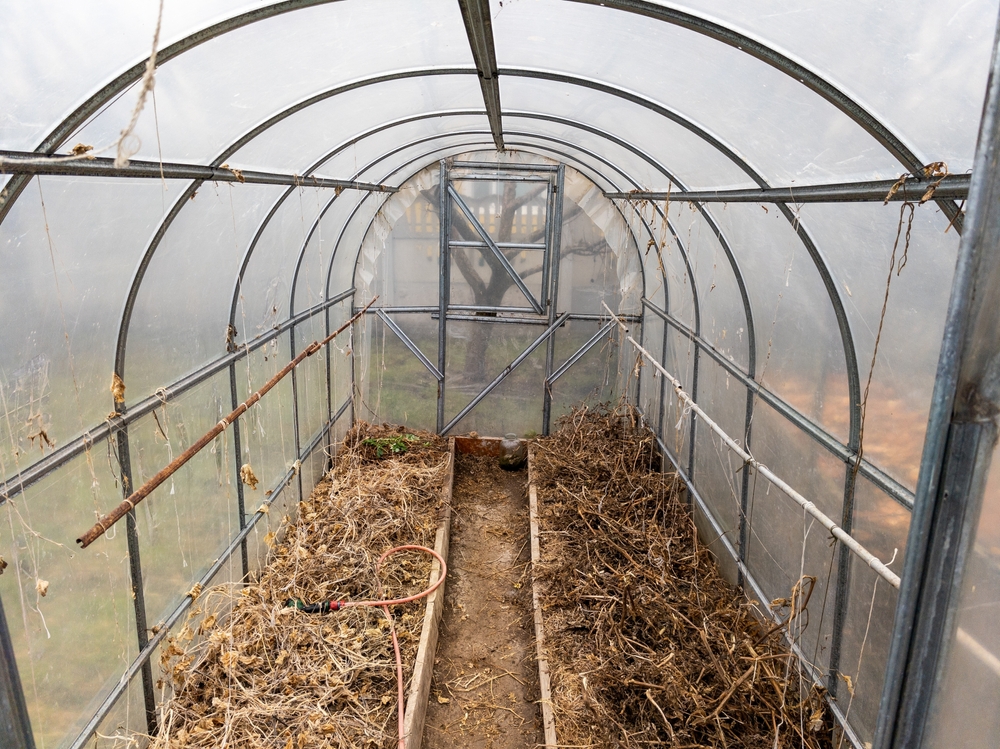
Everything is easier once the clutter is out. It’s the bit most people resist, but it makes the actual cleaning much quicker and you’ll see what you’re dealing with.
Begin by removing any spent plants. Old tomato vines, dead cucumber stems, yellowed leaves that fell behind pots, dried pea tendrils – all of it comes out. If it’s healthy material, it can go on the compost heap. Anything that’s clearly diseased, full of mildew, or riddled with pests is better burned or bagged and binned, not composted.
Next, deal with the loose “stuff.” Pots, trays, bags of compost, canes, string, old labels, mystery objects from three summers ago… haul it out and put it somewhere you can sort it. Don’t worry about organising it yet; just get it out of the way.
If you’ve got overwintering plants or anything tender you want to keep, move them outside for the day if the weather allows, or cluster them in one clear corner and clean around them first. They’ll cope with a few hours of cooler air far better than they’ll cope with being constantly surrounded by mould and stale, damp air.
You’ll probably find you’ve been using the greenhouse as a dumping ground. That’s normal. The deep clean is your chance to stop that getting worse.
Dry cleaning first: dust, cobwebs, and loose debris
Before you go anywhere near a bucket of water, deal with all the loose muck. Trying to scrub algae off glass while dead leaves and dust are still clinging everywhere just makes a filthy paste.
Sweep the floor properly. Get under benches, behind water butts, and into the corners. Use a stiff brush on slabs or concrete, and a gentler one on compacted soil floors so you’re not gouging holes. The aim is to lift loose dirt, grit, and plant material, not to polish it.
Then look up. Use a soft broom or brush to knock down cobwebs and dust along the roof bars, in corners, and on window frames. Spiders will move back in soon enough; you’re just clearing years of webbing that holds dust and spores. Brush around vents and openers too.
This quick dry stage doesn’t need to be perfect, but it makes the next steps far more effective. You want surfaces that are dusty and dull, not caked and crusted.
Washing glass greenhouses
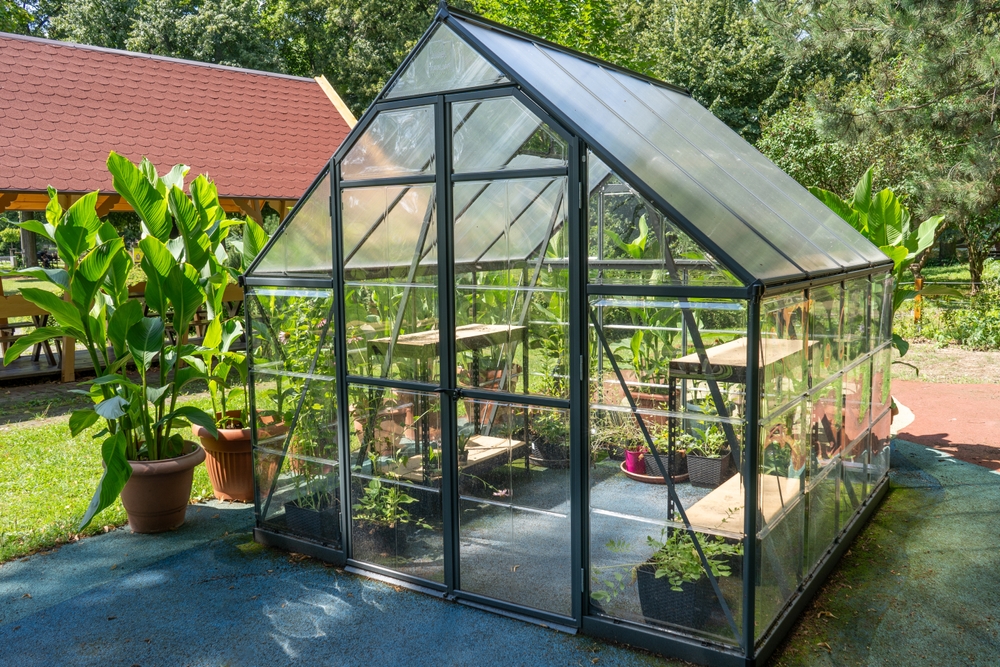
Glass is forgiving, but the bits that hold it in place aren’t always. You want to clean properly without wrecking seals or knocking panes loose.
Fill a bucket with warm, mildly soapy water. A basic washing-up liquid is fine. Start inside, because that’s where your plants sit and where you need the most light. Working in sections, wash the panes from top to bottom with a sponge or soft cloth. Don’t soak the frames to the point where water runs into every gap; you’re aiming for wet and scrubbed, not drowned.
Algae, dried-on sap, and bird droppings can be stubborn. If so, hold a wet cloth against the patch for a minute to soften it, then use a non-metal scraper or an old bank card to lift it off. A soft brush is useful for the metal bars and awkward joints.
Once the inside is done, repeat the process on the outside if you can reach safely. You don’t have to balance on a wobbly chair to get the very top, but cleaning the lower and middle sections makes a real difference. If you’ve got a hose, a gentle rinse helps remove suds; if not, a watering can and clean water are enough.
While you’re up close, pay attention to the condition of the greenhouse itself. Note any cracked panes, loose clips, draughty gaps, or flaky putty. You don’t have to fix them the same day, but you’ll know what needs attention before the season ramps up.
Polytunnels and polycarbonate: be kind to the plastic
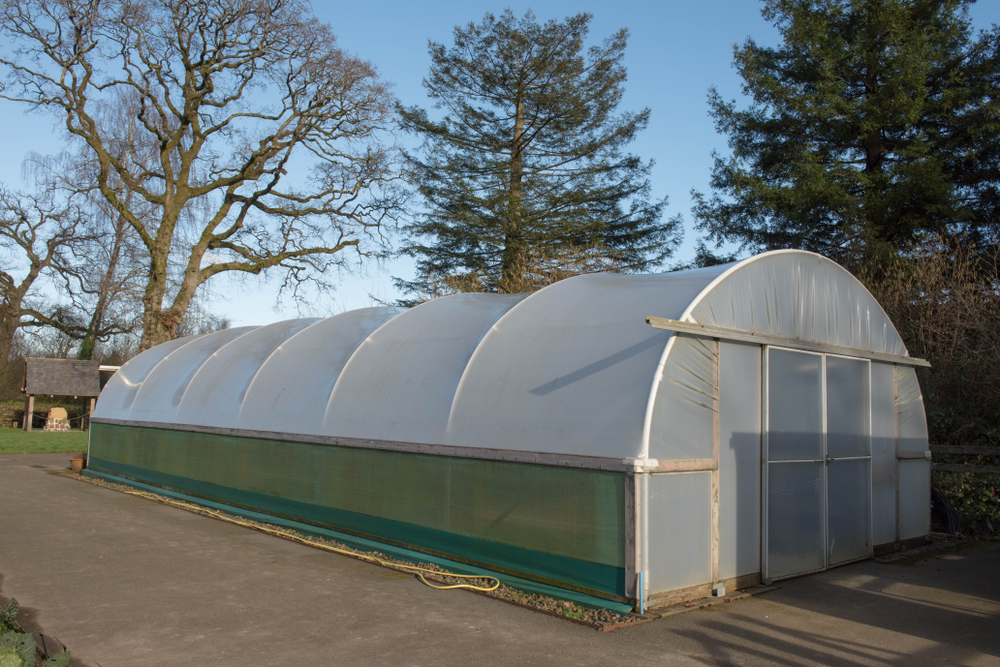
Plastic covers and polycarbonate panes scratch easily. Every scratch acts like a dirt trap and slowly cuts down how much light gets through. So the approach here is “gentle but thorough.”
Use the same warm, mildly soapy water, but skip any abrasive pads or stiff brushes on the plastic itself. A soft cloth, sponge, or soft-bristled brush is enough to shift most algae and grime. Work in sections, and give stubborn patches a chance to soak before you scrub.
Inside, watch for areas where condensation always sits: along the bottom edges of the cover, on any horizontal supports, and in folds or creases. These patches usually grow the thickest algae and mould. Clean them carefully, and make sure they can dry afterwards by opening doors and vents for a while.
Outside, focus on the lower half of the tunnel where splashback, mud, and algae tend to build up most. If the cover is old and already opaque, a clean won’t make it brand new, but it will still improve light levels and reduce places for mould to sit.
With polycarbonate, treat panels like the polytunnel skin. No harsh scouring, no solvents, and no pressure washing at close range. Clean joins and seals where green slime collects, because those damp strips are perfect for fungal spores.
RELATED ARTICLE: How to Protect Your Plants From Frost: 10 Foolproof Ways
Benches, staging, and shelves
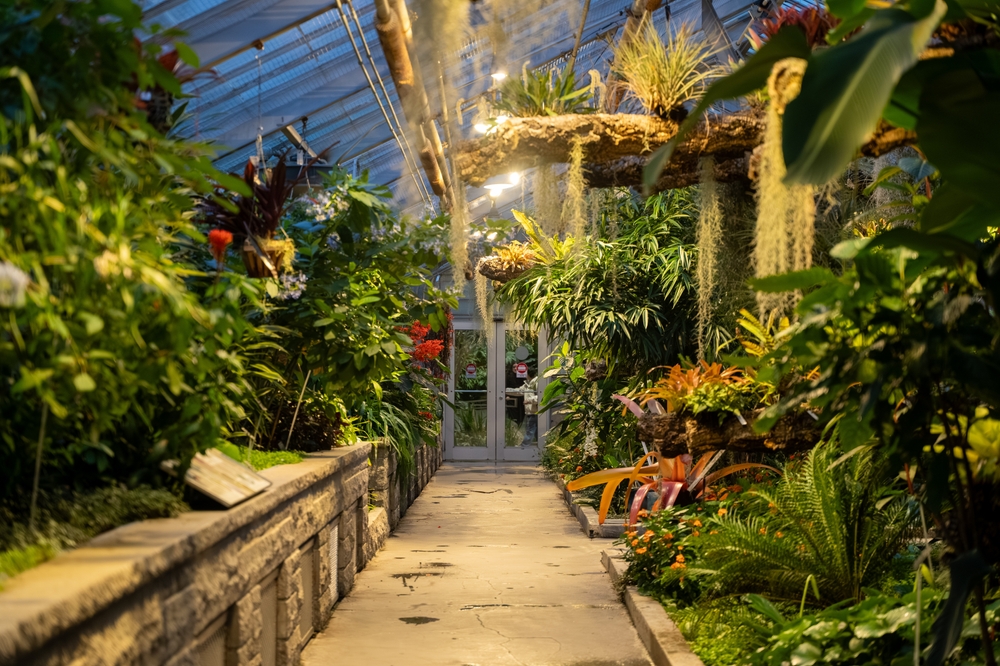
The surfaces your pots sit on end up coated in compost, spilt feed, algae, and the odd slug trail. If you only clean the glazing and ignore the staging, you’re leaving a lot of problems untouched.
Brush off loose compost, dead leaves, and grit. Then wash staging, benches, and shelves with warm, soapy water. Wood will soak up some moisture, so don’t saturate it, but do scrub off green slime and dirt. Metal or plastic staging can take a bit more elbow grease; make sure you clean the corners and underneath, not just the surface you see.
If you’ve had trouble with damping off, mildew, or other fungal problems, it’s worth going over staging again with a disinfectant that’s safe for garden use, diluted correctly. Wipe it on, let it sit for the contact time on the label, then allow everything to dry completely.
This is also the moment to be realistic about rotten wood or wobbly shelves. If a bench is already sagging before you load it with trays of wet compost, it’s not going to get better on its own. Repair, reinforce, or replace as needed while the space is empty.
Floors and drainage

Greenhouse and tunnel floors take a lot of abuse. Mud, compost, algae, and moss make them slippery and keep the whole space damp. A deep clean is a chance to reset that.
After your first sweep, scrub the floor with a stiff brush and warm, soapy water. On slabs or concrete, really work the brush into the surface to lift the slimy film that builds up. On compacted soil, be a bit gentler; you want to disturb the top crust, not dig trenches.
Push dirty water out through the door with the brush, or towards drains if you have them. Any channels, gullies, or drains outside should be cleared of leaves and silt so water actually has somewhere to go, instead of pooling at the doorway.
If you always end up with puddles or a slick green film within a few weeks, it might be worth planning a more permanent fix when time and money allow: laying simple slabs, adding a layer of gravel over weed membrane, or putting in basic drainage channels. None of it has to be pretty. It just needs to let you walk safely and keep the general humidity down.
Pots, trays, and all the small stuff

The boring part is usually the most important. Dirty pots and seed trays are a common source of fungal problems like damping off. Old compost clinging inside them holds moisture and spores right where new, soft roots will be.
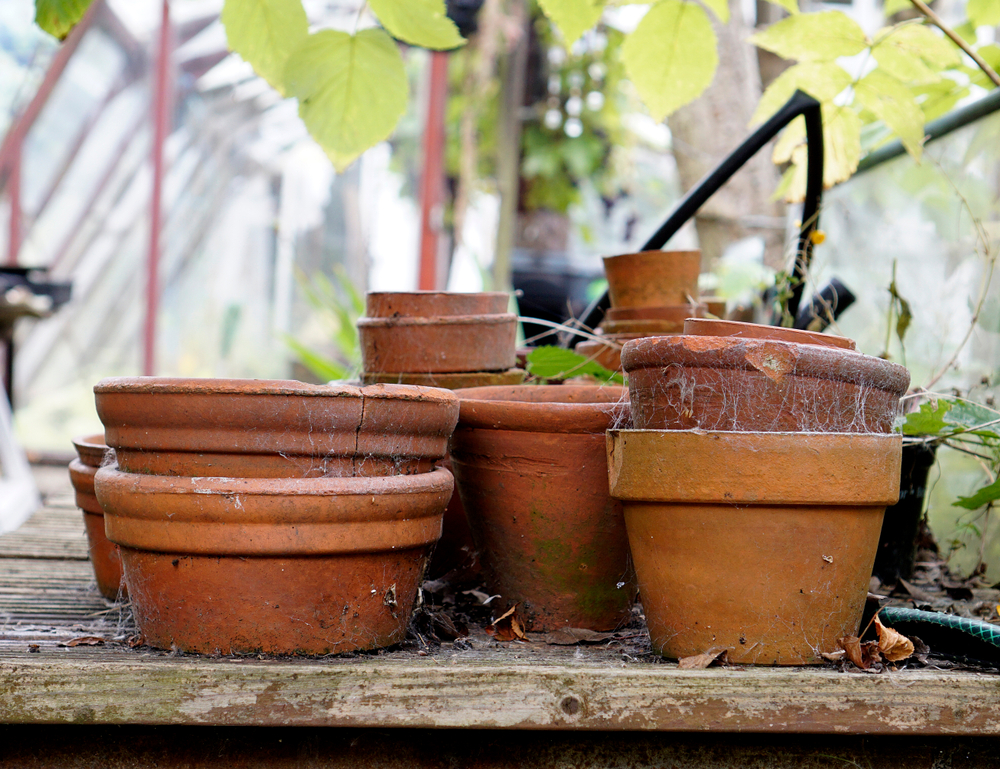
Tip out any old compost and knock pots together to dislodge as much as you can. Scrape stubborn crusts off with a pot brush or old washing-up brush. Then wash them in warm, soapy water. Seed trays and module trays need the same treatment, with a bit of extra attention in the corners and along ridges.
If you’ve had a particularly bad year for disease, follow with a disinfectant rinse, again using something suitable for garden use and dilute it correctly. Spread everything out to dry completely before stacking. Damp, nested pots are just inviting mould straight back in.
While you’re dealing with the small stuff, be ruthless. Cracked pots that no longer hold water properly, trays with half the cells broken, piles of brittle plastic you “might fix” one day – all of that just clutters the space and makes it harder to keep clean. Keep what you genuinely use and that’s in decent condition. The rest can go.
Vents, doors, and general structure
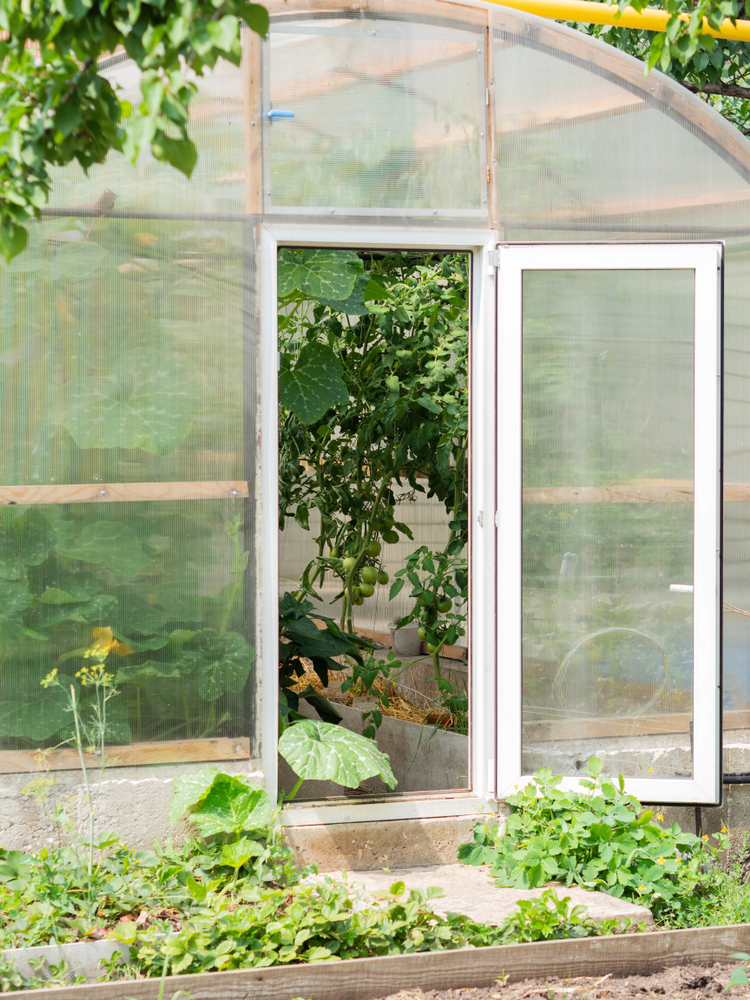
Once the obvious muck is gone and surfaces are drying, it’s a good time to look at how the whole structure is holding up.
Open and close every door, window, and vent. If they stick now, you’re less likely to use them on a hot day, which is how you end up cooking plants and encouraging grey mould. Clean around hinges and catches, tighten loose screws, and add a drop of oil where things grind. Check automatic openers if you use them; make sure they move freely and haven’t seized.
Look at seals and edges. On a glasshouse, that means checking for missing or perished rubber seals and gaps where draughts whistle through. On a tunnel, inspect where the plastic rubs against the frame. Small worn spots and tiny tears are easiest to patch now, before wind turns them into full splits.
Cast your eye over the frame for bent bars, loose bracing, or rust. You don’t have to strip the whole thing and repaint it, but catch obvious problems early. A simple brace, a replaced screw, or a quick treatment on a rust patch can add years to the life of the structure.
Putting it all back together with some thought
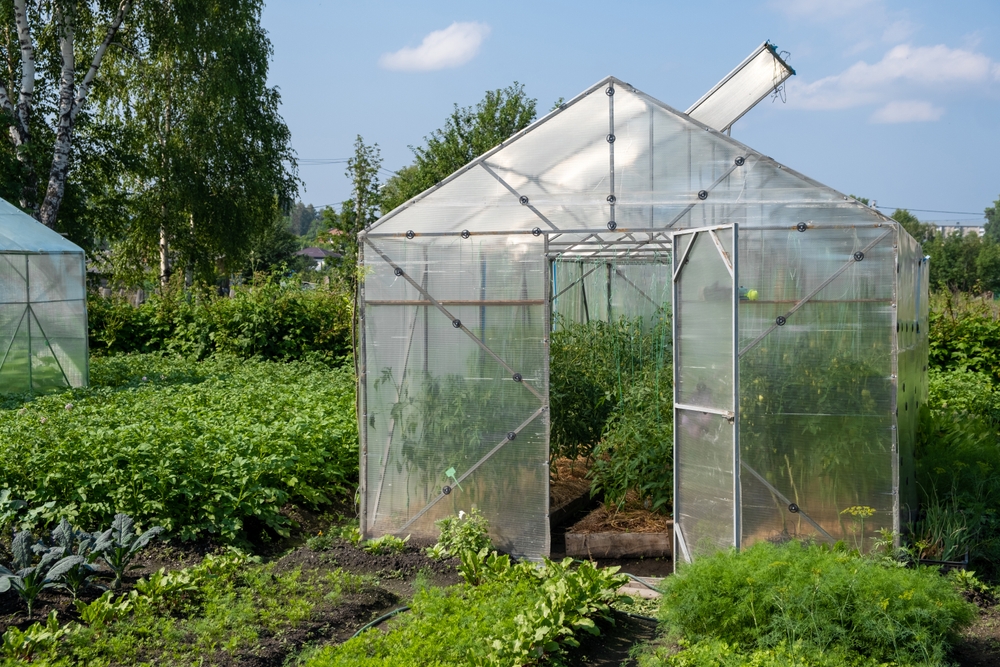
Once everything’s clean and dry, you get to decide how this space works for you, instead of just shoving everything back where it fell last year.
Think about where you actually stand to work. It makes sense to keep your main potting area near the door or close to where you store compost and watering cans. Heavy pots don’t need to live on high shelves you have to reach past delicate seedlings to get to.
Pay attention to light. The brightest spots are where you want your most light-hungry crops and young seedlings. Shadier corners are fine for tools, storage, or tougher plants that don’t need full sun. If you consistently struggle to germinate certain seeds, it’s often because they’re tucked in a dull corner rather than anything wrong with the seed itself.
Try not to rebuild all the cluttered hidey-holes you just dismantled. If a dark gap behind the water butt was full of slugs and mouldy leaves, either keep it clear this time or fill it with something solid that doesn’t create more damp pockets, like a single storage box instead of a pile of random bags.
Bring plants back in once surfaces are properly dry. If you had them outside for the day, try to time it so they don’t go back in chilled to the bone. Group similar plants together so it’s easier to keep an eye on watering and any pest issues.
RELATED ARTICLE: 12 fruits and vegetables to plant in January for earlier harvests
Keeping it cleaner without another big ordeal
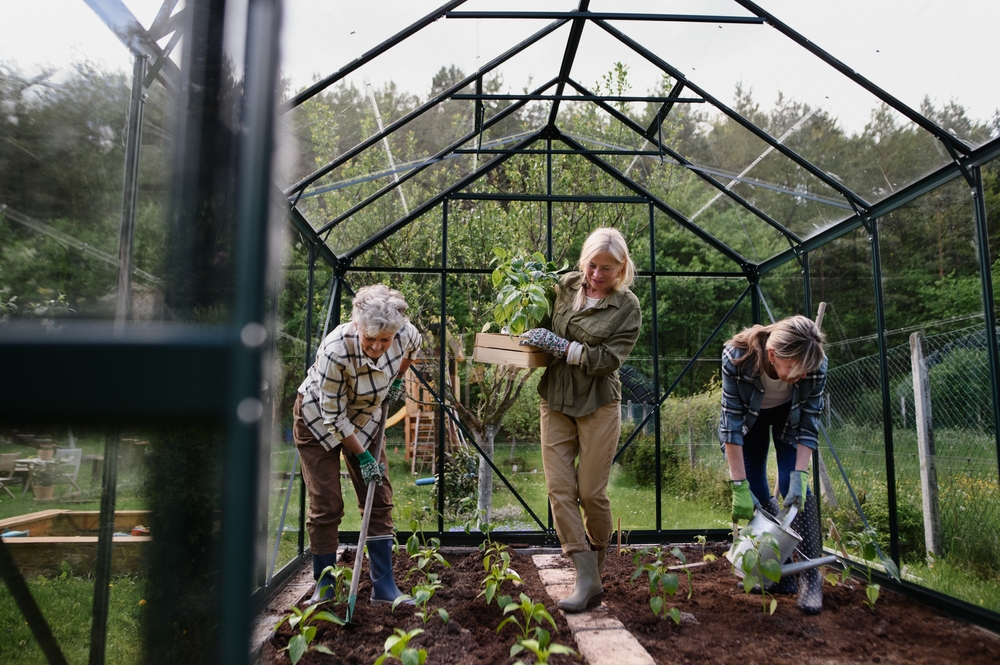
You don’t need to deep-clean every month. Once or twice a year is enough if you build in a few small habits that stop grime and clutter taking over again.
Get into the routine of a quick sweep whenever you’ve finished a big job out there. It takes a couple of minutes to pick up dropped leaves, spilled compost, and obvious rubbish. Doing that regularly stops it turning into an ankle-deep layer that feels overwhelming.
When a crop finishes, clear it properly rather than leaving skeleton plants and strings hanging “until later.” Later always seems to be six months away, and in the meantime you’ve given pests and mould a perfect home.
If you notice algae starting to build in one spot on the glass or plastic, wipe that patch rather than ignoring it until everything is green again. The same goes for benches and staging. Little, regular wipes are far less effort than another full scrub down.
Most of all, try to protect the space from becoming a general dump. It’s very easy to shove spare wood, broken chairs, and “useful” offcuts in the tunnel “just for now.” If something isn’t directly useful to your growing, or going to be used within a sensible timeframe, it doesn’t really belong in there.