
Affiliate disclosure: This post may contain affiliate links. Please see full disclosure.

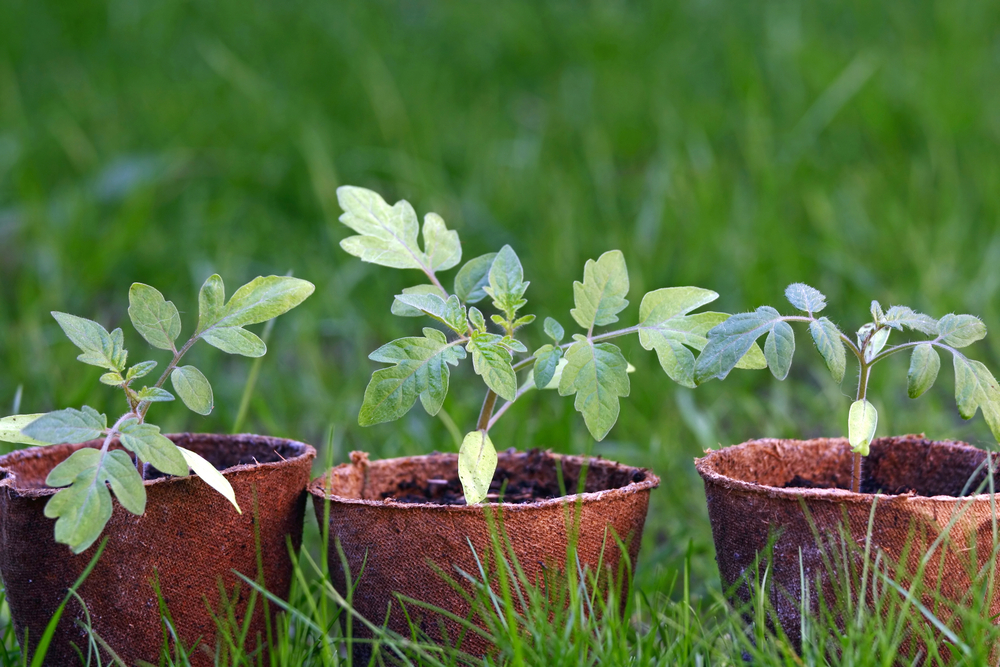
It takes about 7 days to harden off tomato seedlings. Yes, you really do need to go through the hardening off process. Skip it, and even healthy-looking seedlings can scorch, wilt, stall, or suffer cold damage in a matter of hours.
We’ve all tried to skip it and it’s always a spectacular failure and a hard lesson. I’m a master gardener, and even I’ve done it. More than once.
You think hardening off is pointless, your plants look great, so why bother? You stick them outside, come back later that day, and 70% are floppy and sad. By the following morning, 100% are floppy and sad. Some have gone limp and dark green, others are papery or yellowing. And even if, by some miracle, a portion survive, you’ve just set them back by weeks.
Why do tomato seedlings need to be hardened off?
Your indoor seedlings have had a cushy life. Steady temperatures, no wind, gentle filtered light. Outside is a completely different world, and moving plants from one to the other without a transition is a shock their systems can’t handle.
Hardening off gives them time to physically adapt. The waxy cuticle on the leaves thickens to handle real UV intensity and slow moisture loss. Cell walls strengthen. Stems toughen up in response to air movement. None of that happens sitting next to a window, and none of it happens overnight.
Skip the process and you get sun scald — bleached, papery patches on leaves that look burned. You get wilting even in moist soil because the leaves can’t regulate water loss yet. Soft stems flop and snap in the wind. A surprise cold night can take out the whole tray.
The plants often survive but spend two to three weeks recovering instead of growing, and that lost time shows up at harvest. You’ve put weeks of work and real money into getting seedlings to this point. Seven days of hardening off protects all of it.
When should you start hardening off tomato seedlings?
Start around your last average frost date. That gives you a full week of hardening off before conditions are right to transplant. Tomatoes want daytime temperatures consistently above 60°F (15°C) and nights reliably above 50°F (10°C) before they go in the ground. Work backwards from your target transplant date and begin about seven days before.
What if the weather turns bad mid-process?
Pause and bring them back inside. The progress they’ve made doesn’t disappear. Pick back up at Day 3 once conditions improve rather than starting from scratch. It’s better to stretch the process by a few days than to lose plants because you felt locked into the schedule.
RELATED: How Cold is Too Cold for Tomato Plants?
How to harden off tomato seedlings — the 7-day schedule
Start with short sessions and build up gradually. Every day you’re asking the plant to handle a little more than the day before. Here’s what I do every year.
- Day 1. One to two hours in a sheltered, shaded spot. No direct sun, minimal wind. Back inside before temperatures start dropping.
- Day 2. Two to three hours. Still sheltered, a little dappled light is fine.
- Day 3. Three to four hours. Some morning sun, but keep them out of harsh midday sun for now.
- Day 4. Four to five hours. More direct light, still avoiding the most intense afternoon sun.
- Day 5. Five to six hours. Full morning sun is fine now. Let them start feeling some air movement.
- Day 6. Most of the day outside, including some afternoon sun. Start checking soil moisture more carefully — outdoor air dries pots out much faster than indoor air.
- Day 7. Full day outside. If overnight temperatures are staying above 50°F (10°C), they can stay out. If not, one more night inside and they’re done.
This is a guide, not a law. Adjust for your actual weather. A cold snap on Day 4 means you pause, not panic.
RELATED: What Are Volunteer Tomatoes?
How many hours a day should you harden off tomato seedlings?
One to two hours on Day 1, adding roughly an hour each day until you’re at a full day outside by Day 7. Rushing is the most common mistake. Each day of gradual exposure is building real physical changes in the plant — thicker leaf surfaces, stronger stems, roots adjusting to the temperature swings that are just part of outdoor life. You can’t shortcut that process and get the same result.
Where’s the best place to harden off tomato seedlings?
Somewhere sheltered with controllable sun exposure. A cold frame is ideal — prop the lid open a little more each day and it almost manages itself. A sheltered spot against a south-facing wall works well. An unheated greenhouse or polytunnel with the door open is great. A covered porch or deck works too. What you want to avoid in the early days is strong wind and full unbroken sun.
No cold frame? A windbreak made from straw bales, old pallets, or even a row of potted shrubs costs next to nothing and creates enough of a sheltered microclimate to get the job done. This is real self-sufficiency — you don’t need expensive equipment to do this right.
One thing I’d genuinely recommend: set a daily phone reminder for the first week. It sounds like overkill until it’s the thing that stops you leaving seedlings out overnight in a late frost because the day got away from you.
Should you mist tomato seedlings during hardening off?
No. Misting foliage in direct sun causes leaf scorch, and outdoor humidity handles moisture needs just fine. What you do need to watch is the soil in your pots. Outdoor air dries containers significantly faster than indoor air, so check daily. Press your finger an inch into the mix — dry means water, still moist means leave it.
Can you harden off leggy tomato seedlings?

You can, but take it slower than usual. Leggy seedlings have weaker stems and thinner leaf surfaces, which makes them more vulnerable to wind damage and sun scald. Cut Day 1 back to 30 to 45 minutes rather than a full two hours, and be more gradual through the whole process. A sheltered spot is non-negotiable for the first few days — wind is your biggest enemy with a spindly plant.
What if tomato seedlings get too cold during hardening off?
Cold damage is cumulative. Temperatures that don’t kill outright still add stress that shows up later. Below 50°F (10°C) at night, growth slows significantly. Below 40°F (4°C), you’re looking at real damage. Any frost is potentially fatal to unprotected seedlings.
Cold damage looks like wilting despite adequate moisture, purple or dark discolouration on leaves and stems, black patches on leaf edges, and soft or water-soaked tissue. Mild cold stress — a cool night above freezing — is often survivable. Give affected plants a few days in a warm spot away from direct sun and see what bounces back. Frost damage across the whole plant is rarely survivable.
A layer of horticultural fleece or a cold frame costs almost nothing and buys you several degrees of protection on a cold night. It’s worth keeping both on hand during the hardening off window because spring weather has a way of doing exactly what you didn’t expect.
RELATED: How to Make Tomato Plants Produce More Fruit: Simple Techniques and Great Results
Do tomato plants from a garden centre need hardening off?

Usually not. Garden centre plants are generally hardened off already since they spend their lives in polytunnels and greenhouses with ventilation. If you’re buying early in the season from a heated greenhouse, it’s worth asking whether the plants have been hardened off. If you’re not sure, give them two to three days in a sheltered spot before full garden exposure. It costs you nothing and removes the risk.
Growing from seed is worth mentioning here because the economics are hard to ignore. A packet of tomato seeds costs less than a single garden centre plant and gives you 20 to 30 plants with access to far more varieties than you’ll ever find on a shelf. Once you’ve got the hardening off process down, growing your own from seed to harvest makes complete financial sense.
FAQs
Can I speed up hardening off if I’m running out of time?
You can compress to five days if the weather is mild and settled, but don’t go shorter than that. Each day of exposure is building real physical changes in the plant that can’t be rushed. Skip too many steps and you end up with sun-scalded plants spending three weeks recovering instead of growing.
Should I harden off tomato seedlings indoors first?
Opening a window near your seedlings for a few days before you start the outdoor process does help. It introduces airflow and mild temperature variation, which gives the plants a head start. It’s not a substitute for outdoor hardening off, but it’s a useful first step when spring weather is unpredictable.
Can I harden off in a greenhouse?
An unheated greenhouse or polytunnel with the door open is actually ideal. You get wind protection and some temperature buffering while still exposing plants to outdoor air, light, and temperature fluctuation. Prop the door wider each day and you’ve got a built-in hardening off schedule without thinking too hard about it.
You Might Also Like …
How to Harden Off Pepper Plants
What Temperature Is Too Cold for Peppers?
The Three Sisters Garden: Companion Planting Corn, Beans, and Squash