
Affiliate disclosure: This post may contain affiliate links. Please see full disclosure.
If you’re anything like me, you’ve got at least one half-finished craft project lurking in a basket somewhere. Maybe it’s a blanket you stopped knitting when life got busy, or a complicated kit that turned out to need twelve tools you don’t actually own.
The problem usually isn’t you. It’s the project.
If a craft is too fiddly, too long, or too expensive, it becomes homework instead of a hobby. The trick is choosing simple, satisfying projects you can genuinely finish in an evening or a weekend, using supplies you either already have or can grab cheaply.

These 18 ideas are low-stress, beginner-friendly, and designed to give you that “I actually finished something!” win. Many of them use recycled materials, leftovers, or dollar-store finds, so you can play without feeling guilty about the cost.
1. No-sew fleece blanket
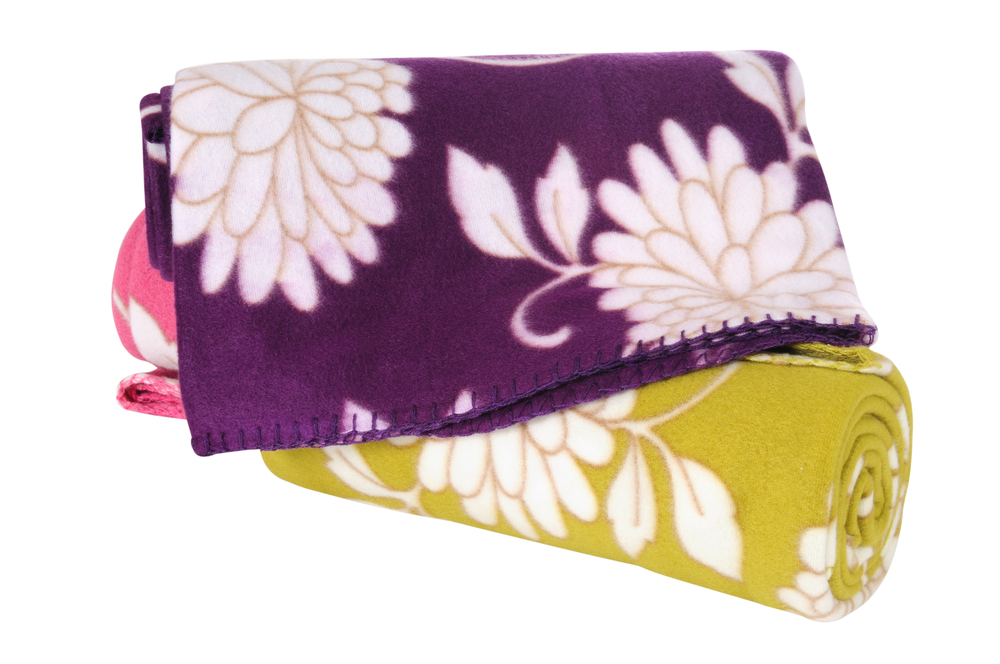
A no-sew fleece blanket is just two layers of fleece tied together around the edges. It’s soft, cozy, and genuinely doable in an afternoon.
It’s easy because there’s no sewing, no special tools, and no fancy measuring. Fleece doesn’t fray, so you can cut it and go. You can make one while you watch a movie and end up with a blanket you’ll actually use.
To get started, lay two pieces of fleece together, wrong sides facing in so the “nice” sides face out. Trim them to the same size. Cut a square out of each corner, then cut strips all the way around the edge. Tie the top and bottom strips together in knots. Keep going until you’ve tied the whole blanket.
Things you’ll need:
- Two pieces of fleece fabric (same size)
- Sharp fabric scissors or rotary cutter
- Measuring tape or a ruler
- A flat surface to work on
Special note: Cut slowly and carefully so you don’t strain your hands. If you have pets, keep them off the fleece while you’re cutting so you don’t trap fur inside the blanket.
2. Simple jar candles from leftover wax

If you’ve got candle stubs or half-burned jar candles, you can melt them down and turn them into “new” candles in clean jars.
It’s easy because you’re mainly melting and pouring. No complicated fragrance blending, no fancy molds. You’re just rescuing wax that would otherwise go in the trash.
To get started, collect old candles in similar scent families if you care about the smell. Pop any remaining wicks out of the old jars. Set a heat-safe jar in a small pan of gently simmering water and melt the old wax inside that jar (like a double boiler). Or, be like me and use an actual double boiler pot that sits in the top of the saucepan. I use this stainless steel one. Put a new wick in a clean jar, pour in the melted wax, and let it set.
Things you’ll need:
- Old candle stubs or leftover jar candles
- Clean heat-proof glass jars or heat-safe candle containers
- New candle wicks (pre-waxed with tabs are easiest)
- A saucepan and an jar for melting. Or use a double boiler pot – I use this one
- Wooden skewer or chopstick to hold the wick centered
Special precautions: Never heat wax directly on the burner, and never leave melting wax unattended. Keep kids and pets away from hot wax, and avoid water splashing into the wax.
RELATED: 18 Best DIY Candle Ideas + Guide to Making Candles for Beginners
3. Painted terracotta plant pots

Painting terracotta pots is a fast way to get a creative fix and brighten up your window ledge without taking on a huge project.
It’s easy because pots are small, the surface is forgiving, and you can keep designs simple: stripes, dots, color blocking, or a single cute motif. You also get a finished piece in under an hour, plus drying time.
To get started, wipe dust off the pots and let them dry completely. You can base-coat them with white paint if you want the colors to pop more. Then add stripes, patterns, or simple shapes with a small brush. Once the paint is dry, seal with a clear sealer so the design lasts longer.
Things you’ll need:
- Terracotta pots
- Acrylic craft paint
- Small paintbrushes or foam brushes
- Optional: painter’s tape for crisp lines
- Clear acrylic sealer spray
Special note: Paint the outer surface only so the pot can still “breathe.” Spray sealer outdoors or in a well-ventilated area and wear a mask if you’re sensitive to fumes.
4. Beginner embroidery hoop sampler

A tiny embroidery sampler is a lovely “slow craft” that still finishes quickly. You’re just stitching small shapes or words on fabric in a hoop. I love love love embroidery because there are infinite patterns, colors, stitches, designs, styles. The photo here is one of my first self-designed mini projects for practicing a simple satin stitch. It’s not the best, but I still kinda love my little funky fox dude. When I first started (far too many years ago) there weren’t really many “kits” other than really complex, really costly high-end ones. So I got a book and taught myself and came up with my own designs. Now though, there are some beautiful, affordable kits, like this triple nature-themed pre-stamped kit. This one is great for beginners as it has everything you need, including video tutorials, and teaches you some basic stitches.
Embroidery hoop samplers are easy because you only need to learn one or two simple stitches to make something pretty. Backstitch and French knots, or backstitch and lazy daisy, will take you a long way. The hoop acts as both your frame and your finished display.
To get started, place plain cotton fabric in an embroidery hoop, pulling it snug like a drum. Lightly draw a simple design with a pencil or washable pen: a word, a heart, simple flowers. Thread your needle with embroidery floss, knot one end, and follow your lines with backstitch. Add dots, leaves, or petals as you go.
Things you’ll need:
- Small embroidery hoop (4–6 inches is ideal)
- Cotton fabric or an old pillowcase
- Embroidery floss in a few colors
- Embroidery needle
- Pencil or washable fabric pen
Special note: Don’t pull the stitches too tight or the fabric will pucker. If your hands get sore or your eyes feel strained, work in short sessions; this is a perfect “ten minutes a day” project.
5. Macrame plant hanger with basic knots
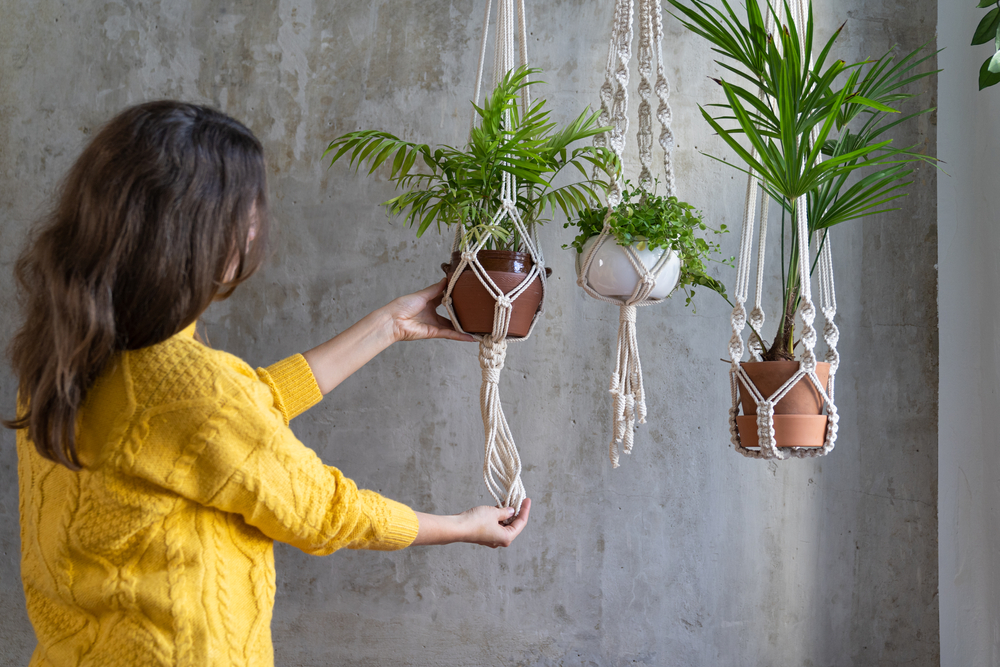
Macrame looks impressive, but a simple plant hanger only needs two basic knots: the lark’s head and the square knot. The photo here is another of my own projects. It isn’t fancy, I already had the cord from another project, but I was super pleased with how it came out. And it didn’t take long to make, either.
It’s easy because the pattern repeats, and you’re working with chunky cord that’s simple to handle. You don’t need a pattern book or special board; a coat hook or door handle will do to hold it while you tie.
To get started, cut several equal lengths of macrame cord and fold them in half. Attach them to a key ring or wooden ring with lark’s head knots. Divide the strands into groups and tie a few square knots at the same height to create “arms.” Move down a few inches and tie another row of square knots, offset, to form a net. Tie all the cords together at the bottom in one big knot, and you’ve got a holder.
Things you’ll need:
- Macrame cord
- Wooden macrame ring
- Scissors
- A hook or knob to hang the project while you work
Special note: Measure your pot before you start so you don’t end up with a hanger that’s too short. Hang finished plant hangers away from heat sources and where pets can’t chew the cords.
6. Easy tile or cork coasters

DIY coasters are a small, self-contained project that uses up scrap materials and makes great gifts.
It’s easy because each coaster is only a few inches across. You can finish a set of four in one sitting and feel completely done. No complicated shaping, no endless repeats.
To get started with tile coasters, stick cork or felt pads on the underside of small ceramic tiles. Decorate the top with permanent markers, paint pens, or decoupage with paper napkins or tissue. Seal with a waterproof sealer. For cork, cut circles or squares from a sheet of cork and stamp, paint, or burn simple designs on the surface.
Things you’ll need:
- Small ceramic tiles or cork sheets
- Self-adhesive cork or felt pads (for tile backs)
- Acrylic paint, paint pens (Artistro are my favorite for getting started), or permanent markers
- Clear waterproof sealer (brush-on or spray)
- Scissors or craft knife (for cork)
Special note: For tile coasters, let the sealer cure fully before putting hot mugs on them. If you use a craft knife, always cut away from your body on a cutting mat or thick cardboard.
7. Quick sugar scrub or bath salt jars

Body scrubs and bath salts are almost embarrassingly easy to make, and they feel like a luxury.
They’re easy because there’s no heating or special equipment. You’re simply mixing everyday ingredients in a bowl and spooning them into jars. Most batches are done in ten minutes flat.
To get started, mix white or brown sugar with a neutral oil like sweet almond or light olive until you have a damp, sandy texture. Add a small amount of essential oil if you like and spoon into a clean jar. For bath salts, mix Epsom salt and coarse salt with a little baking soda and a few drops of essential oil, then jar it up.
Things you’ll need:
- Sugar (white or brown) and light oil for scrubs
- Epsom salt, coarse salt, and baking soda for bath salts
- Optional: essential oils (lavender, peppermint, citrus)
- Mixing bowl and spoon
- Clean jars with lids
Special precautions: Essential oils are strong. Use only a few drops per batch, and avoid them entirely for kids, pregnant people, or anyone with sensitive skin unless you’ve done your homework. ALSO please only use therapeutic-grade essential oils so that you know it’s safe to use on skin. Scrubs can make tubs slippery, so be careful stepping in and out.
8. Fabric scrap bunting or garland

Fabric bunting is a cheerful way to use up leftover fabric, old shirts, or worn-out pillowcases.
It’s easy because the pieces are small and repetitive. You can sew or glue the triangles to ribbon, and “good enough” really is good enough. If a triangle is a bit wonky, no one will notice once it’s hanging.
To get started, cut a triangle template from cardboard. Use it to trace and cut triangles from your fabric scraps. Lay a long ribbon or bias tape on the table, place each triangle along it with the top edge under the ribbon, and either stitch along the ribbon or use fabric glue to secure the tops. Leave a tail of ribbon at each end for tying.
Things you’ll need:
- Fabric scraps or old shirts
- Ribbon, twill tape, or bias tape
- Scissors
- Cardboard for a template
- Sewing machine, needle and thread, or fabric glue
Special note: If you’re using fabric glue, give it plenty of drying time before hanging. Keep bunting away from open flames and heat sources; it’s still fabric and can catch fire.
9. Photo magnets from bottle caps or tiles

Turning favorite photos into fridge magnets is a tiny, satisfying project you can finish in an evening.
It’s easy because each magnet is just one image and one backing. You’re not building a big collage. Simple shapes, simple steps, quick wins.
To get started, print small photos or cut them from prints so they fit inside a bottle cap or on top of a small tile. Glue the image in place. If you want a glassy finish, cover it with a clear epoxy dot or a layer of clear-drying glue. Glue a magnet on the back, let everything dry, and pop it on the fridge. You can also just get yourself a budget-friendly magnet-making kit, like this one that has clear glass cabochons, adhesive pads, and ceramic ferrite magnets. Honestly, I love a kit like this for testing out a new craft.
Things you’ll need:
- Best option: Simple magnet-making kit
- Clean metal bottle caps or small flat tiles
- Small magnets
- Printed photos or images from magazines
- Strong craft glue or hot glue
- Optional: clear epoxy dots or clear-drying dimensional glue
Special note: Keep strong magnets away from small children and pets; they are dangerous if swallowed. Avoid getting glue on the photo surface if you’re not using a clear topcoat.
10. No-sew T-shirt tote bag

Old T-shirts are perfect for quick tote bags. You’re basically turning the shirt into a reusable shopping bag by cutting off the sleeves and tying the bottom.
It’s easy because there’s no sewing at all, and you can be done in under 20 minutes. You also get to keep a favorite shirt around in a new form instead of tossing it.
To get started, lay the shirt flat. Cut the sleeves off along the seam and cut a scoop out of the neck to create handles. Turn the shirt inside out and cut slits along the bottom hem to create a fringe. Tie the front and back fringes together in tight knots across the bottom. Turn the shirt right side out, and you’ve got a bag.
Things you’ll need:
- Old T-shirt (adult size works best)
- Sharp fabric scissors
- A flat surface
Special note: Double-knot the fringe for a stronger bottom, especially if you’ll carry heavier items. This is a great project for kids, but supervise the cutting.
11. Pressed flower bookmarks
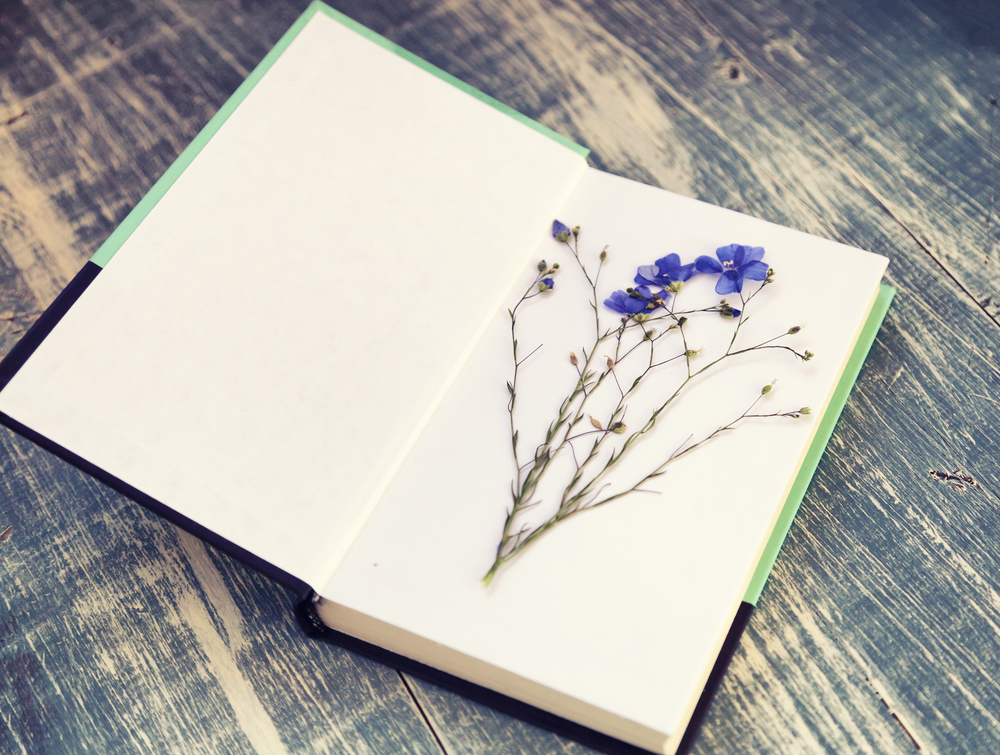
Pressed flower bookmarks are delicate, fast, and make lovely little gifts.
They’re easy because you’re working with flat paper and flat flowers. No complex assembly, just arranging and sealing. If you don’t have a laminator, you can still make them with clear packing tape.
To get started, press small flowers and leaves between layers of paper inside a heavy book for a week or two, or use ones you’ve already dried. Cut bookmark-sized rectangles from cardstock. Arrange the pressed flowers on the card and fix them lightly with a glue stick. Laminate the bookmark or cover both sides with carefully placed clear tape, trimming the edges.
Things you’ll need:
- Pressed flowers and leaves
- Cardstock or heavy paper
- Scissors
- Glue stick
- Laminator and pouches or clear packing tape
Special note: Flowers need to be fully dry or they’ll mold inside the bookmark. Some people are sensitive to pollen, so choose low-pollen blooms or handle with care.
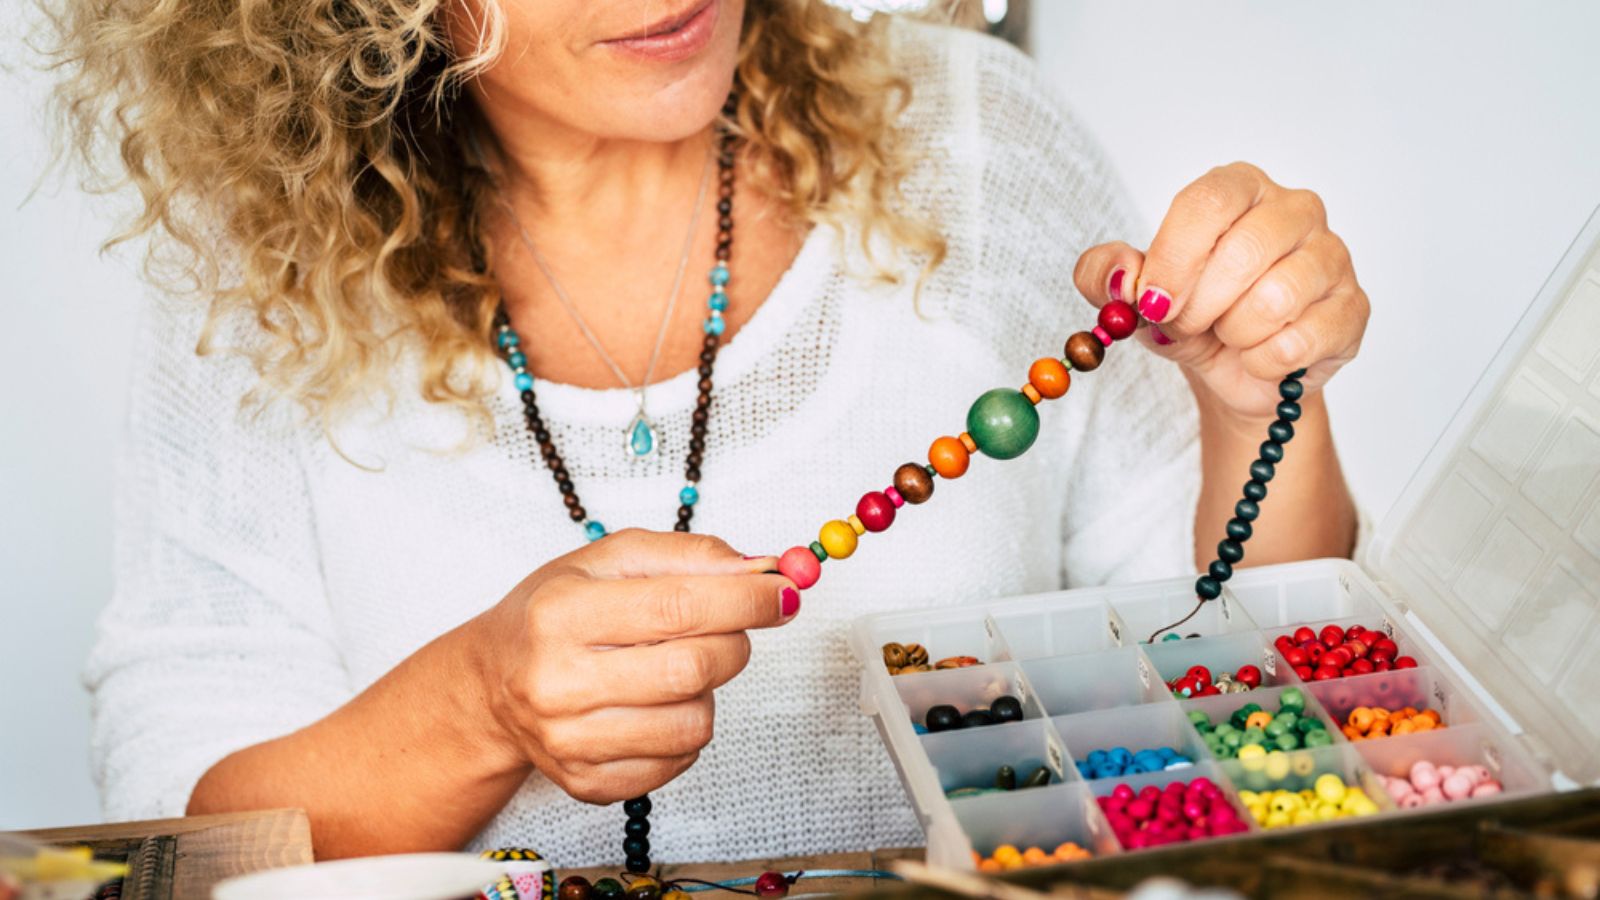
12. Simple beaded stretch bracelets

Stretchy bracelets are a great way to dip a toe into jewelry making without special tools.
They’re easy because you’re just threading beads onto elastic and tying a knot. You can see your progress, and each bracelet takes only a few minutes once you get the hang of it.
To get started, measure your wrist with a piece of string, then cut a piece of elastic cord a few inches longer than that. Thread beads in whatever pattern you like. When it’s long enough, tie a secure knot and add a drop of clear nail polish or jewelry glue to keep it from slipping. Trim the ends and slide the knots into a larger bead if you can.
Things you’ll need:
- Stretchy beading cord
- Beads (glass, wood, or plastic)
- Scissors
- Optional: clear nail polish or jewelry glue
Special note: Beads are a choking hazard, so keep them away from small children and pets. Don’t overtighten the bracelet; elastic wears out faster if it’s constantly stretched to its limit.
13. Painted kindness rocks

Painting rocks is a charming little craft that gets you outside and lets you share a bit of joy if you leave them for others to find.
It’s easy because rocks are small, imperfect canvases. Simple patterns, words, or smiley faces are enough. You can finish several rocks in one sitting and feel done.
To get started, collect smooth, palm-size rocks and wash off any dirt. Once dry, paint a base coat if you like, then add simple designs: hearts, dots, flowers, encouraging words. When the paint is fully dry, seal with a clear outdoor sealer if you plan to leave them outside.
Things you’ll need:
- Smooth rocks
- Acrylic craft paint
- Small paintbrushes or paint pens
- Clear acrylic sealer spray (for outdoor use)
Special note: If you’re leaving rocks in public places, avoid blocking lawnmowers, paths, or natural habitats. Check local rules for parks or trails; some areas don’t allow painted rocks.
14. DIY memo board from an old frame
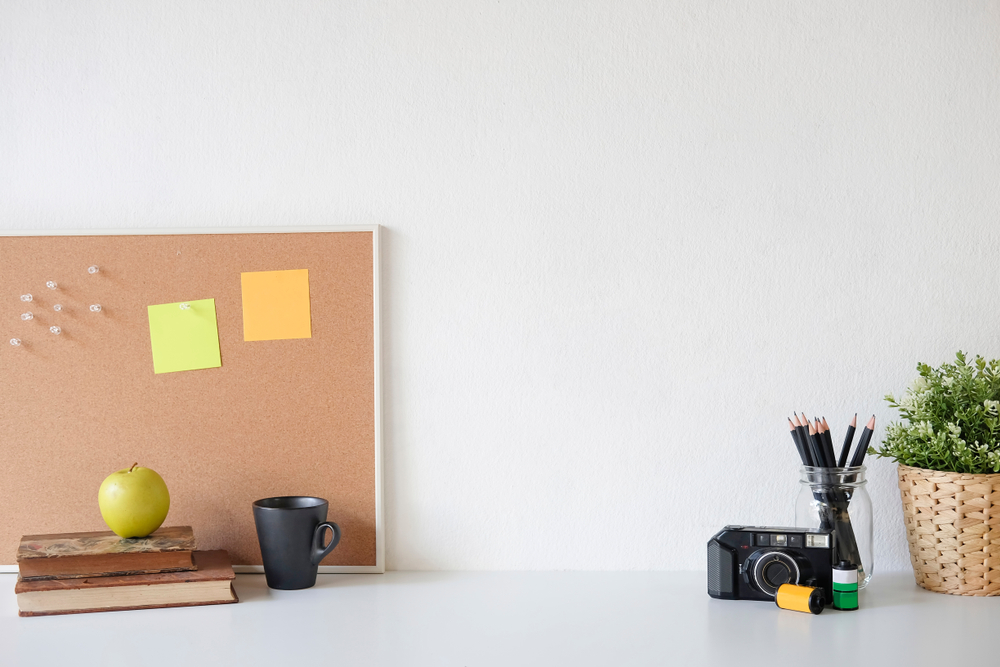
A memo board turns an old frame into something useful that helps you stay organized.
It’s easy because the frame does most of the work. You’re either adding cork, fabric, or metal sheeting, and that’s it. No complicated joinery or power tools needed in most cases.
To get started, remove the glass from an old picture frame. Cut a piece of corkboard or foam board to fit and slip it into the frame, or wrap the board with fabric before fitting it. For a magnetic board, place a piece of thin metal sheet inside the frame. Hang the frame and use pins or magnets to hold notes and lists.
Things you’ll need:
- Old picture frame
- Corkboard, foam board, or thin metal sheet
- Scissors or craft knife
- Optional: fabric and staple gun or strong tape
- Pushpins or magnets, depending on the board type
Special precautions: If you’re cutting metal, wear gloves and eye protection, and sand or tape over sharp edges. Hang the finished board securely so it doesn’t fall.
15. Tin can desk organizers
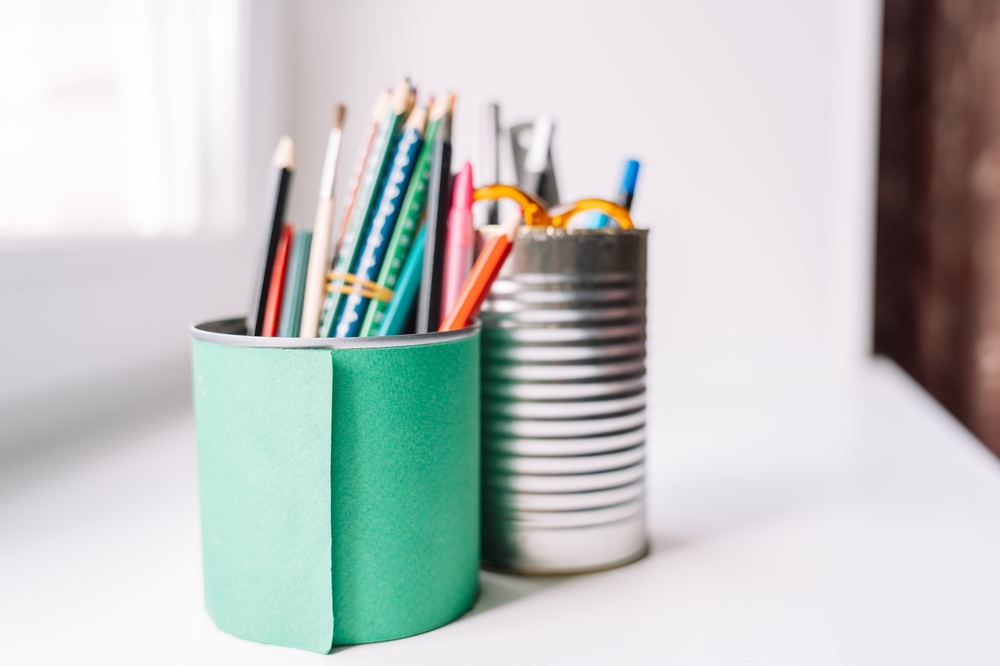
Tin can organizers turn recycling into storage. Perfect for pens, paintbrushes, or kitchen tools.
They’re easy because you’re decorating a simple cylinder. Paper, paint, twine, or fabric all work. You can complete several in one session and line them up on your desk, which feels very satisfying.
To get started, wash and dry empty cans and remove any sharp burrs from the rim with sandpaper or pliers. Wrap the cans in paper, fabric, or twine, securing with glue. You can also paint them with acrylic paint and add labels or simple designs. Let everything dry before using.
Things you’ll need:
- Clean tin cans (labels removed)
- Acrylic paint, paper, fabric, or twine
- Craft glue or hot glue
- Scissors
- Sandpaper or pliers for smoothing edges
Special note: Make sure there are no sharp edges inside or on the rim before using the cans, especially if kids will be reaching in. Don’t store food in painted or glued cans.
16. Rustic crate or shelf from a premade box
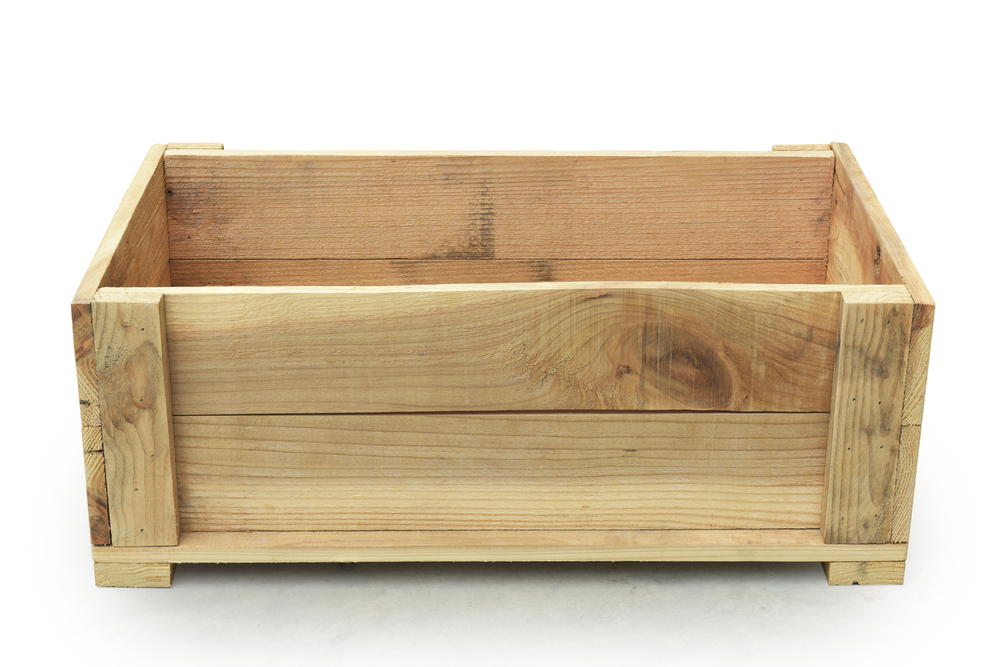
If you want a quick woodworking win without cutting boards yourself, starting with a premade wooden crate or box is the way to go.
It’s easy because you’re not building from scratch. You’re sanding, staining, and maybe adding a couple of hooks or handles. That’s it. You still get the satisfaction of a “wood project” with almost no power-tool fear.
To get started, pick up an unfinished wooden crate or box from a craft store or big-box store. Give it a light sanding, then wipe off the dust. Stain or paint it in your chosen color, let it dry, and seal it if you like. You can add cup handles, hooks, or stencils for labels to turn it into a bookshelf, shoe rack, or storage crate.
Things you’ll need:
- Unfinished wooden crate or box
- Sandpaper
- Wood stain or acrylic paint
- Brush or rag for applying stain/paint
- Optional: handles, hooks, and a screwdriver
Special precautions: Work in a well-ventilated area when using stains or sealers, and protect your work surface. If you mount a crate on the wall as a shelf, make sure you use proper anchors and screws.
17. Clothespin chip clips and fridge clips
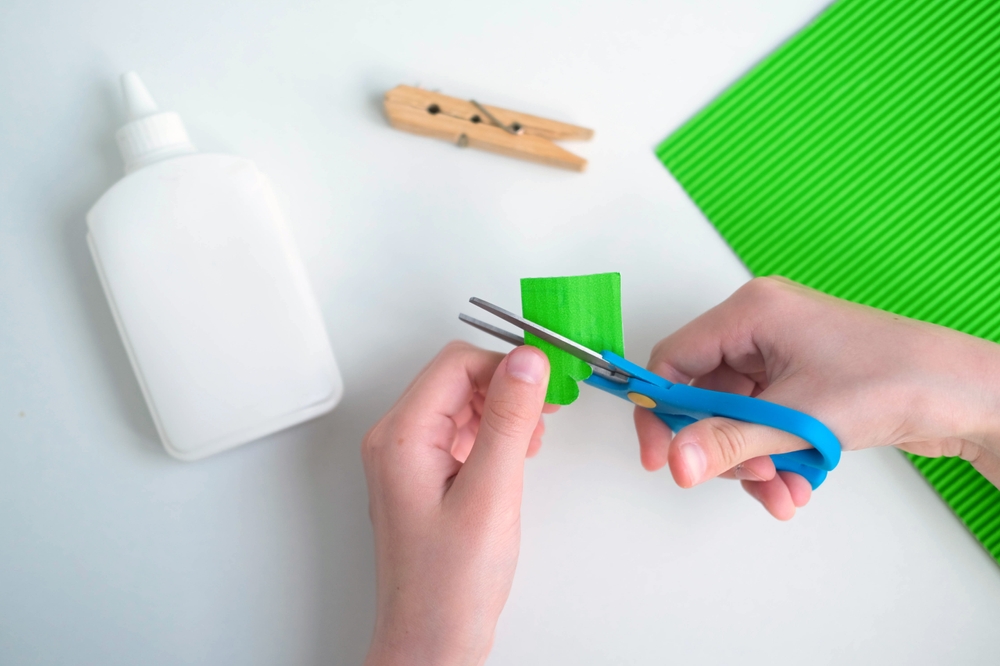
Decorated clothespins make simple clips for chip bags, mail, and notes. It’s a tiny craft, but incredibly useful.
It’s easy because the base is already made. You’re just decorating and adding a magnet if you want fridge clips. Each one takes only a few minutes, so you can make a pile and feel extremely productive.
To get started, paint wooden clothespins or cover them with strips of patterned paper using glue. Once dry, you can seal them with clear varnish or Mod Podge. If you want fridge clips, glue a small magnet to one side of the pin.
Things you’ll need:
- Wooden clothespins
- Acrylic paint or patterned paper
- Craft glue or Mod Podge
- Small magnets (for fridge clips)
- Scissors and a small brush
Special note: Strong magnets can pinch or be dangerous if swallowed, so keep them out of reach of young kids. Don’t overload chip clips; they’re sturdy, but they’re still just clothespins.
18. Simple seasonal wreath
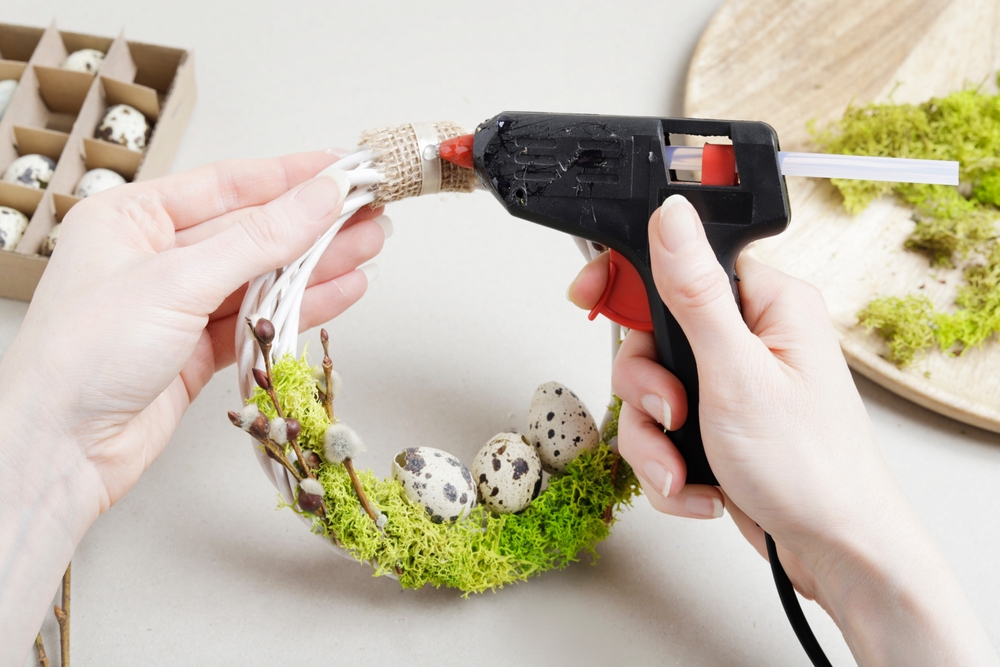
A basic wreath made from a wire or grapevine base and a handful of decorations looks impressive but comes together quickly.
It’s easy because you’re mostly tucking and wiring stems into a ready-made ring. You can keep it as simple as greenery plus a bow. No need to create a florist-level masterpiece.
To get started, choose a wreath base. Wrap it with a length of ribbon if you like, then add faux greenery, flowers, or seasonal accents by tucking the stems into the base and securing with floral wire. Finish with a bow or a simple sign. Hang it on your door and enjoy the instant “I decorated!” feeling.
Things you’ll need:
- Grapevine or wire wreath form
- Faux greenery, flowers, or seasonal picks
- Floral wire
- Wire cutters
- Ribbon or pre-made bow
Special precautions: If you hang the wreath outdoors, secure decorations well so they don’t blow off in bad weather. Keep wreaths away from open flames, especially if you use dried materials.

