Affiliate disclosure: This post may contain affiliate links. Please see full disclosure.
The first warm day of spring is a liar.
It tricks you into thinking you can charge outside, dig a bit, “freshen things up,” and have a perfect garden by the weekend. Then you step on your lawn and it squelches. You tug at a sad-looking perennial and realize it’s been pushed halfway out of the ground. And your evergreen hedge has random brown patches like it’s developed a stress condition.
Winter is when you quietly prevent most of that.
Not with big dramatic projects. With small, practical habits that keep roots stable, soil protected, and plants less stressed so they actually start spring healthy.
1. Stay off wet soil (seriously, don’t “just do a little”)

If the soil is wet enough to stick to your boots, it’s wet enough to compact.
Compacted soil means less air, slower drainage, and roots that struggle to spread. It also dries into hard clods that are miserable to work later. If you want a quick “is this too wet?” check, squeeze a handful and if it holds its shape like a ball, back away and go make tea instead.
If you have to go into a bed, use a board to spread your weight and stick to the same path every time.
2. Keep bare soil covered (winter “naked beds” are spring problems)
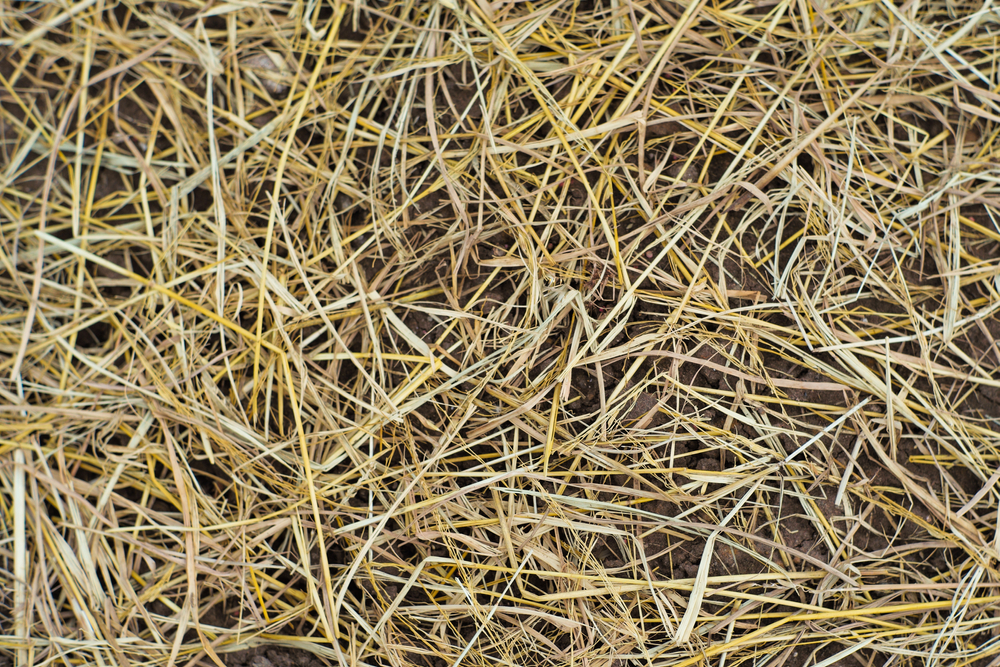
Bare soil gets hammered by rain, wind, and constant temperature swings.
Covering it is the cheapest upgrade you can make. A 1–3 inch layer of compost, shredded leaves, straw, or pine needles helps protect the surface and keeps your soil from turning into crusty concrete by April.
Bonus: you’re also cutting down on weeds. Because weeds do not take winter off. They just wait.
3. Shred leaves before you use them (whole leaves turn into a wet blanket)

Whole leaves mat down. They block air and water, and in spring they can form a slimy layer you have to peel off like cold lasagna.
Shred them first. Run them over with a mower. Stuff them in a trash can and hit them with a string trimmer. Shredded leaves stay fluffier and break down faster, so they protect soil without smothering it.
It’s free mulch. And it looks way less messy than a pile of soggy maple pancakes.
4. Make leaf mold (lazy composting that makes soil feel expensive)
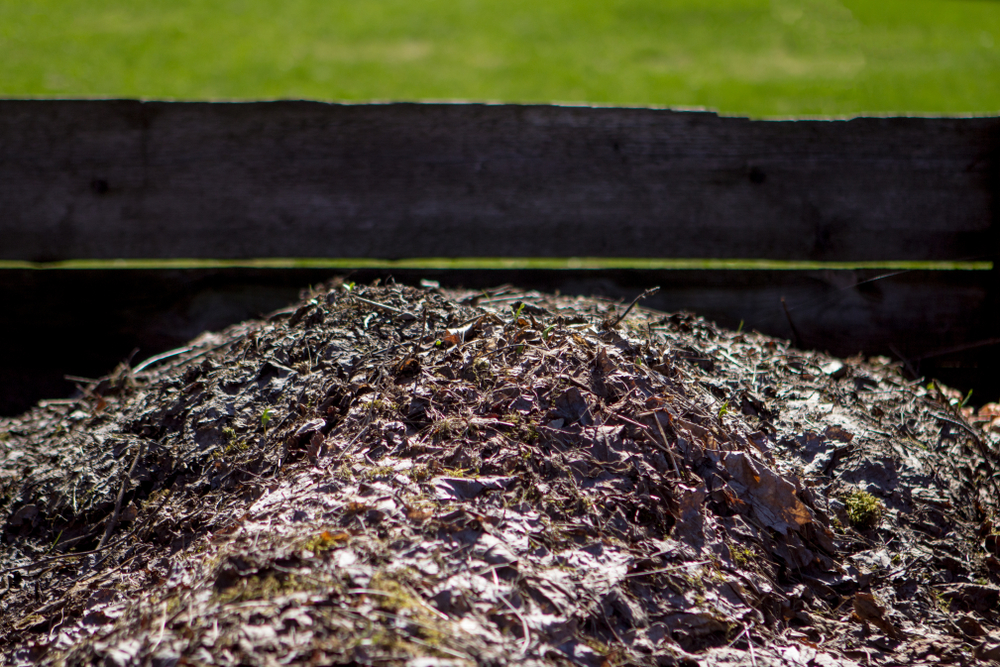
Leaf mold is what you get when leaves break down slowly into dark, crumbly, moisture-holding goodness.
You don’t need fancy gear. A wire bin or a couple of vented trash bags works. Wet the leaves as you pile them (damp like a wrung-out sponge), then ignore them. Shredding helps it break down faster, and a managed pile can be usable in roughly a year instead of “eventually.”
In spring, leaf mold makes sandy soil hold water better and helps heavy soil feel less like a brick. Win-win.
5. Plant a cover crop in empty beds (or at least consider it)

If you’ve got a bed that’s done for the year, a cover crop is like putting your soil on “protected mode.”
It keeps soil covered through fall/winter/early spring, reduces erosion, and supports healthier soil structure for the next crop.
You don’t need to get complicated. A simple winter rye or a clover mix can do a lot. Just don’t let it go to seed in spring unless you enjoy playing “why is this everywhere?” later.
6. Mulch after several hard frosts, not when you first feel chilly
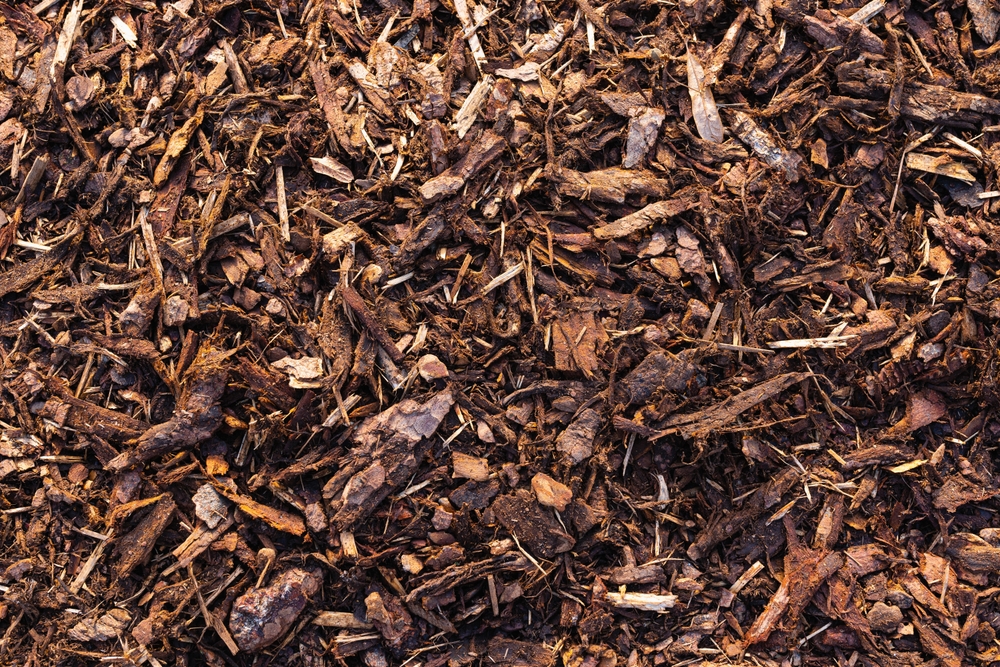
Early mulch can keep the ground warmer longer… which delays dormancy and can invite pests that want a cozy winter hideout.
Timing matters most for newly planted perennials (and strawberries). The goal is to reduce freeze-thaw swings that push plants upward (frost heave). Mulching after several hard frosts helps keep crowns and roots in contact with insulating soil.
Think “stability,” not “warmth.”
7. Watch for frost heave and fix it during thaws
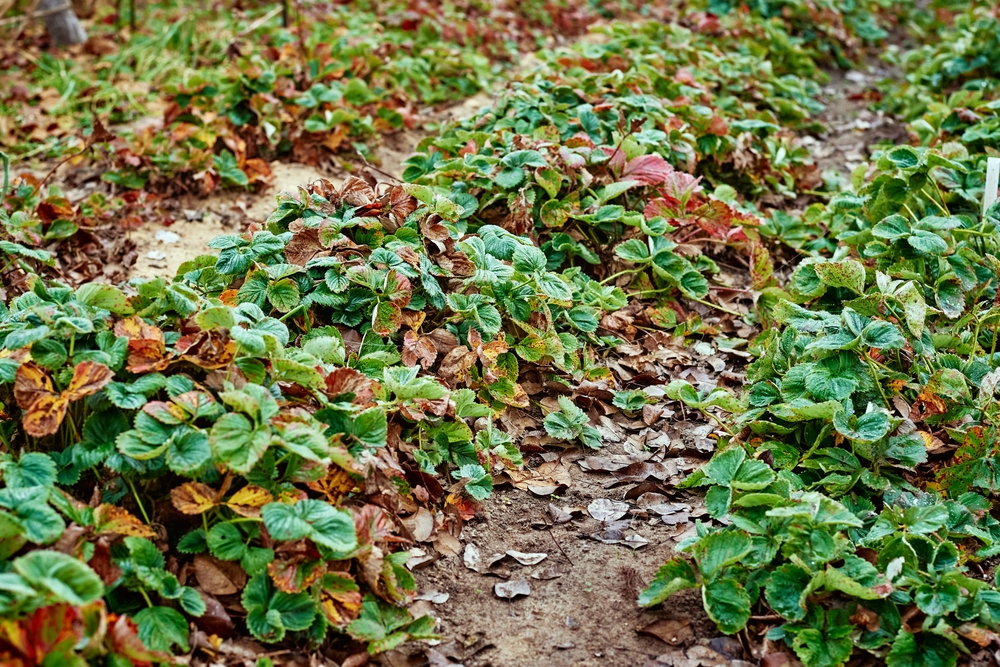
Frost heave looks like a plant that’s mysteriously sitting higher than it used to, with roots showing.
If you catch it on a mild day, gently press the plant back into place and add mulch around it (not on top of the crown like you’re burying it). Then leave it alone. Constant tugging and fiddling is how roots get snapped.
This is one of those tiny winter jobs that saves you from “why did this die?” in May.
8. Don’t bury crowns and trunks in mulch (mulch isn’t frosting)

Mulch piled right against stems, crowns, or tree trunks traps moisture and can lead to rot.
Keep mulch a couple inches back from the base of perennials and a few inches back from tree trunks. You want protection around roots, not a wet collar around the plant’s neck.
If you only remember one mulch rule: no mulch volcanoes.
9. Water trees and shrubs during winter dry spells
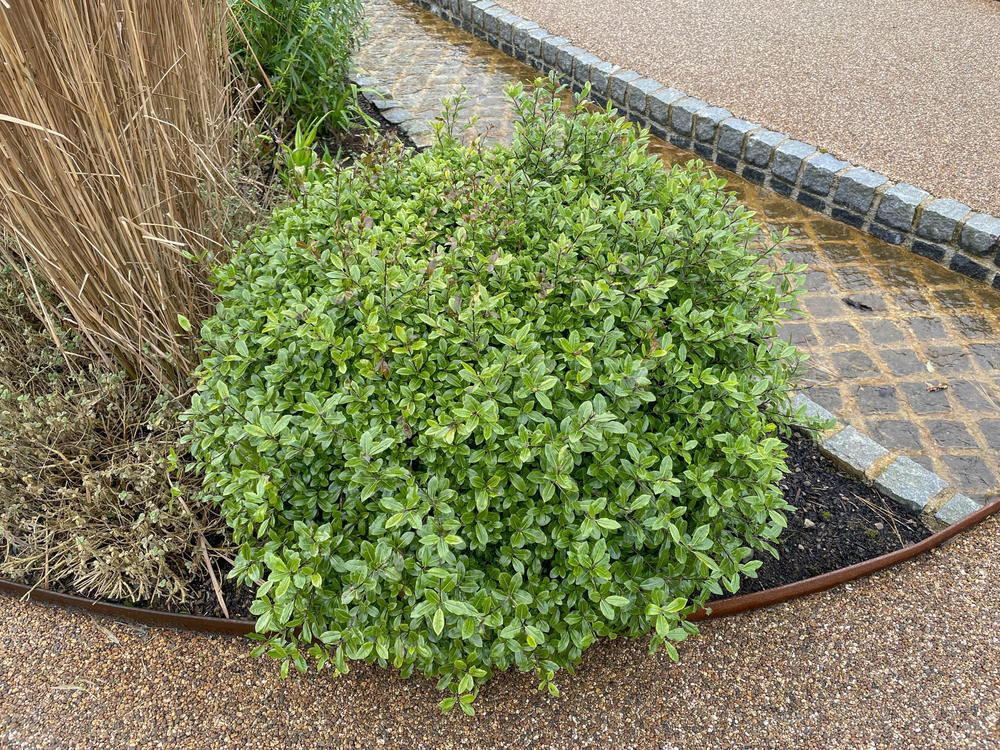
Winter damage isn’t always cold injury. A lot of it is plain dehydration.
If the ground isn’t frozen and you’ve had a dry stretch, deep watering helps, especially for new plantings and evergreens. A good benchmark: water around midday on days that are at least 40–45°F (4–7°C), and only as needed (often 1–2 times per month in dry winters).
Skip watering if the soil is already soggy. Roots need oxygen as much as they need moisture.
10. Prevent winter burn (wind + sun + frozen ground = crispy foliage)
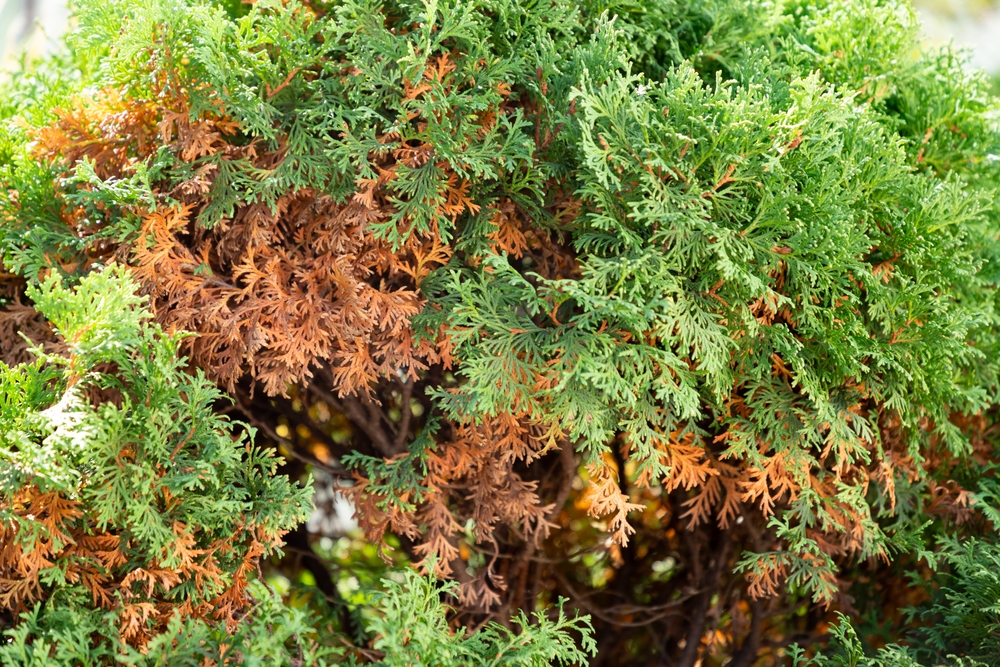
Winter burn is that ugly browning on evergreens that shows up when the snow melts and ruins your mood.
It happens when foliage loses water on sunny/windy days but roots can’t replace it because the ground is frozen.
What helps:
- Water well going into winter and during thaws (see tip 9).
- Add mulch over the root zone for steadier moisture.
- Use a breathable windbreak (burlap) on the windward side if your spot is exposed.
Anti-desiccant sprays exist, but they’re not magic, and they need correct timing. Wind + moisture management usually gets you most of the way there.
11. Wrap young tree trunks to prevent sunscald (and remove wraps on time)
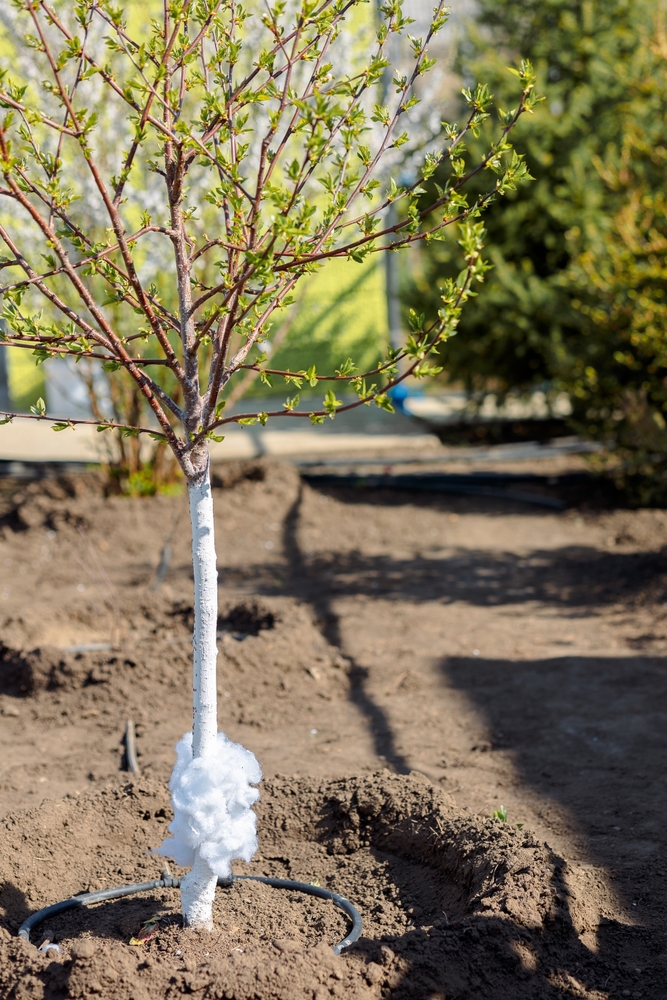
Sunscald is a winter bark injury caused by big temperature swings: bark warms in sun, then drops hard at night.
White trunk guards or wrap reflect sun and help keep bark temperature steadier. Put them on in fall and remove them in spring after the last frost.
Two big mistakes:
- Using dark wrap (it absorbs heat).
- Leaving wraps on all year (hello, pests and trapped moisture).
12. Block rabbits and voles before they chew

You won’t notice critter damage until spring. That’s the fun part.
Use hardware cloth or a sturdy tree guard around young trunks, especially where snow piles up (snow cover makes it easier for critters to reach higher bark). Make sure the guard isn’t tight against the bark, and check it mid-winter during a thaw.
Also: don’t pile mulch right up against trunks. That’s basically a covered runway for chewing.
13. Keep salty snow away from plants (and go easy on deicers)

If you shovel driveway snow into your garden beds, you’re not being efficient. You’re salting your soil.
Deicing salt can cause browned needles/leaves, dieback, and even plant death, either through root uptake or salt spray.
If you can:
- Shovel salty snow to a “sacrificial” spot away from beds and shrubs.
- Use sand/grit for traction when possible.
- Apply deicer sparingly and sweep up excess once things melt.
Your spring plants will stop looking personally offended.
14. Knock heavy snow off shrubs the right way

Wet, heavy snow can splay shrubs open or snap branches.
Use a broom and gently brush upward from the bottom. Don’t yank branches down. And if branches are iced solid, leave them, trying to “free” them usually does more damage than the ice.
For shrubs that always split open, loosely tie them with soft twine before big storms.
15. Prune what makes sense in winter and leave spring bloomers alone
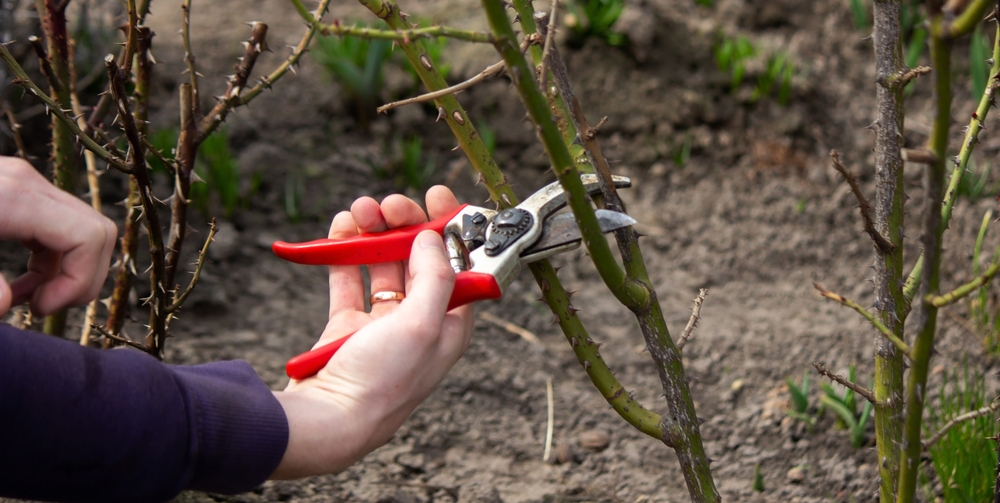
Winter is great for removing dead, damaged, or crossing branches on many trees and summer-blooming shrubs.
But spring-flowering shrubs (lilac, forsythia, many azaleas) often bloom on old wood. If you prune them in winter, you’re cutting off the buds you wanted. Prune right after flowering instead.
If you’re ever unsure: look up whether it blooms on old wood or new wood before you start cutting like a confident maniac.
16. Don’t casually compost diseased plant mess

If a plant was clearly diseased (mildew that took over, blight, black spot everywhere), don’t toss it into a slow, cold backyard pile and hope for the best.
Hot composting can reduce pathogens, but it needs sustained heat, 131°F (55°C) or higher for several days is a commonly used benchmark for pathogen reduction.
If you’re not actively managing a hot pile, bag and trash diseased material (or use municipal yard waste if they handle high-heat composting). It’s not worth re-infecting next year’s plants to feel “virtuous” about composting.
17. Clean and disinfect your tools now (spring-you is busy)
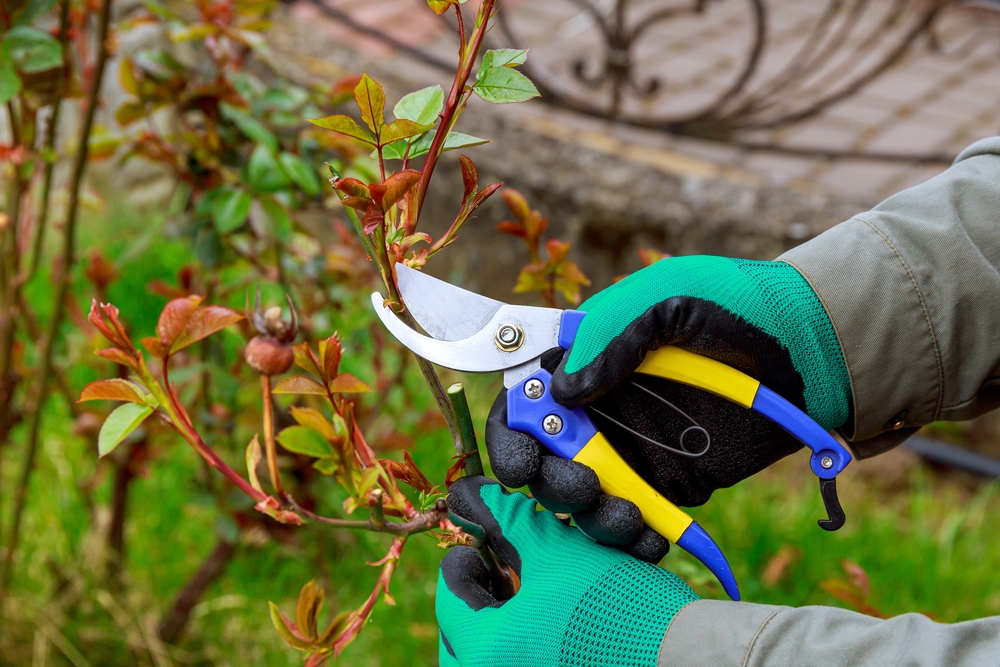
Dirty pruners spread problems. It’s that simple.
Clean off soil and sap, then disinfect, especially if you’ve been cutting anything sick. A 10% bleach solution (1 part bleach to 9 parts water) works fast, then dry tools completely and oil metal to prevent rust.
If you want an easier routine during active season, a spray bottle of 70% isopropyl alcohol is great for quick between-plant wipe-downs. Save the deep clean for winter.
18. Do one late-winter “garden walk” and fix the small stuff

Late winter (during a thaw) is when you spot the sneaky problems early and before they become spring chaos.
Walk your space and look for:
- Mulch that’s drifted off beds
- Exposed roots or heaved plants
- Loose tree guards/wrap
- Broken branches you can cleanly remove
- Standing water spots (mark them as spring is when you’ll forget)
This is also the moment to do the cheapest “upgrade” ever: top-dress beds with ½–1 inch of compost if the ground allows it, then cover again. You’ll feed soil life early and reduce how much you need to fertilize later.