Affiliate disclosure: This post may contain affiliate links. Please see full disclosure.
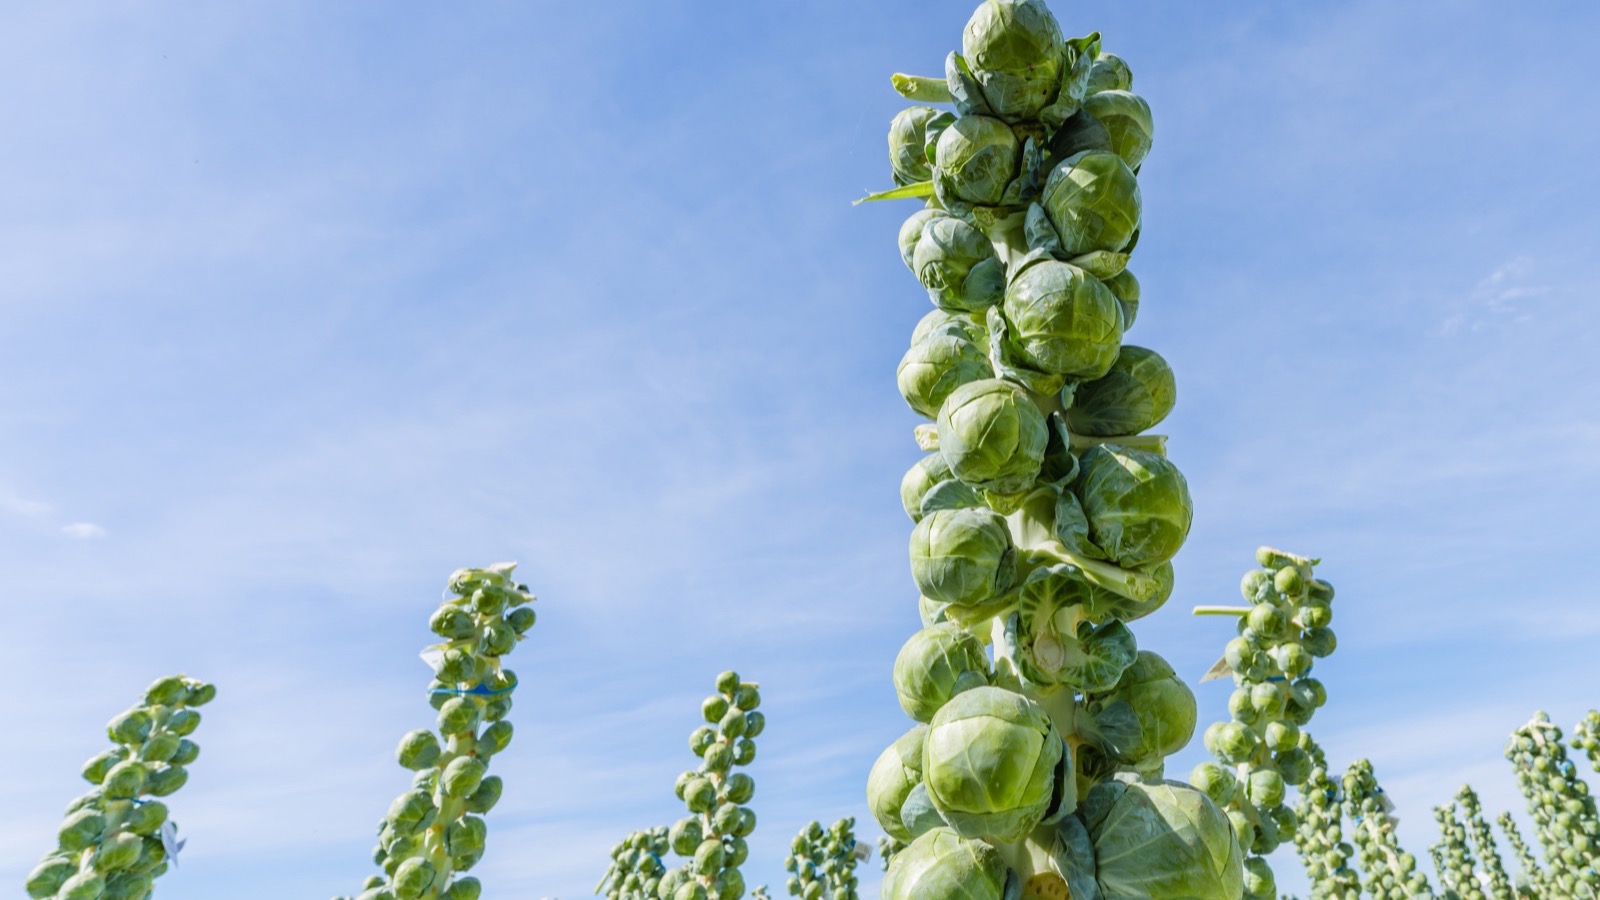
Tiny Brussels sprouts don’t always mean a poor harvest. A firm, tightly packed sprout about 1 to 1½ inches across is a perfectly good size to pick. The lower buds mature first, so a stalk covered in little green buttons near the top may be doing exactly what it should.
The more worrying signs are buds that remain pea-sized when the season is nearly over, a plant that has barely grown, or sprouts that open into loose leafy rosettes instead of firm little heads. Those problems have different causes, and a late dose of fertilizer won’t magically fix them.
I grow a substantial amount of my own food, and my advice is to work out what the plant can realistically do before you start cutting bits off it. There are ways to make the most of this year’s crop. The bigger improvements often come from getting the growing season, spacing, and soil right before you plant again.
What you can still do for this year’s Brussels sprouts
1. Check whether your sprouts are actually too small
Start at the bottom of the stalk and feel the largest sprouts. If they’re deep green, firm, and around 1 to 1½ inches across, they’re ready. Some varieties naturally make smaller sprouts than others, and you don’t need to wait for every bud to look like a store-bought giant.
If the bottom buds are still tiny, look at the whole plant. A tall, leafy, healthy plant with immature buds may simply need more growing time. A short, weak plant with yellowing foliage or damaged leaves suggests a problem that has restricted its growth. And if the buds have already opened into floppy clusters of leaves, they won’t tighten into proper heads later.
2. Harvest firm lower sprouts instead of holding out for bigger ones
Pick the lowest mature sprouts first, twisting them off the stem or cutting them with a small knife. Move upward as the higher buds firm up. Leaving ripe sprouts in place just to make them enormous can end with split or yellowing heads, especially if the weather changes.
You can remove the old lower leaf beside a harvested sprout, but leave the healthy upper leaves in place. They’re still feeding the plant. Smaller firm sprouts are excellent for roasting whole or slicing into a skillet, and the tender leafy tops are edible too. I see no sense in wasting a perfectly good crop because it didn’t win a size competition.
3. Give thirsty plants a proper drink, then mulch the soil
Brussels sprouts need steady moisture during active growth. If the soil feels dry a few inches down, water deeply around the roots instead of sprinkling the foliage. As a general growing-season guide, aim for roughly an inch of water a week from rain and irrigation combined, adjusting for your soil and weather. A 2- to 3-inch layer of shredded leaves, straw, or other organic mulch can help reduce evaporation.
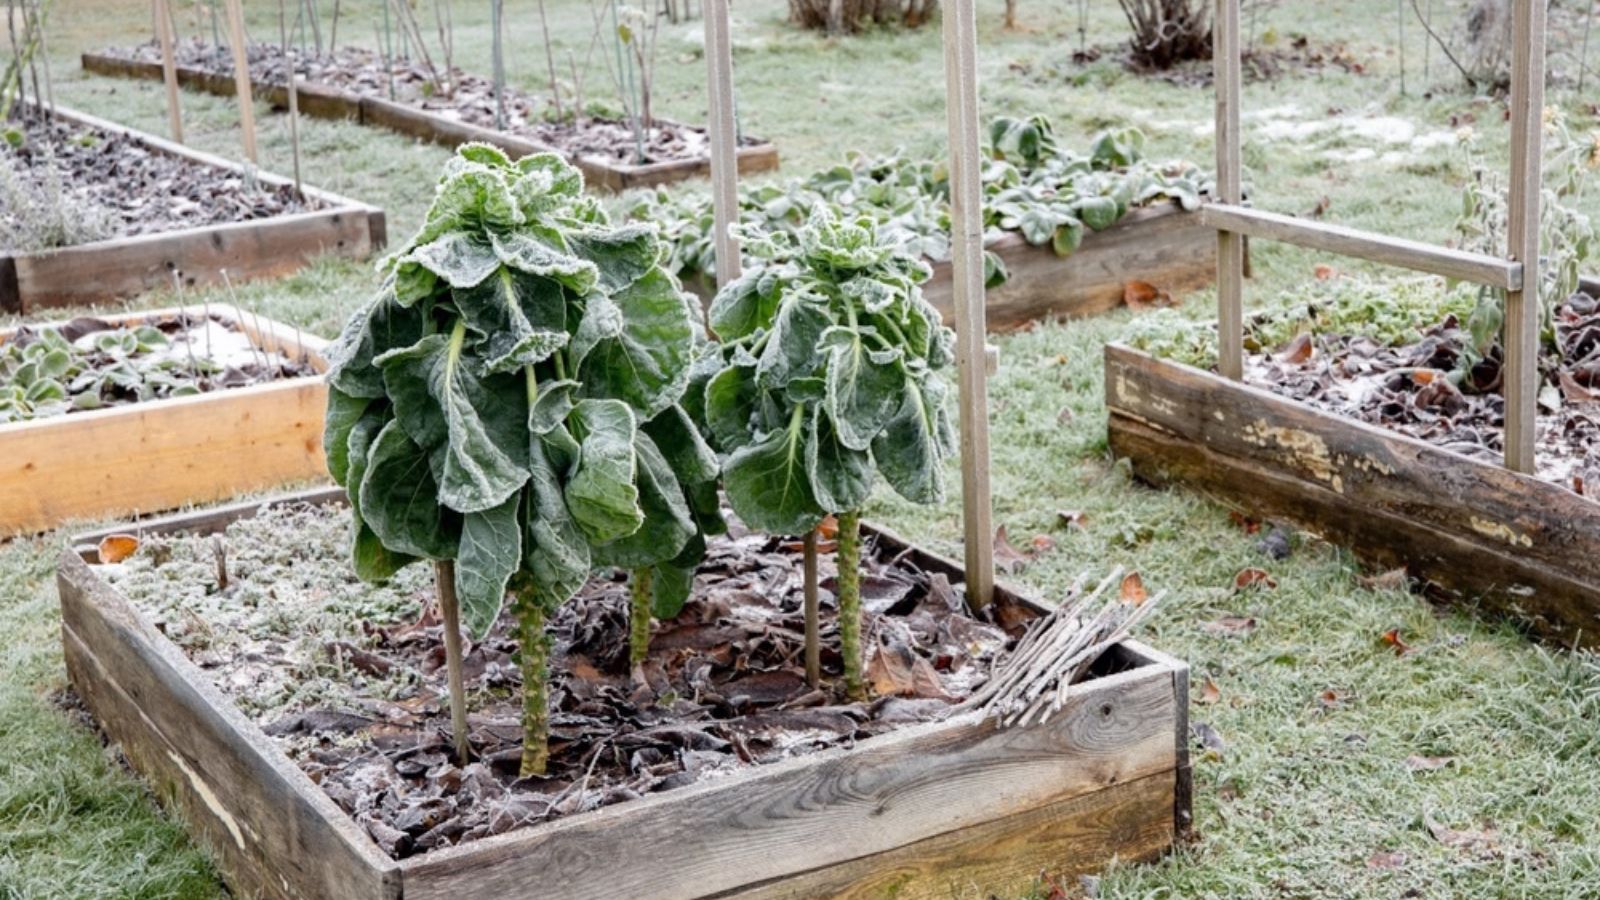
By late fall, many gardens are already wet enough. Don’t water on a schedule when the soil is saturated, and don’t expect extra water to restart growth once cold weather and short days have slowed the plant. This is about removing avoidable stress, not forcing winter growth.
4. Look for pests and other problems that have checked growth
Inspect the undersides of leaves and the spaces around the sprouts. Aphids can gather in the developing heads, while cabbageworms and other caterpillars chew away the foliage the plant needs to produce a crop. Pick off visible caterpillars, remove badly damaged leaves, and deal with small aphid colonies early, carefully washing them off where practical. Keep an eye on the buds themselves before harvesting.
If a plant is wilting despite moist soil, check whether its roots or lower stem are damaged instead of assuming it wants more water. A tall plant rocking in the wind may also need a stake. These steps can protect the crop you have, but they cannot undo months of lost growth.
5. Only remove the growing tip if there is still time for it to help
Topping means cutting off the small leafy growing point at the very top of the stalk. It can encourage a more uniform crop when the lower buds have already started to swell, particularly if you want most of the sprouts ready together. A useful window is about 30 to 60 days before the planned harvest, with lower buds roughly ½ to ¾ inch across.
This isn’t a universal bigger-sprout trick. Topping too early can cost yield, and topping after the plant has almost stopped growing won’t rescue undersized buds. If you’re already harvesting or expect sustained freezing conditions very soon, I’d leave the top alone and collect the firm sprouts as they become ready. For a staggered home harvest, keeping the growing point can be the more useful choice.
Four changes that will help you grow bigger Brussels sprouts next year

6. Work backward from your cool-weather harvest
Brussels sprouts need a long season, but they make their best firm heads in cool weather. Heat while the buds are developing can leave you with loose, leafy sprouts. That’s why planting dates matter far more than a last-minute feeding trick.
Check the days to maturity on your seed packet and your local extension planting calendar, then allow time for the plant to build a decent stalk before cool harvest weather arrives. Many varieties need roughly 85 to 110 days after transplanting, with some taking longer. In short-season northern areas, you’ll usually need an earlier start than someone in a mild southern climate growing sprouts for winter. Don’t blindly copy a July sowing date from a gardener hundreds of miles away.
7. Give each plant enough room and sunlight
Crowded sprouts compete for light, water, and food. I recommend giving most full-sized varieties around 18 to 24 inches between plants, and at least 24 inches between rows, with more room for especially large varieties. Choose a spot with at least six hours of direct sun, preferably more.
It can feel wasteful to devote that much ground to something that spends ages growing a stalk. But cramming in extra plants rarely pays when each one has too little room to develop. If space is tight, grow fewer, healthier plants rather than a forest of skinny ones.
8. Build fertile, moisture-holding soil before planting
Brussels sprouts are hungry, long-season brassicas. Before planting, add well-finished garden compost to improve soil structure and moisture retention, and use a soil test to guide any additional fertilizer. They generally prefer a soil pH around 6 to 7. Don’t throw lime at the bed without knowing its pH, and don’t assume more nitrogen is automatically the answer to small sprouts.
Feed for steady growth while the plants are building their leaves and stalks. Once buds are forming, I wouldn’t use a heavy late nitrogen application as a rescue treatment. My priority is a healthy soil that supplies nutrients consistently, with mulch and sensible watering doing part of the work. That’s more reliable than trying to force a struggling brassica along at harvest time.
9. Choose a suitable variety and protect it while it’s young
If your growing season is short, look for a relatively quick-maturing variety such as ‘Franklin.’ For larger, dark green sprouts, ‘Jade Cross’ is another option. Compare the actual maturity figures and growing habit on the seed packet with your climate rather than choosing by a photo of huge sprouts.
Set out sturdy, well-rooted transplants, water them in thoroughly, and protect young plants from cabbage caterpillars and other pests with fine insect mesh where needed. A plant that loses much of its foliage early may never make up the ground. I also recommend moving brassicas to a different bed in future seasons where possible, especially if you’ve had recurring disease trouble.
If you’ve reached the end of the season with tiny but healthy buds, don’t write off the whole plant. Harvest what is firm, use the tender tops and usable leaves, and make a note of when you sowed and transplanted it. Those two dates are often more useful for next year’s sprouts than any bottle of plant food.
You might also like…
10 Ways to Protect Plants From Frost
Should You Leave Carrots In The Ground After The First Frost?