Affiliate disclosure: This post may contain affiliate links. Please see full disclosure.
Autumn gives you almost everything you need to start a compost heap for free. Fallen leaves, spent vegetable plants, grass clippings, and kitchen peelings are all useful ingredients. The trick is mixing them properly instead of tipping everything into a bin and hoping for the best.
I always prefer a compost system that’s easy to keep going over one that looks impressive for a fortnight and then becomes a soggy pile at the end of the garden. You don’t need expensive bins or a packet of compost starter. You do need enough air, moisture, and a decent balance of ingredients.
Gather your browns and greens before you start
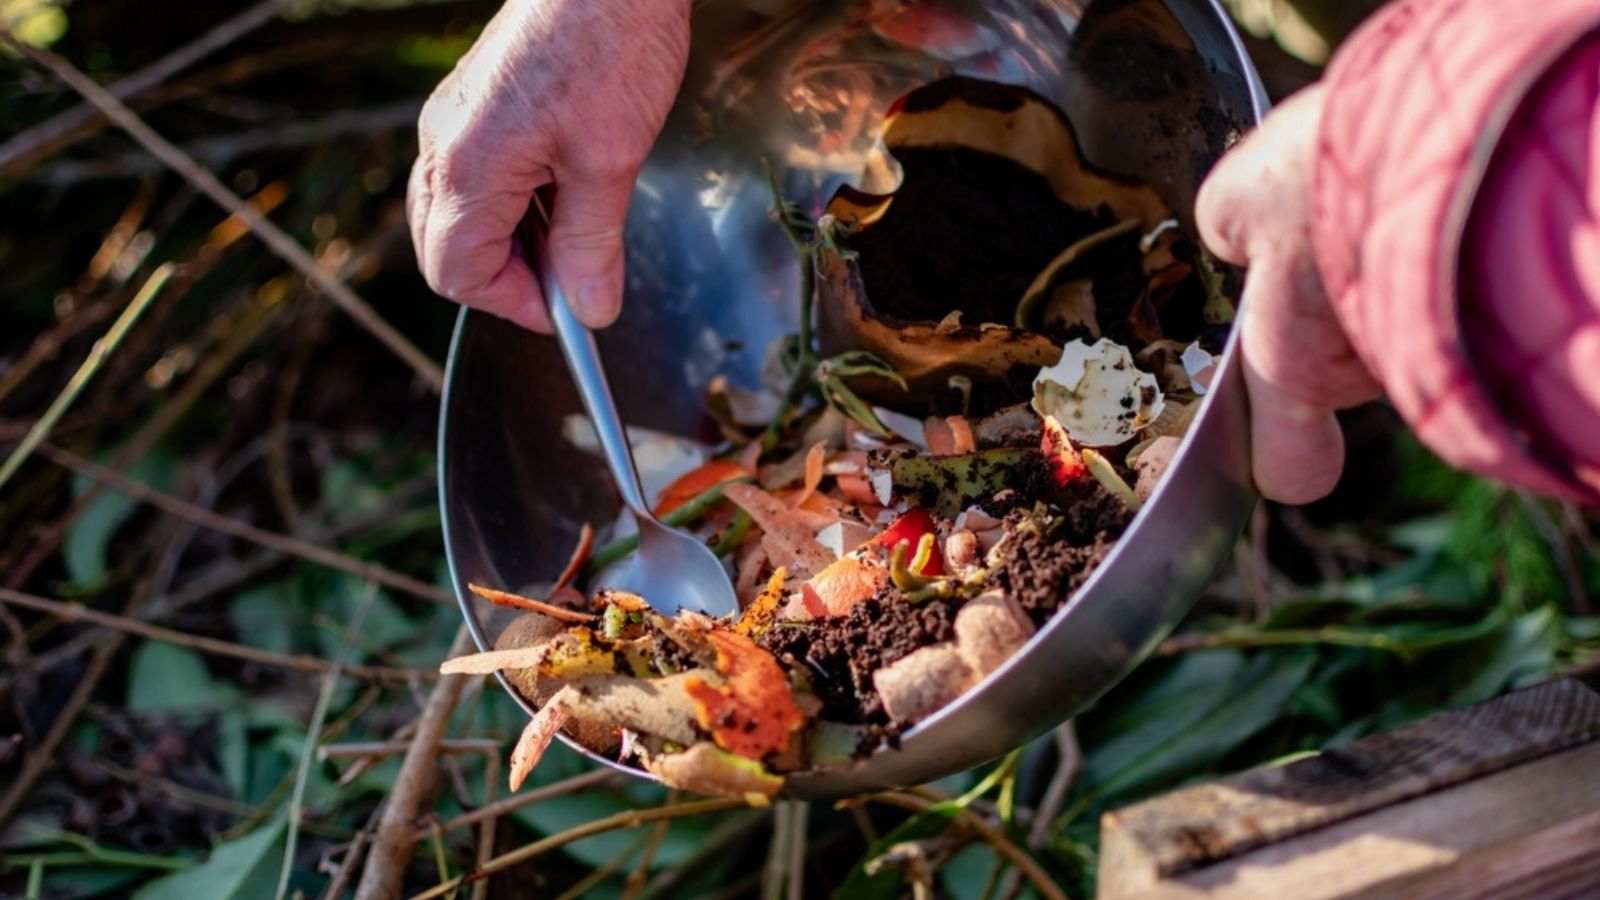
Compost microbes need both carbon-rich and nitrogen-rich material. Gardeners call them browns and greens, although those names are a bit misleading. Used coffee grounds are brown, for example, but they count as a nitrogen-rich ingredient in compost.
For browns, collect dry fallen leaves, chopped dry stems, shredded plain cardboard, and small pieces of untreated woody material. Greens include fresh grass clippings, leafy crop debris from healthy plants, fruit and vegetable peelings, and coffee grounds. Combining carbon-rich and nitrogen-rich materials helps the decomposers work efficiently.
You don’t have to shred every leaf. But thick woody stems, tangled squash vines, and whole cabbage stalks take up a lot of space and rot slowly, so it’s worth cutting those into shorter lengths. If you have a good pile of dry leaves, keep some in a covered container or sack. They’re extremely useful later, when the kitchen keeps producing peelings but the garden isn’t supplying many dry ingredients.
Be fussy about what goes into the heap
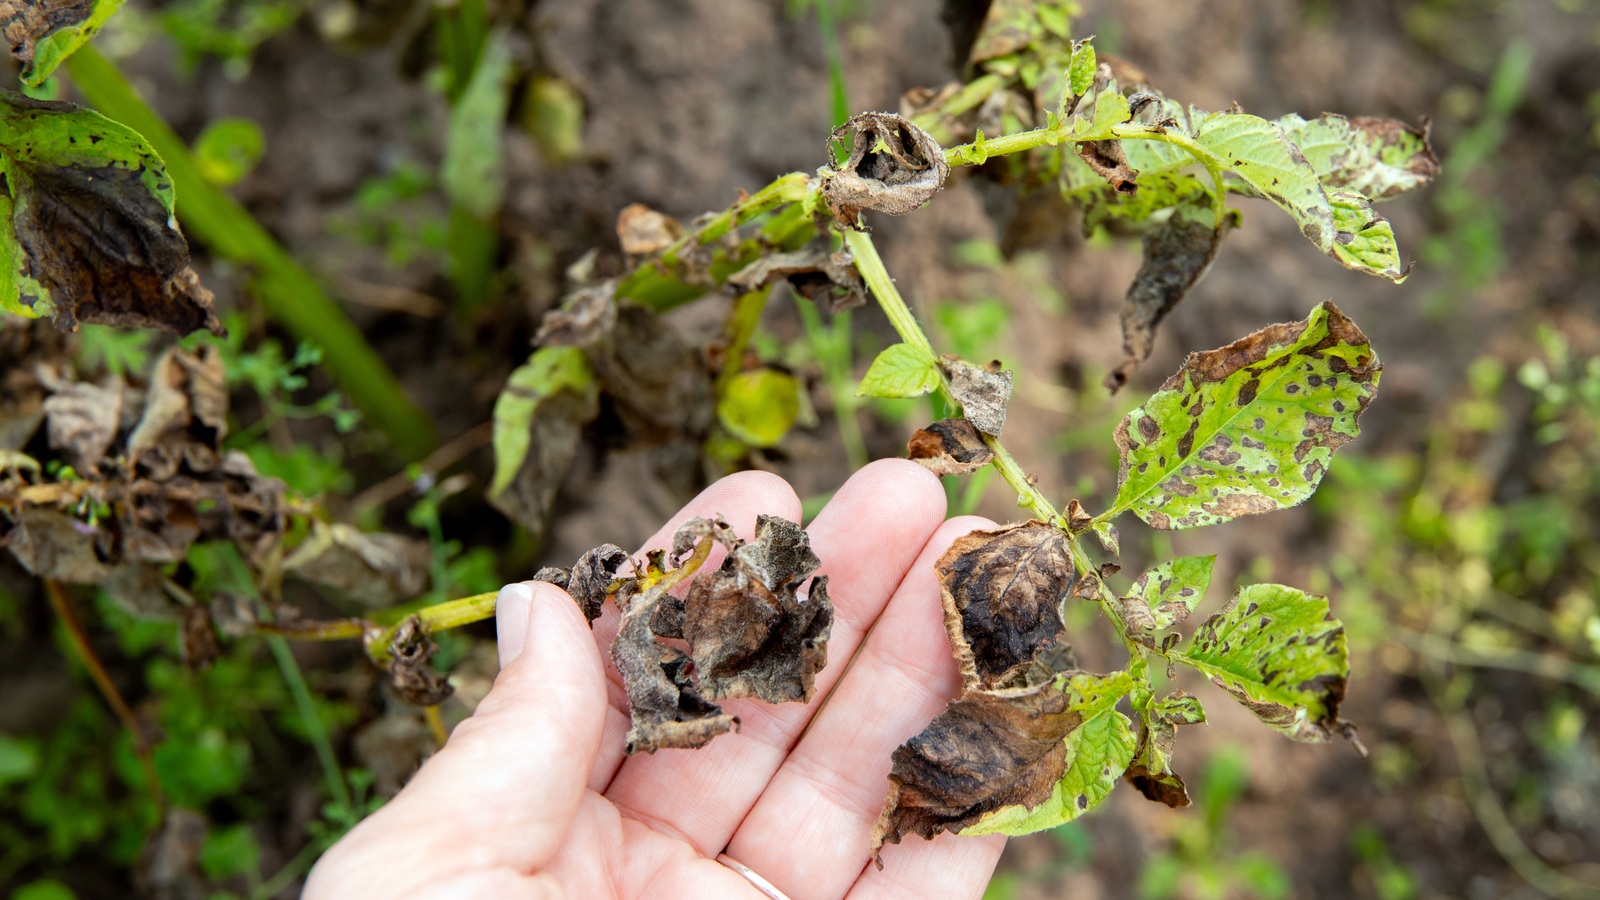
Healthy garden debris is fine, but I wouldn’t add plants with a serious disease problem to an ordinary cold compost heap. The temperatures may never get high enough throughout the whole pile to deal with the pathogens. The same goes for weeds full of mature seeds and pernicious roots that are likely to survive.
Keep meat, bones, dairy, fats, and pet waste out of a standard backyard compost pile. They can attract pests and bring other problems. Food packaging deserves a close look, too. Even products labeled compostable may require an industrial composting facility. Ordinary plastic, stickers, glossy coatings, and treated wood have no place in the heap.
I’d also be cautious about unknown manure, hay, or lawn clippings from elsewhere. Some persistent herbicide residues can survive the composting process and damage susceptible vegetables afterward. If you can’t find out whether an imported material has been treated, don’t gamble with your growing beds.
A simple bin is enough

A square wire enclosure is excellent for leaves and garden waste. A recycled plastic compost bin works well when space is tight. If you’re adding kitchen scraps and have trouble with rats or other scavengers, choose a secure, rodent-resistant design rather than an open pile.
Put the bin somewhere reasonably level and well-drained, with enough room to open it and get a fork or shovel inside. You’ll need access in wet weather, not just on a sunny afternoon. A bin wedged so tightly behind a shed that you can’t turn or empty it isn’t much use.
Big heaps can hold heat better. A roughly 3-foot cube of mixed material is a common starting size for active hot composting. Smaller bins still work, but are more likely to break down slowly, particularly once the weather turns cold. That’s perfectly fine. A slower heap still makes compost.
Mix the ingredients rather than making thick layers
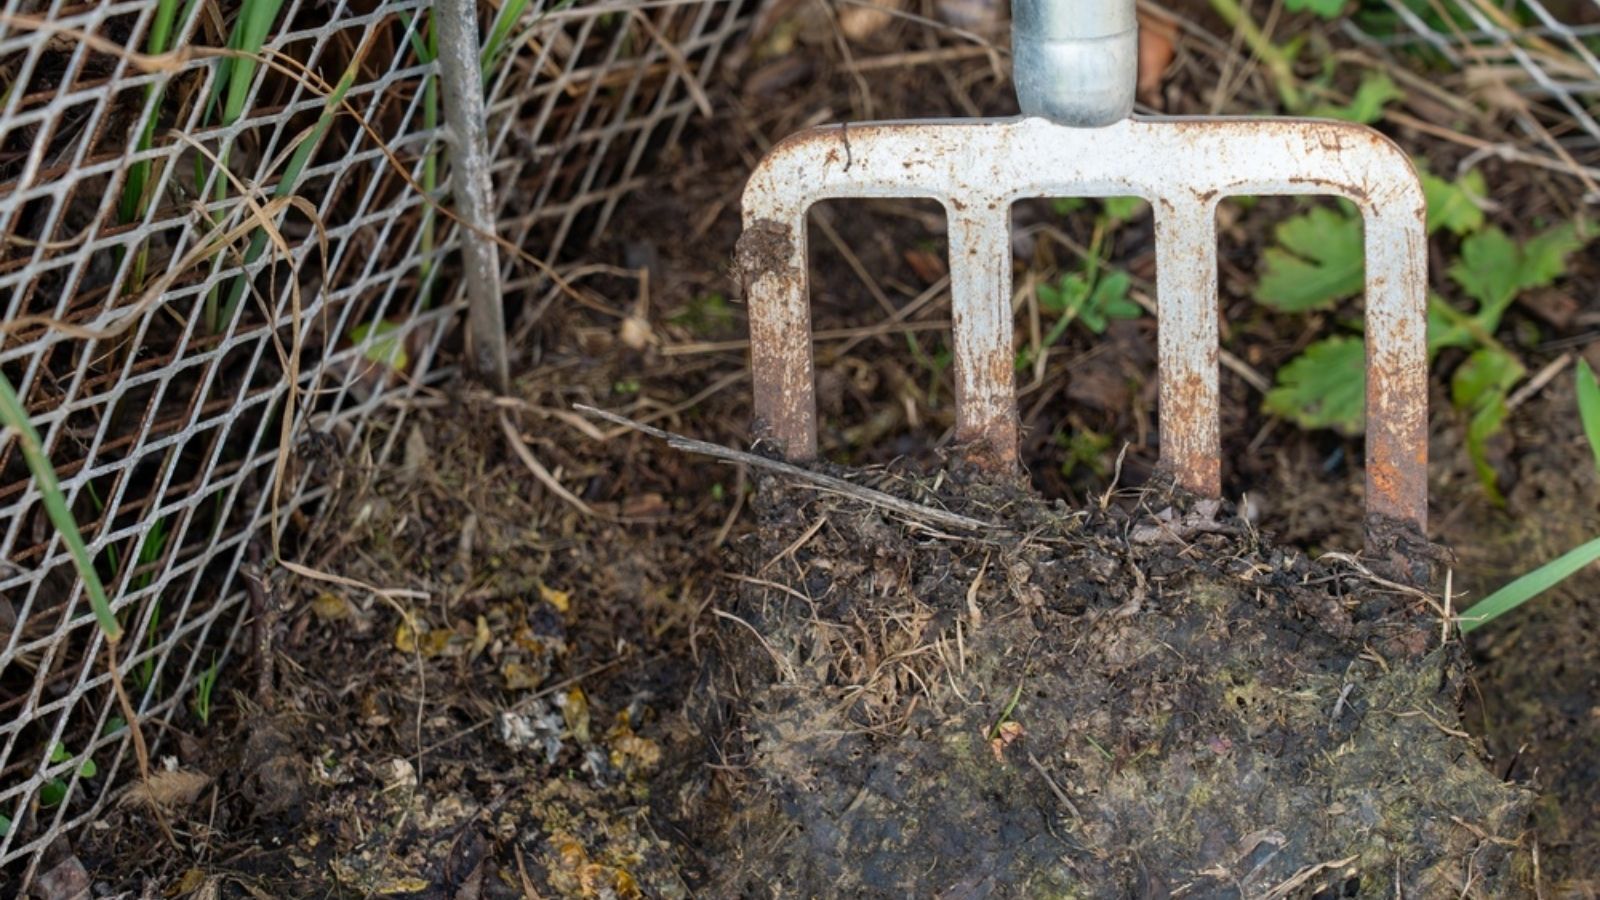
If your supply is mainly dry leaves, add some greens as you build. As a practical starting point, try two or three loose buckets of dry browns to one bucket of fresh greens, then adjust according to what the heap looks and feels like. There’s no precise bucket formula because a bucket of soggy grass is nothing like a bucket of shredded leaves.
Toss ingredients together a little as you fill the bin. Thick mats of grass go slimy. A solid layer of wet vegetable scraps can smell unpleasant. Mixing in rougher dry material helps keep air spaces open. If you see lots of visible food, cover it with leaves or shredded cardboard.
One common confusion is the suggested carbon-to-nitrogen ratio of around 30:1. That refers to the chemistry of the ingredients, not 30 buckets of leaves for every bucket of peelings. I’d start with a sensible mixture and let the heap tell me what it needs next.
Keep it damp, not soaking
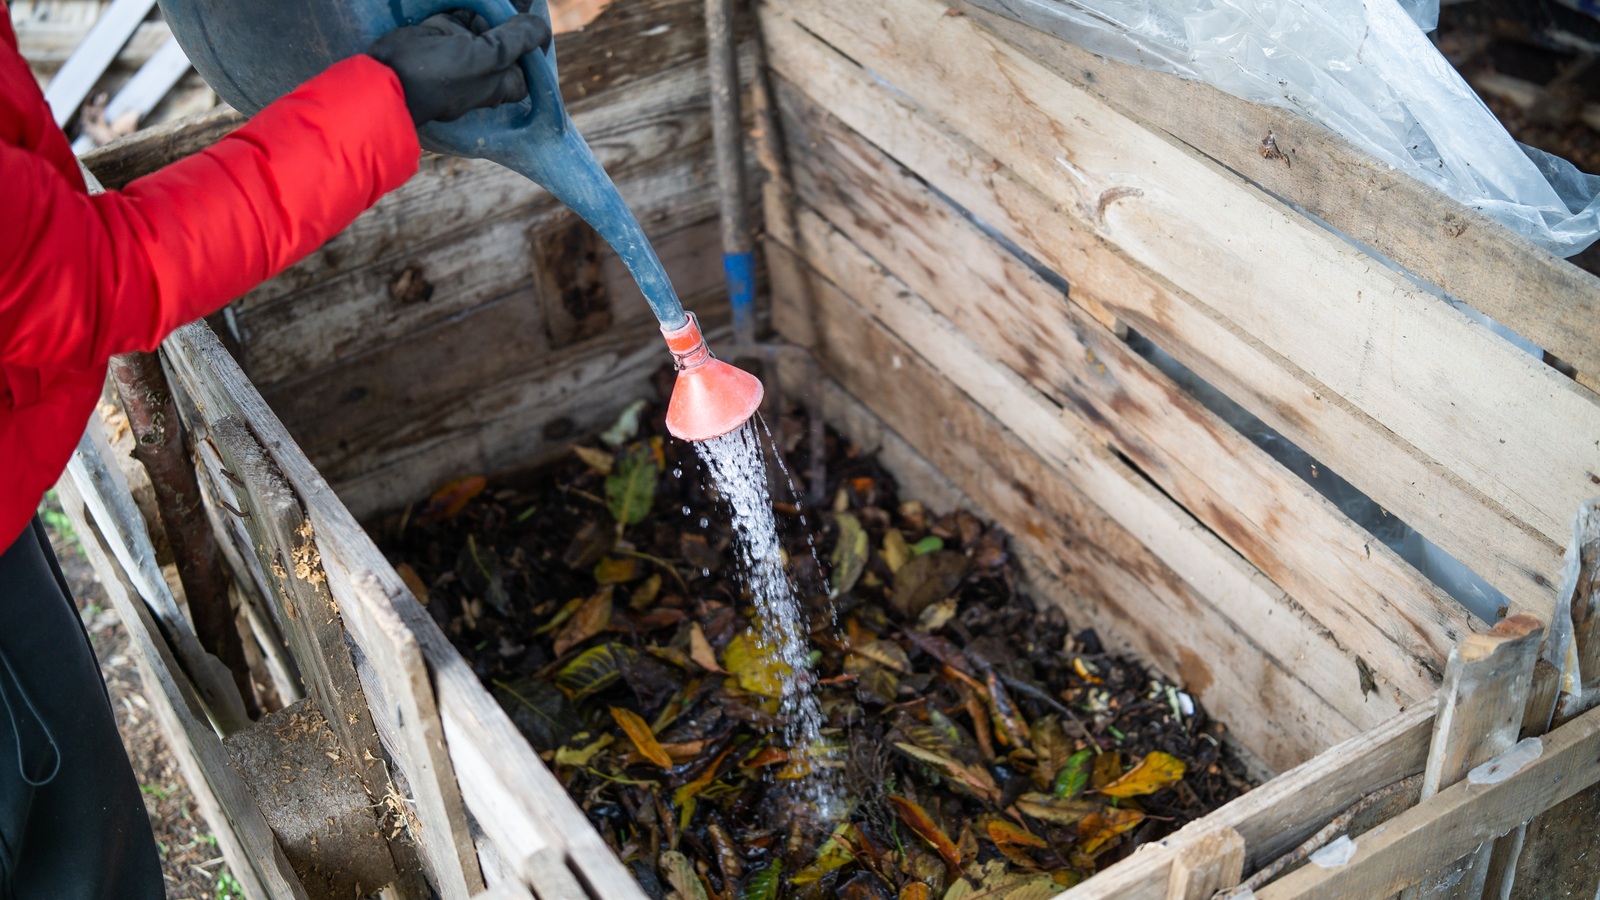
A compost heap needs moisture, but not enough to squeeze the air out. The familiar test is to take a handful from the middle. It should feel like a wrung-out sponge. If it’s dusty and dry, add water while mixing. If it drips freely or smells sour, turn in more dry leaves and loosen the compacted parts.
In a wet autumn, a lid or loose cover can prevent the whole thing becoming waterlogged, provided the contents still get air. In cold or dry weather, it’s worth checking below the surface; a wet top doesn’t tell you much about the middle. Moisture and airflow are essential for composting, and neither comes out of a bottle of commercial activator.
Hot compost and cold compost are both useful
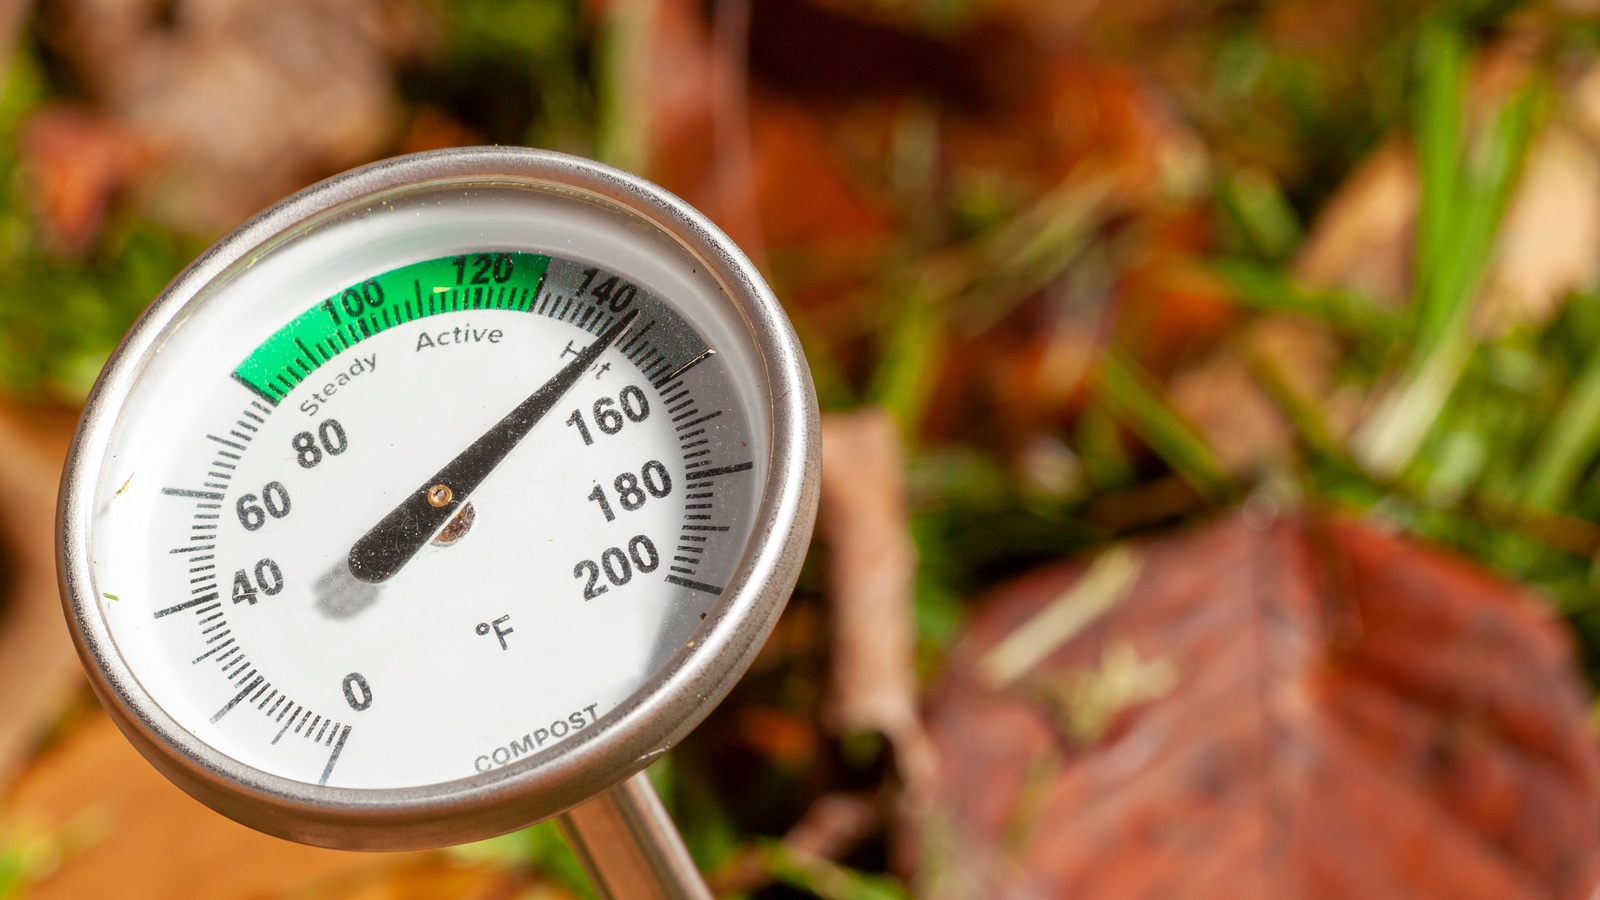
If you build a large batch in one go with a good mix of fresh material, it may heat up noticeably as microbes get to work. Turning the pile can bring the cooler outside material into the warm center. A thermometer is useful if you’re deliberately managing hot compost. But don’t assume one hot reading means every part of the pile has been sanitized.
If you’re feeding a small household bin a bit at a time, that’s closer to cold composting. You may be waiting many months before some of it is ready, and winter will slow the process further. There’s nothing wrong with that. Just don’t plan your first spring seed sowing around a heap you started in late October and haven’t checked since.
Once you want a batch to finish, stop putting new scraps into it. Use a second container for fresh material and let the first one rot down undisturbed, turning occasionally if it needs air. Otherwise every new banana peel resets part of the clock.
Your nose can tell you when something is wrong
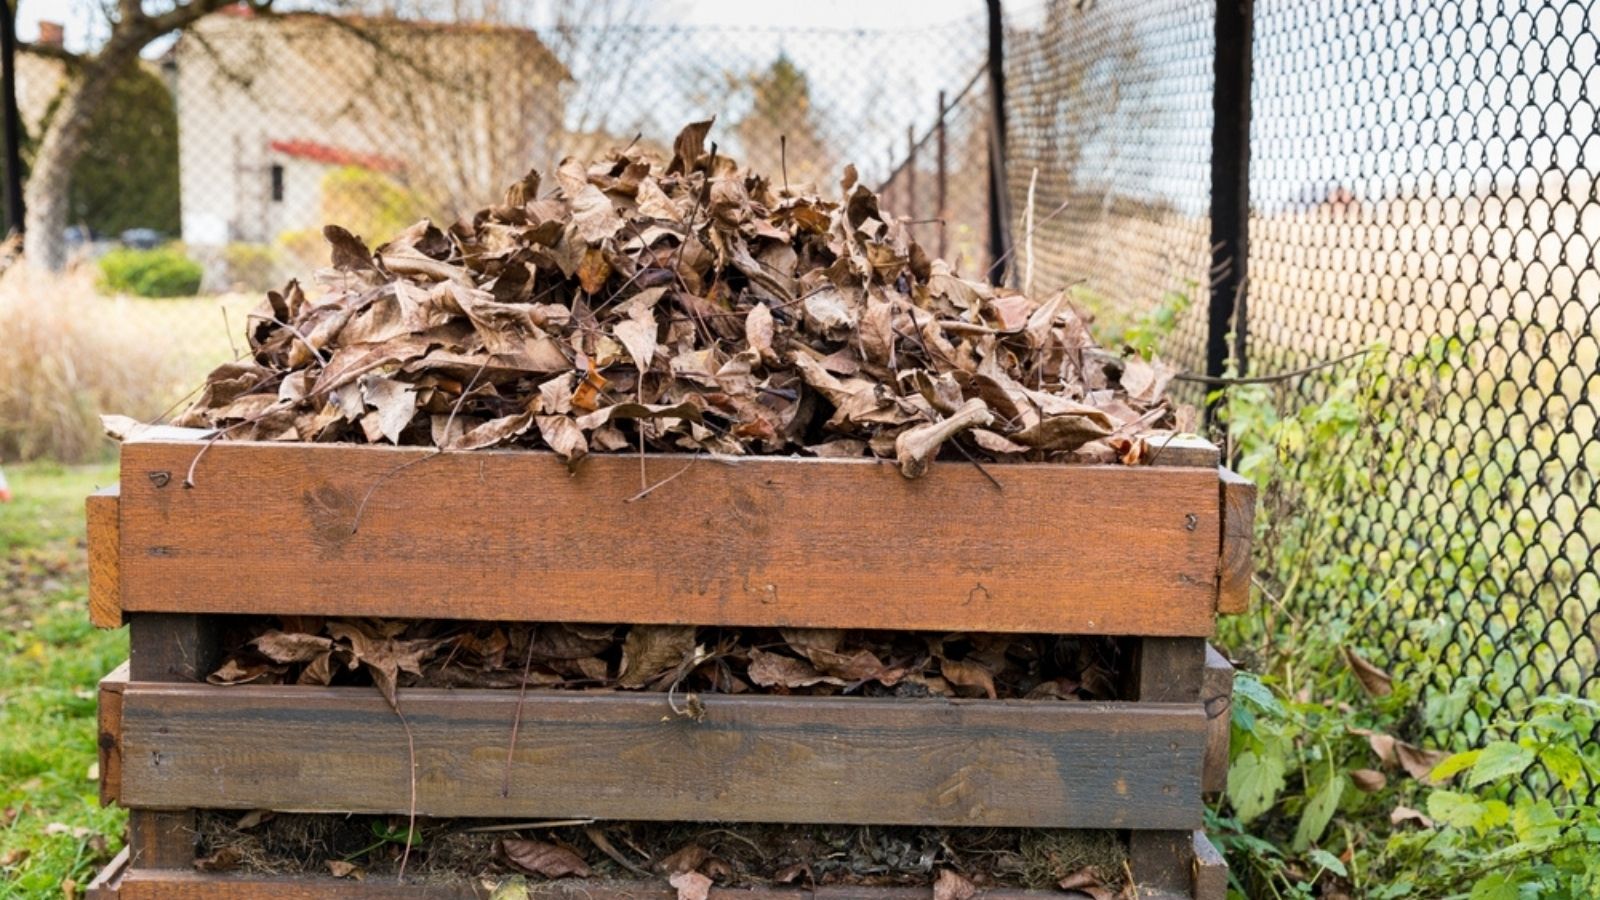
A healthy compost heap has a damp, earthy smell. A rotten, sour stink usually means there’s too much moisture and not enough oxygen. Turn it and mix in dry, bulky material. An ammonia smell suggests too much nitrogen-rich material, often grass or fresh scraps, so reach for those saved autumn leaves.
If the heap is cold and looks unchanged, don’t panic. Check whether it’s too dry, too small, or simply cold because it’s winter. If flies or rodents are turning up, make sure food waste isn’t exposed, remove unsuitable ingredients, and improve the physical protection around the bin. A compost heap shouldn’t be an all-you-can-eat buffet for rats.
Know what finished compost looks like

Ready compost is dark, loose, and pleasantly earthy, with most of the original ingredients no longer obvious. A few twigs are fine; sift them out and return them to the next batch. But a cold heap isn’t necessarily a finished heap. It might just be dry or frozen.
For potting and especially seed starting, be choosier than you would be for mulching an established shrub. Immature compost may continue to decompose and isn’t ideal around young roots. Let the finished-looking material mature further before using it in delicate growing mixes, and don’t assume homemade compost is a complete, sterile seed-starting medium.
And that’s really the pleasure of autumn composting for me. Instead of buying another bag of soil improver and sending useful garden material away, you turn what you’ve already grown into something that helps next year’s crops. The heap doesn’t need to be perfect. It just needs to be manageable enough that you’ll keep using it.
You may also like…
Maggots in Compost: Are They Good or Bad, and What Should You Do?
The 2,000-Year-Old Roman Trick Your Compost Bin Is Missing
How To Keep Your Compost Bin From Smelling With A Simple Fix