Affiliate disclosure: This post may contain affiliate links. Please see full disclosure.
There’s a huge amount of advice about how to improve your compost performance, performance, and speed. But one of the best “tricks” to get beautifully finished compost quickly comes from Ancient Rome. Build one big compost pile in fall instead of adding to your bin bit by bit through the year, and you’ll get a pile that actually breaks down instead of one that just sits there. That’s Cato the Elder’s trick, the Roman senator who wrote the oldest surviving Latin farming manual, back around 160 BC.
I’m an organic permaculture specialist, and it’s the simplest fix I’ve found for a bin that won’t heat up. I’m also a massive history geek, so I love being able to incorporate ancient techniques into my own garden. Plus, of course, remember that out ancestors probably had some pretty good ideas. They managed to feed whole populations without modern techniques, tools, or products, so they must’ve known a lot about how to work with nature to get the best harvests.
Cato Told His Farmhands to Build One Big Heap, Not a Trickle Pile

Cato’s instruction to his overseers was to keep a big dunghill, clean out any debris and break the material up small before use, and haul the whole batch out in fall. He gave his olive trees similar treatment around the same time of year, trenching around them and working manure into the soil.
He called the heap a stercilinum, which is just the Latin word for dunghill. It wasn’t something that got a handful of scraps thrown on whenever anyone remembered. Cato built it once a year and used it on a schedule, the same as he did with pretty much everything else on the farm.
RELATED POST: Best Cheap & Easy DIY Compost Bins
Batch Building Beats Adding Scraps as You Go
Building one big batch works because hot composting needs volume. You need enough material, with the right mix of carbon and nitrogen, going in all at once so the microbes actually have something to chew through. Drip-feed your bin a handful of peelings at a time and it doesn’t matter how long you leave it, it’ll never build up enough mass to heat up properly.
Hot composting is when the pile’s internal temperature climbs well above the air around it, usually somewhere between 130-150°F (54-65°C), because the microbes are breaking everything down fast enough to generate real heat. That heat kills off weed seeds and speeds the whole process along, so instead of waiting a year or more, you’re looking at a matter of weeks.
For years I composted the wrong way without really thinking about it. Vegetable peelings in, a bit of grass clippings when I remembered, all added to the same bin bit by bit through the year. It never heated up and never really finished properly, so every spring I’d be picking through a slimy, half-rotted mess that wasn’t much use for anything. Once I started saving material through summer and building one proper pile in fall, with roughly the same ingredients I’d always used, I had good, crumbly compost by March.
Build Your Fall Batch This Way
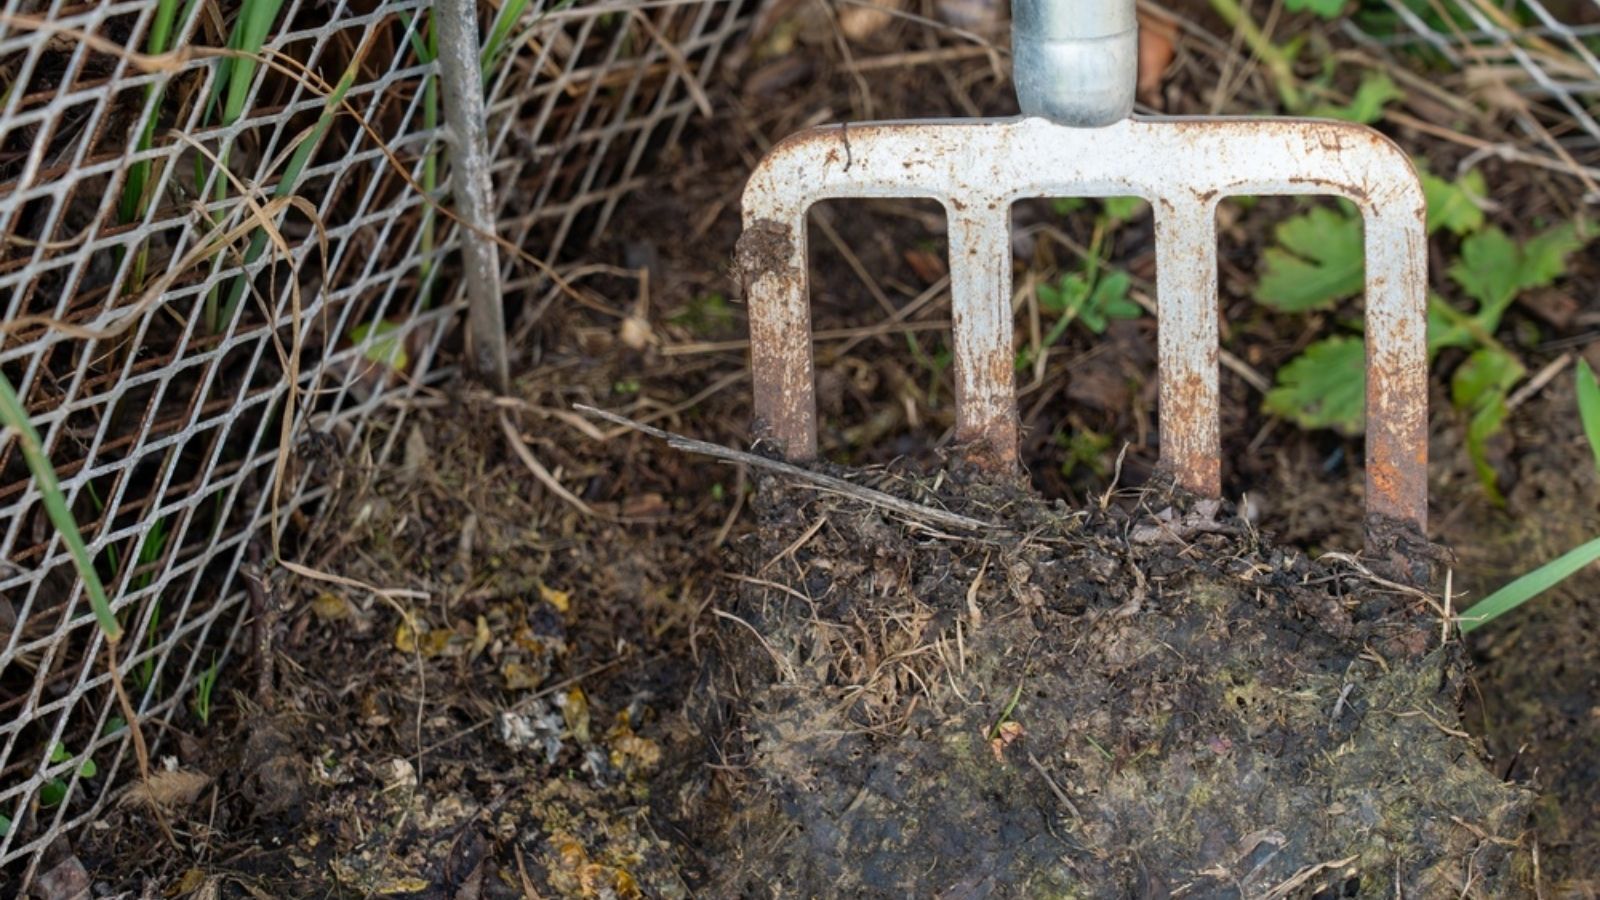
Aim for a pile that’s at least 3 feet (roughly 1 meter) in each direction, built all in one go rather than added to over several weeks. Go smaller than that and it just won’t hold heat, no matter what you throw in it.
This is roughly how I put mine together. Save your material as the season winds down instead of trying to compost it piecemeal. Spent bean vines, tomato plants, grass clippings, whatever you’ve got, just set it aside until you’re ready to build.
Once the leaves start coming down, that’s your carbon covered. Rake them up and run the mower over them, or chop them roughly with shears. Cato said to break the material up small before using it, and two thousand years later, that’s still good advice. Smaller pieces give the microbes more surface area to work with, so everything rots down faster.
Now layer it up. I go roughly 3 inches of browns, (chopped leaves or straw), to 1-2 inches of greens, (grass clippings, spent plants, or manure if you keep chickens or rabbits). Keep repeating until you hit that 3-foot mark, then water each layer as you build so the finished pile is damp all the way through, about like a wrung-out sponge rather than properly wet.
Turn it once around week four or five if you get the chance. If you don’t, it’ll still be usable by spring, as long as you built it properly in the first place.
RELATED POST: Maggots in Compost
FAQs
Is it safe to compost manure at home?
Yes, as long as it’s fully broken down before it goes anywhere near food crops. Herbivore manure like chicken, rabbit, or horse is fine and just needs a few months to compost down and cool before you use it. I’d avoid manure from dogs, cats, or any other meat-eating animal, since it can carry pathogens that don’t necessarily break down under home composting conditions.
What’s the difference between hot and cold composting?
Hot composting means building a large batch all at once and keeping an eye on moisture and turning so the pile actually heats up, which gets material broken down in weeks rather than months. Cold composting is the slower method most bins end up doing without anyone deciding on it, adding material a bit at a time, where things do eventually rot down but rarely get hot enough to kill weed seeds or move quickly.
Do I need livestock manure for this to work?
No, you don’t need manure at all. It helps because it’s high in nitrogen, but grass clippings, spent garden plants, and even coffee grounds do a similar job. The size of the batch and the timing of it matter more than any single ingredient you put in.
Can I still add kitchen scraps once the big batch is built?
Yes, just bury them into the middle of the pile where it’s warmest so they break down along with everything else, rather than leaving them sitting on top where they’ll stay cold and draw in pests.
How long until a fall batch is ready to use?
Most fall-built batches are ready to use by early to mid spring, so around four to six months. Turning it every few weeks will speed that up somewhat.
Cato worked this out two thousand years ago. It still works exactly the same way in a plastic bin behind your shed today. Save material through summer, build one proper batch once the leaves start coming down, and leave it to break down over winter.
You might also like…
The Ultimate Guide to DIY Organic Fertilizers
Real Self Sufficiency’s Guide to Seed Starting for Beginners