
Affiliate disclosure: This post may contain affiliate links. Please see full disclosure.
The easiest way to waste less hummingbird nectar is to put out smaller amounts and clean the feeder before the sugar water starts to spoil. A feeder doesn’t need to be filled to the brim every time. If the birds only drink a couple of inches of nectar before it’s due to be changed, the rest is simply going down the drain.
I’d rather keep a small, easy-to-clean feeder topped up with fresh sugar water than a large decorative one sitting half-full in the sun for days. You can make nectar cheaply with white sugar and water, store a little extra in the refrigerator, and work out how much your visiting birds actually use. The cleaning still has to happen, though, even if most of the nectar is untouched.
Make just enough nectar for the next few refills
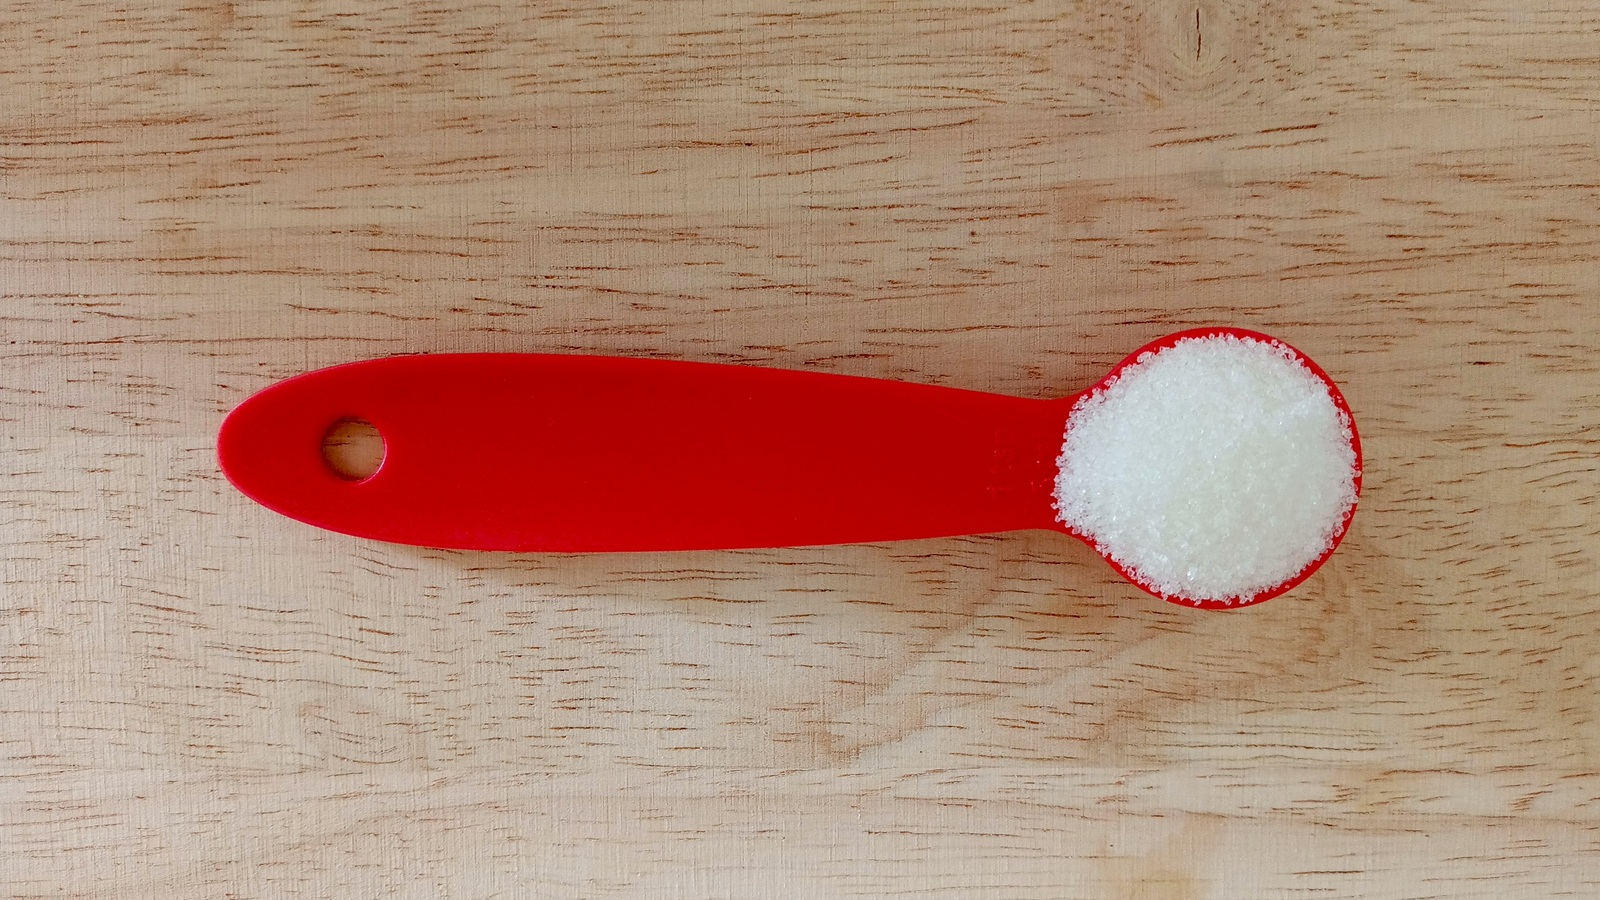
Hummingbird nectar needs only two ingredients: refined white table sugar and water. Mix one part sugar with four parts water, measured by volume. That means 1/4 cup of sugar stirred into 1 cup of water. If you need less, use 1 tablespoon of sugar with 4 tablespoons of water. You don’t need an expensive premixed nectar or a special powdered supplement.
Use clean, drinkable tap water and stir until the sugar has fully dissolved. Warm water makes this easier, but boiling isn’t necessary when the water is safe to drink. If you’ve heated the mixture, let it cool before adding it to the feeder. Follow local drinking-water guidance if you’re using well water or another supply that might not be safe.
Don’t add red food coloring. The feeder’s red parts are enough to catch a hummingbird’s eye; the nectar itself should be clear. Honey, brown sugar, raw sugar, molasses, and artificial sweeteners aren’t suitable substitutes for refined white sugar. There isn’t any advantage in trying to make the recipe more ‘natural’ with pantry sweeteners. Plain white sugar is the right choice here.
Making a gallon at a time only makes sense if you’re feeding enough birds to use it promptly. For a quiet garden with one or two visitors, a cup of water and a quarter cup of sugar may already be more than you need. Mix a fresh small batch when convenient, or make enough for a few refills and keep the unused portion covered in the refrigerator.
Don’t fill the feeder higher than the birds will drink
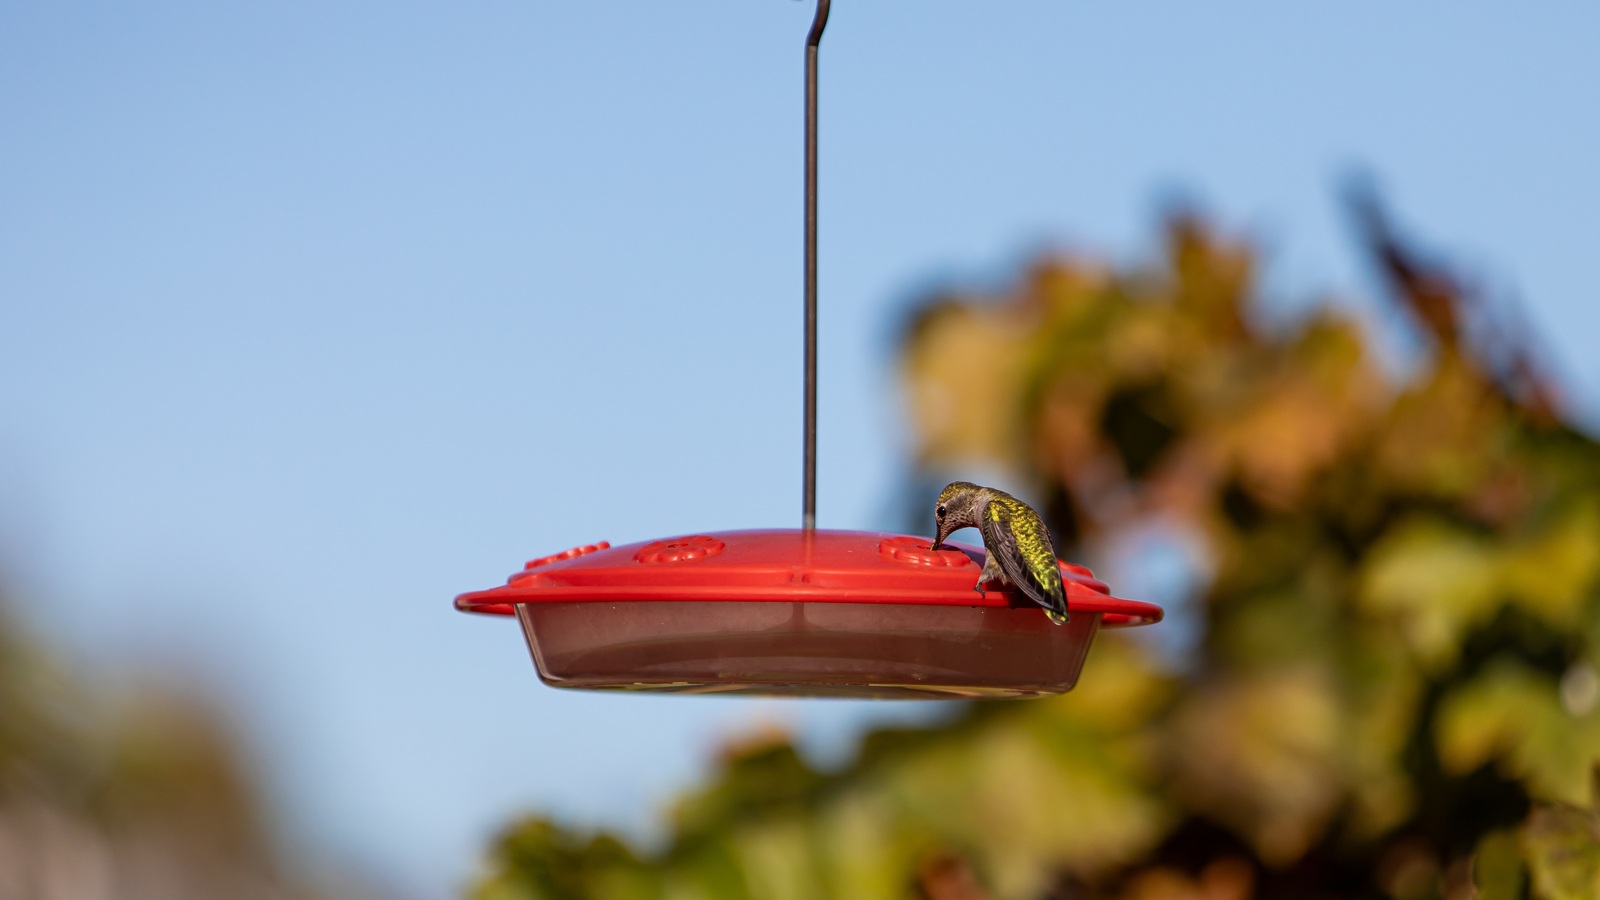
Watch how much the birds use between cleanings. If a feeder holds 16 ounces and only a couple of ounces disappear in two days, there’s no reason to keep filling all 16 ounces. Add only enough nectar to cover the feeding mechanism properly and keep the ports accessible. Different feeders need different minimum fill levels, so check yours rather than guessing.
The first few refills are really a test. Mark the level mentally or take a quick photograph when you hang the feeder, then see how much is gone when it’s time to clean it. Start with a little less at the next refill if you’re throwing most of it away. Increase the amount if the birds consistently finish it early.
A small saucer-style feeder can be especially handy for a garden with light traffic. There’s less unused nectar sitting around, and a shallow tray with removable parts is usually easier to scrub than a tall bottle with narrow tubes. A feeder that hummingbirds empty in roughly two or three days is generally a better size than one with a large reservoir.
If you have several territorial birds, two smaller feeders placed apart may also work better than one oversized feeder. You can adjust each to the number of visits it gets, rather than keep a large quantity of nectar in one place. But don’t put out more feeders than you can realistically keep clean.
Change nectar more often when the weather gets hot
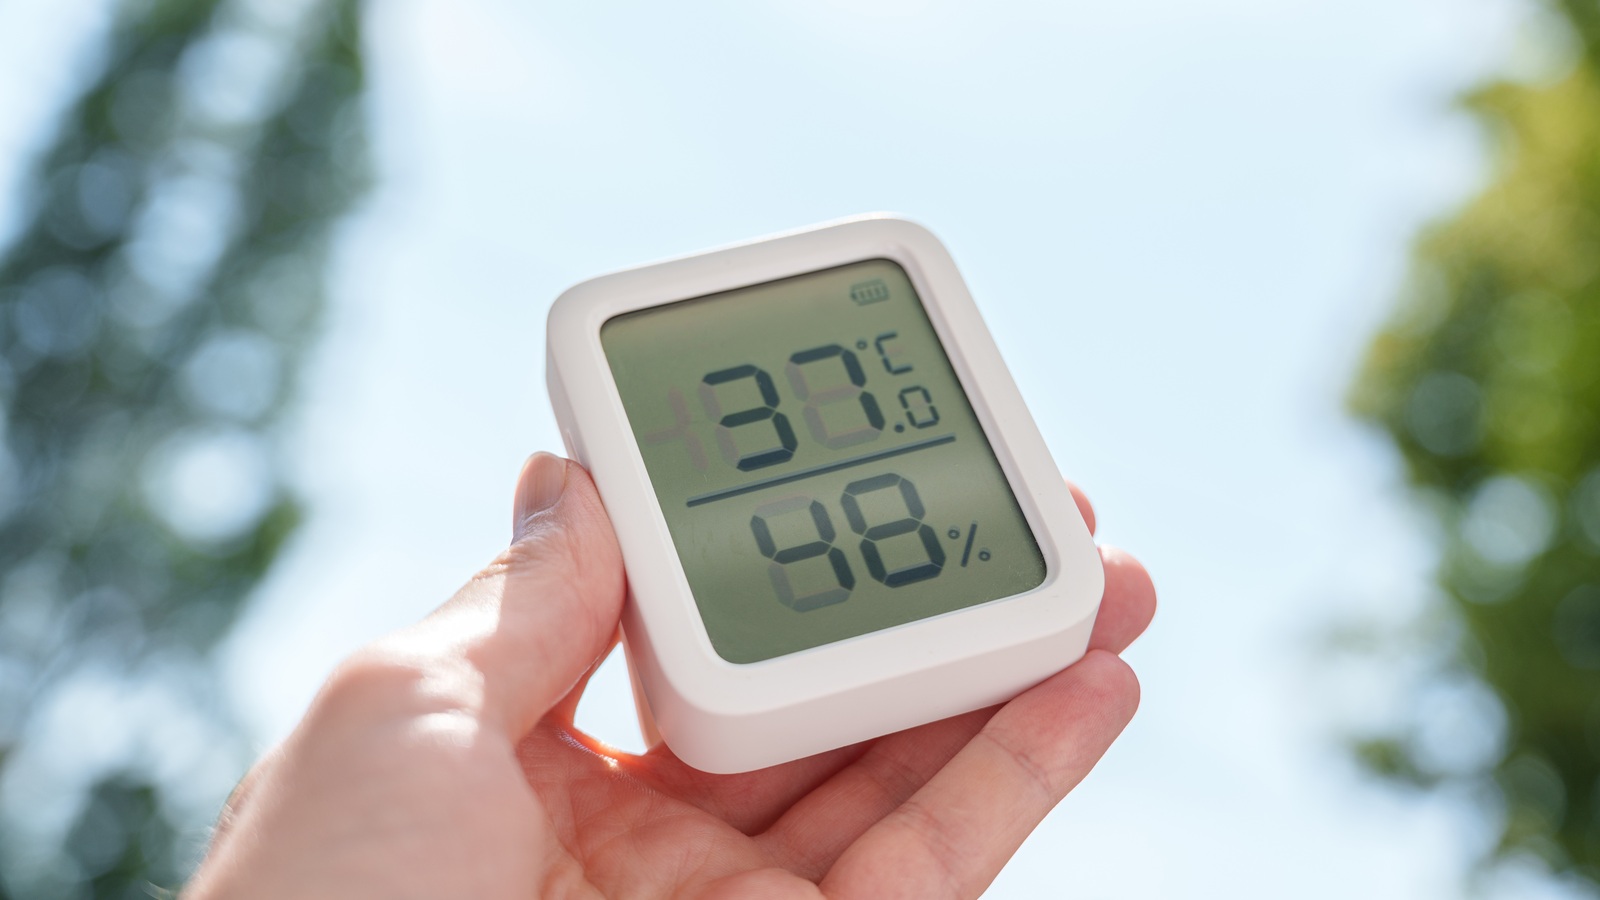
Heat changes the whole routine. Sugar water can ferment and support microbial growth much faster on a hot afternoon than on a cool spring morning. The safest approach is to change it before it goes cloudy, not wait for an unpleasant smell or visible mold.
There’s some variation in published cleaning schedules, so I’d use a fairly cautious one for an ordinary backyard feeder. Hot-weather guidance calls for cleaning every day or every other day, about every three days in mild weather, and roughly twice a week in cooler conditions. These are maximum planning intervals, not guarantees that nectar is safe until the last hour.
A practical schedule based on daytime temperatures
Above 90°F (32°C): Empty, scrub, and refill daily. If the nectar is sitting in strong sun or spoiling sooner, move the feeder into a better spot and change it more often.
80 to 90°F (27 to 32°C): Clean and replace the nectar every day or two. Check it each day even if the birds haven’t visited.
70 to 80°F (21 to 27°C): Aim for roughly every two to three days. Shorten the interval if the feeder is in a warm, exposed position.
Below 70°F (21°C): About every three to four days is a reasonable routine for a clean feeder in cool conditions. A cooler day doesn’t compensate for a feeder that has already been sitting out through several hot afternoons.
These are practical ranges rather than laboratory cutoffs. The temperature around the feeder matters, too. Sun on a glass bottle, a warm wall behind it, insects getting inside, and how clean the ports were to begin with can all change how quickly the nectar deteriorates. A change in the forecast may mean you need to clean a day earlier than planned.
And if the feeder runs empty sooner, wash it before you refill. Don’t assume that an empty reservoir is clean just because there’s no old liquid left.
Clean the whole feeder every time you replace the nectar
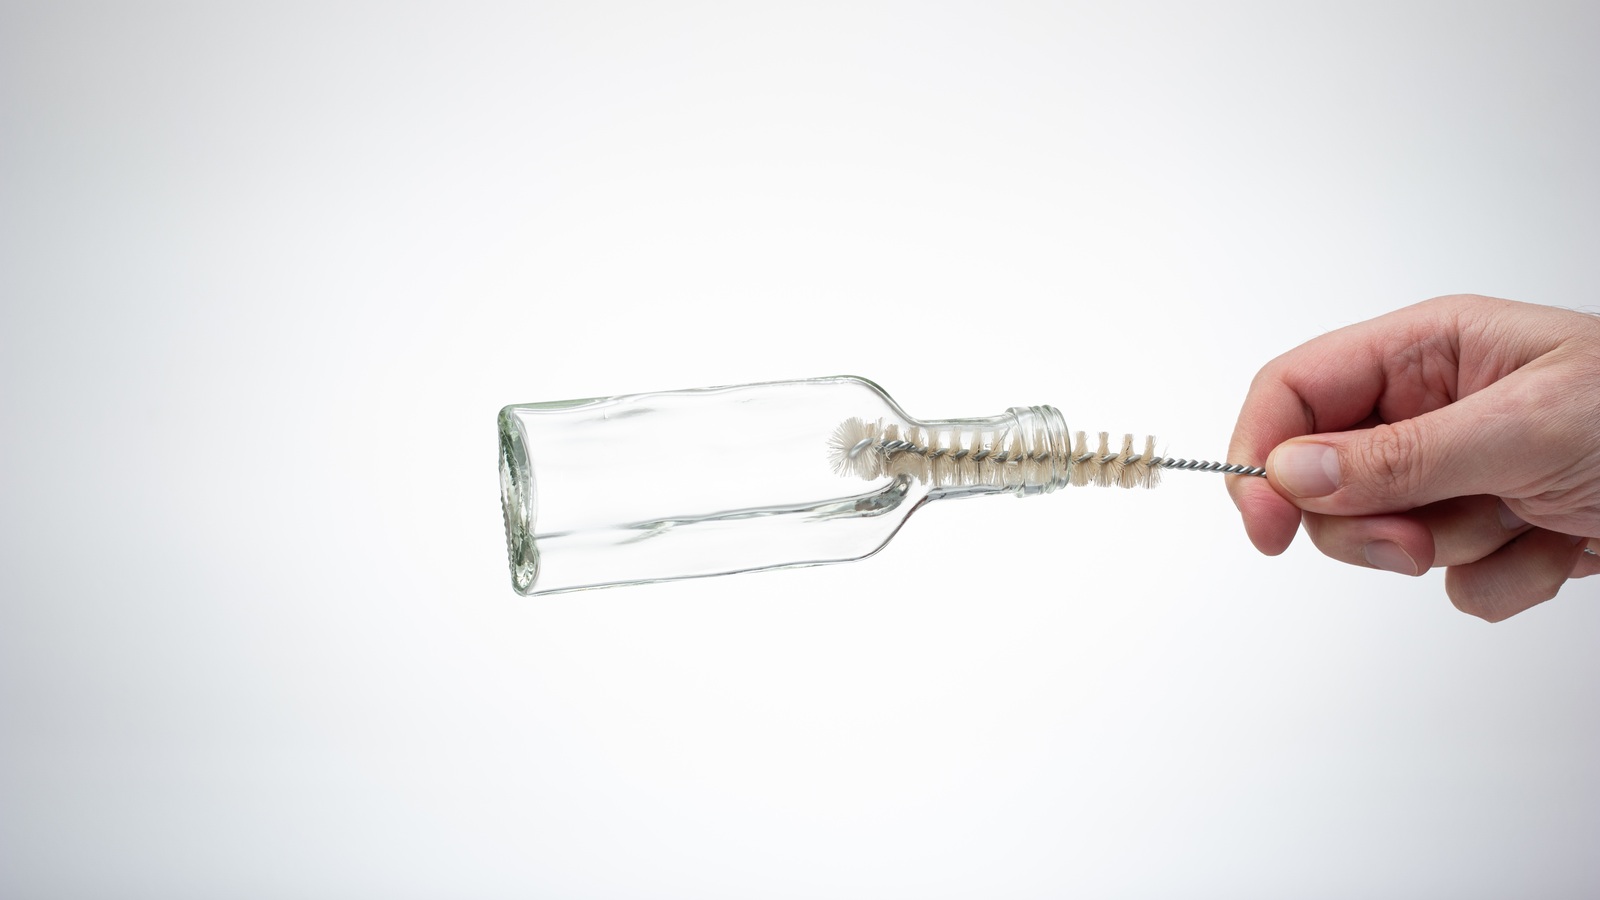
Replacing the sugar water without cleaning the feeder doesn’t solve the problem. Residue clings to the inside of the bottle, the seams around the base, and the narrow feeding ports where the birds reach in. A quick swish of fresh water through the reservoir can leave the dirtiest parts untouched.
Hot water, a weak vinegar solution, and a clean brush are enough for regular feeder cleaning. I’d keep a small bottle brush and a set of narrow port brushes just for this job. They’re inexpensive, and they make a much bigger difference than buying an elaborate feeder-cleaning product.
A thorough cleaning routine
- Pour out the old nectar. Take the feeder down and empty leftover sugar water into the sink. Don’t pour it back into your prepared nectar, mix it with fresh nectar, or leave it for another day. If the birds haven’t drunk it by the changeover time, that small amount is waste you deliberately planned for.
- Take the feeder apart. Remove the base, reservoir, flower-shaped ports, bee guards, and any other pieces the manufacturer designed to come off. If a part doesn’t detach, check the instructions rather than forcing it and cracking the plastic.
- Rinse and scrub with hot water. Use hot running tap water that’s safe for the feeder material, not boiling water poured onto delicate plastic. Brush every accessible interior surface, paying attention to corners, threads, seams, and the underside of the feeding ports. Run a small brush through the port openings.
- Use vinegar for film or stubborn buildup. For a more thorough wash, soak removable parts in one part plain white vinegar to four parts water, then scrub them. If there’s visible buildup, allow the soak more time and make sure it has loosened completely. Vinegar is useful, but it doesn’t replace physical scrubbing.
- Rinse very thoroughly. Use plenty of clean running water, including through the ports and any cavities that hold liquid. There should be no vinegar residue or smell left behind. Let the parts drain or air-dry on a clean surface before reassembling and filling. Don’t wipe the inside with an old kitchen dishcloth.
For ordinary routine care, I’d avoid dish detergent because residues can be difficult to rinse from narrow feeding ports. If a feeder’s instructions specify a particular cleaning method, follow them while making sure the components are thoroughly rinsed. Never mix vinegar with bleach or other household cleaning chemicals.
If you’re constantly finding sticky deposits trapped in a part you can’t reach with a brush, the feeder design may be the problem. It’s not worth keeping a pretty feeder that you can’t clean properly.
Don’t wait for obvious mold to take it down
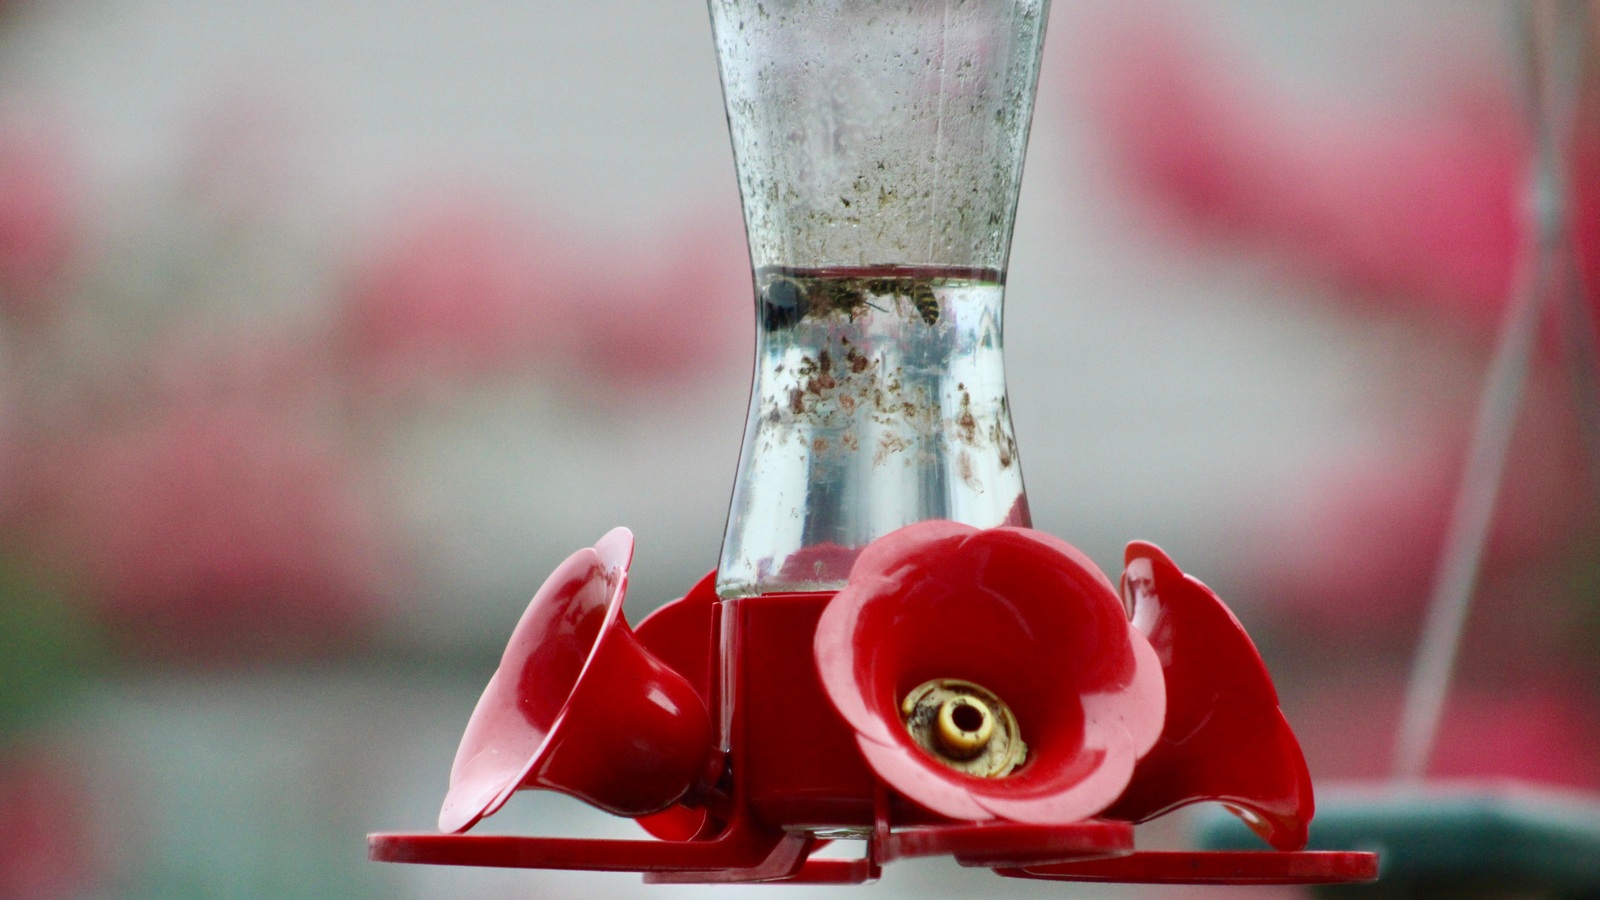
Look at the nectar and feeding ports whenever you pass the feeder, even on days when no cleaning is scheduled. Cloudy liquid, floating specks, unusual bubbles, dark deposits, slime around a port, or a sour smell all mean it needs emptying and cleaning straight away.
Cloudy nectar or visible mold calls for immediate replacement, regardless of the weather or the normal cleaning interval. The same goes for a reservoir with insects inside it. Don’t just remove the insects and top up the sugar water.
A deeper vinegar soak and careful brushing may clean a feeder with accessible residue. If mold remains inside a sealed cavity, an uncleanable valve, or damaged plastic, replace the affected part or the feeder. You want a feeder you can see is clean, not one that looks fine from outside while hiding old deposits in the base.
Remember that clear nectar isn’t proof of freshness, either. Fermentation and contamination can begin before anything looks different. That’s why you still follow the change schedule when the birds are visiting only occasionally.
Keep spare nectar covered and refrigerated
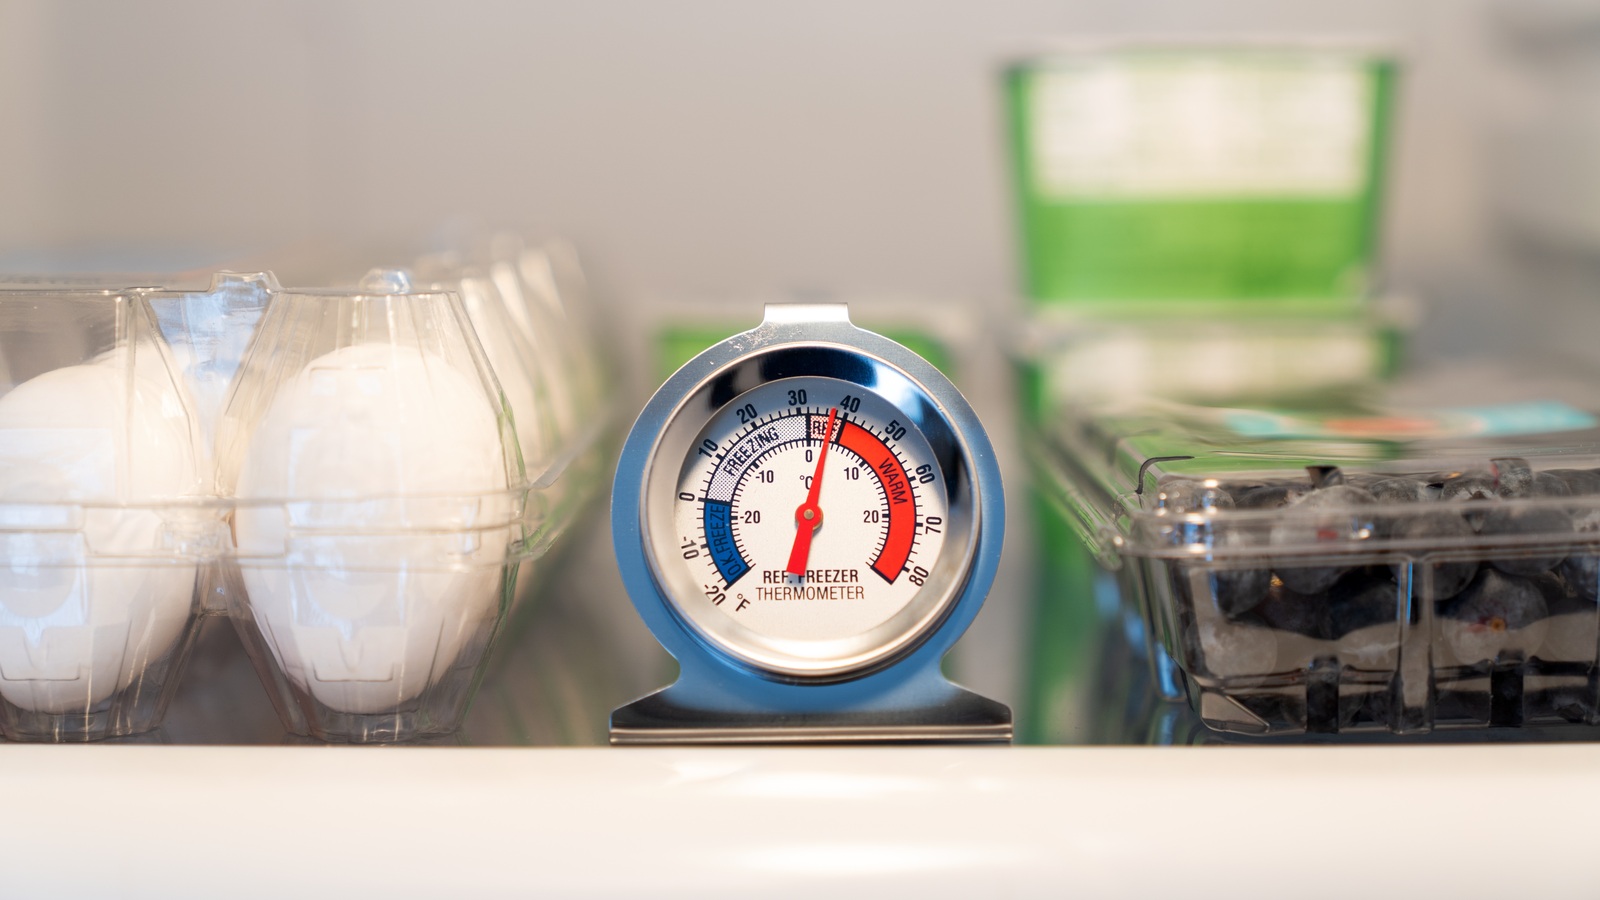
There’s no need to make a new sugar-water mixture for every single refill if a small batch will serve you for several days. Make it in a clean container, allow it to cool if heated, cover it, and refrigerate it promptly. Only pour the amount you need into a freshly cleaned feeder.
Homemade nectar can be kept in the refrigerator for up to one week, provided it stays clean and shows no sign of spoilage. Label the container with the date if you’re likely to forget when you made it. After a week, discard any remainder and start fresh. If it turns cloudy or develops mold sooner, discard it immediately.
Don’t pour the unused nectar from an outdoor feeder into the refrigerator container. Outdoor nectar has been exposed to whatever has visited or settled in the feeder. The refrigerated batch should remain separate and uncontaminated.
To make a little batch for a quiet feeder, mix just 2 tablespoons of sugar with 1/2 cup of water. It’s hardly an expensive amount to discard if there’s some left over, and you don’t end up trying to stretch an old batch simply because you made too much.
Choose a feeder that comes apart without a struggle
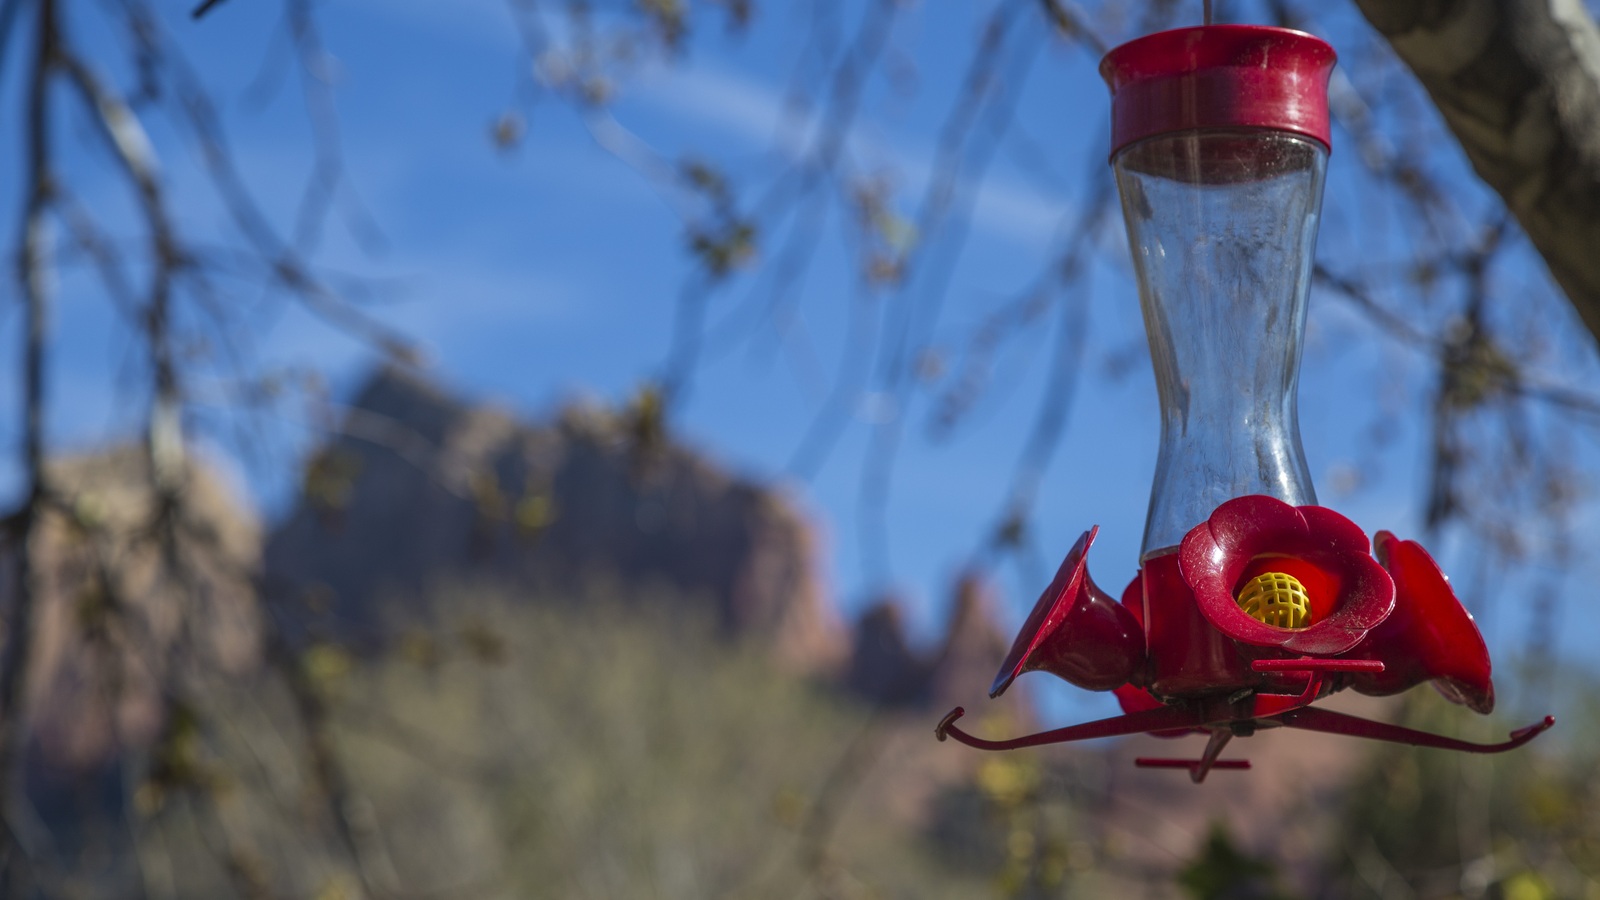
The easiest feeder to maintain is one you’re happy to take apart repeatedly. When you’re choosing a new one, look for a wide opening, simple removable feeding ports, smooth surfaces, and no hidden channels where sugar water can sit. A feeder that takes fifteen fiddly minutes to dismantle isn’t very appealing when the temperature is pushing 95°F (35°C) and you need to clean it daily.
A small, shallow feeder with a removable lid can be a very good choice for someone with just a few visitors. If you already own a bottle-style feeder, it doesn’t need replacing just because it’s larger. Fill it with less nectar, provided the design still delivers the liquid properly, and check all the parts when washing.
I also like the idea of having two similar, easy-to-clean feeders that you can alternate. One can be washed and drained properly while the other is in use, which makes the routine easier when you’re busy. But it’s an optional convenience, not another accessory you need to buy to feed a hummingbird.
Put the feeder where the nectar stays cooler
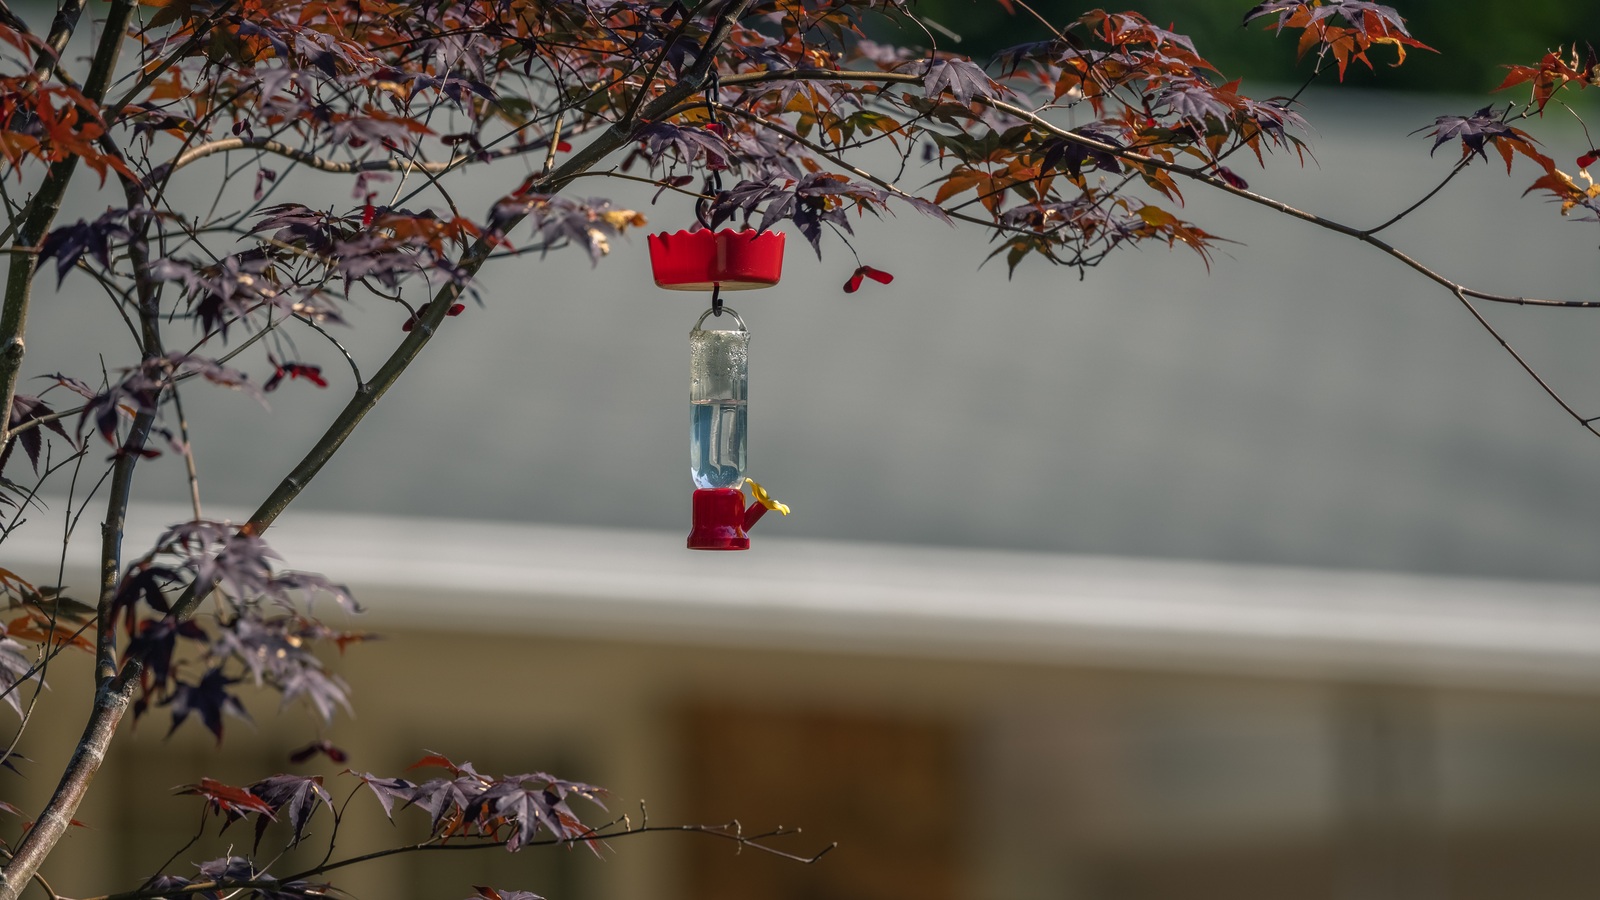
A little shade is one of the simplest ways to slow spoilage. Choose a position with bright visibility for the birds but protection from the strongest afternoon sun, perhaps beneath an open tree canopy or on a shaded porch. Direct sun warms sugar water and makes it spoil faster. A feeder doesn’t have to bake in full sunlight to attract visitors.
It should also be easy to reach. Don’t hang it so high that cleaning requires a ladder or tuck it behind a thorny shrub you won’t want to wrestle with every two days. Wildlife gardening works best when the routine is manageable; if the feeder is awkward to reach, it’s much easier to put the job off.
Nearby trees and shrubs give hummingbirds places to perch and take cover, but leave enough clear space around the feeder for them to approach and move away. Keep it away from places where cats can lie in wait. Avoid hanging it directly over a favorite patio chair or an exposed surface where drips will make a sticky mess.
Think about windows, too. Feeders very close to a window, within about 3 feet, or well away from it are preferable to the intermediate collision-risk zone. Window markings and other collision-prevention measures are helpful where glass reflects sky or vegetation. A convenient viewing spot shouldn’t come at the cost of a dangerous flight route.
Keep ants and other insects from spoiling the nectar
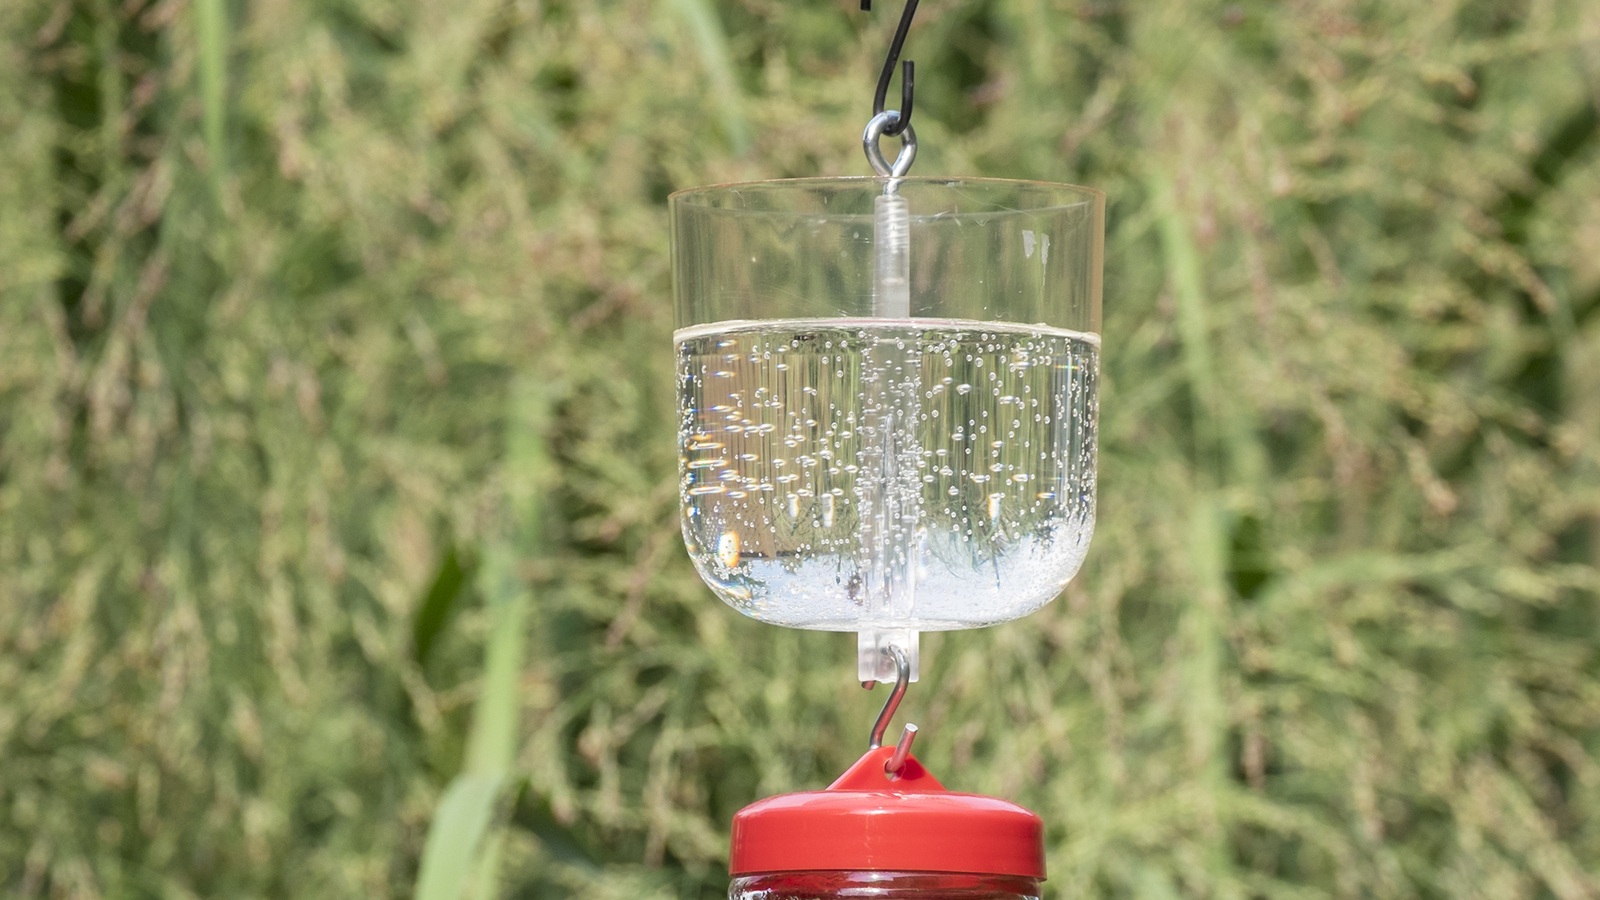
A leaky feeder can drip sticky sugar water onto the stand, the ground, or the siding, attracting ants and other insects. Check that the base is firmly assembled and the seals aren’t cracked. If it keeps leaking, repair it or replace the damaged part rather than adding more nectar every day.
A small water-filled ant moat above a hanging feeder can help stop ants reaching the ports. Keep the moat topped up with clean water and empty any debris from it. Bee guards on some feeder designs can also make the nectar harder for larger insects to reach, provided the guards can be taken off and cleaned.
Don’t smear petroleum jelly, oil, grease, or sticky insect barriers around perches or feeding ports. Oily or sticky products can contaminate nectar and interfere with birds’ feathers. If insects are persistent, try moving the feeder, correcting drips, or using a feeder designed to exclude them without chemicals.
A few visiting insects aren’t grounds for drastic garden treatments. From an organic gardening perspective, I’d much rather address the feeder design than spray insecticides around a place where birds are actively feeding.
Make fresh nectar part of a simple garden routine
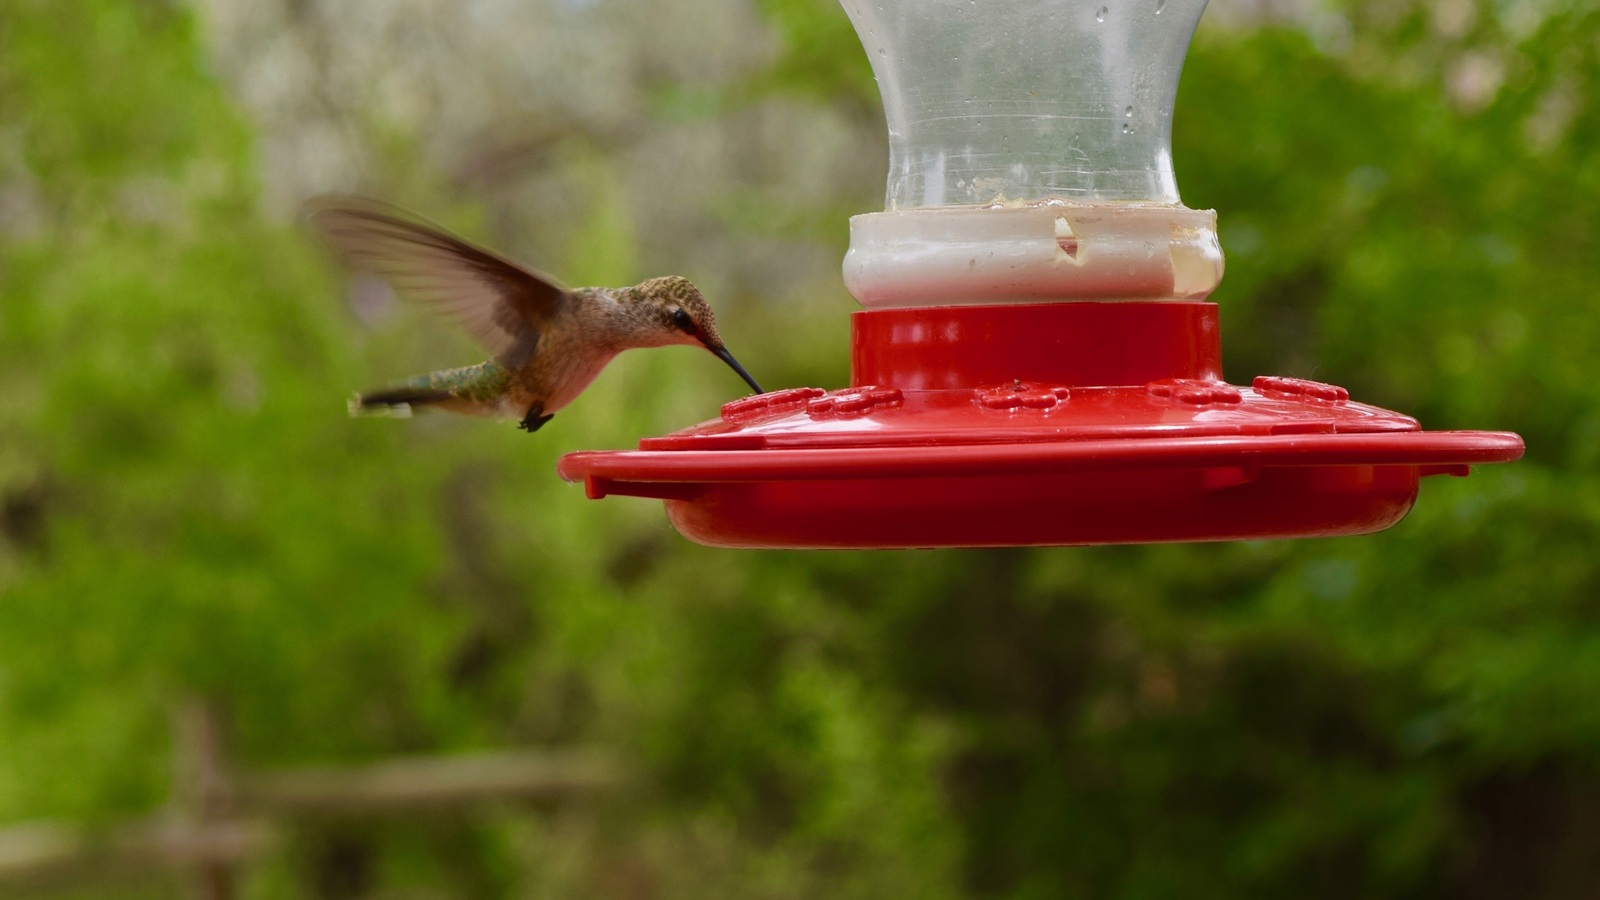
The easiest schedule is the one you’ll actually keep. In mild weather, link feeder cleaning to another regular garden task every few days. During a hot spell, treat it more like filling a birdbath: check it daily, wash it properly, and put out only a little fresh nectar. If a heatwave is forecast, plan for shorter intervals before it starts.
If you’re going away or know you won’t be able to clean the feeder for several days, take it down, wash it, and leave it empty until you can maintain it again. Fresh nectar isn’t helpful if it’s going to sit there unattended through hot weather. The hummingbirds can continue visiting natural flowers.
Where hummingbirds migrate, you can keep a clean feeder available during their local season and for late travelers; leaving a feeder up doesn’t prevent birds from migrating. In areas with resident hummingbirds, feeders can be used year-round. Either way, nectar replacement and cleaning still matter even when visits become less frequent.
Let the garden provide nectar too
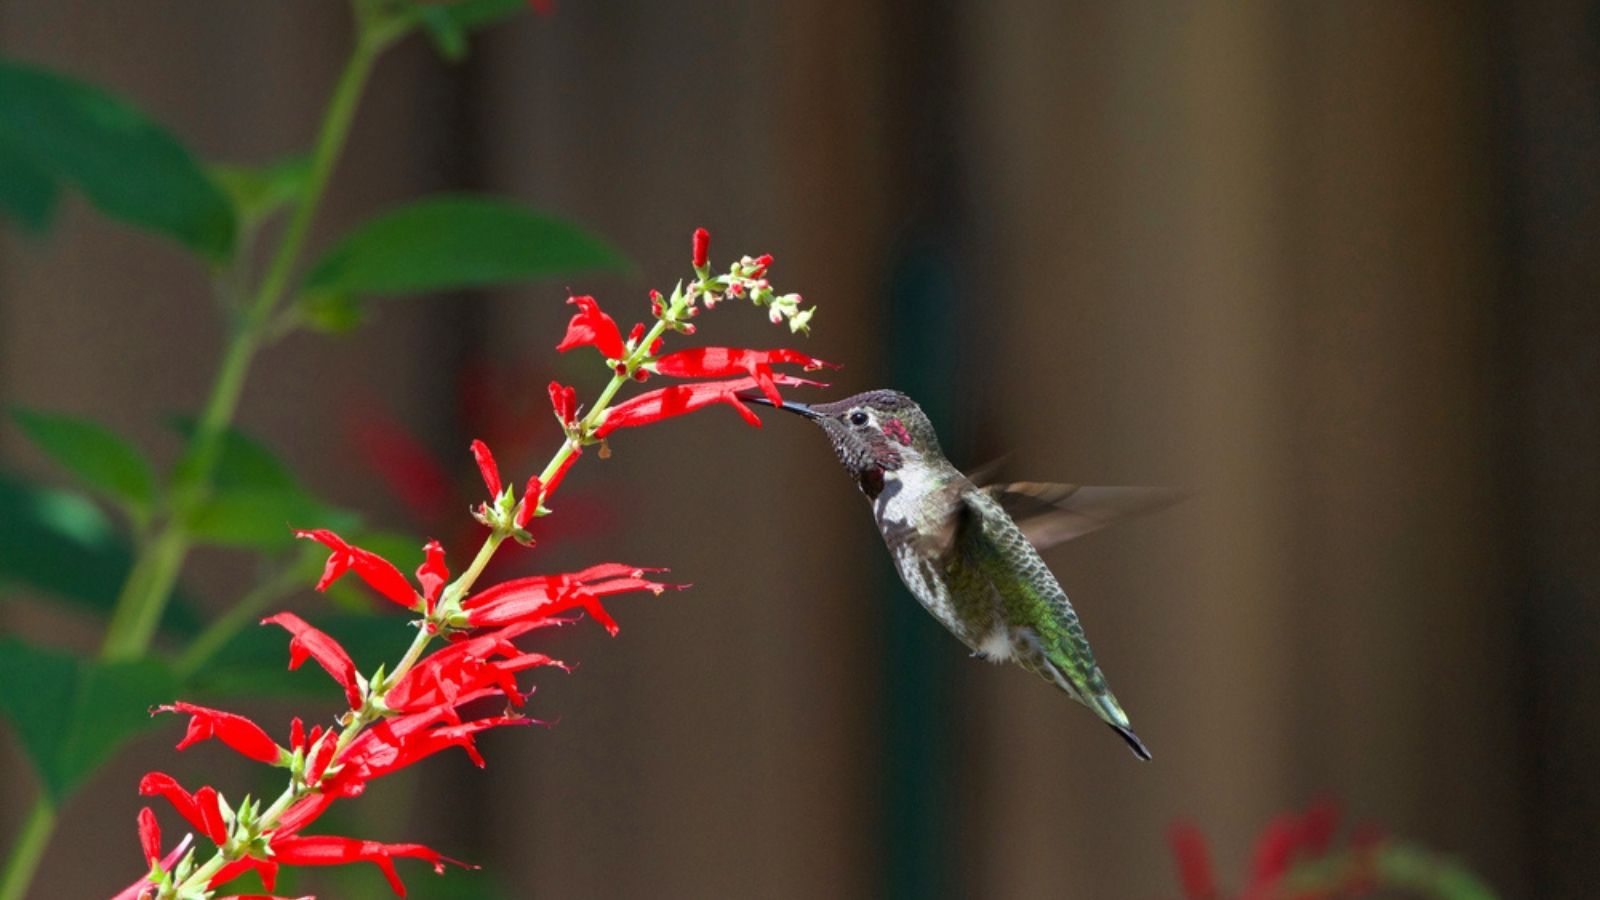
As a master gardener, I think the best hummingbird setup starts with living plants rather than a row of plastic feeders. A clean feeder is useful, especially when flowers are scarce, but it should complement a garden that offers nectar, insects, shelter, and safe perches.
Plant native nectar-rich flowers suited to your region and choose varieties that bloom at different times. Depending on where you live, suitable plants may include bee balm, cardinal flower, coral honeysuckle, and native salvias. They provide food without asking you to wash and refill them every couple of days, and some also support the small insects hummingbirds eat.
You don’t need a large garden for that. A sunny border, a few containers, or a small patch of flowering shrubs can make a difference. Choose plants for your local climate and avoid treating flowers and their insects with unnecessary pesticides.
Keep the feeder small, clean, shaded, and filled with only what the birds can use before the next wash. You’ll throw away less sugar water, spend less time scrubbing old deposits, and still provide the fresh supplemental nectar the birds came to find.

