Affiliate disclosure: This post may contain affiliate links. Please see full disclosure.
Saving bell pepper seeds is surprisingly simple: pick a healthy, fully ripe pepper from an open-pollinated plant, remove the seeds, dry them properly, and store them somewhere cool and dry. One good pepper can give you enough seed to grow next year’s crop, and you can still eat the flesh afterward.
I’ve grown vegetables organically for decades, and saving seed is one of the most satisfying ways to make your garden more self-reliant. With bell peppers, the fiddly part isn’t scraping the seeds out. It’s knowing when they’re mature, whether they’ll grow true to the parent, and what happens when different pepper varieties flower close together.
Those things are worth understanding if you’ve found a particularly sweet, thick-walled bell pepper that you want to keep growing without buying a new packet every spring. You’ll get better results by being choosy about the parent plant than by fussing over elaborate drying equipment.
Choose a bell pepper variety worth saving
If you want next year’s peppers to look and taste like this year’s, start with an open-pollinated variety, ideally one you’ve grown from a labeled seed packet. An heirloom is an open-pollinated variety that’s been maintained and passed down over time. Newer open-pollinated varieties can also produce dependable seed.
Check the packet or original seed catalog description for “open-pollinated,” “OP,” or “heirloom.” If the packet says F1, you’re growing a first-generation hybrid. F1 hybrid seeds aren’t automatically sterile. They often germinate perfectly well, but their offspring can vary in color, shape, size, yield, and other characteristics. Saving them is fine for experiments; it’s not a dependable way to reproduce a named variety. Open-pollinated varieties are the better choice for seed that breeds true.
California Wonder, Sweet Chocolate, and Purple Beauty are some of the open-pollinated peppers covered in my guide to the best sweet peppers to grow. If there’s one you’ve already grown successfully, that’s a sensible place to begin. I prefer saving seed from a variety that tastes wonderful and produces well in my actual conditions, rather than chasing the biggest fruit in a catalog.
You can save seeds from a grocery-store bell pepper, too. If it’s ripe, those seeds may well sprout. But you probably won’t know the variety, whether it came from a hybrid, or whether its offspring will suit your growing season. I’d treat supermarket seeds as a fun extra, not the foundation of a carefully planned harvest.
Pick the healthiest plants
Select seed peppers from healthy, vigorous plants that have produced good fruit. Look beyond the single biggest bell pepper. A plant that crops reliably, ripens in good time, and makes delicious thick-walled fruit is a more useful parent than one that gives you a lone monster pepper.
If you’ve got several plants of the same variety, collect seeds from more than one. You can produce usable seed from a single plant, but maintaining the diversity of a named heirloom over many generations calls for a broader selection of parents. Seed-saving population size matters when preserving varieties.
Avoid collecting seed from plants with suspicious disease symptoms, badly damaged fruit, or mold around the seed core. Some pepper diseases can be carried on seed. Drying seeds doesn’t automatically remove that risk, and it’s not worth introducing a problem to next year’s seedlings just to save a few cents.
Leave your bell peppers to ripen fully

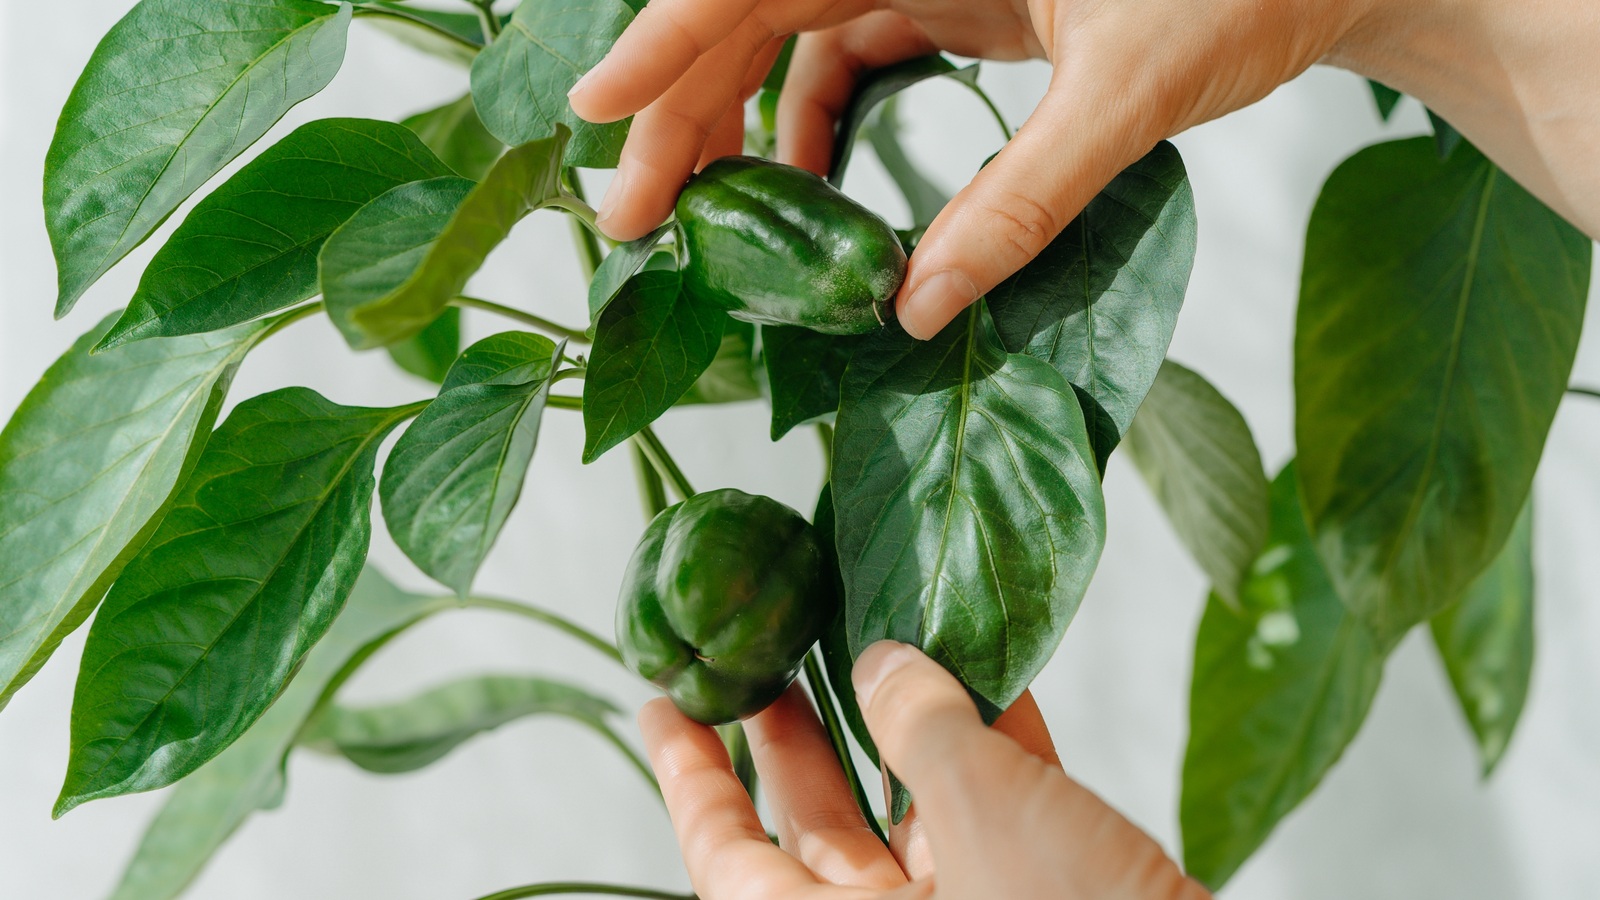
A large, crunchy green bell pepper might be perfect for the kitchen while the seeds inside are still immature. That’s the mistake I most want gardeners to avoid. A pepper can have reached eating size well before it’s ready for seed saving.
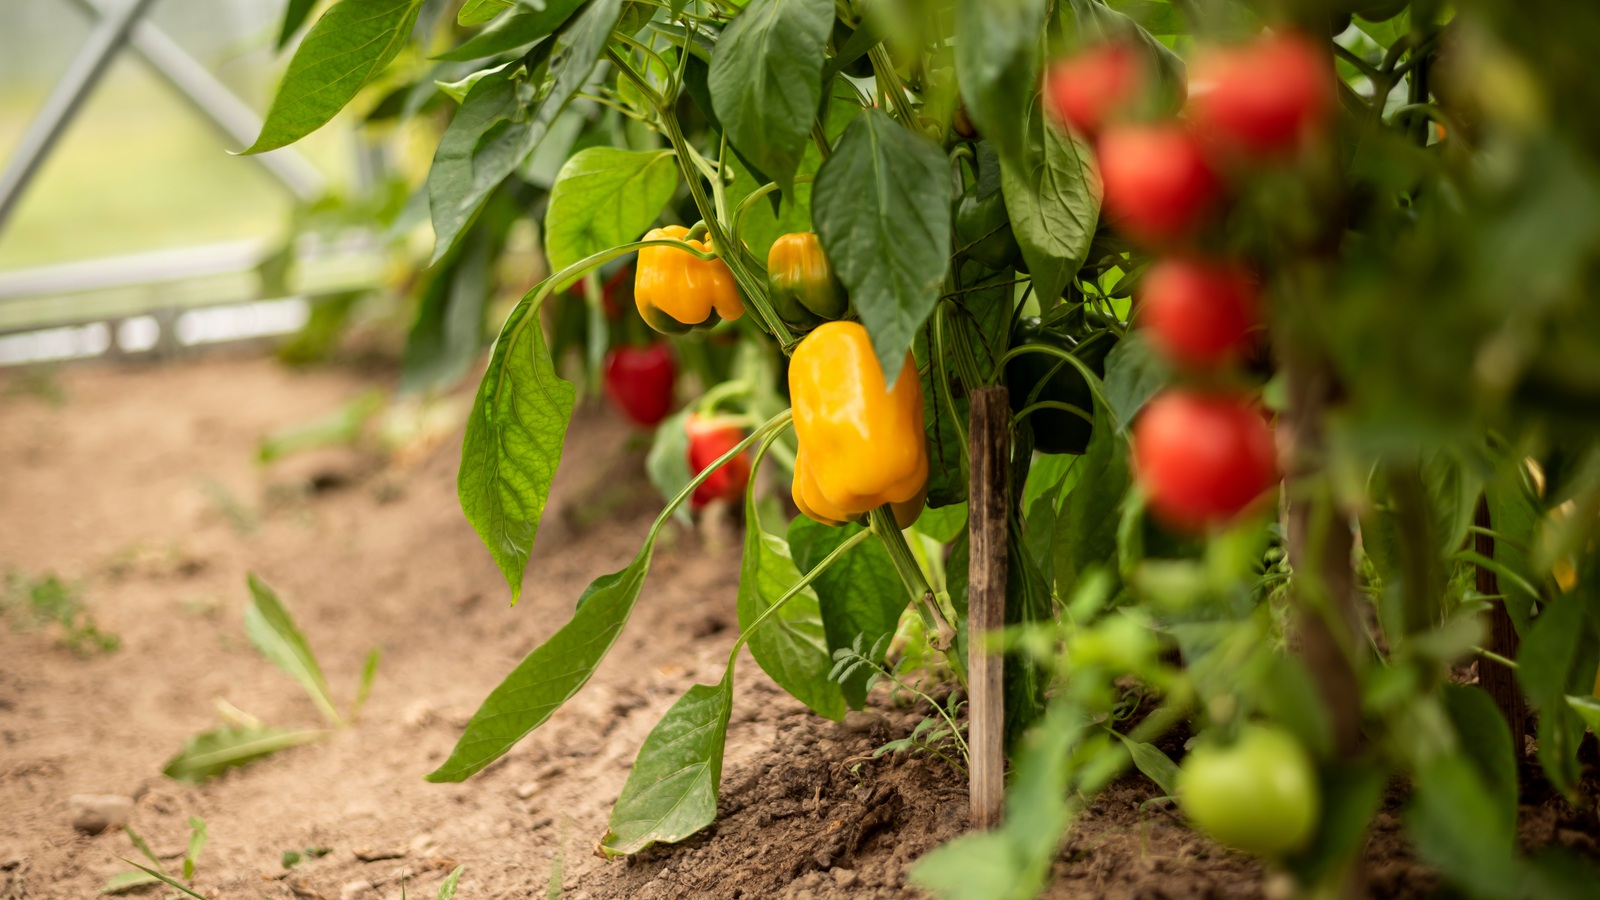
Let the fruit remain on the plant until it reaches its final ripe color. Most green bell peppers eventually turn red, but other varieties mature yellow, orange, brown, or another color. Some purple peppers develop that color before they’re fully ripe, so check the specific variety rather than assuming the first color change is the final one. Fully colored, mature peppers give the best seed-saving results.
A ripe pepper may soften a little. That’s not a problem. Rot, leaking flesh, and mold are problems. You don’t have to leave a fruit until it’s decomposing to get good seed, and I wouldn’t deliberately risk it.
If you need peppers for dinner while some are ripening for seed, mark a couple of healthy fruits to leave on the plant and pick the others as usual. Allowing those selected fruits to finish ripening can mean slightly less immediate harvesting, but it’s a worthwhile trade-off. The rest of the season’s care, from watering to feeding and supporting your plants, is covered in my bell pepper growing guide.
RELATED POST: How to Grow Bell Peppers
What if frost arrives before the peppers ripen?
A cold snap can ruin the best seed-saving intentions. If your pepper is already almost fully colored, harvest before damaging frost. Where fruit is less mature, taking the whole plant into a sheltered place with the peppers attached can sometimes give the seeds more time to mature. Check carefully for fruit decay and don’t expect an immature, hard green pepper left on the countertop to magically produce mature seed. Pepper seed can continue maturing on protected harvested plants in suitable conditions.
If this keeps happening, the long-term answer is to grow an earlier variety next season and start it indoors in good time. Getting genuinely mature seed is much more reliable than trying to rescue immature seed every fall.
Stop different pepper varieties crossing if you want true-to-type seed

Bell peppers have flowers containing both male and female reproductive parts, so they can self-pollinate. But bees and other visiting insects can still carry pollen between different peppers. That’s important if you’re growing several varieties in the same garden.
Here’s the distinction: a sweet bell pepper growing beside a jalapeño doesn’t suddenly become hot that summer. The fruit is produced by the existing plant. The difference may appear in the next generation grown from crossed seeds. Two nearby sweet pepper varieties can cross, too, even when neither is hot. I’ve covered that distinction in more detail in my guide to companion planting peppers.
For a bit of experimentation, unexpected peppers might be rather entertaining. But if you’ve carefully selected an heirloom for its flavor, shape, or earliness, I recommend preventing unwanted crosses.
Protect a few unopened flowers with mesh bags
Professional seed-saving isolation distances can run into hundreds of feet, which is unrealistic for most home gardens, particularly when neighbors grow peppers too. You don’t need an enormous plot or expensive equipment to protect a few flowers. A small, breathable, fine-mesh blossom bag is usually the simplest option. Fine mesh can isolate pepper blossoms from pollinating insects.
- Find several healthy flower buds that haven’t opened yet on the pepper plant you want to save seed from. An already-open flower may have received pollen from another variety.
- Slip a small fine-mesh or organza bag over the unopened bud or a little cluster of buds. Secure it gently without squeezing the stem or leaving gaps for insects.
- Leave the bag in place while the flowers open and self-pollinate. Check that the bag isn’t rubbing on or crushing the developing fruit.
- Once a tiny pepper has formed and the flower has withered, remove the bag. Put a loose ribbon or tag around the fruit’s stem so you know which pepper was isolated.
- Allow that marked pepper to ripen fully. Protect several buds if possible, because not every flower will set fruit.
If you want to save more seed, cover an entire plant or several plants of the same variety with a properly secured fine-mesh cage. You don’t need to bag all the peppers you’re growing for food. Isolate the ones whose seeds you want to keep true to type, then enjoy the rest as usual.
How to collect and dry bell pepper seeds
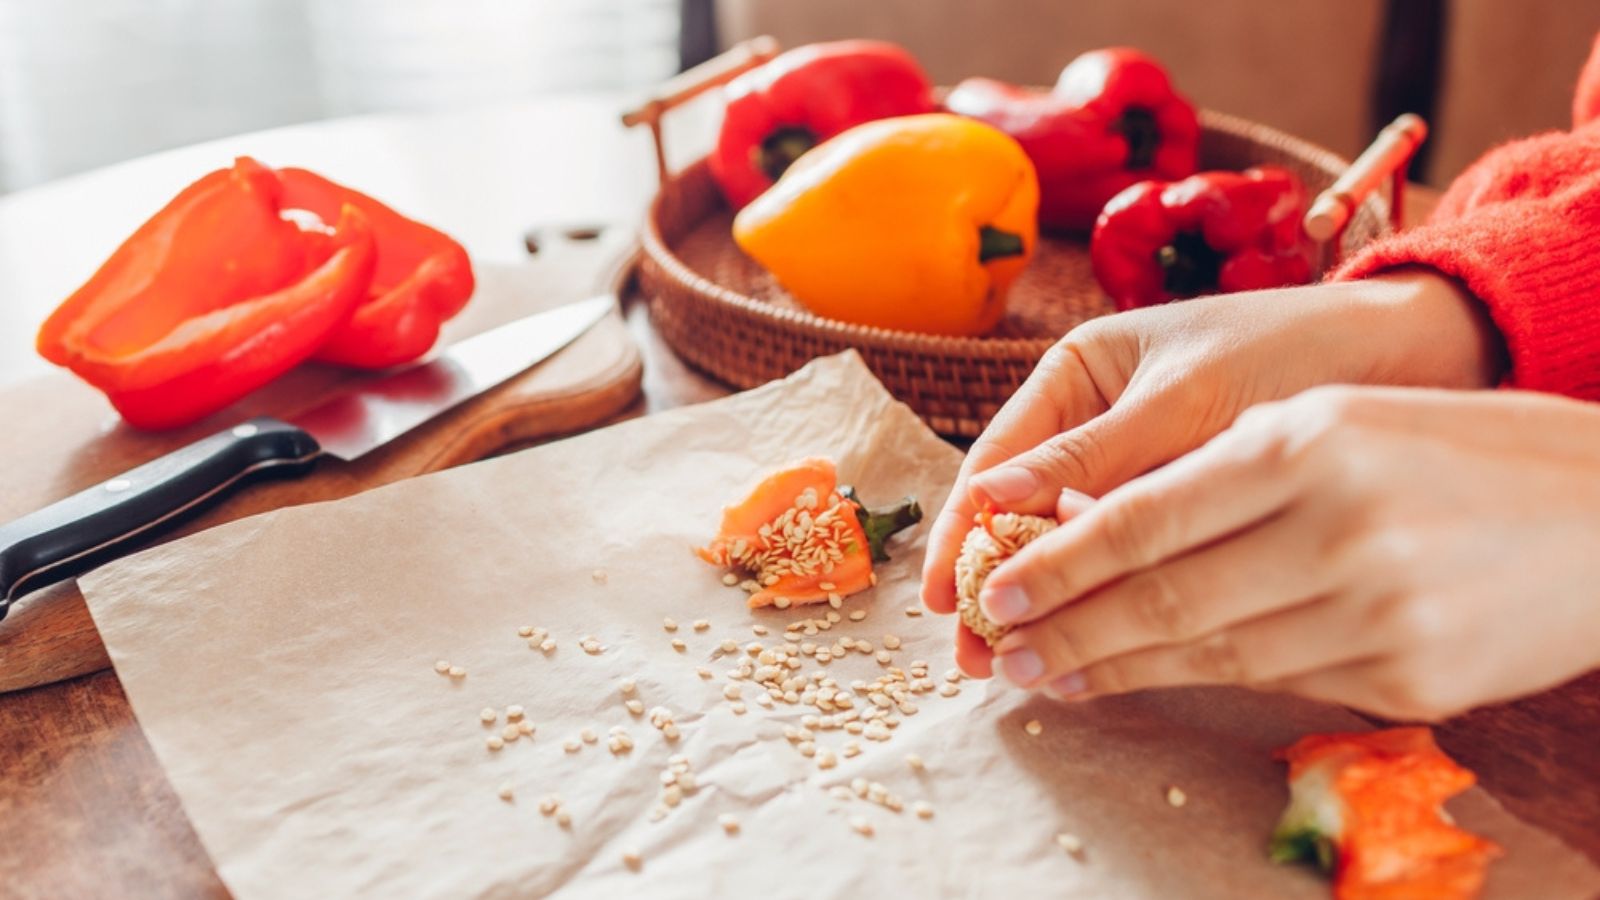
All you need is a ripe pepper, a clean knife, a spoon, a plate, and a coffee filter or fine screen for drying. Bell pepper seeds don’t require soaking solutions or the fermentation step commonly used for tomato seeds.
1. Cut out the seed-bearing core
Wash the outside of the pepper. Cut around the stem end and gently twist the core out, or slice the fruit lengthwise and scrape the seeds off the pale internal ribs. Work over a plate or tray, because loose pepper seeds have a remarkable ability to find every corner of the countertop.
Most mature seeds are firm and pale cream to tan. Pick out obviously flat, damaged, shriveled, moldy, or darkened seeds. Don’t automatically discard every pale-colored seed on the assumption that only dark yellow seeds are mature. Good seed color varies.
Keep the flesh if it’s sound. The lovely thing about saving bell pepper seeds is that you can use the pepper itself in a stir-fry, salad, or batch of roasted vegetables. There’s very little waste.
2. Remove any remaining pulp
Pick away bits of internal membrane. If the seeds are sticky, rinse them briefly through a fine sieve and drain promptly. You don’t have to ferment them, and there’s no reason to leave them sitting in water overnight.
I wouldn’t use a water float test as the only way of deciding which seeds will grow. Floating doesn’t prove every individual seed is dead, and sinking doesn’t guarantee germination. Choosing sound, mature seeds and testing germination later are more dependable.
Keep different varieties in separate, labeled dishes. If you get two sets of pale pepper seeds mixed together, it’s virtually impossible to sort them afterward.
3. Dry the seeds thoroughly
Spread the seeds apart in a single layer on a clean coffee filter, fine mesh screen, or smooth plate. A coffee filter is handy because seeds usually stick less than they do to a fluffy paper towel.
Leave the seeds somewhere dry, shaded, and well ventilated. Turn or stir them occasionally so moisture doesn’t collect underneath. Avoid hot ovens, direct baking sunlight, and excessively warm radiators. You want the seeds dry, not cooked.
Several days is often enough, but humidity and airflow matter more than the calendar. Check a few seeds before putting the batch away. They should feel hard rather than pliable, and a fully dry seed shouldn’t leave a damp mark when rubbed between pieces of paper. If you’re unsure, give them more time.
4. Label and package your seeds
Put the completely dry seeds into a paper envelope. Write the variety name, collection year, mature fruit color, and whether you protected the blossoms from crossing. I also like recording which parent plants produced especially well or ripened early. You’ll be glad of those notes when you’re planning next year’s garden.
If you’re packing several kinds of peppers, keep each envelope separate even when they all go into the same storage jar. A packet labeled simply “peppers” isn’t very helpful when you’re trying to work out which ones need a longer growing season.
Store your bell pepper seeds cool, dark, and dry
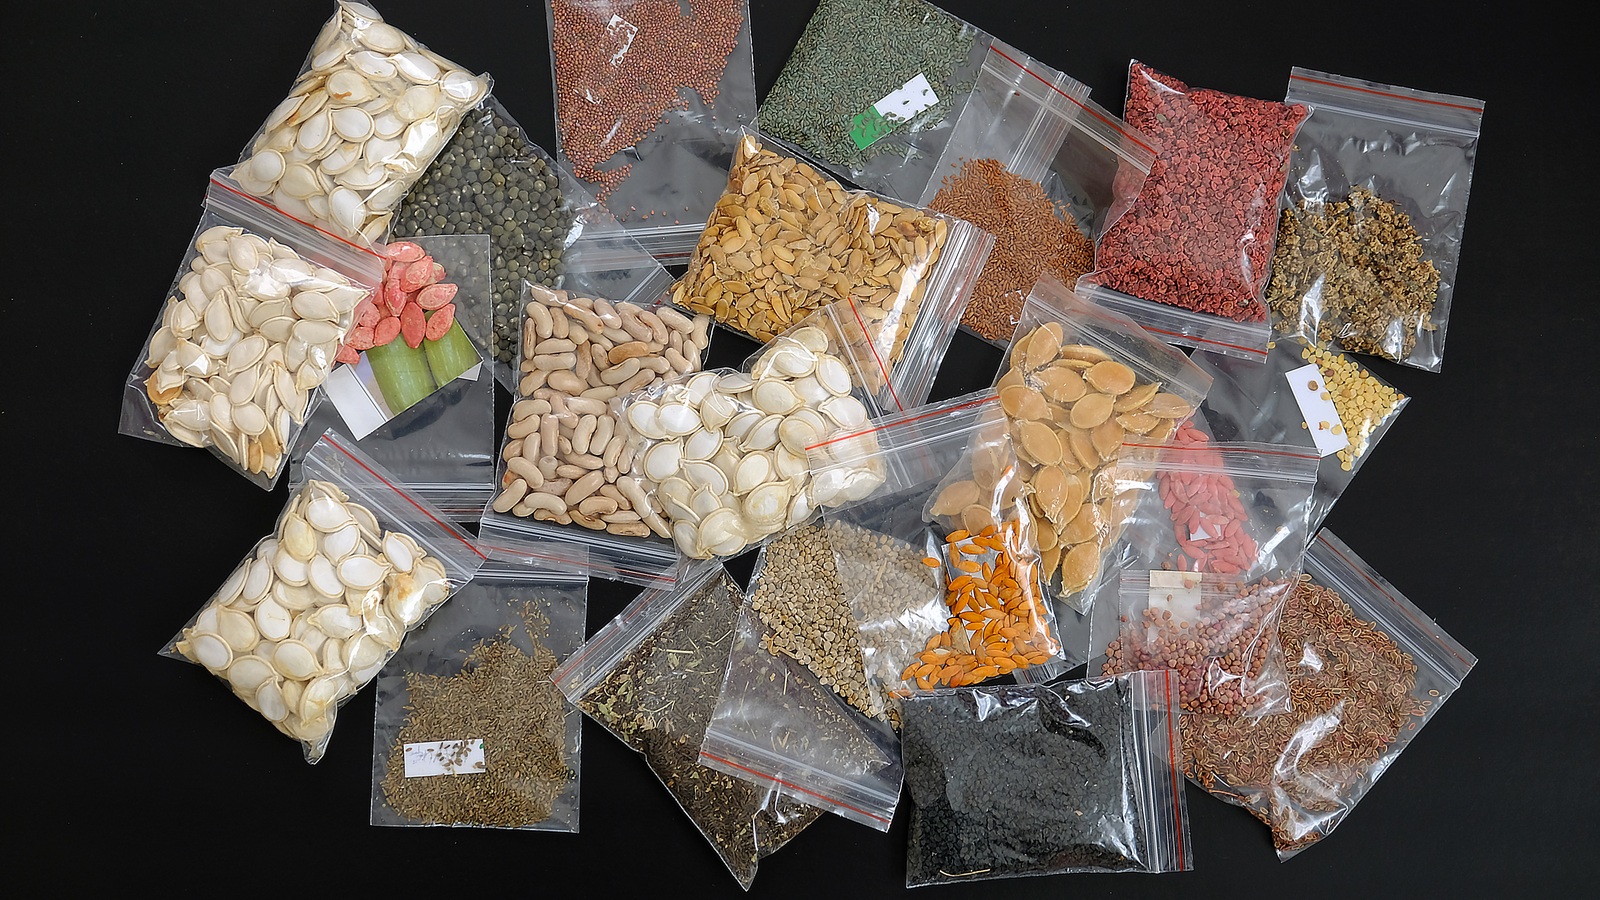
Dry seeds store best away from warmth and moisture. Put the labeled envelopes into an airtight jar or other moisture-resistant container once you’re certain they’re fully dry. A small silica-gel packet can help absorb stray moisture, but it won’t magically save wet seeds sealed too soon.
A cool cupboard is fine for shorter storage. For longer storage, a refrigerator is useful if the container is thoroughly sealed and the seeds are dry. When you remove a chilled jar, let it warm to room temperature while still closed before opening it. That reduces the chance of moist air condensing onto cold seeds.
Properly stored pepper seeds can remain viable for around three years, and sometimes longer. Germination and vigor generally decline over time, though, so don’t assume a packet from several seasons ago will perform exactly like fresh seed.
If I’m saving a variety I really want to keep, I’d rather grow some of the seeds the following spring and refresh the stock regularly than leave them forgotten for years in a kitchen drawer.
Test saved bell pepper seeds before spring planting

A germination test is useful if your seed is older, if the drying conditions were less than ideal, or if you’ve got limited space and need to know whether a batch is worth planting. It answers one question: can the seeds sprout? It doesn’t tell you whether they will reproduce the original variety.
Place 10 seeds on a moist paper towel, fold it over, and put it into a labeled clear container or loosely closed bag. Keep the towel damp but not dripping, and put it somewhere warm, ideally about 75–85°F (24–29°C). Check every couple of days for roots and moisture.
Peppers can take one to three weeks to germinate, depending on the variety, temperature, and age of the seed. Don’t discard the whole batch after five days. Count the seeds that sprout: eight out of 10 means roughly 80% germination. That’s useful seed. If only one or two germinate, I’d buy fresh rather than waste weeks hoping a whole tray will come up. A small paper-towel germination test helps assess older stored seed.
If you’ve only got a handful of seeds, you don’t have to sacrifice 10 to the test. Use a smaller sample and understand that the percentage will be less reliable. Seedlings with tiny new roots can sometimes be transferred very carefully into seed-starting mix rather than wasted.
Grow your saved peppers next season

Start bell peppers indoors about six to eight weeks before you’re planning to transplant them outdoors. Sow the seeds roughly ¼ inch deep in clean seed-starting mix, keep it moist but not waterlogged, and provide warmth. Soil around 75–85°F (24–29°C) is a useful target for germination, particularly when your home is cool. Pepper seedlings benefit from warm soil and an early indoor start.
Once they emerge, move them into strong light with good airflow. Pot them on as they grow rather than leaving them cramped in their starting cells. If you need a reminder of that stage, my guide to transplanting pepper seedlings covers it properly.
Keep your seedling labels on the plants all the way through the season. If you’re trying to establish a line that performs consistently, you’ll want to compare the offspring with the original variety’s fruit shape, color, flavor, and growth habit. When you’re happy with the results, you can select good plants for seed saving again.
Common mistakes when saving bell pepper seeds

- Using seeds from a full-sized but immature green bell pepper instead of waiting for its final ripe color.
- Assuming F1 hybrid seeds won’t germinate, or assuming that any seed that sprouts must grow true to the parent.
- Growing different varieties together and expecting seed purity without isolating flowers or plants.
- Saving seed from a plant with worrying disease symptoms or fruit with a moldy core.
- Sealing seeds in a plastic bag or jar before they’ve dried completely.
- Forgetting to label the cultivar, collection year, and whether pollination was protected.
- Trusting an old packet without checking whether the seeds will still germinate.
The best way to begin is with one open-pollinated bell pepper you already enjoy. Protect a few flowers, let a sound fruit fully ripen, dry the seeds properly, and label the envelope. That’s how a little practical seed saving turns one good harvest into the start of another.
You might also like…
How to Stop Pepper Plants Falling Over
How to Freeze Your Last Garden Peppers Without Ending Up With One Solid Block