Affiliate disclosure: This post may contain affiliate links. Please see full disclosure.
If you’ve grown a tomato that tastes great, crops well, and stays reasonably healthy in your garden, saving some of its seed makes a lot of sense. You already know that particular plant has done well for you, and instead of buying another packet next spring, you can keep some seed from this year’s crop and grow it again.
Tomatoes are also one of the easier vegetables to save seed from. They’re mostly self-pollinating, the seeds are easy to collect, and one or two good ripe tomatoes will usually give the average home gardener far more seed than they actually need.
There is a little more to it than scraping the seeds out and leaving them to dry, though. If you want clean seed that stores well, I prefer to ferment tomato seeds first, then rinse and dry them properly before putting them away.
Make sure your tomato is worth saving seed from
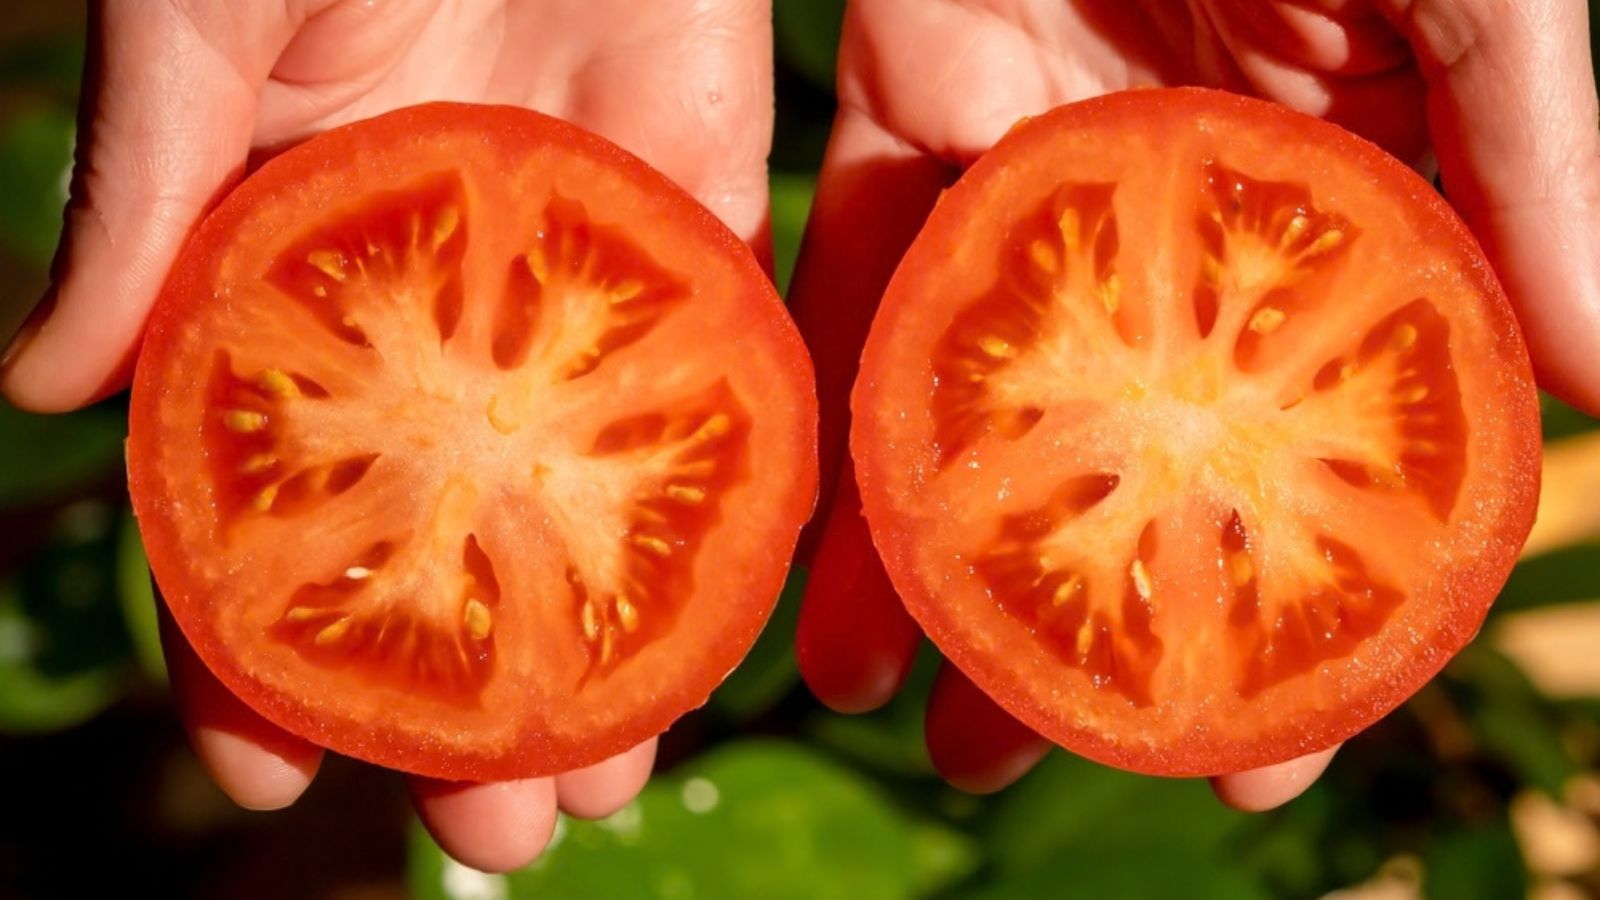
Before you start cutting tomatoes open, check what you’re growing.
If you want next year’s plants to closely resemble this year’s, save seed from an open-pollinated tomato rather than an F1 hybrid. Open-pollinated varieties produce offspring that remain very similar to the parent plants as long as they haven’t crossed with another compatible variety.
That doesn’t mean seeds from hybrid tomatoes are sterile. Hybrid tomato plants can produce perfectly viable seed, but the resulting plants won’t necessarily have the same qualities as the parent. You may get different fruit size, flavor, growth habit, productivity, or disease resistance because those seedlings contain a new mixture of traits from the original parent lines.
If you still have your seed packet, look for “F1” or “hybrid” on it. If it’s an heirloom or another named open-pollinated variety, it’s generally a much better candidate for seed saving.
I also choose the plant carefully rather than simply taking whichever ripe tomato happens to be closest. It’s best to collect seed from healthy, vigorous plants with good-quality fruit rather than weak, diseased, or noticeably off-type plants. If one plant has been especially productive, healthy, and tasty, that’s the one I’d rather keep seed from.
Will different tomato varieties cross?
Tomatoes make life fairly easy for seed savers because their flowers contain both the pollen-producing and pollen-receiving parts and normally pollinate themselves.
Cross-pollination can still happen occasionally when insects carry pollen between varieties. If you’re just saving seed for your own vegetable garden, I wouldn’t get overly worried about this. Most of the time you’ll get exactly what you expect.
If maintaining a variety as accurately as possible matters to you, a commonly recommended isolation distance between tomato varieties is 10 to 50 feet. You can also cover unopened flower clusters with fine mesh blossom bags and save seed only from the protected flowers.
For ordinary home seed saving, I usually keep it simple. I save from known open-pollinated varieties and accept that a surprise cross is possible if I’m growing several tomatoes close together.
What you need
You don’t need any special equipment to save tomato seeds. I use:
- A fully ripe tomato
- A small clean jar or glass
- A knife
- A teaspoon
- Water
- A fine mesh strainer
- A plate, coffee filter, or fine screen for drying
- A paper seed envelope
- A permanent marker
If you’re saving more than one variety at the same time, label the jars before you put anything in them. Once you have several jars of tomato pulp fermenting on the counter, relying on memory is not a particularly good system.
Step 1: Choose a properly ripe tomato
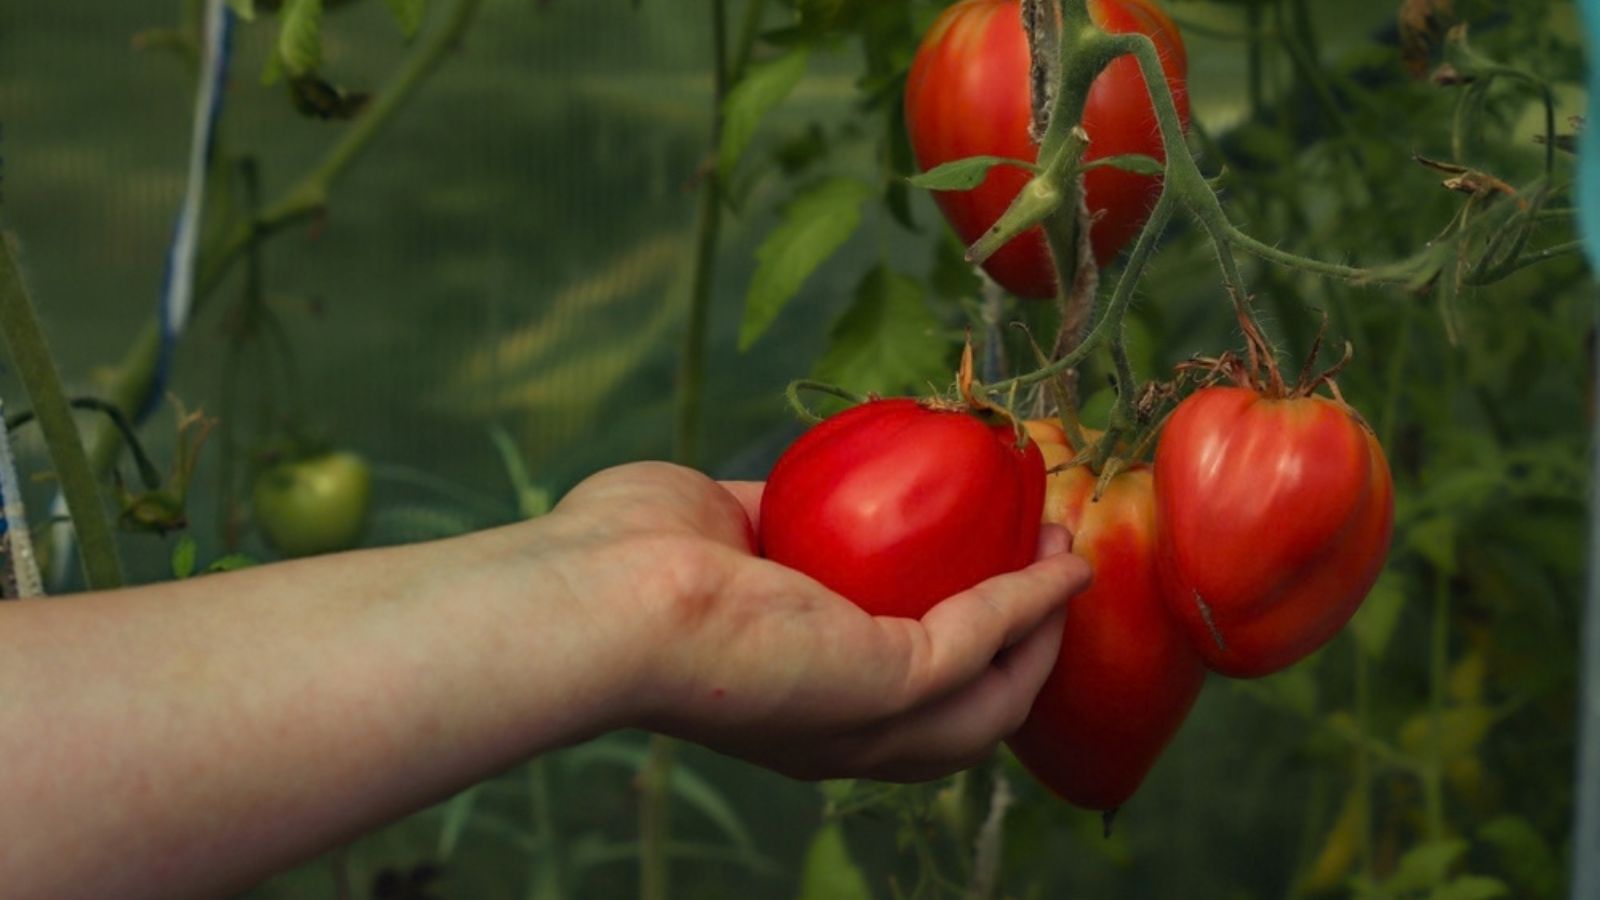
Leave the tomato on the plant until it’s fully ripe and ready to eat. Tomato seeds are mature when the fruit itself has reached eating ripeness, so you don’t need to leave it hanging on the plant until it’s soft or starting to rot.
Try to choose a fruit that’s typical of the variety. If you’re growing a large red beefsteak, for example, I wouldn’t deliberately take seed from the one unusually tiny or oddly shaped fruit on the plant.
You don’t need your biggest tomato, either. You’re choosing the plant and fruit based on the characteristics you want to keep growing, so health, flavor, productivity, and typical fruit quality matter more than sheer size.
Step 2: Scoop out the tomato seeds
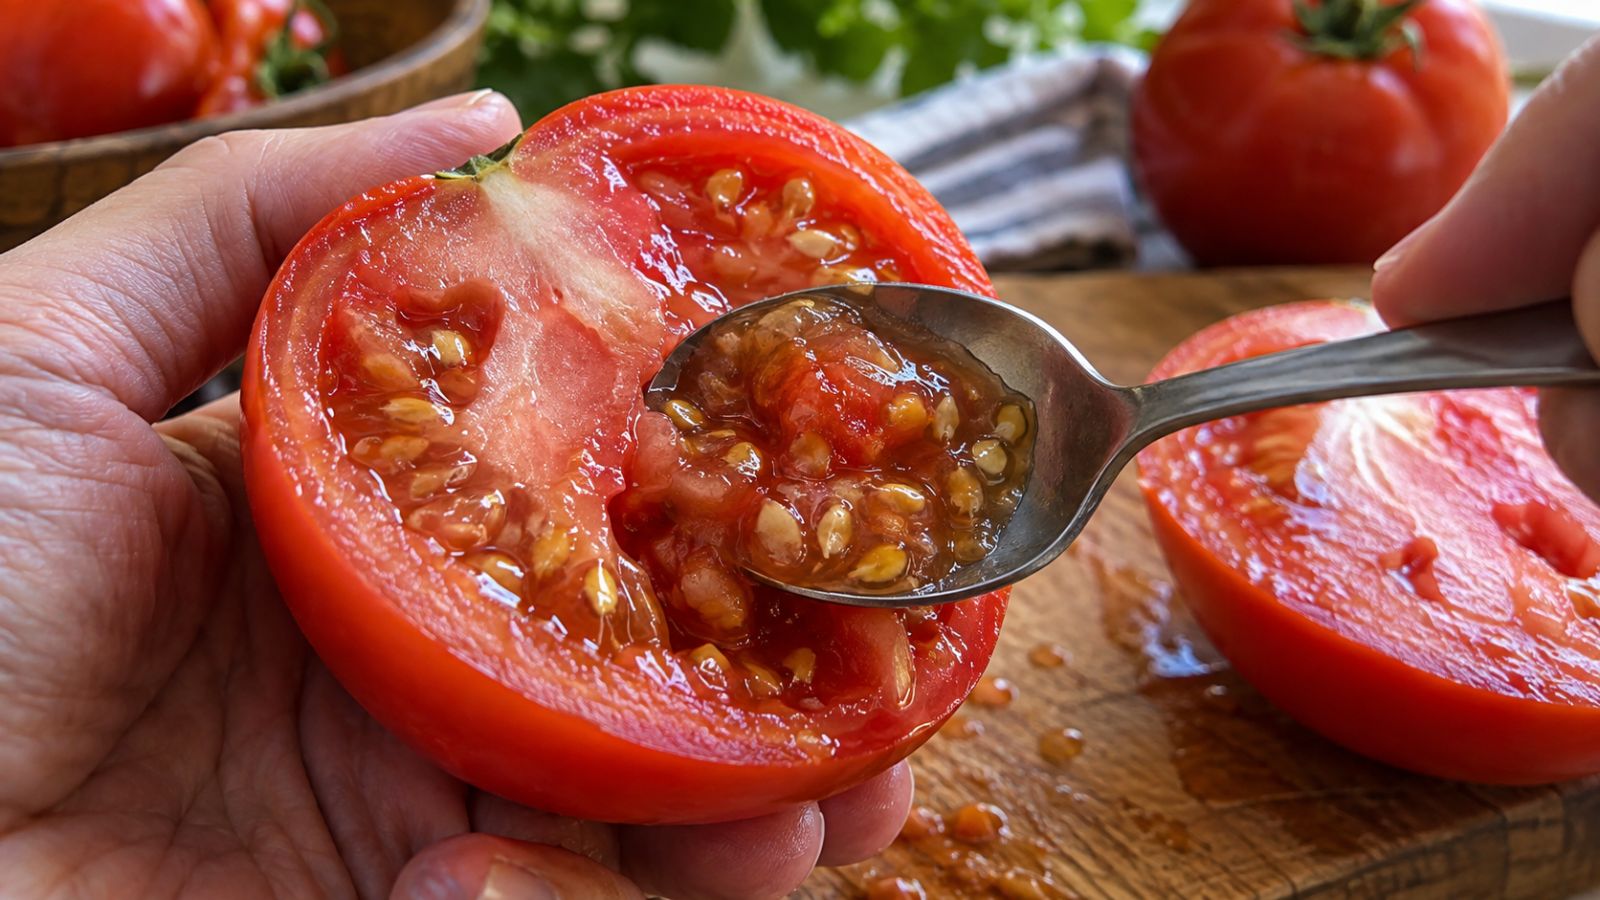
Cut the tomato open and scoop the seeds, along with the slippery gel surrounding them, into a small jar.
You don’t need to sacrifice the whole tomato. Scoop out the seedy center and use the rest for dinner, sauce, salsa, freezing, or whatever else you were going to do with it.
Add a small splash of water to the jar. You only need enough to loosen the thick pulp and make it easier to stir.
Each tomato seed is surrounded by a gelatinous coating. Fermentation breaks that material down so you can wash it away and end up with clean individual seeds rather than a sticky mass of seed and dried tomato pulp.
Step 3: Ferment the seeds

Leave the jar somewhere warm but out of direct sunlight.
Tomato seed fermentation takes about 72 hours at roughly 72°F to 80°F (22°C to 27°C). In practice, temperature makes a difference, so I watch the jar rather than setting a timer and assuming it’s finished.
Give it a gentle stir or swirl once or twice a day. I loosely cover the jar with a coffee filter or piece of cloth if fruit flies are around, but don’t seal it tightly.
After a couple of days, the contents will look fairly unpleasant. You may see bubbles, cloudy liquid, or a white layer of mold developing on top. That’s part of the fermentation process.
The useful seeds should begin settling at the bottom while pulp and lighter material remain nearer the top. Fermentation also has another useful benefit: the microorganisms involved can destroy many of the seed-borne disease organisms carried with the seed.
I still wouldn’t save seed from a plant that I knew was diseased. Fermentation isn’t a guarantee that you’re producing disease-free seed, and some tomato pathogens can be carried in or on seed.
Step 4: Rinse away the pulp and poor-quality seed
Once fermentation is finished, add plenty of clean water to the jar and stir it well. Let everything settle for a moment.
Dense, mature tomato seeds tend to sink while pulp and lighter, immature seed can be poured off with the water.
Carefully tip away the dirty water and floating material without losing the good seeds sitting at the bottom. Add fresh water and repeat the process until you’ve removed most of the pulp and the water is reasonably clear.
Then tip the remaining seeds into a fine mesh strainer and rinse them thoroughly under cool running water. Gently rub them with your fingers if necessary to remove any stubborn bits of pulp.
At this point you should have clean, separate tomato seeds without the slippery coating they had when they first came out of the fruit.
Step 5: Dry the tomato seeds completely
This is the part I wouldn’t rush. Seed that goes into storage while it’s still damp can mold, and once that happens you may lose the whole batch.
Spread the rinsed seeds out in a thin single layer on a clean plate, coffee filter, tray, or fine screen. A screen is especially useful because air can circulate underneath as well as over the top.
Keep them somewhere dry with decent airflow and away from strong direct sunlight. Move the seeds around once a day so they don’t dry together in a solid lump.
Clean tomato seeds generally need around five to seven days to dry thoroughly, although they’ll take longer in a humid room.
Don’t use an oven or strong direct heat to speed things up. Just give them time.
If I’m not sure whether seed is dry enough, I’ll sacrifice one or two and test them. A properly dried seed should snap or shatter rather than bend, squash, or flatten.
Step 6: Label and store the seeds
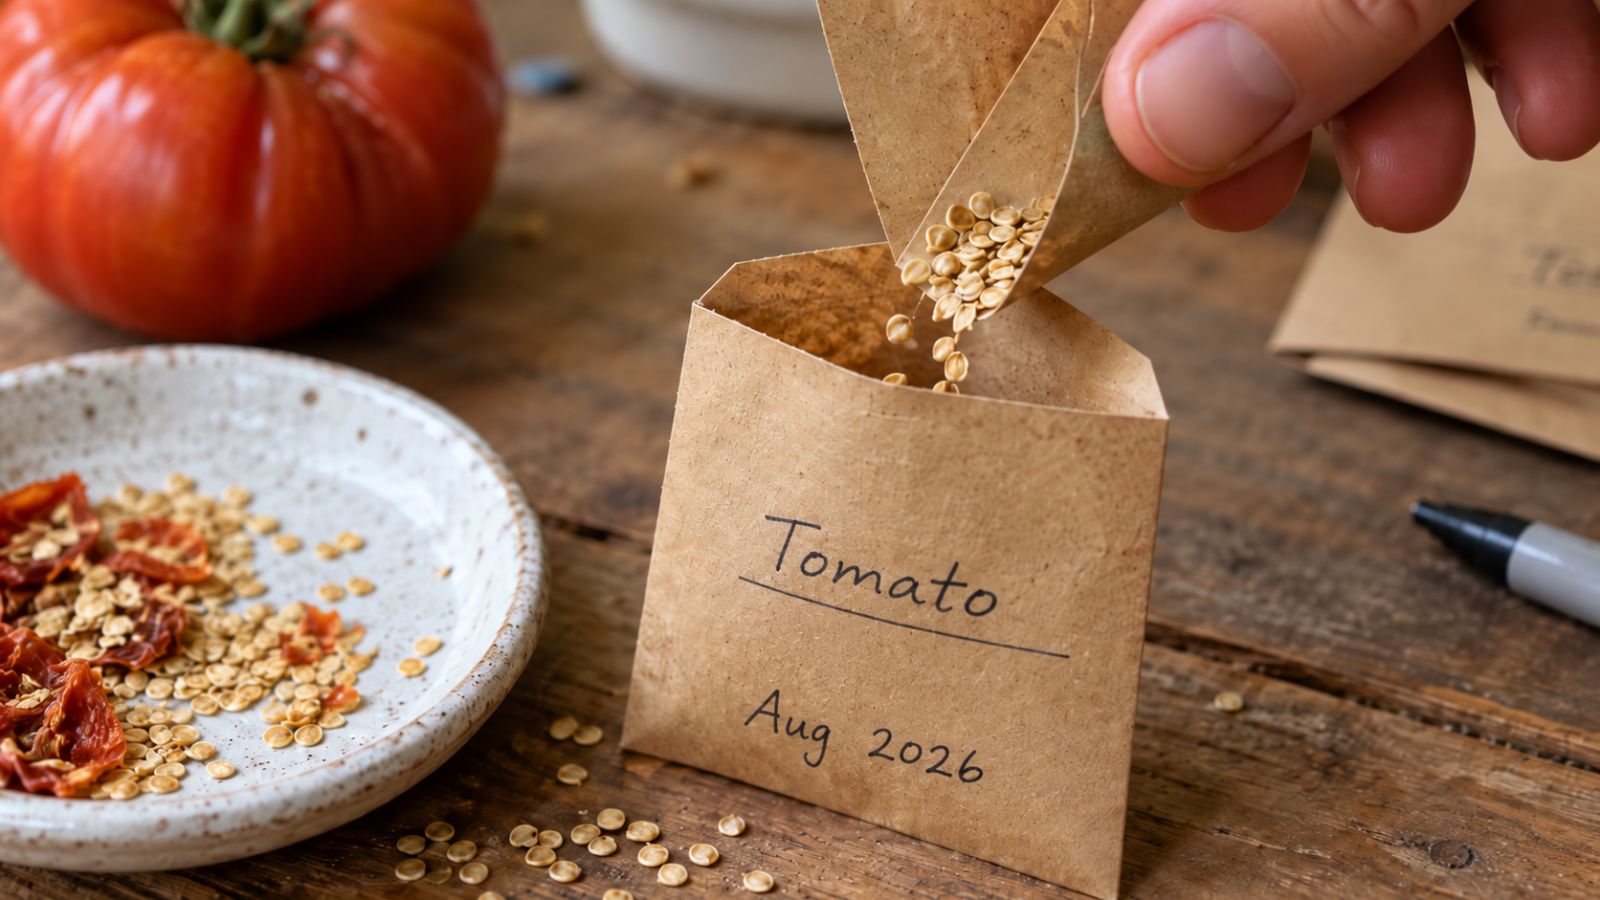
Once the seeds are completely dry, put them into a paper seed envelope and write the variety and year on it.
I also add notes when they’re useful. If the plant was particularly productive, handled drought well, cropped unusually early, or had especially good flavor, I’ll write that down rather than assuming I’ll remember it next spring.
Seeds keep best somewhere cool, dry, and dark, and they should be completely dry before they’re sealed inside an airtight container. You can put your labeled paper envelopes into a jar or other sealed container once you’re confident there’s no moisture left in the seed.
A refrigerator is also useful for longer-term storage, but moisture control becomes even more important. Keep the packets sealed inside an airtight container so condensation can’t get to them.
Under good storage conditions, tomato seed can remain viable for around five to ten years. Germination will gradually decline with age, though, so if it’s a variety I really care about, I prefer to grow it and refresh my seed supply regularly rather than leave the same packet untouched for a decade.
Do you actually have to ferment tomato seeds?
You can grow tomatoes from seed that hasn’t been fermented. Anyone who’s had volunteer tomato plants appear from dropped fruit knows the seeds are quite capable of germinating without us fussing over them first.
You can technically scoop seeds out, remove as much pulp as possible, and dry them.
I still prefer fermentation when I’m deliberately saving seed for future crops. It gives me clean seed that’s easier to dry and store, separates much of the pulp and immature seed, and reduces some seed-borne disease organisms.
It only adds a few days to the process, and most of that time involves leaving a jar alone.
How many tomato seeds should you save?
A single tomato contains more than enough seed for most small home gardens. If you usually grow four or five plants of one variety, you don’t need to store hundreds of seeds unless you’re planning to share them.
There is a difference between saving enough seed to grow your own tomatoes next year and preserving the genetic diversity of a variety for the long term, though. A single tomato plant can produce viable seed, but saving from five to ten plants is recommended when maintaining a variety over generations.
For my own garden, if I have several healthy plants of the same variety available, I’d rather collect a little seed from more than one of them. It gives me plenty to work with and means my whole seed supply doesn’t come from one individual plant.
Can you save seeds from grocery store tomatoes?
You can save seed from a grocery store tomato, and those seeds may germinate without any trouble. What you usually don’t know is exactly what variety you’re dealing with.
Many commercially grown tomatoes are hybrids. If that’s what you have, the seed may grow, but the resulting plants may be very different from the tomato you bought.
You also have no real idea how that particular variety will perform in your own garden. I wouldn’t throw grocery store seeds away if you fancy experimenting with them, but if I want a dependable variety that I can keep saving year after year, I’d start with a named open-pollinated tomato.
Can you just dry tomato seeds on a paper towel?
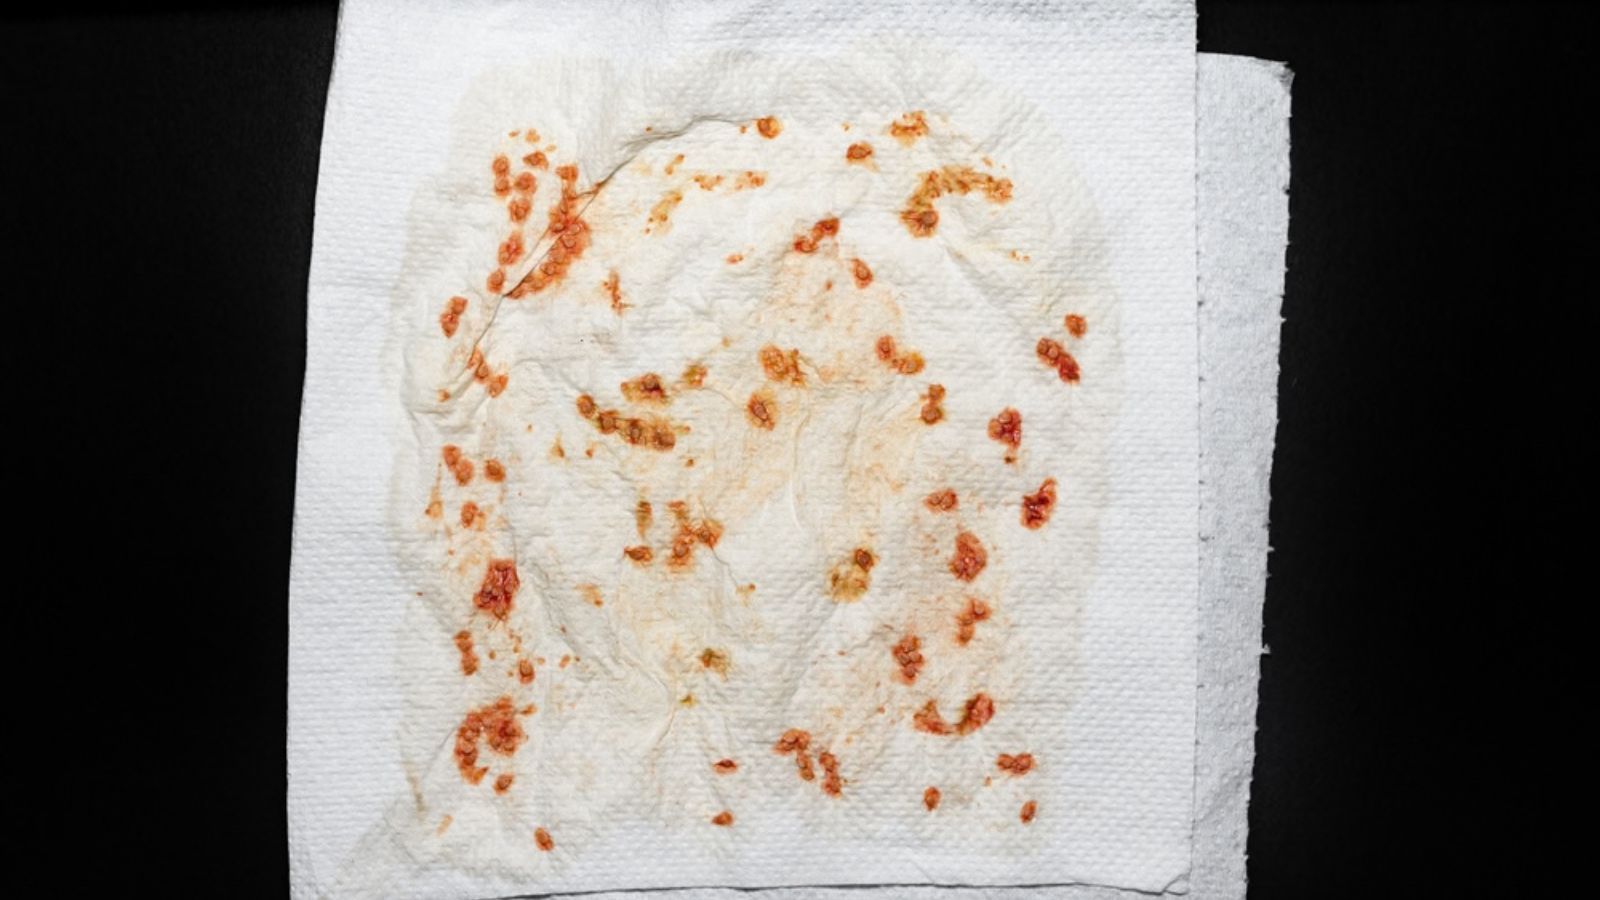
Yes, you can, and people do successfully grow tomatoes from seeds dried straight onto paper.
The main reason I don’t use that method for seed I’m deliberately storing is that you’re leaving more of the gel and fruit residue attached. The seeds also tend to stick firmly to the paper, so you either have to peel them away or plant little pieces of paper along with them.
Fermenting and rinsing takes a little longer, but the end result is clean, loose seed that’s much nicer to store and sow.
Don’t save seed from obviously diseased tomato plants
If a tomato plant has been badly affected by disease, I don’t use it for seed saving even if the fruit itself looks reasonably good.
Some important tomato diseases can be carried on seed. For example, bacterial canker can spread through infected tomato seed and transplants, which is a good enough reason for me to be selective about the plants I save from.
There will usually be plenty of healthy plants to choose from. I’d rather save seed from those and put the diseased plants and fruit out of consideration.
Why I think tomato seed is worth saving
Saving tomato seed isn’t going to transform your food budget on its own. A packet of seed isn’t the most expensive thing you’ll buy for the garden.
But seed saving is one of those small jobs that starts adding up once you do it across the garden. You stop buying the same varieties every year, you waste less of what you’ve already grown, and you keep control of varieties that work well for you.
More importantly, you can keep selecting from the plants that perform best in your conditions. If I grow several plants of the same open-pollinated tomato and one consistently gives me healthy growth, good yields, and fruit I actually want to eat, that’s the plant I want represented in next year’s crop.
Once you’ve done the fermentation and rinsing process once, it’s very straightforward. A tomato, a jar, a few minutes of actual work, and a week of drying can give you enough seed for several years of plants.
You might also like…
The End-of-Season Tomato Plant Tasks You Shouldn’t Skip