Affiliate disclosure: This post may contain affiliate links. Please see full disclosure.
Keep vegetable and herb seeds dry, cool, dark, and properly labeled, and you can often use what’s left in the packet next season instead of buying everything again. Home-saved seeds need a little more attention before storage, but you don’t need a fancy seed vault or an entire refrigerator shelf to keep them in good condition.
I grow a substantial amount of my own food, so I’m all for making good use of leftover seed. But I wouldn’t treat a packet of parsnip seeds the same way as one of tomato seeds. What you save, how dry it is, and where you keep it all affect whether next year’s sowing is worth the effort.
Make sure saved seeds are properly dry before putting them away

This is the step that matters most with seeds you’ve collected yourself. Seal damp seeds in a jar and you’ve trapped the moisture right where it can do the most damage. Moldy seed is no bargain, however much you saved by collecting it.
For beans, peas, and many herb seeds, let pods or seedheads mature and dry on the plant when conditions allow. Collect them on a dry day, remove the seeds from their pods or heads, and spread them in a thin layer somewhere airy, shaded, and dry. Turn or stir them occasionally and give them time. Dry bean seeds should be hard, while thin, mature seeds that are properly dry will often snap rather than bend.
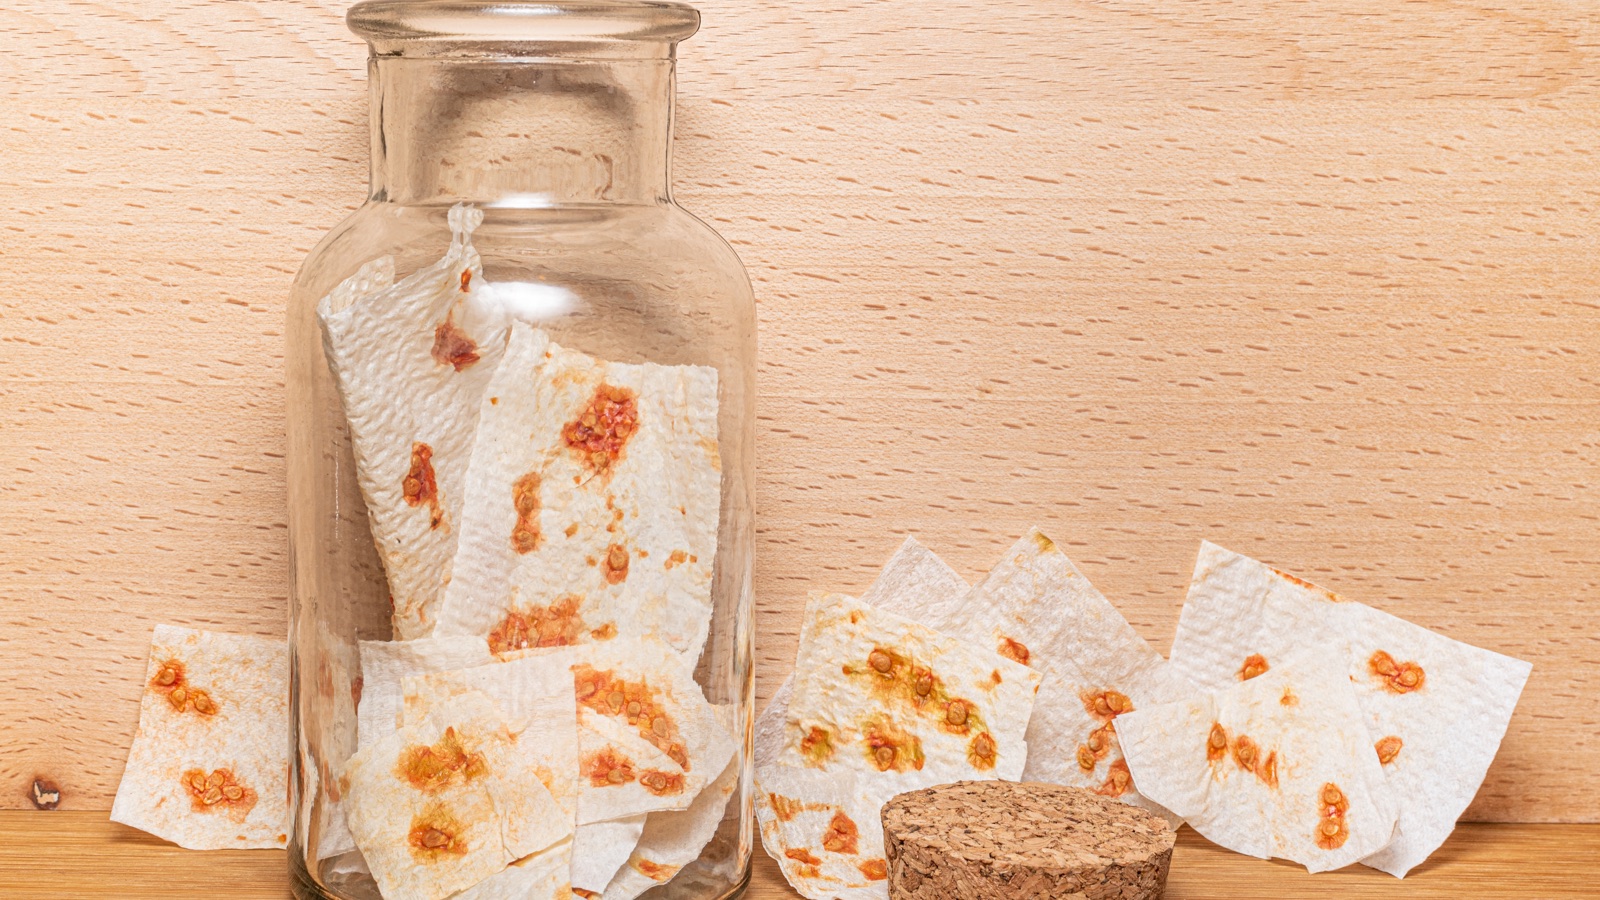
Seeds from fleshy crops need different handling. Clean the pulp off cucumber or squash seeds and let the seeds dry thoroughly. Tomato seeds usually need their gelatinous coating removed, often by a short fermentation and rinsing, before they are spread out to dry. A smooth plate or coffee filter can be easier than ordinary paper towels, which may leave seeds stuck to the fibers. Follow the correct process for the crop rather than trying to dry seeds while they’re still covered in fruit pulp.
I recommend gentle air-drying rather than trying to speed things up with a hot oven or food dehydrator. Too much heat can damage living seed, and a few extra days of drying are cheaper than replacing a failed batch. The guidance on drying collected seed specifically cautions against food dehydrators that run too warm.
Keep leftover commercial seeds in their original packets

Bought too many bean seeds, or only planted half a packet of basil? Don’t tip them into a mystery jar. Fold the open edge of the packet over, secure it with a clip or tape, and put the whole packet into a larger sealed container. The original label is useful because it tells you what you have, which variety it is, and often the year it was packed or sold.
Check that packets haven’t been left sitting in rain, on damp potting mix, or in a humid greenhouse. If a packet has become wet, empty the seeds out and assess them before putting them back into storage. Seeds that have swelled, sprouted, or developed mold shouldn’t go back into the main collection.
Label home-saved seeds so you know exactly what you’re sowing

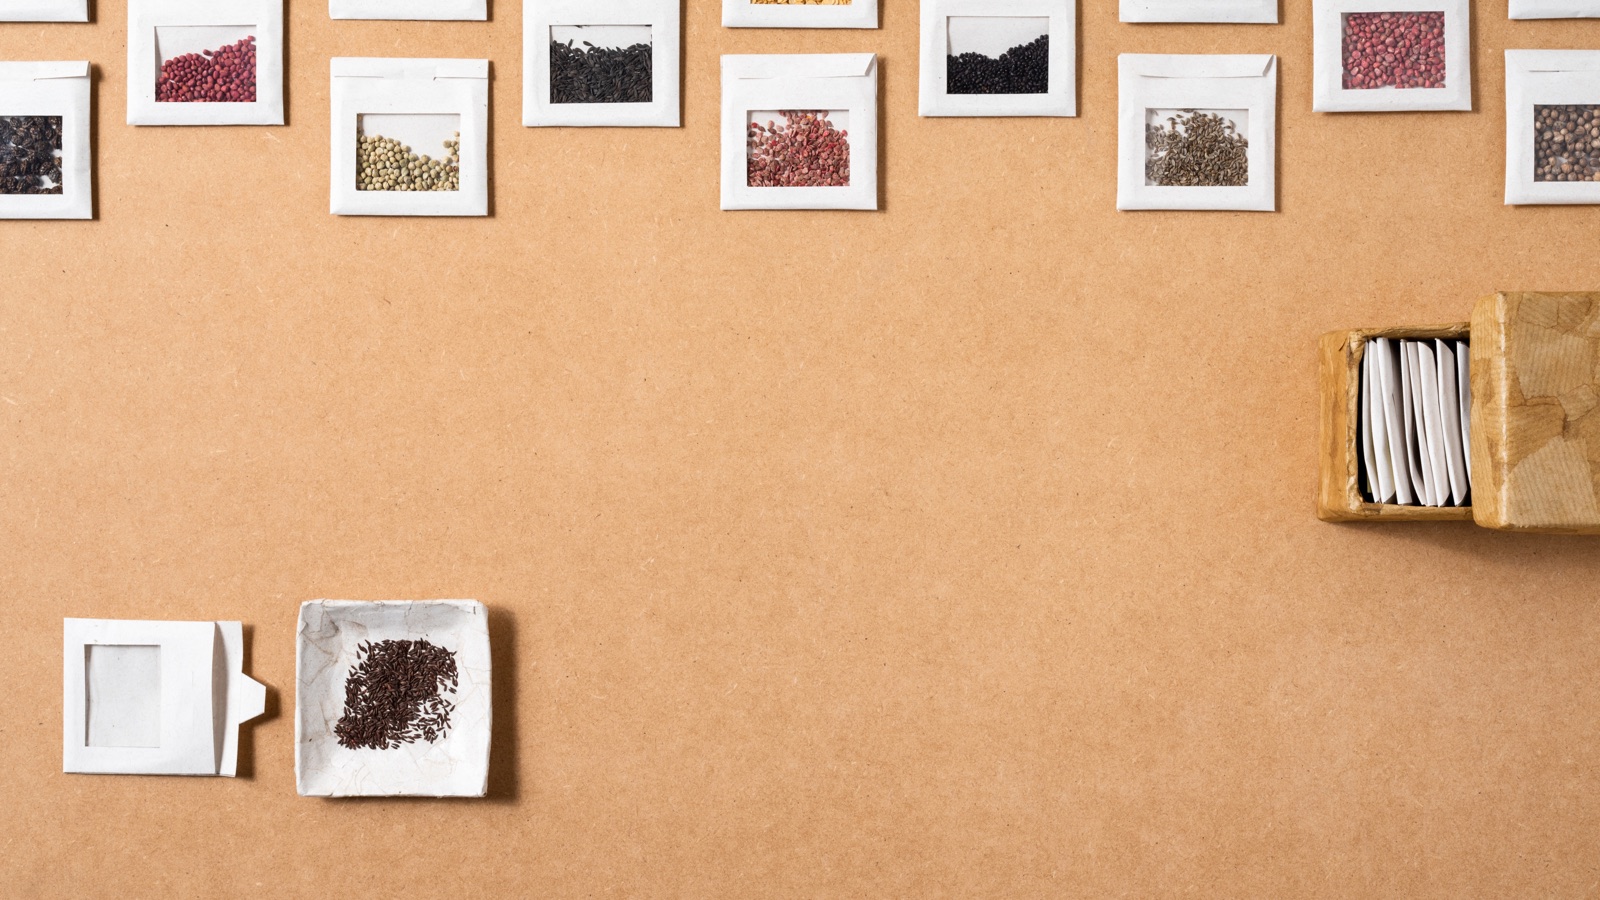
Paper envelopes are handy for keeping individual varieties separate inside a larger container. Write the crop, exact variety, and year collected on each one. I also like the idea of noting where the seed came from and anything that might affect what grows, such as a possible cross between varieties. That information can save a lot of head-scratching the following spring.
If you save seed from an F1 hybrid, it may germinate perfectly well but produce plants that aren’t like the parent. Cross-pollination can cause similar surprises. That is a seed-saving and variety-identification issue, not something better storage can fix. For an example of how saved seed can differ from the parent, look at what happens with volunteer tomatoes.
Choose a container that keeps moisture and pests out
For an ordinary household seed collection, I recommend a clean, dry, screw-top glass jar or a sturdy, well-sealing plastic container. You can organize individual seed envelopes inside it, rather than mixing loose seeds together. Reused food jars are fine once they’re clean and completely dry. There’s very little reason to buy expensive storage equipment for a few packets.
The important distinction is that paper envelopes help organize seeds, but they don’t make an airtight moisture barrier. That’s the job of the outer container. A closed jar also helps keep out pantry pests and curious mice.
A small silica-gel packet can help manage traces of moisture inside a sealed container, particularly in a humid home. Keep it separate from the seeds and follow the product directions. Don’t expect it to rescue visibly damp, freshly harvested seeds. And don’t overdo desiccants: some seeds, notably lettuce, don’t respond well to excessive drying.
Put the seeds somewhere reliably cool, dry, and dark

A cool interior cupboard is often all you need for seeds you plan to sow next year. Pick somewhere away from a sunny window, radiator, stove, laundry room, and any place that regularly gets steamy or hot. An unheated shed or garage might sound sensible in winter, but summer heat, humidity, and temperature swings can make either a poor choice.
Temperature matters, but moisture matters at least as much. Dry seeds in a consistently cool cupboard have a better chance than damp seeds sealed in the fridge. If your home stays hot or humid, refrigerated storage may be worthwhile, especially for seed you’re keeping beyond one growing season.
If you refrigerate seeds, let the sealed jar warm up before opening it

A refrigerator can provide a stable, cool storage spot if the seeds are thoroughly dry and sealed against humidity. Put your labeled envelopes into a genuinely airtight jar or container, then store it away from spills and frequent opening. Don’t leave loose paper packets exposed to refrigerator moisture.
Here’s the bit that’s easy to get wrong: take the jar out of the fridge and leave it closed until the jar and its contents reach room temperature. Only then open it to remove the seeds you need. Open a cold container in warm room air and moisture can condense onto the cold seeds. If you repeatedly take a single big jar out for every sowing, consider dividing your seed collection into smaller jars.
Freezing is an option for some thoroughly dried, properly sealed seeds intended for longer storage, but it isn’t a requirement for next spring’s vegetable garden. Don’t freeze wet seeds, and don’t assume every plant species tolerates drying and cold storage in the same way. Most ordinary vegetable and culinary herb seeds can be handled as dry-stored seed; a few specialist seeds need different treatment.
Don’t assume every kind of seed stays good for the same number of years
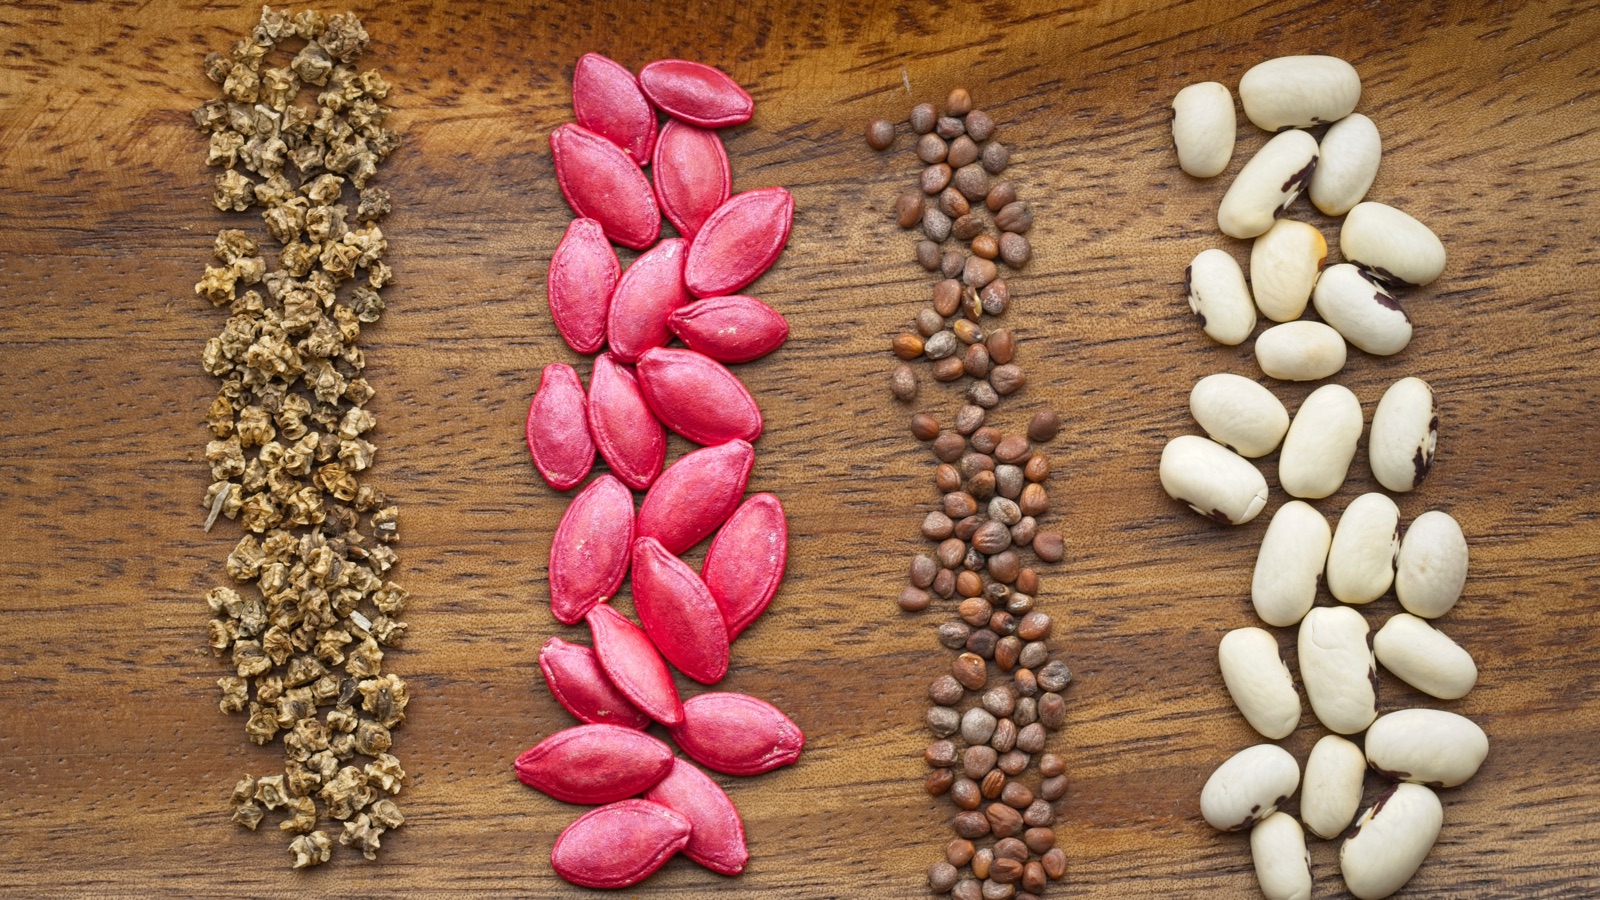
Seed-storage charts can be handy, but the numbers are estimates under good conditions, not expiration dates. Initial seed quality, crop, moisture, temperature, and storage history all count. A packet can still germinate after its suggested storage life, while badly stored seeds can fail much sooner.
Onion and parsnip seeds are usually short-lived, so I recommend buying fresh when a reliable crop matters. Fennel and sage also have relatively short expected storage lives. Beans, peas, carrots, and peppers may remain usable for several seasons under suitable conditions, while crops such as tomatoes, cucumbers, squash, and basil can often last longer. Herbs aren’t all alike, either: basil may keep far better than sage.
This doesn’t mean every five-year-old tomato seed will sprout, or that you should bin every two-year-old onion packet without checking. It means being selective about where you rely on old stock. If you’re counting on a big harvest for winter food, don’t gamble the whole planting on an elderly packet that hasn’t been tested.
Test older seed before staking next season’s harvest on it
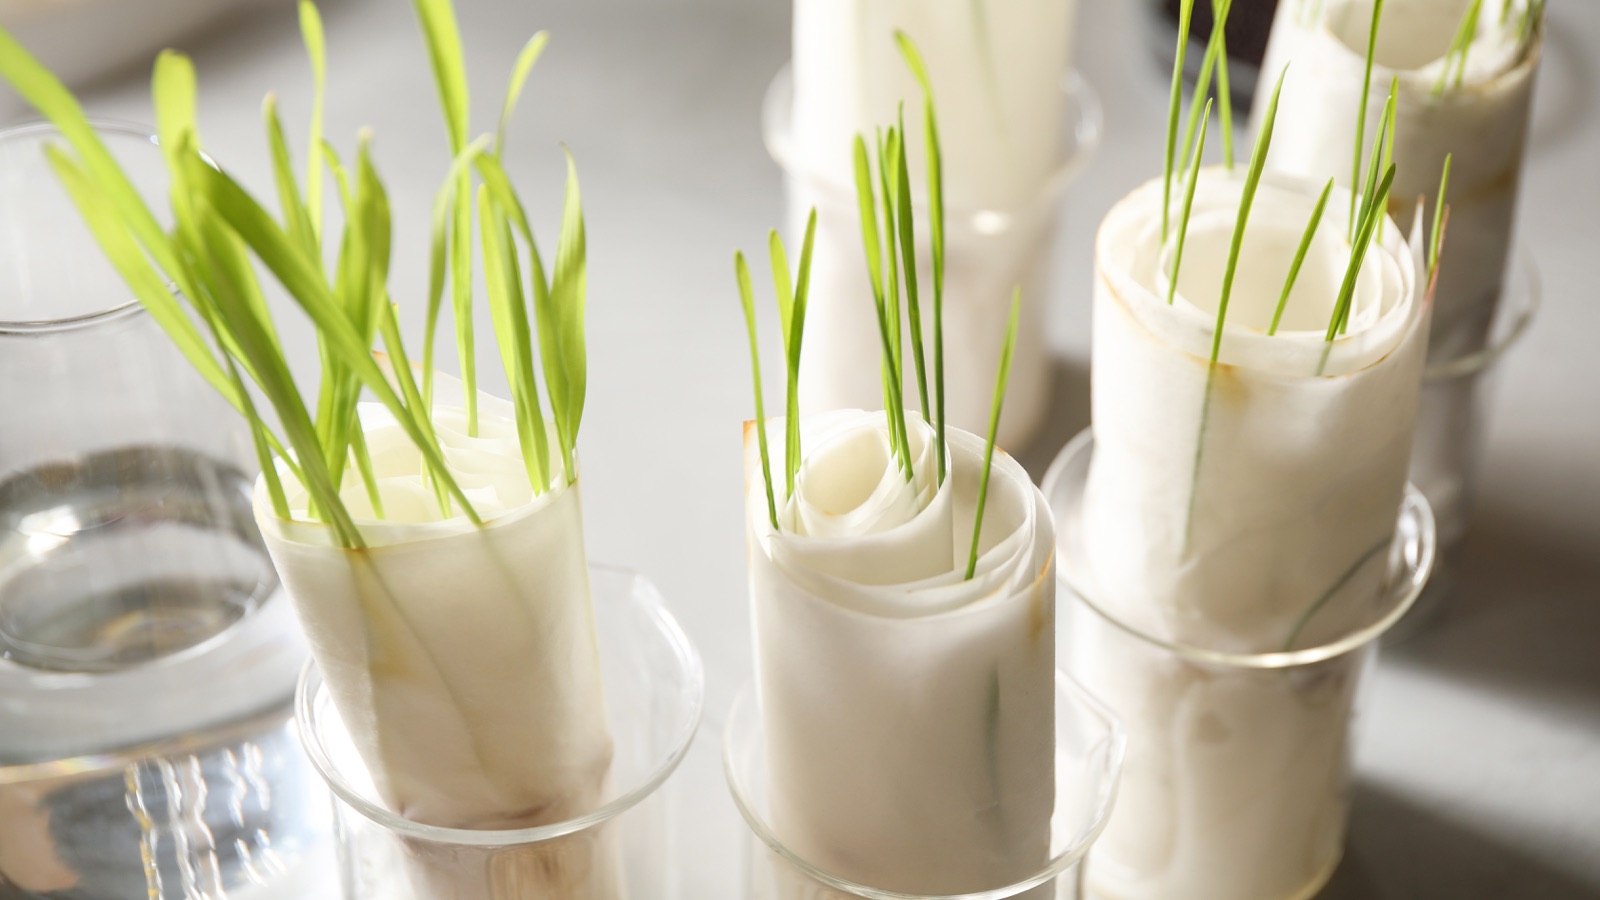
A simple germination test can tell you whether a batch is worth sowing. About a month before planting, place 10 seeds from one labeled batch on a damp paper towel, fold it over, and put it in a labeled bag or covered container. Keep it warm, around 70°F (21°C) for many common garden crops, and check regularly so the towel stays damp but not waterlogged. Different crops need different germination conditions and some take longer than a week, so allow the usual time for that crop.
Count the healthy sprouts. If eight out of 10 grow, that’s roughly 80% germination in your small sample, so you could sow a little more thickly than you would with fresh seed. If only three or four sprout, I’d replace the seed for an important crop rather than risk a patchy bed. A 10-seed test is a useful rough check, not a laboratory guarantee, and it tells you less about how vigorous the seedlings will be in the garden.
A quick routine before putting the seed box away

Once the last sowing or seed harvest is done, I recommend sorting packets into three groups: fresh seed to keep, older seed to test before sowing, and seed that’s wet, moldy, or otherwise clearly unsuitable. Label any home-saved seed, check the envelopes are dry, and pack the keepers into airtight containers. The whole job is straightforward, and it’s one less thing to sort out when spring planting suddenly gets busy.
The aim isn’t to keep every seed forever. It’s to protect the useful seed you’ve already paid for or collected, know what you’ve got, and give next year’s crops a decent start.
You might also like…
If you grow your own tomatoes, here’s how to save the seed