Affiliate disclosure: This post may contain affiliate links. Please see full disclosure.
Leaf mold is one of the easiest soil conditioners you can make at home. Gather fallen leaves, dampen them, put them in a ventilated bag, wire cage, or sheltered pile, and give them time to decay. That’s really all there is to it. After a year, you may have a coarse, useful mulch; leave it longer and it becomes dark, crumbly material that helps garden soil hold moisture and develop better structure.
I grow a lot of my own food, and I would much rather keep those free autumn leaves in the garden than pay for bagged soil improvers. From an organic gardening and permaculture point of view, leaving useful organic matter on-site makes excellent sense. The trick is to keep the leaves damp and airy, then be patient. Leaf mold is slow, mostly fungal decomposition, not the hot composting process that needs a carefully balanced mixture of kitchen scraps and greens.
Choose leaves that will break down well
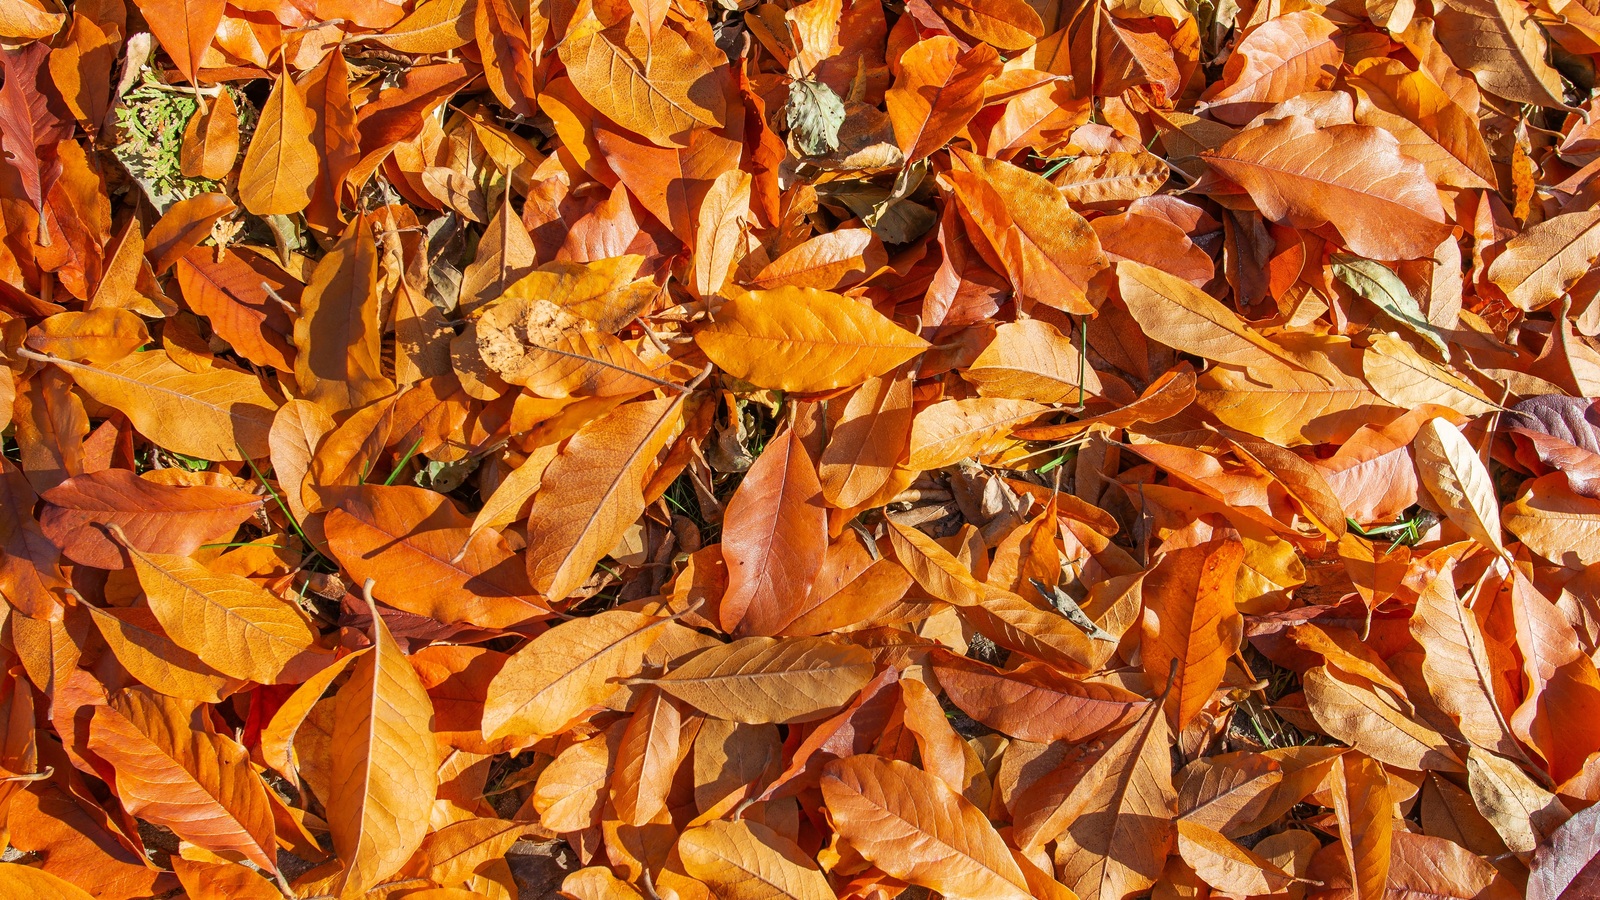
You can use most deciduous tree leaves, but smaller, thinner leaves tend to decompose faster than thick, waxy ones. Birch, maple, hornbeam, and beech are useful choices, while oak also makes particularly good leaf mold. There’s no need to sort every leaf by species if you’re collecting a mixed bag from your yard.
Big, tough leaves from trees such as sycamore, walnut, and chestnut often take longer, especially if they remain whole. Run them over with a lawn mower first. Evergreen leaves and pine needles are slower still, and are better kept separate or used sparingly if you want a reasonably quick batch. Pine needles may need two to three years to decompose.
Collect reasonably clean leaves from your own yard, away from contaminated roadsides. I would also leave out any leaves affected by a significant recurring plant disease rather than using an unheated leaf pile to dispose of them. Remove obvious trash and invasive plant seeds as you gather.
Shred the leaves if you want quicker results

A lawn mower is usually the easiest tool for chopping leaves. Rake them into a manageable area, mow over them when they’re not soaking wet, and collect the fragments. Smaller pieces pack less awkwardly and expose more surface area to the organisms breaking them down. You can skip shredding if you don’t have a mower, but expect the process to take longer.
The aim isn’t to grind the leaves into powder. Just break up the larger pieces. Keep an eye out for stones and sticks before mowing, and follow the mower’s normal safety precautions.
Method 1: Make leaf mold in reusable bags

This is the option I recommend for a small yard, particularly if you have a handful of leaves rather than several wheelbarrows. You can tuck the bags behind a shed and forget about them for much of the year.
Fill sturdy reused plastic bags with leaves, lightly watering each batch if the leaves are dry. They should feel damp, like a wrung-out sponge, without water pooling at the bottom. Make several holes in the sides and bottom for drainage and air, then fasten the tops loosely. Stand the bags in a shaded, sheltered spot where they won’t overheat or dry out.
Check them every couple of months, especially during a long dry spell. If the contents are bone-dry, add a little water; if they’re soggy and smell sour, open the bag and loosen the contents. Reuse the bags for another batch when the leaf mold is ready.
Method 2: Build a simple wire leaf cage
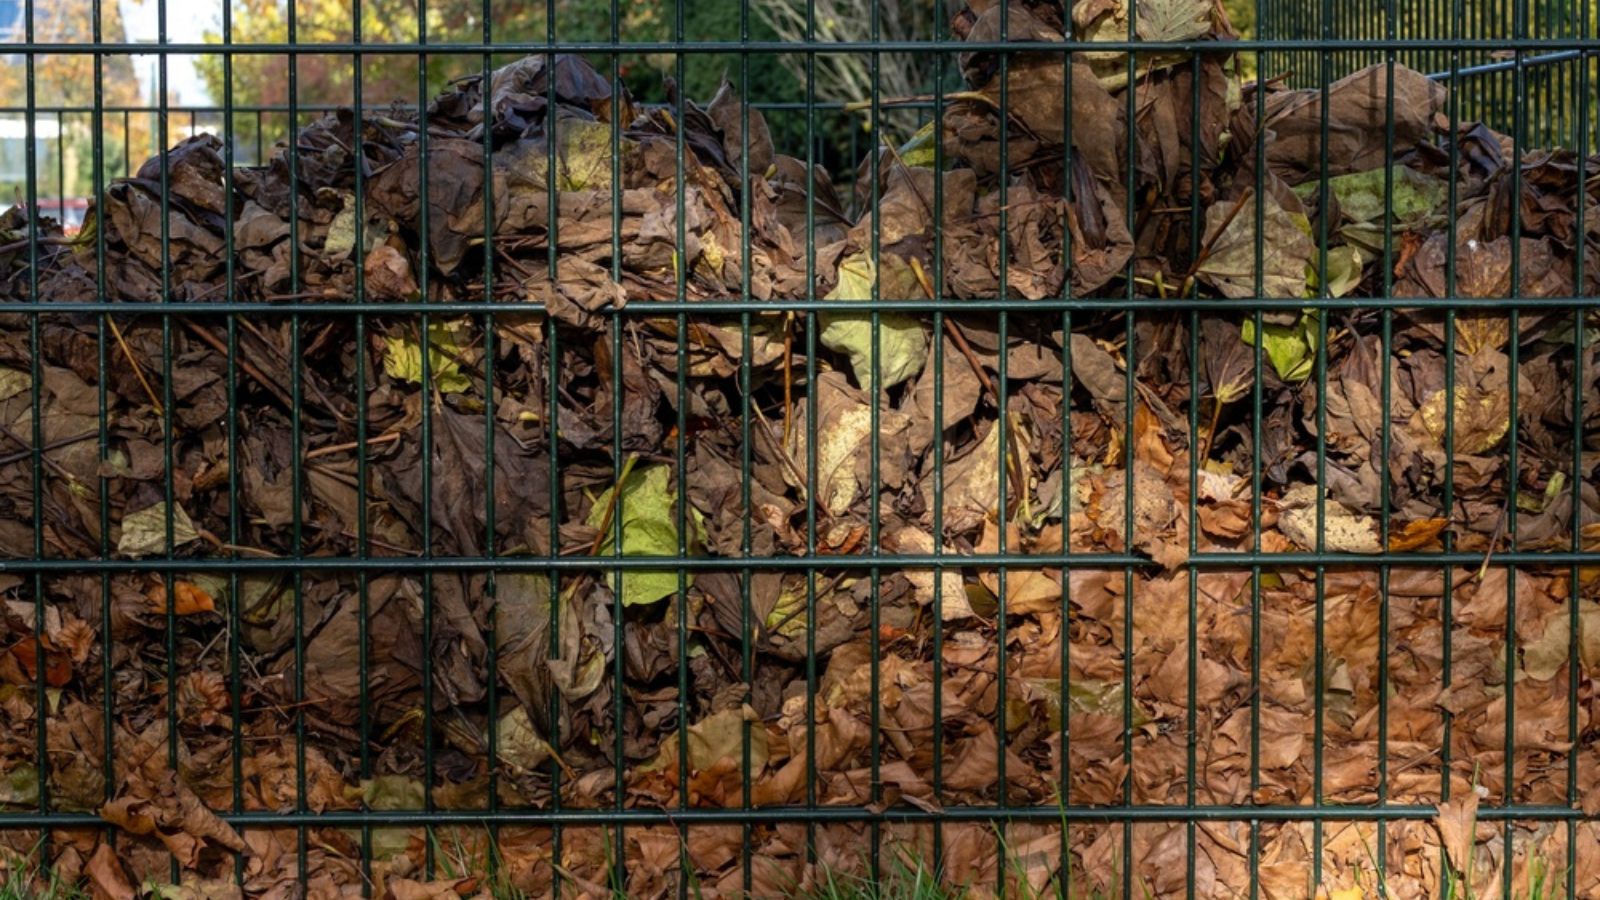
If you have lots of trees, a cage is easier to fill and empty than dozens of bags. Set four sturdy stakes into the ground in a roughly 3-foot square, or make a circular enclosure with stakes. Wrap chicken wire or another open mesh around them and secure it firmly, folding away sharp wire ends. A sheltered, partly shaded corner is ideal.
Load the cage with leaves, dampening dry layers as you go. They will settle dramatically, so don’t be surprised when a full cage looks half empty a few months later. You can top it up with more leaves during the same fall, although very fresh additions will take longer than the older material beneath.
An open-bottom cage keeps the leaves in contact with the ground and allows rain and air through. Watch for drying during hot weather. If you notice wildlife sheltering in the base, leave that part undisturbed until the animals have moved on.
Method 3: Use a plain leaf pile
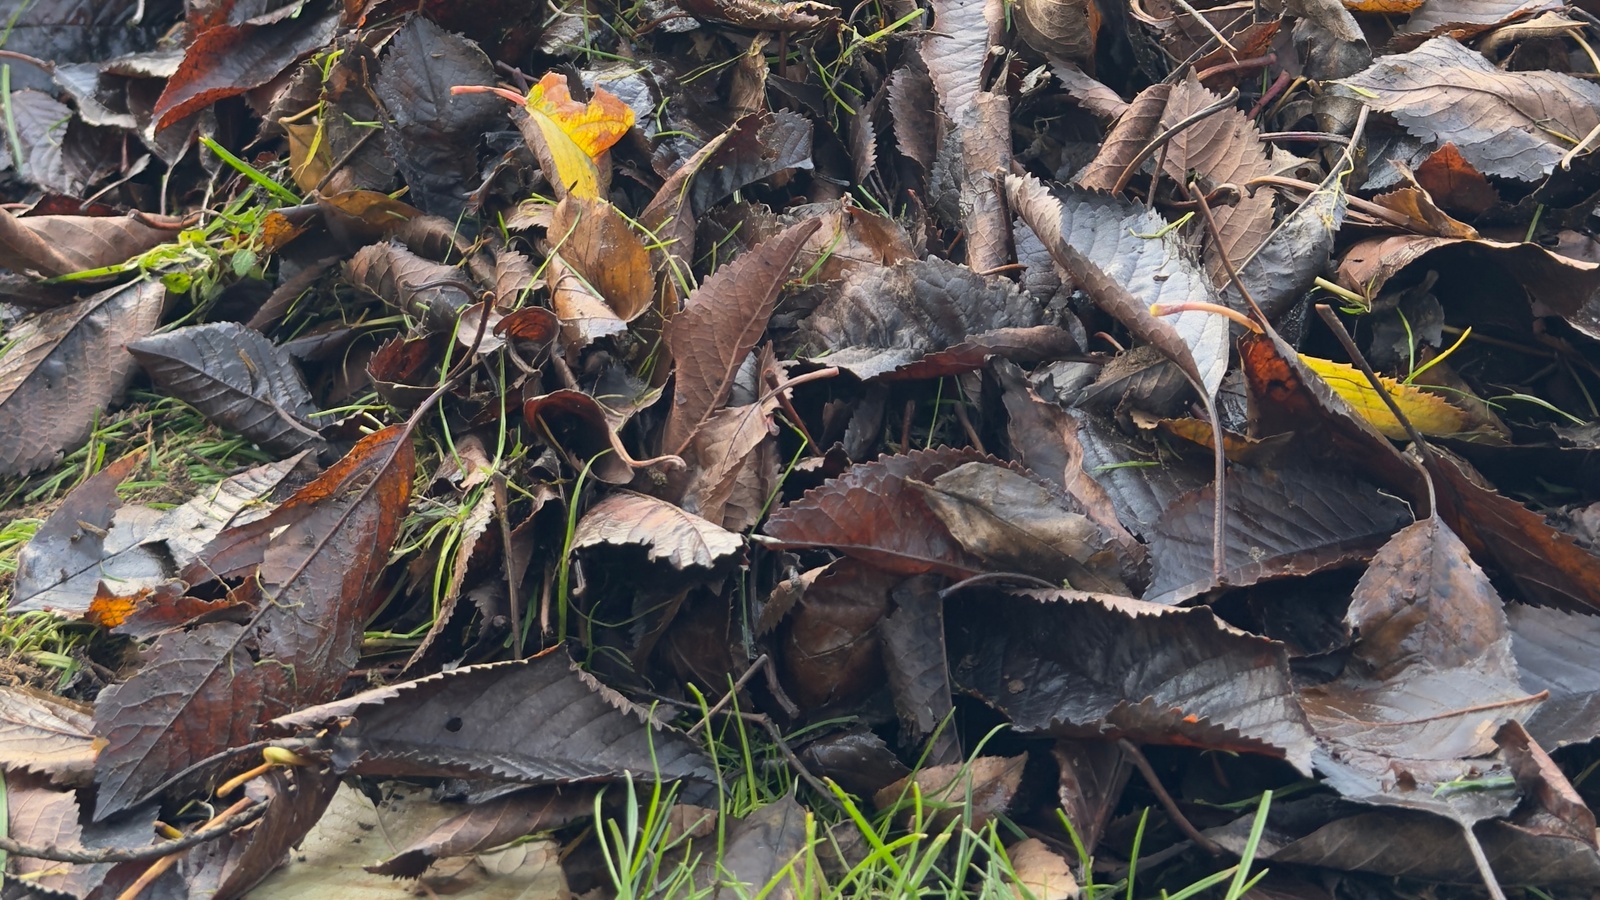
No bags or spare wire? Make a heap in an out-of-the-way corner. Choose a spot sheltered from the strongest wind, pile the leaves together, water them if dry, and keep the heap reasonably compact without trampling it into a solid, airless mass. A larger pile holds moisture better than a tiny one, although it needs enough air to avoid becoming a slimy mat.
You can lightly cover the top with a breathable mesh or some twiggy prunings to reduce wind scatter. Avoid sealing the entire heap under an impermeable sheet. Give it an occasional turn if it becomes tightly matted, or simply let nature do the work if it stays loose and damp.
How long does leaf mold take to make?
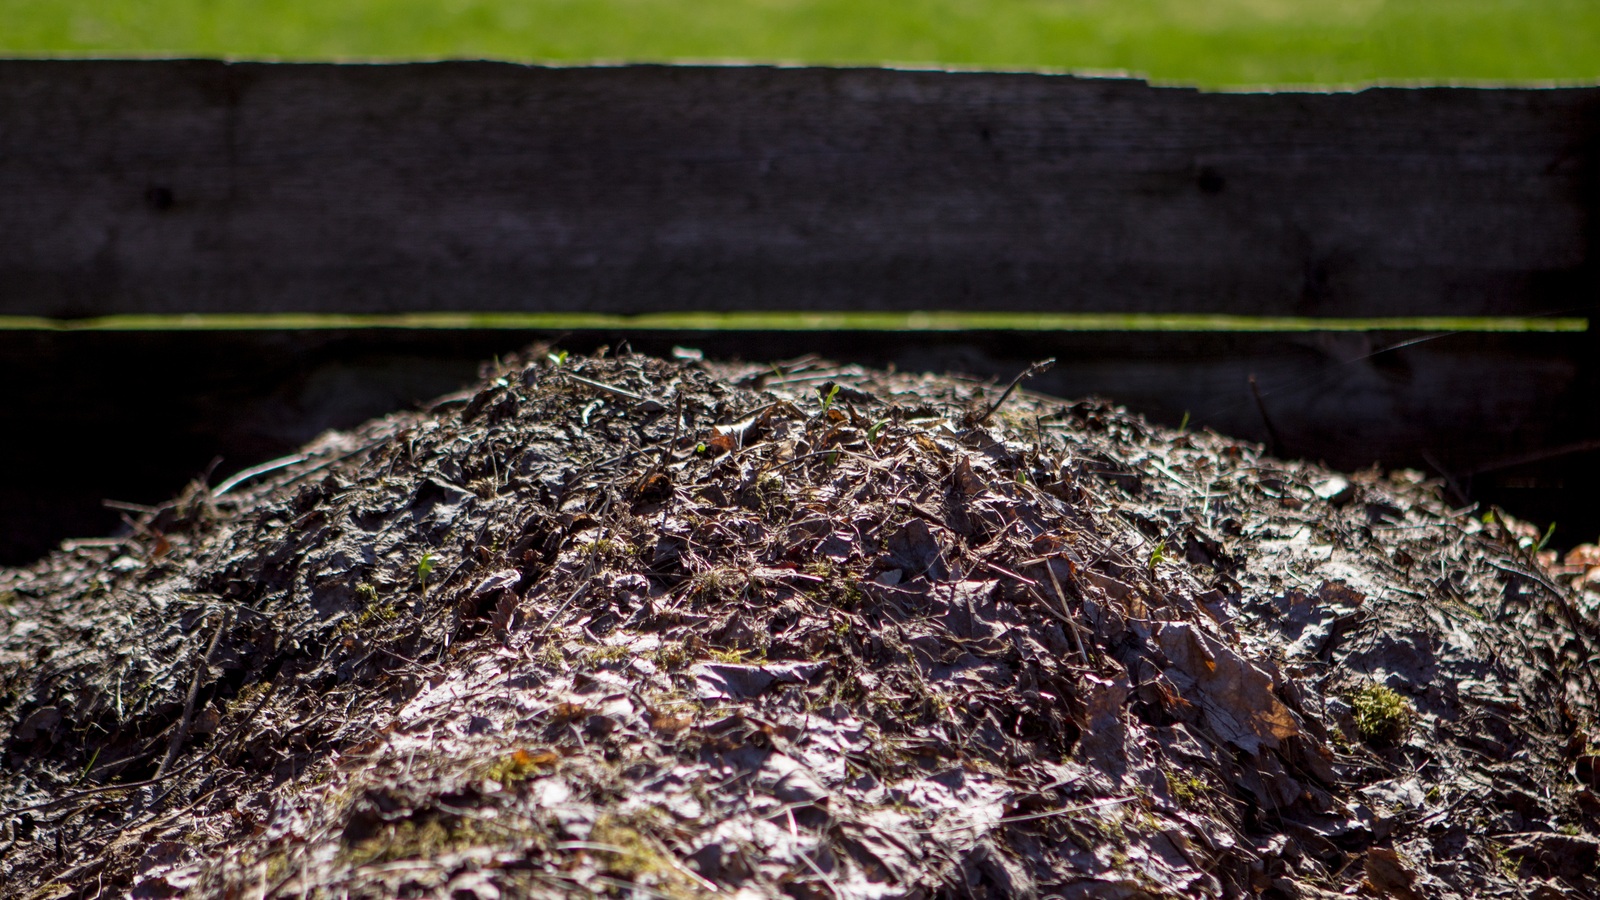
It depends on the leaves, whether they’re shredded, and how damp and well-aerated the heap remains. Finely shredded leaves may produce usable material in about 6 to 12 months in favorable conditions. With whole leaves, plan on roughly one to two years, sometimes longer for large, leathery leaves or dry piles. Those are useful planning ranges, not guaranteed deadlines.
After the first year, you’ll often still recognize bits of leaves. That’s fine for mulching around established shrubs or spreading over bare beds. Mature leaf mold looks darker, feels crumbly, and has an earthy smell, with little recognizable leaf structure remaining. If you can still pick out many intact leaves, give it more time if you want a fine soil conditioner.
Use the finished leaf mold where it helps most

Spread coarse leaf mold as a surface mulch around established plants, keeping it away from stems and trunks. Add finer, well-rotted material to vegetable beds or use it to improve the texture and moisture-holding capacity of soil. I especially value it for soils that dry out too quickly and for heavy ground that needs more organic matter over time.
Leaf mold is not a strong fertilizer, and that’s an important distinction. It mainly improves the growing medium, so keep using finished compost or other appropriate nutrients where hungry crops need them. For seed-starting mixes, use only thoroughly decomposed, clean material, and be aware that homemade leaf mold isn’t sterile.
If your first batch seems slow, don’t throw it out. Check moisture, break up any compacted layers, and leave it a little longer. The best part of making leaf mold is that a job you were probably doing anyway, gathering fallen leaves, becomes a supply of useful organic matter instead of another expense.
You might also like…
12 best cover crops for your vegetable beds to plant this fall
What Should You Do With Your Garden In the Fall?
Don’t Over-Tidy the Garden This Fall: 12 Plants That Should Stay Standing Until Spring