
Affiliate disclosure: This post may contain affiliate links. Please see full disclosure.
Before you switch the heat on for the season, check the furnace filter, make sure the air vents aren’t blocked, test your thermostat and carbon monoxide alarms, and arrange professional servicing if it’s due. Those are the jobs that can make a real difference without turning a straightforward bit of household maintenance into a risky DIY repair.
The distinction matters. You can replace an accessible filter, clean a dusty vent cover, and spot a problem that needs attention. You shouldn’t be taking gas burners apart, adjusting the ignition system, or trying to repair a furnace’s heat exchanger. I’d rather spend a little time doing the simple checks properly and pay for the work that actually needs a trained HVAC technician.
Start with the furnace manual, not a generic maintenance checklist

Find the make and model of your furnace and its owner’s manual before you remove anything. You may have a natural gas, propane, oil, or electric furnace, and the maintenance instructions aren’t interchangeable. Some homes use a ducted heat pump with a furnace as backup; others don’t have a furnace at all. A boiler that heats radiators also has a different setup from a forced-air system with vents in the floor or walls.
The model number is often on a label on the cabinet. If you don’t have the paperwork, look for the manufacturer’s manual online. Check where the filter goes, which access covers are intended for the homeowner, the recommended filter type, any clearances around the equipment, and what the manufacturer says about routine care.
If a filter is behind a sealed combustion compartment or requires removing panels that aren’t identified as homeowner-accessible, leave it alone and ask the technician to show you the correct method. Turn the equipment off as directed before opening a permitted filter access panel. Never bypass a safety switch to keep the furnace running.
Check the air filter before the first cold night
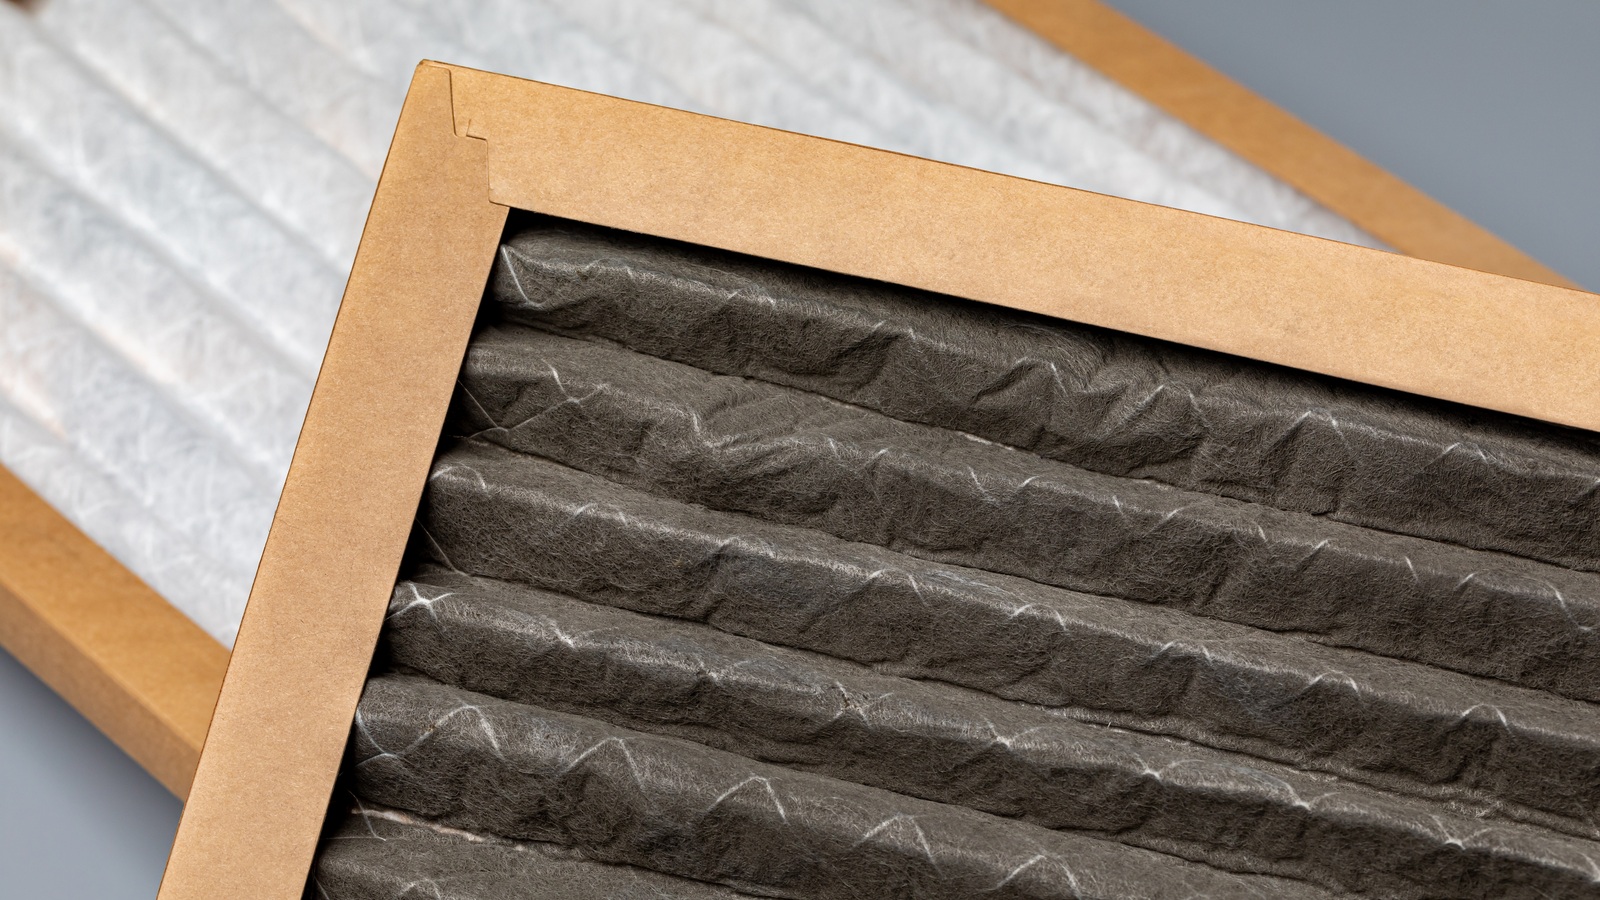
A dirty filter is an easy problem to miss because it can be hidden behind a grille or inside the furnace cabinet. When it becomes clogged with dust, the system has to push air through the restriction, and heating performance can suffer. Checking the filter monthly during the heating season is a useful routine, even if the filter itself doesn’t need replacing every month.
First, locate the filter. It might slide into a slot near the furnace or sit behind a large return-air grille. Follow the manufacturer’s directions for switching off the system and accessing it safely. Pull it out and look at the surface. A heavy layer of dust, pet hair, or debris is a sign it needs attention. Don’t judge it solely by whether it has turned gray; different filters look different as they load.
If it’s disposable, replace it with the correct size and type. If your system has a washable filter, clean and dry it exactly as the manual specifies before reinstalling it. Don’t wash a disposable paper or pleated filter and put it back. Check the airflow arrow on the frame, and make sure the replacement fits snugly rather than leaving gaps around the edges.
How often should you replace it? Many disposable filters are designed for roughly 60 to 90 days, but replacement intervals depend on the filter manufacturer’s guidance and how quickly the filter gets dirty. Pets, building work, smoke, and heavy system use may mean more frequent changes. Thick media filters can have a different service interval from thin one-inch filters, so don’t give every household the same three-month deadline.
Don’t buy a denser filter without checking compatibility
A higher MERV rating means a filter captures more of certain airborne particles. That can be useful, but the filter still has to suit your equipment. The best filtration choice is the highest efficiency your system’s fan and filter slot can accommodate, and an HVAC professional can check whether an upgrade will affect airflow.
I wouldn’t automatically buy the thickest or most expensive filter on the shelf, especially for an older furnace. Get the fit and system requirements right first. If you can’t identify the filter specification, take a photograph of the old filter’s label and ask when you book your service.
Clear the supply vents and return-air grilles
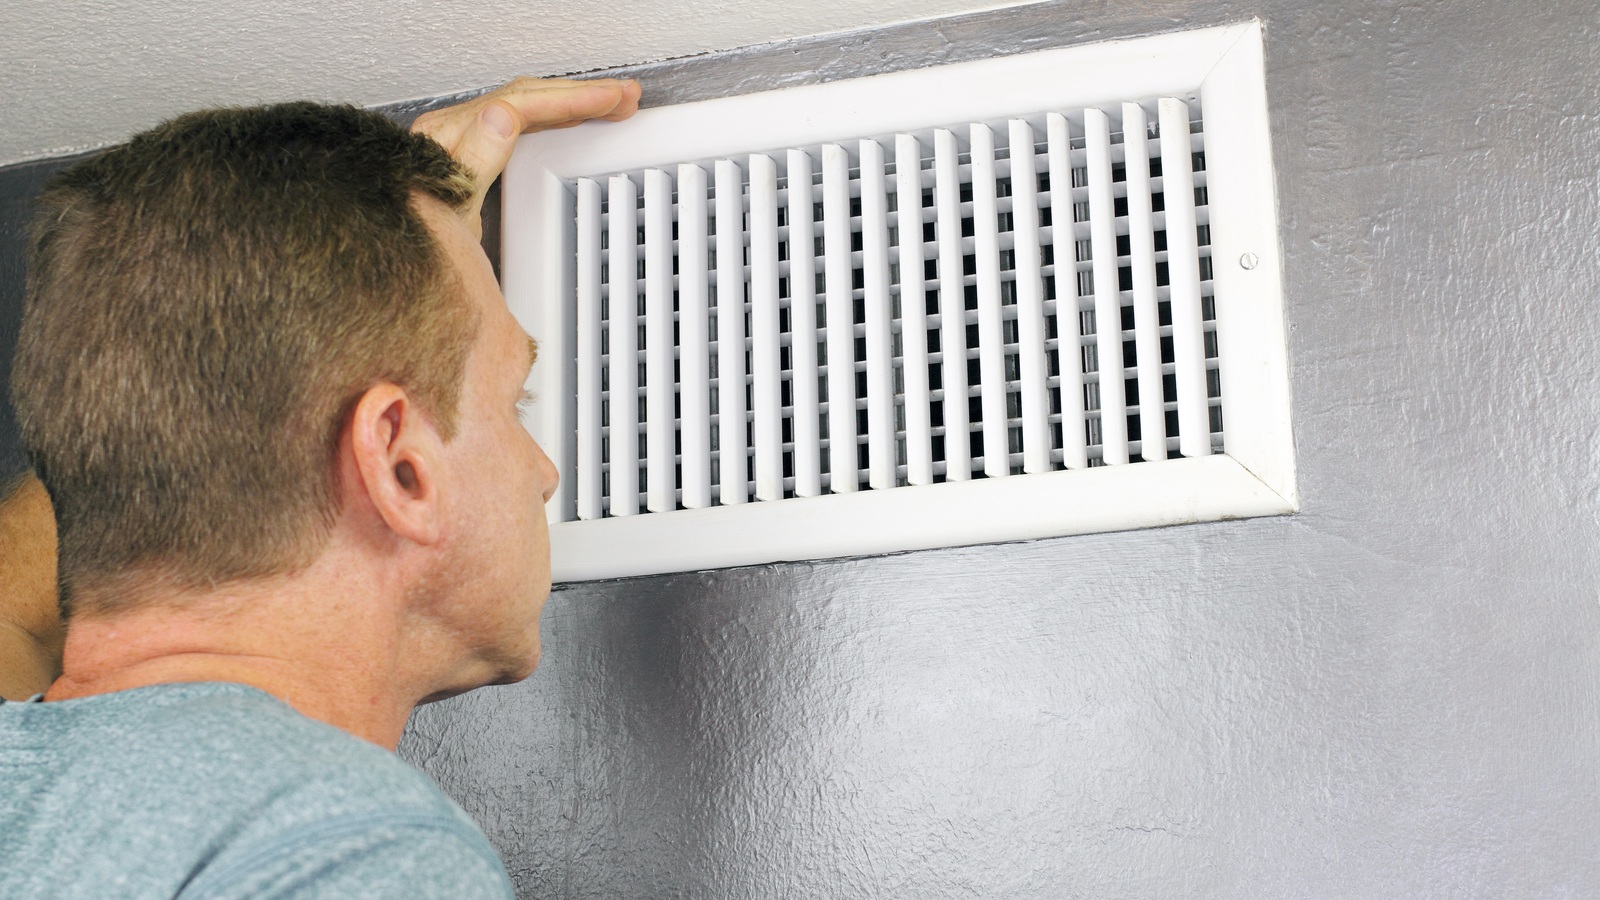
Your furnace needs a clear route to move warm air around the house and bring cooler air back. Walk through the rooms and check the floor, wall, and ceiling vents. A rug partly covering a floor register or a sofa pushed up against a return grille is an easy fix that doesn’t involve touching the furnace itself.
Move furniture, curtains, baskets, and other belongings away from the openings. With the system off, vacuum dust and pet hair from the grilles using a soft brush attachment. Remove a register cover for washing only if it is designed to be removed and you can do so safely. Don’t push a vacuum hose, cloth, or other tools deep into the ductwork.
Keeping air registers clear allows heated air to circulate freely. Pay attention to large return grilles, which are easy to overlook because they don’t blow warm air into the room. Blocking the return side can cause airflow problems even if every supply vent is open.
It’s tempting to close the vents in unused rooms to save money, but closing a large number can alter airflow and pressure in a ducted system. If you want to heat some rooms less, ask your contractor how your particular system should be balanced rather than closing everything and hoping for the best.
Make sure the furnace itself isn’t hemmed in by storage
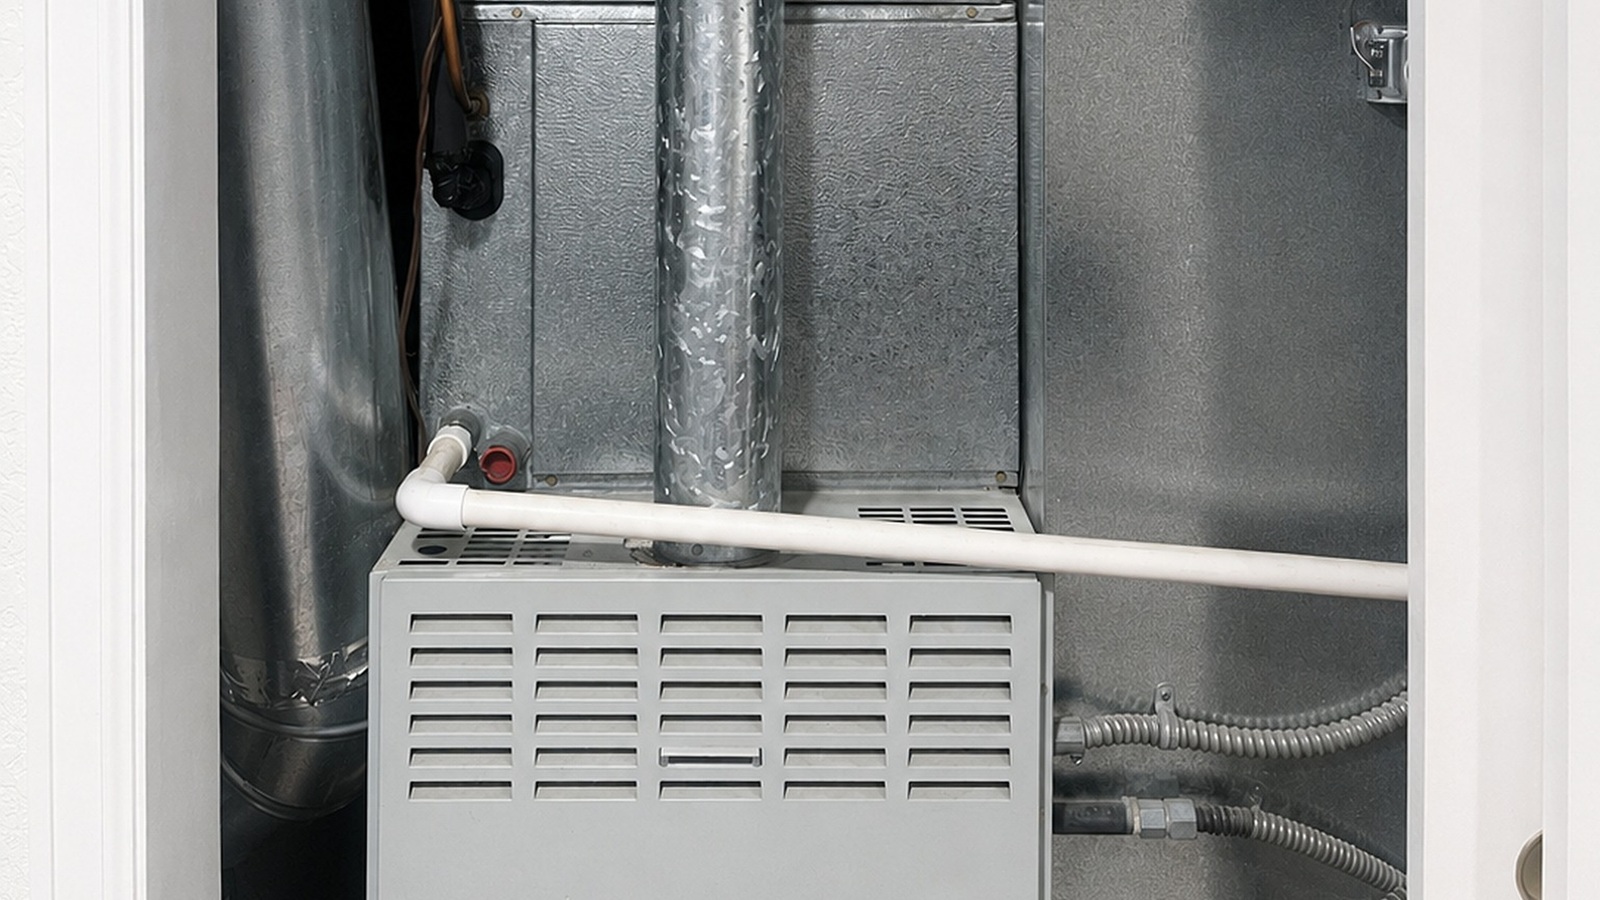
Furnace rooms and utility closets have a habit of becoming overflow storage. Boxes, laundry baskets, paint cans, and winter decorations end up surrounding equipment that needs ventilation and regular access. Clear out anything blocking the service area, filter access, or combustion-air openings.
Follow the clearance distances given in the appliance manual and on its labels. Don’t assume the same measurement works for every furnace. Fuel-burning equipment especially needs its intended air supply and venting left undisturbed. Keep combustible clutter away, and don’t store gasoline, solvents, or other flammable products around the furnace.
Look at the area without dismantling anything. Is there water on the floor? Rust staining, a loose-looking vent connection, a hanging wire, or signs that an animal has been nesting nearby? Make a note and tell the technician. The point of a homeowner check is to notice what has changed, not to start tightening fittings.
Check the thermostat and try a short heating cycle
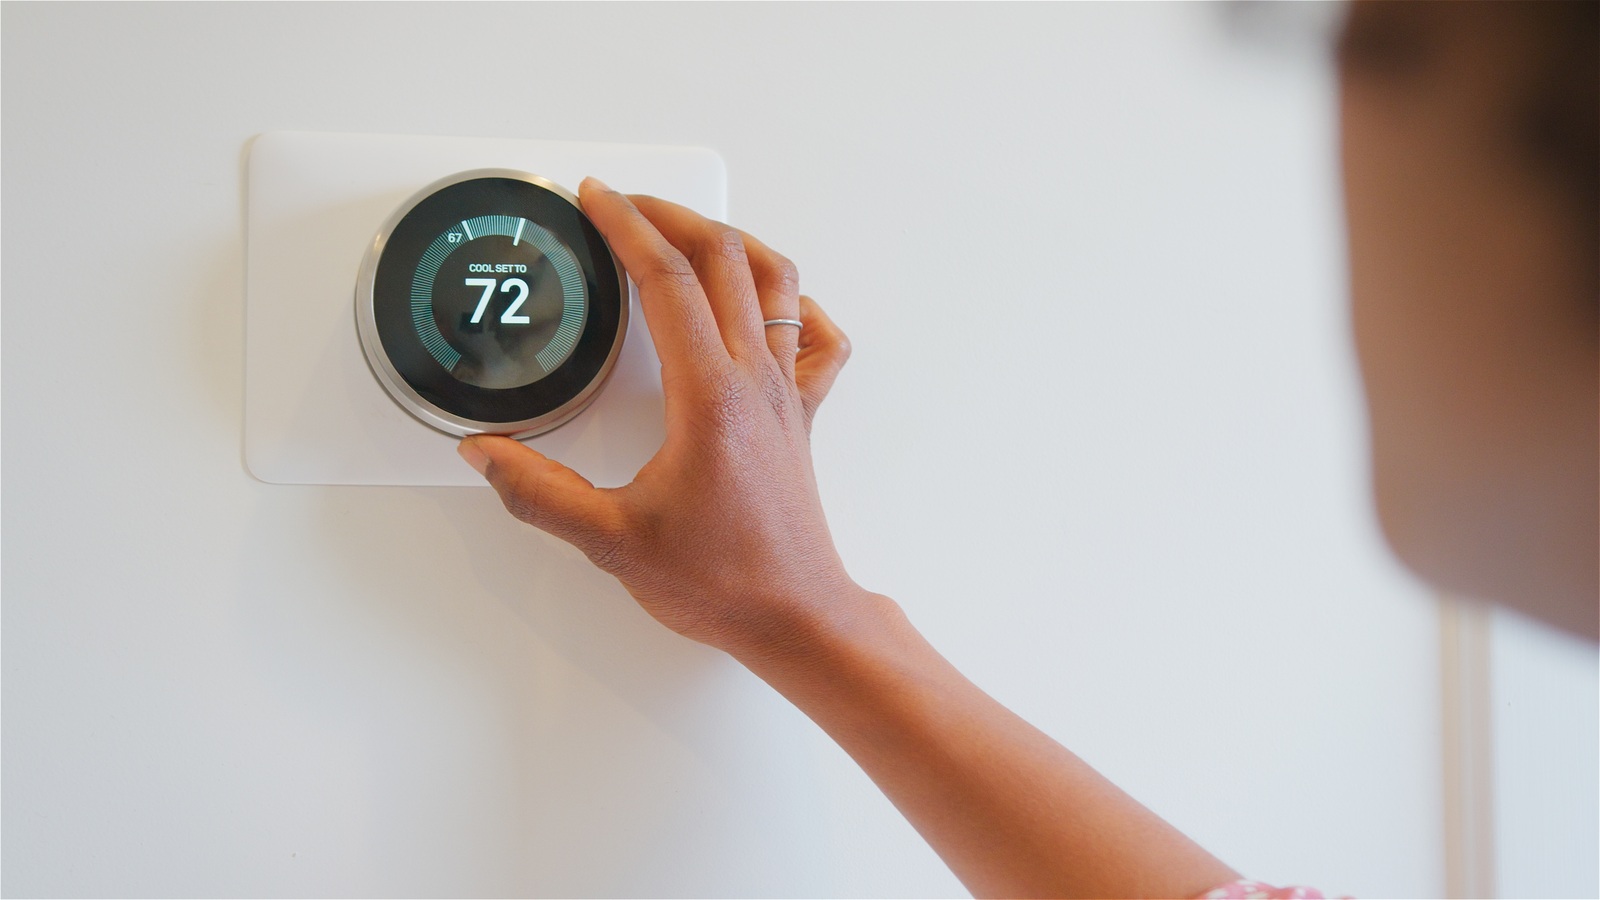
A thermostat accidentally left on cooling mode can make a working furnace look broken. Check that the display is working, select HEAT, and set the desired temperature a little above the current room temperature. If the system is otherwise safe to operate and has no known fault, let it run through a normal heating cycle while you’re home.
Give it time to start, using the manual’s guidance; modern furnaces often go through a short sequence before the blower sends warm air to the rooms. Check that air is coming from the usual supply registers, listen for unfamiliar rattles or grinding, and see whether the system shuts down normally when the thermostat is satisfied. Don’t keep restarting it if it fails to light or repeatedly stops with an error.
If you have a programmable thermostat, review the time, weekday and weekend schedules, and temperature settings. Power cuts and battery changes can leave an older thermostat with unexpected programming. Check or replace thermostat batteries if your model uses them, and make sure you’re familiar with any schedule that changes temperatures overnight.
A short-lived dusty smell when the heating first starts can sometimes come from dust on warm surfaces after months of inactivity. But persistent burning smells, electrical or melting-plastic odors, smoke, or anything that suggests a gas leak aren’t things to dismiss as ‘the first run of the year.’ Shut the system down if it’s safe to do so, and get the appropriate help before using it again. If you smell or hear escaping gas, leave immediately and contact the gas utility or emergency services from outside; don’t operate switches or electronics on the way out.
Check accessible outdoor vents without taking them apart
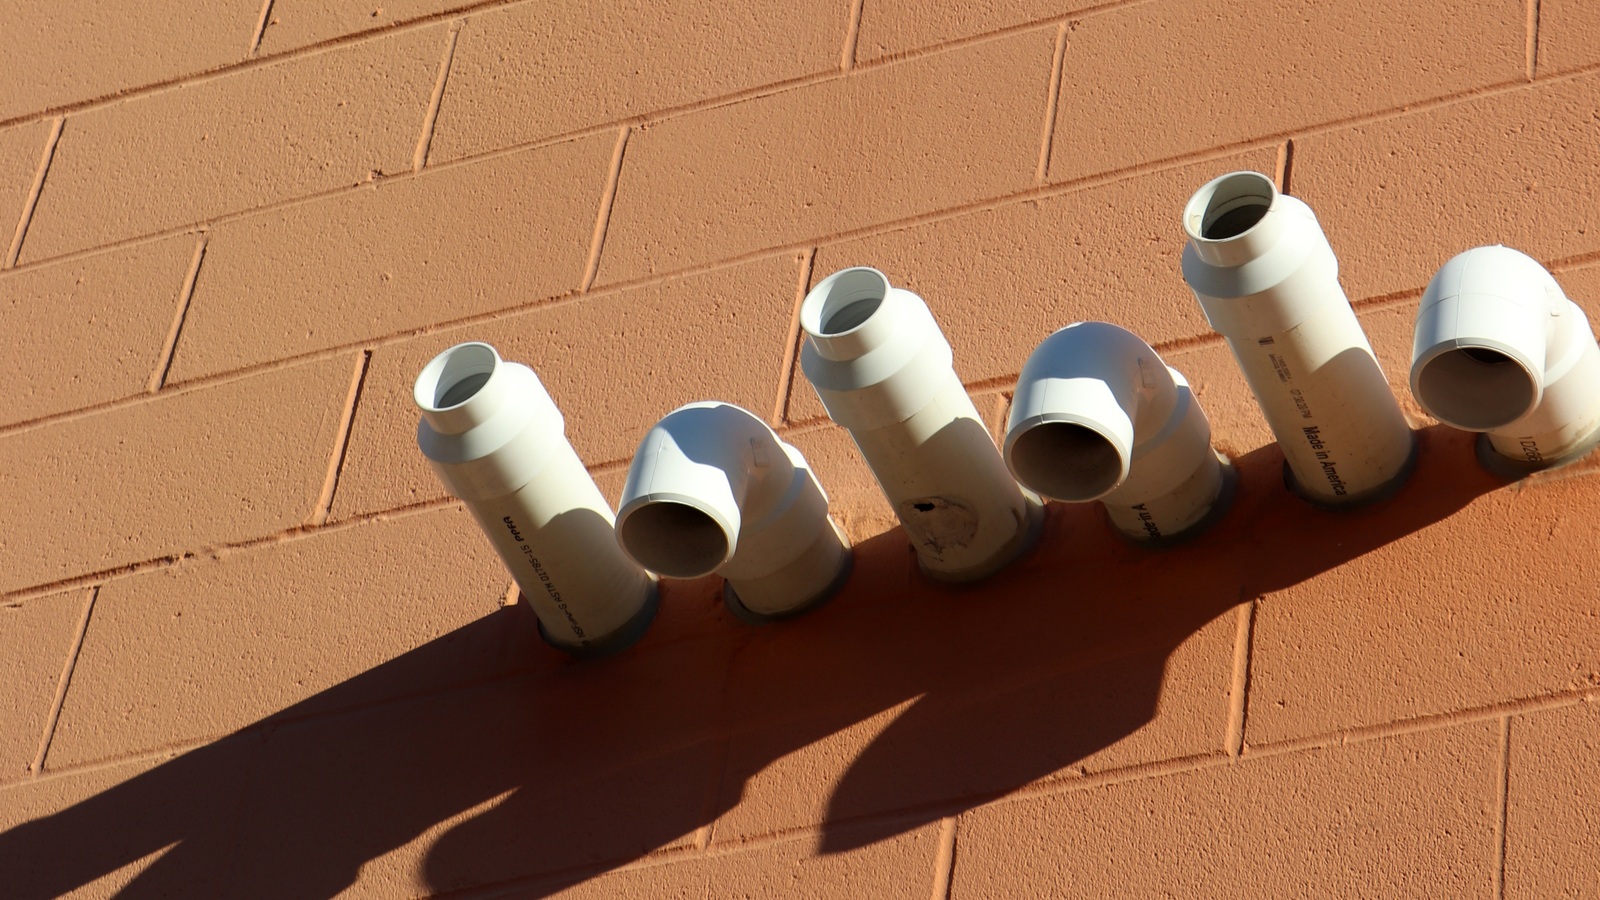
Some high-efficiency gas furnaces have intake and exhaust pipes exiting through an outside wall; others vent through a chimney or different approved arrangement. Make sure you’re looking at the actual furnace venting and not guessing which pipe belongs to which appliance.
From ground level, check whether leaves, snow, ice, vegetation, or stored items are covering an accessible vent opening. Fuel-burning appliance vents must be kept free of snow and other obstructions. Remove loose debris from around an outlet only when you can do so safely without disturbing the vent or its protective fittings.
Don’t poke tools into a flue, remove mesh or covers, climb onto the roof, or attempt to repair dislodged vent pipes. A blocked or damaged exhaust system is a professional job. If you notice a problem, don’t run a fuel-burning furnace until it has been inspected and cleared.
Test carbon monoxide alarms before heating season
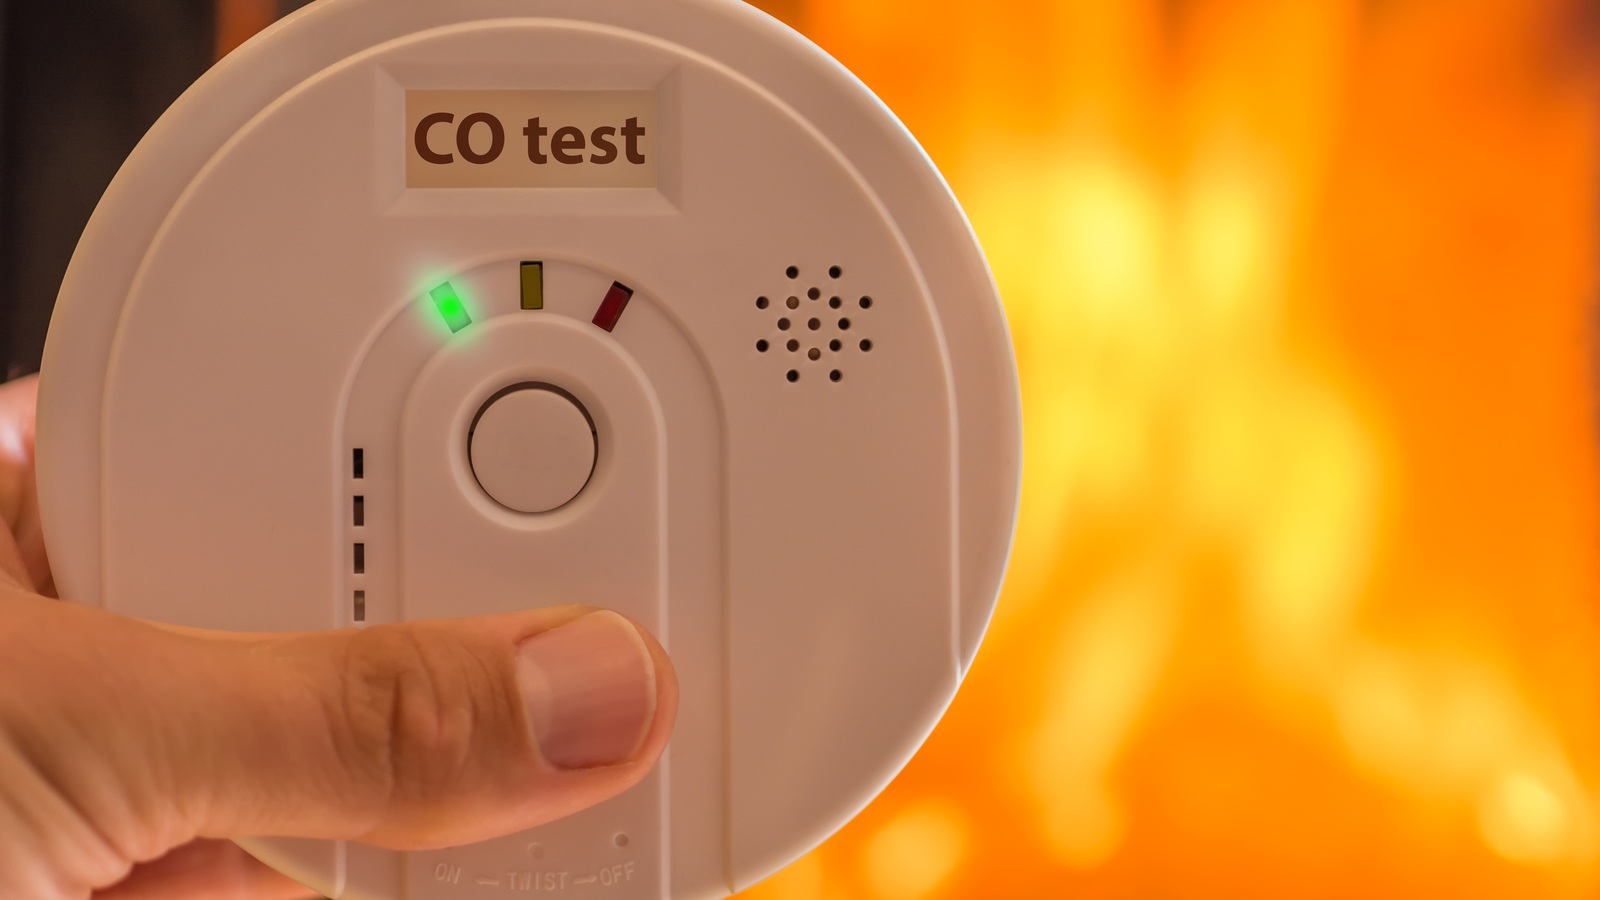
If you have a gas, propane, or oil furnace, carbon monoxide precautions belong on your heating checklist. CO is produced by incomplete fuel combustion, and you cannot see, smell, or taste it. An electric resistance furnace doesn’t burn fuel itself, but that doesn’t mean the home is free of CO risks if there are other fuel-burning appliances, fireplaces, or an attached garage.
Install working CO alarms on each level of the home and outside sleeping areas. Follow the alarm’s instructions and local requirements for exact placement. Test the alarms using their built-in test function, check the replacement date on each unit, and replace batteries or alarms when the manufacturer specifies. A working test button checks the alarm circuitry; it does not prove the furnace is operating safely.
Alarms are backup protection, not a substitute for having fuel-burning appliances and venting professionally inspected. Annual heating-system checks include looking for problems with chimneys and flues.
If a CO alarm sounds, don’t investigate the furnace or wait to see if the alarm stops. Get everyone outside into fresh air, call 911 or local emergency services, and don’t go back in until responders say it’s safe. If anyone has a headache, dizziness, nausea, confusion, or other possible symptoms of CO poisoning, tell emergency responders and seek medical attention. CO alarms must never be ignored.
Book professional furnace service before you rely on the heating
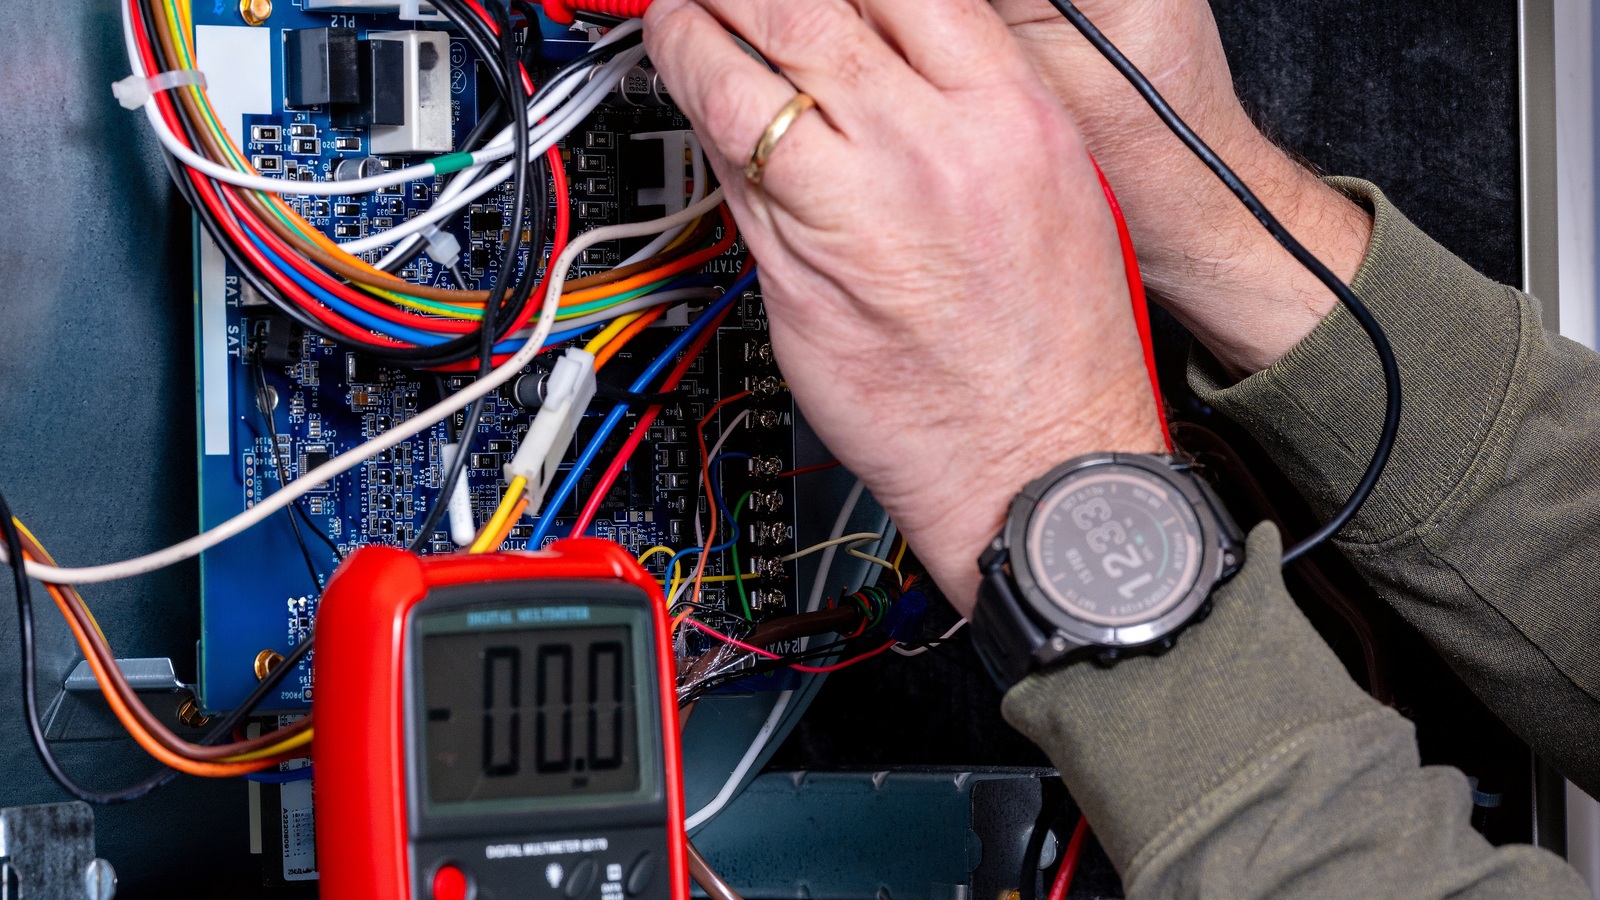
A good time to arrange routine service is late summer or early fall, before everyone in the neighborhood discovers their heating isn’t working on the same cold morning. Annual pre-season heating checkups are recommended. If yours is overdue, book it rather than waiting another year simply because you’ve already started using the heat.
Check the service records and your equipment’s manual first. A furnace inspected recently may not need a duplicate appointment just because the calendar changed. Warranty conditions, the fuel type, the age and condition of the equipment, and what the last visit covered all affect the right schedule. If you rent, report any concerns to your landlord or property manager and confirm who’s responsible for arranging the service.
What a proper service visit should cover
For a fuel-burning furnace, the technician should inspect the combustion system, burners and ignition, heat exchanger, gas or oil connections as appropriate, venting and flue, and safety controls. They should also assess airflow and blower operation, inspect electrical components, and check the heating cycle. Combustion, fuel connections, and heat-exchanger checks are part of a professional heating inspection.
Condensing furnaces may have a condensate drain, trap, or pump that also needs checking. Electric furnaces have no fuel burner or flue to inspect, but their heating elements, controls, wiring, and airflow still need appropriate professional attention. A heat-pump system requires its own maintenance procedures, especially if it has an outdoor unit.
When you book, describe the system accurately and ask what’s included in the visit. If there’s been an odd noise, repeated shutdown, a cold room, rising energy use, or water near the furnace, mention it in advance. A technician arriving for a routine tune-up shouldn’t be surprised to discover you actually need a fault diagnosed.
I’d also ask the technician to demonstrate the filter change if it’s awkward, confirm the right filter specification, and tell you which observations should prompt an earlier call. That information is more useful for the rest of winter than a vague assurance that everything looks fine.
Leave internal repairs and adjustments to a qualified technician
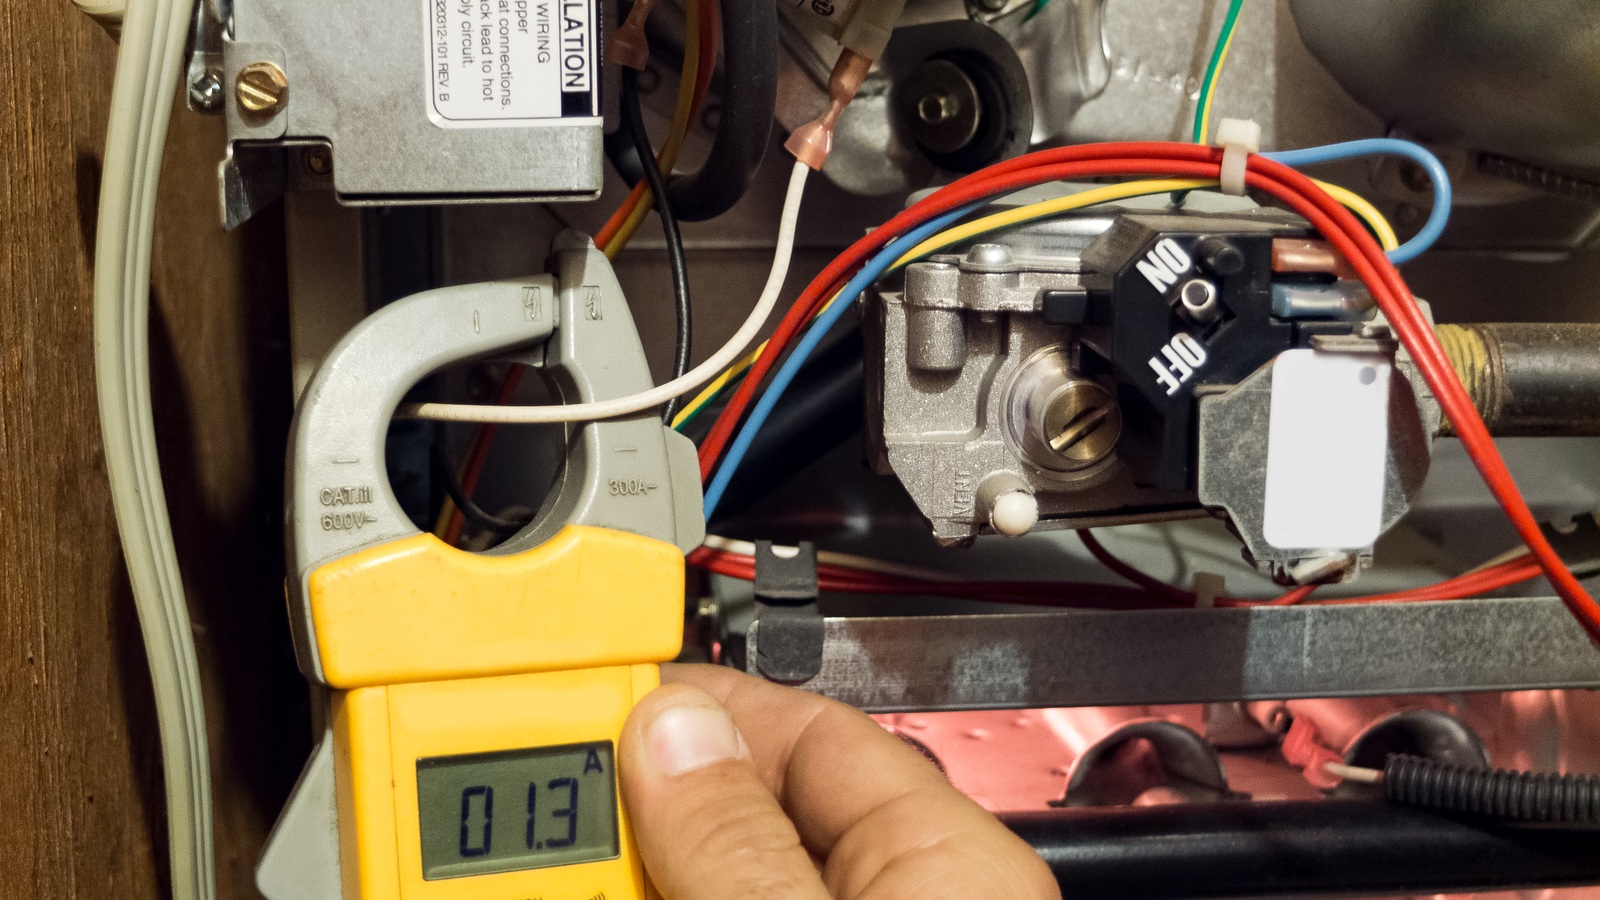
Some online furnace checklists casually suggest removing burners, cleaning flame sensors, adjusting pilot lights, lubricating the motor, or tightening internal electrical connections. Those aren’t general homeowner cleaning tasks. Fuel systems, electrical connections, safety devices, and venting can create hazards if they’re disturbed or reassembled incorrectly.
Don’t remove combustion-chamber covers, brush or vacuum burners, reconnect gas pipes, probe electrical terminals, adjust gas pressure, or bypass an interlock to make the furnace run. Fuel-burning appliances should not be serviced without the necessary knowledge, tools, and skills. The same principle applies to work inside high-voltage electric furnace compartments.
If the furnace shows an error code, make a note or photograph of the display and consult the owner’s manual. Some codes identify a simple issue you can report; others indicate a fault that needs a service visit. Don’t repeatedly reset a tripped safety limit or attempt to defeat the shutdown mechanism just to get through a chilly evening.
Know when not to turn the furnace back on
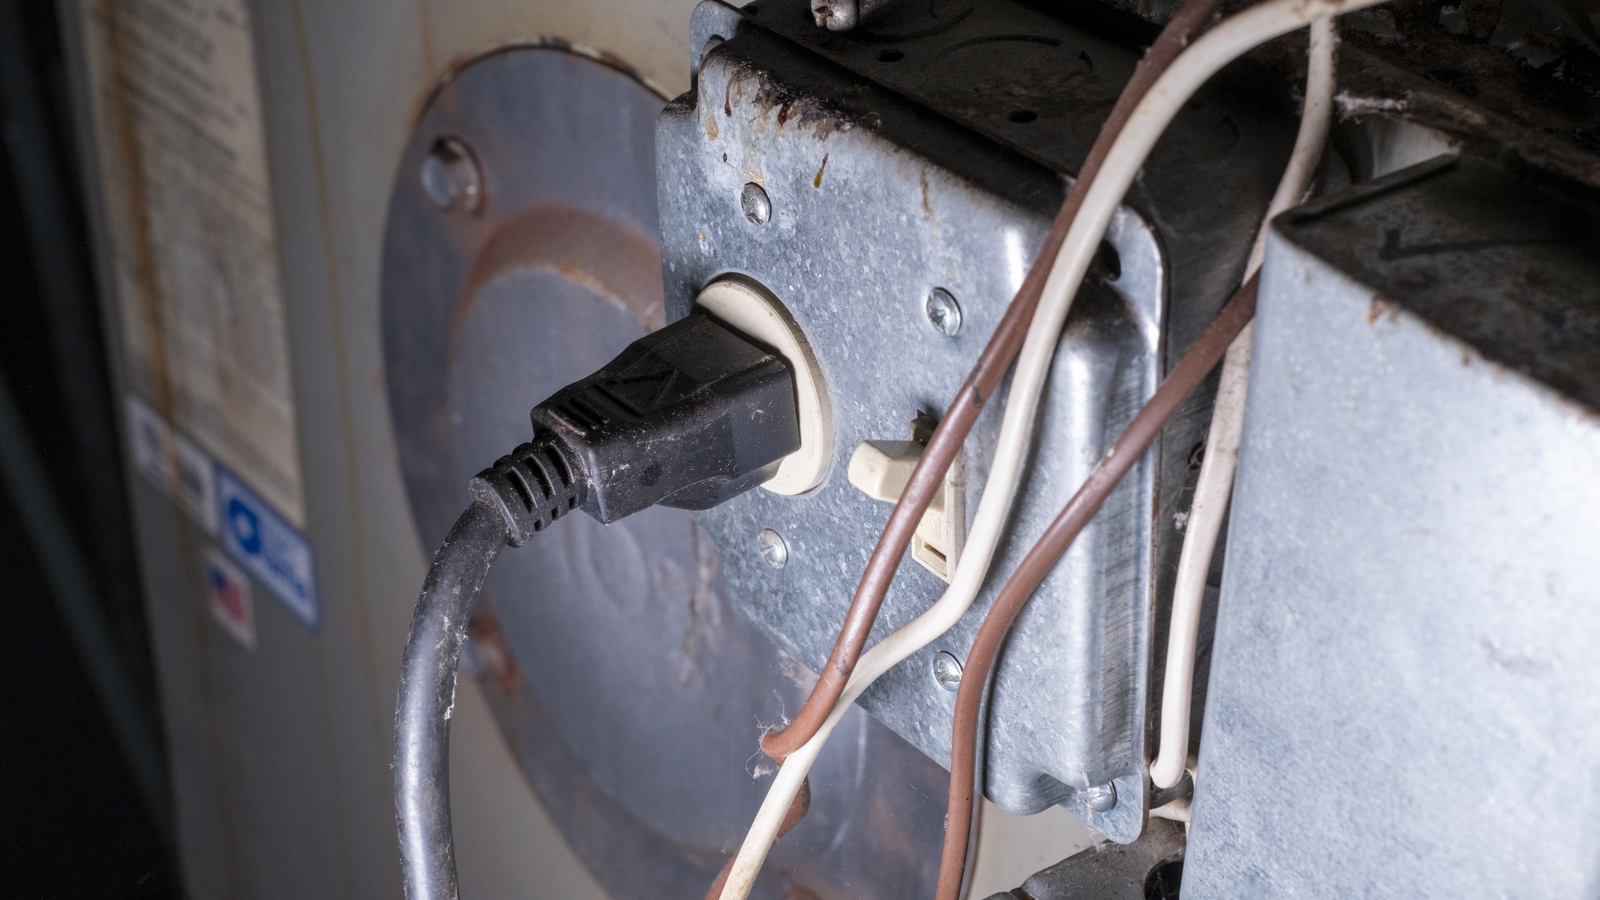
A dirty filter or a blocked room register can often be dealt with quickly. Other signs are reasons to stop and arrange help. Repeated short cycling, no heat despite an apparently normal thermostat setting, unusual banging or screeching, water leaking from the furnace cabinet, scorch marks, and persistent burning odors all deserve an inspection.
If you notice soot, damaged venting, signs of combustion gases entering the home, or suspect a carbon monoxide problem, don’t use the furnace while you investigate. Leave the building and call emergency services for any suspected CO exposure or active gas leak. For non-emergency faults, keep the unit off and book a qualified technician rather than experimenting inside the cabinet.
One cold room isn’t proof that the furnace needs replacing. Check for an obvious blocked supply vent first, and tell the technician if the room remains cold after the basics are sorted. There may be a ductwork or balancing issue rather than a failed heating appliance.
Make the next filter check easier
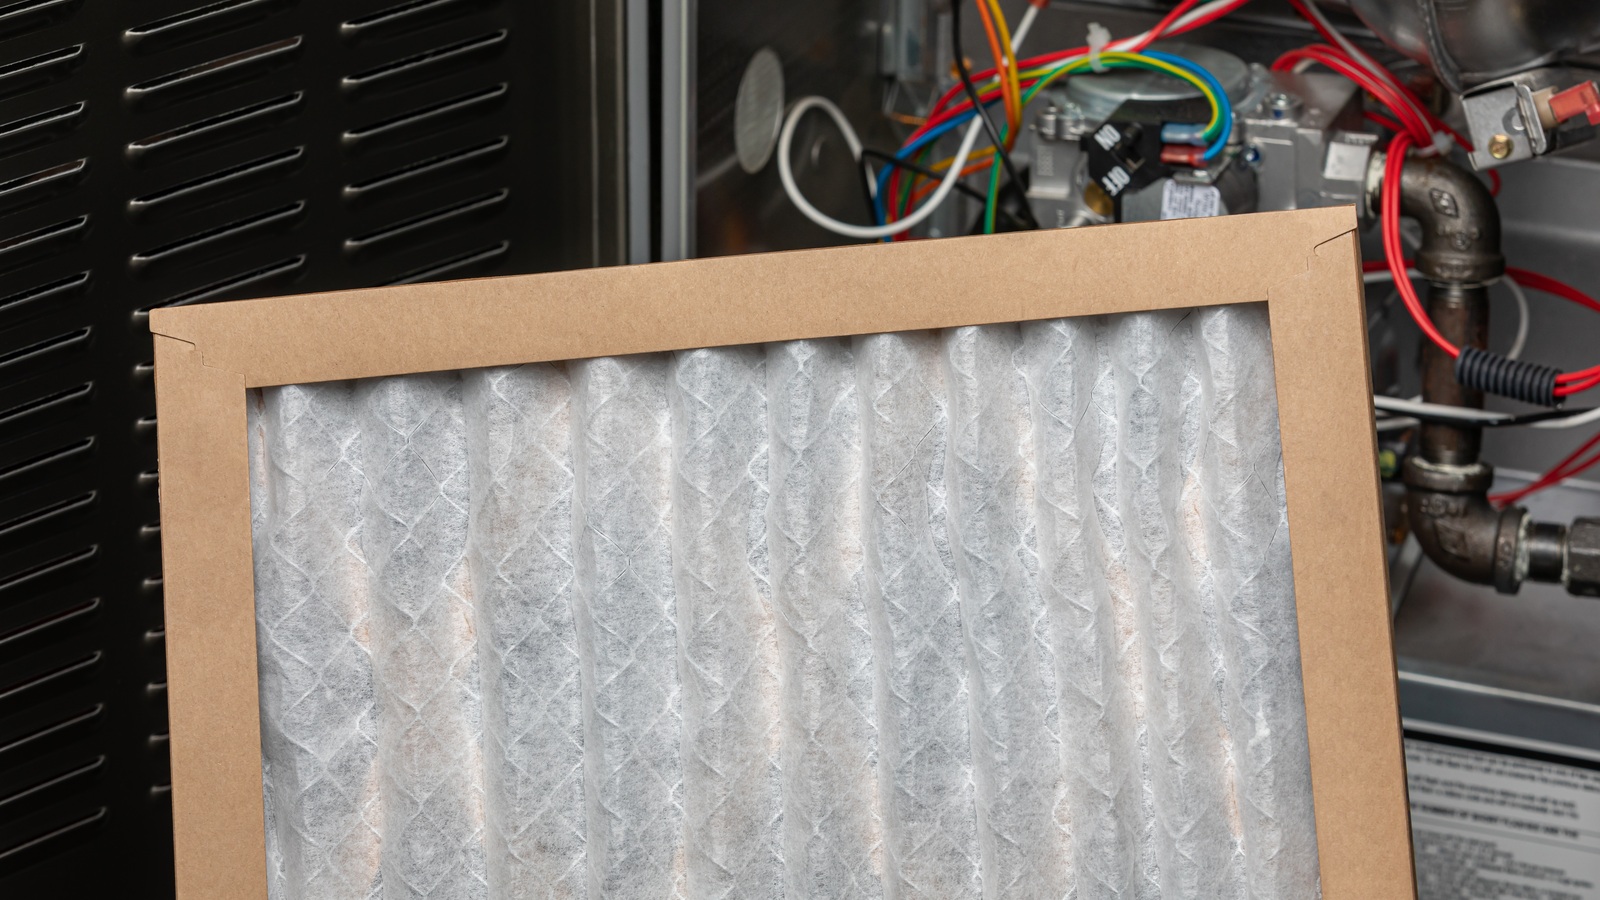
Once the filter is checked and the service appointment is sorted, put the next reminder on your calendar. A monthly check takes very little time when you know where the filter lives and which replacement to buy. Keep the correct spare filter somewhere clean and dry if you have room for it, and write the installation date on the frame or in your phone.
Keep a record of the service date and any repairs, too. If something changes in January, you’ll have the model number, technician’s details, and previous findings ready instead of searching through a drawer of paperwork while the house gets colder.
My priority before winter would be the accessible filter, clear airflow, working alarms, and a service visit when it’s due. That covers the worthwhile jobs without mistaking an appliance’s internal safety systems for another weekend DIY project.
You might also like…
The centuries-old fire-starting trick that worked before matches existed

