

Affiliate disclosure: This post may contain affiliate links. Please see full disclosure.
A clear sheet of removable window insulation film can make a chilly room feel noticeably more comfortable without replacing the window. It creates a still layer of air between the plastic and the glass, and, when sealed around the trim, can help stop unwanted airflow too. The trick is knowing whether you’re dealing with cold glass, an actual draft, or both.
I’m a big believer in dealing with small, annoying problems before spending serious money on a replacement. But I wouldn’t cover every window in the house with plastic just because winter has arrived. A quick check can tell you where this cheap fix will earn its keep.
First, work out where the cold is coming from

On a cold, breezy day, close and latch the window properly. Hold the back of your hand near the glass, then move it around the sash, meeting rails, and surrounding trim. A light tissue can make a small air leak easier to spot. Don’t use a candle or other open flame.
If you feel a distinct stream of cold air at an edge or joint, you probably have a gap to seal. If the air feels chilly across most of the glass without an obvious leak, the glass itself may be the culprit. Indoor air cools when it meets a cold pane and sinks, creating a draft-like sensation even when the window is shut tight.
Windows lose heat through their glass and frames as well as through air leakage, and one product won’t solve every problem.
When removable window film makes sense

Interior shrink-film kits work best on a window you can comfortably leave closed during the cold season, especially an older, poorly insulating window. Unlike tinted films that stick directly to the glass, this clear plastic stretches over the inside of the whole window opening. The trapped air space helps limit heat loss, while a good perimeter seal can reduce drafts.
A properly installed plastic window covering can reduce drafts and make the area near a window feel warmer. It’s a modest, temporary improvement, not a substitute for repairing rotting frames, damaged glazing, or serious water leaks. And I wouldn’t promise a particular dollar saving. The result depends on the window, the weather, and how well the film is fitted.
The drawback is easy to overlook: once shrink film covers the window, you can’t open it normally without removing or tearing the plastic. Never install it over a window required as an emergency escape route or one you rely on for ventilation. Keep vents and intended air openings clear, too.
How to fit insulation film without making a mess
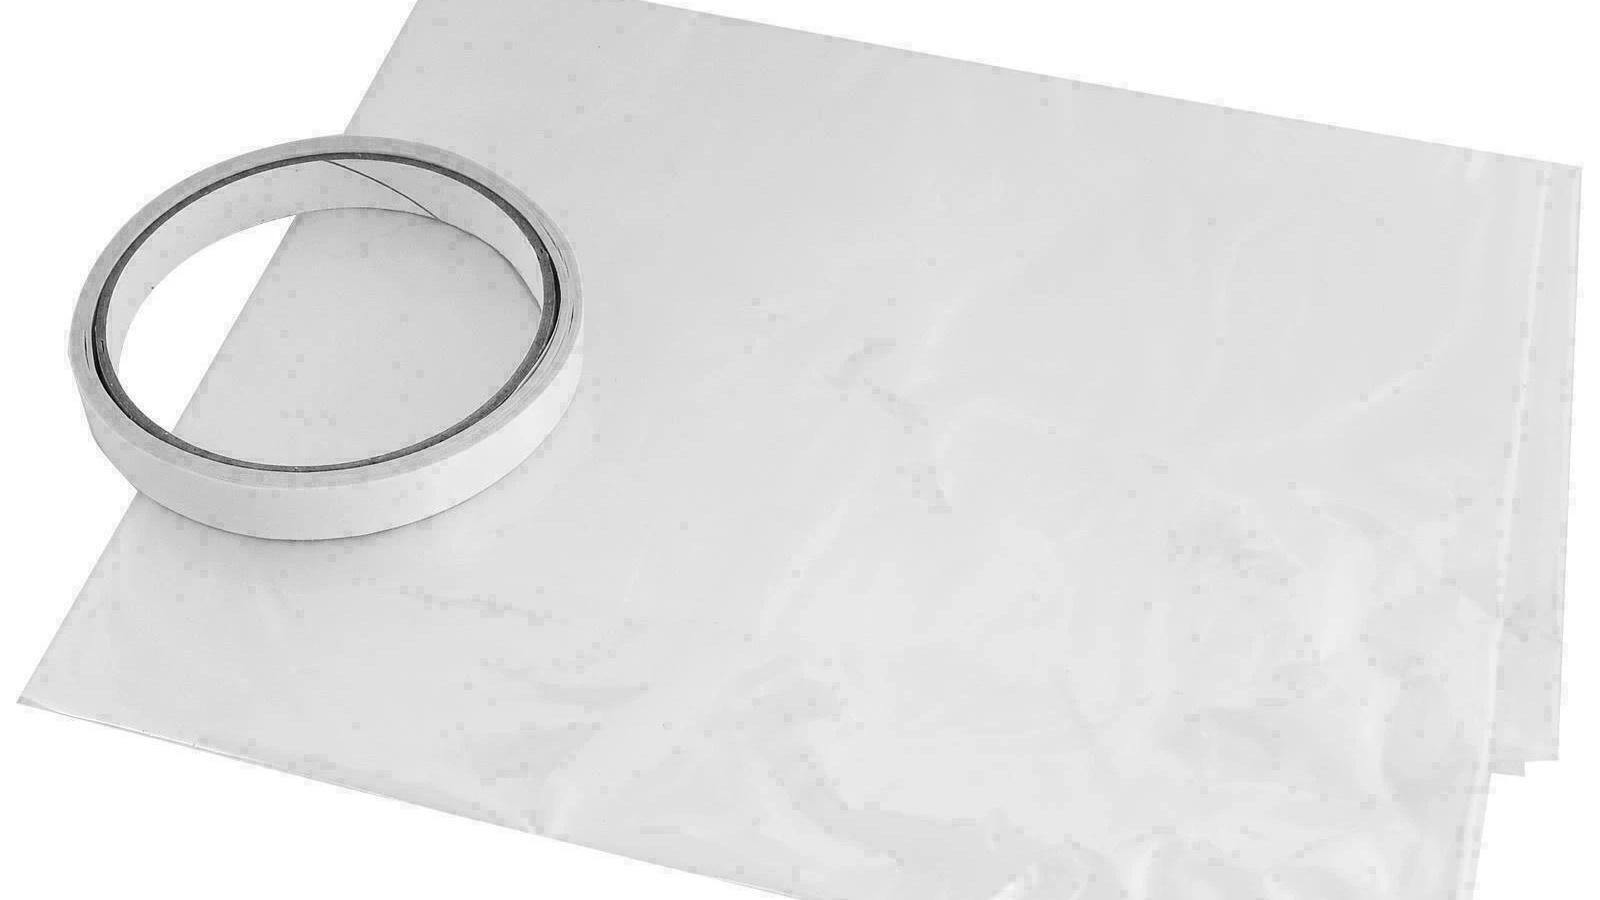
Most kits contain transparent shrink film and double-sided mounting tape. You’ll need scissors, a clean cloth, and a regular hair dryer. Choose a dry day and follow the kit instructions, including any temperature limits for the adhesive.
- Clean the window trim where the tape will go, then let it dry completely. Dust, grease, and damp paint can stop the tape sticking.
- Measure the area you want to cover. Cut the film with a little extra material all around rather than trying to get a perfect fit first.
- Apply the supplied tape to sound, dry trim around the opening, making a continuous border. Check that the surface is compatible with the adhesive, particularly if the paint is old, delicate, or newly applied.
- Press the film onto the tape, working carefully to avoid big folds. Don’t stretch it hard by hand.
- Use a hair dryer as directed, keeping it moving until wrinkles pull taut. Trim the surplus plastic without cutting into the frame or its finish.
A smooth finish is nice, but the seal around the edges is what really matters. Seasonal shrink film is generally removed and replaced, and its tape can pull paint away when it comes off. Test an inconspicuous spot first if the trim is fragile. Keep the film away from heaters, flames, and other strong heat sources.
Use weatherstripping where a window actually leaks

If the draft comes from the movable sash rather than the glass, start with weatherstripping. The right kind depends on how the window opens. Compression-style foam or rubber seals can suit hinged casement windows where the sash presses against the frame. Sliding and double-hung windows often need slim, low-friction seals or purpose-made pile or V-strip weatherstripping so the sash can still move.
Choose a strip that fills the gap without stopping the window from closing. I’d rather fit a thinner seal that actually lets the latch engage than stuff a large foam strip into the joint and call it fixed. Clean and dry the contact surfaces, replace crumbling old seals, and check the whole closing and locking action after installation.
A gap between fixed trim and the wall is a different job. Suitable caulk may help there, but don’t caulk shut an opening window, cover drainage holes, or seal over damaged wood that needs repair. An opening window should still operate as designed, particularly if it’s an emergency exit.
Keep an eye on moisture and ventilation

If you find water droplets or fogging between the new film and the original glass, inspect the perimeter seal and watch for damp trim. Warm, moist room air getting behind the film can condense against the cold pane. Don’t ignore persistent condensation, mold, soft wood, or peeling paint.
Reducing unwanted drafts doesn’t mean eliminating fresh air. Maintain proper ventilation while sealing and insulating, and don’t obstruct ventilation required for fuel-burning appliances. If the window is badly deteriorated or moisture keeps returning, deal with the underlying problem rather than adding another layer of tape.
My preference is to start with the worst window in the room. Find the leak, use weatherstripping if the sash is letting air through, or fit removable film if the big, cold pane is the problem and the window can safely stay shut. You’ll get a more useful result than spending the afternoon wrapping every window in plastic.

