
Affiliate disclosure: This post may contain affiliate links. Please see full disclosure.
A haybox is an insulated box that finishes cooking a pot of food using nothing but the heat already trapped inside it, and it can cut your cooking fuel use by up to 80%, which is exactly why cash-strapped Victorian households and rationed wartime kitchens leaned on it long before anyone had heard of a slow cooker.
I built my first one out of a cardboard box and a stack of old towels during a particularly grim heating bill winter, and I still use a proper insulated version now for beans, oats, and Sunday stews. It’s not a gimmick or a homesteading party trick. It’s straightforward physics, and it works just as well on a modern gas or induction hob as it did on a Victorian range.
What Haybox Cooking Is
Haybox cooking, also called retained-heat cooking or fireless cooking, means bringing food to a boil on the stove for a few minutes, then transferring the pot into a heavily insulated box where the trapped heat finishes the cooking over the next several hours, with no further fuel added.
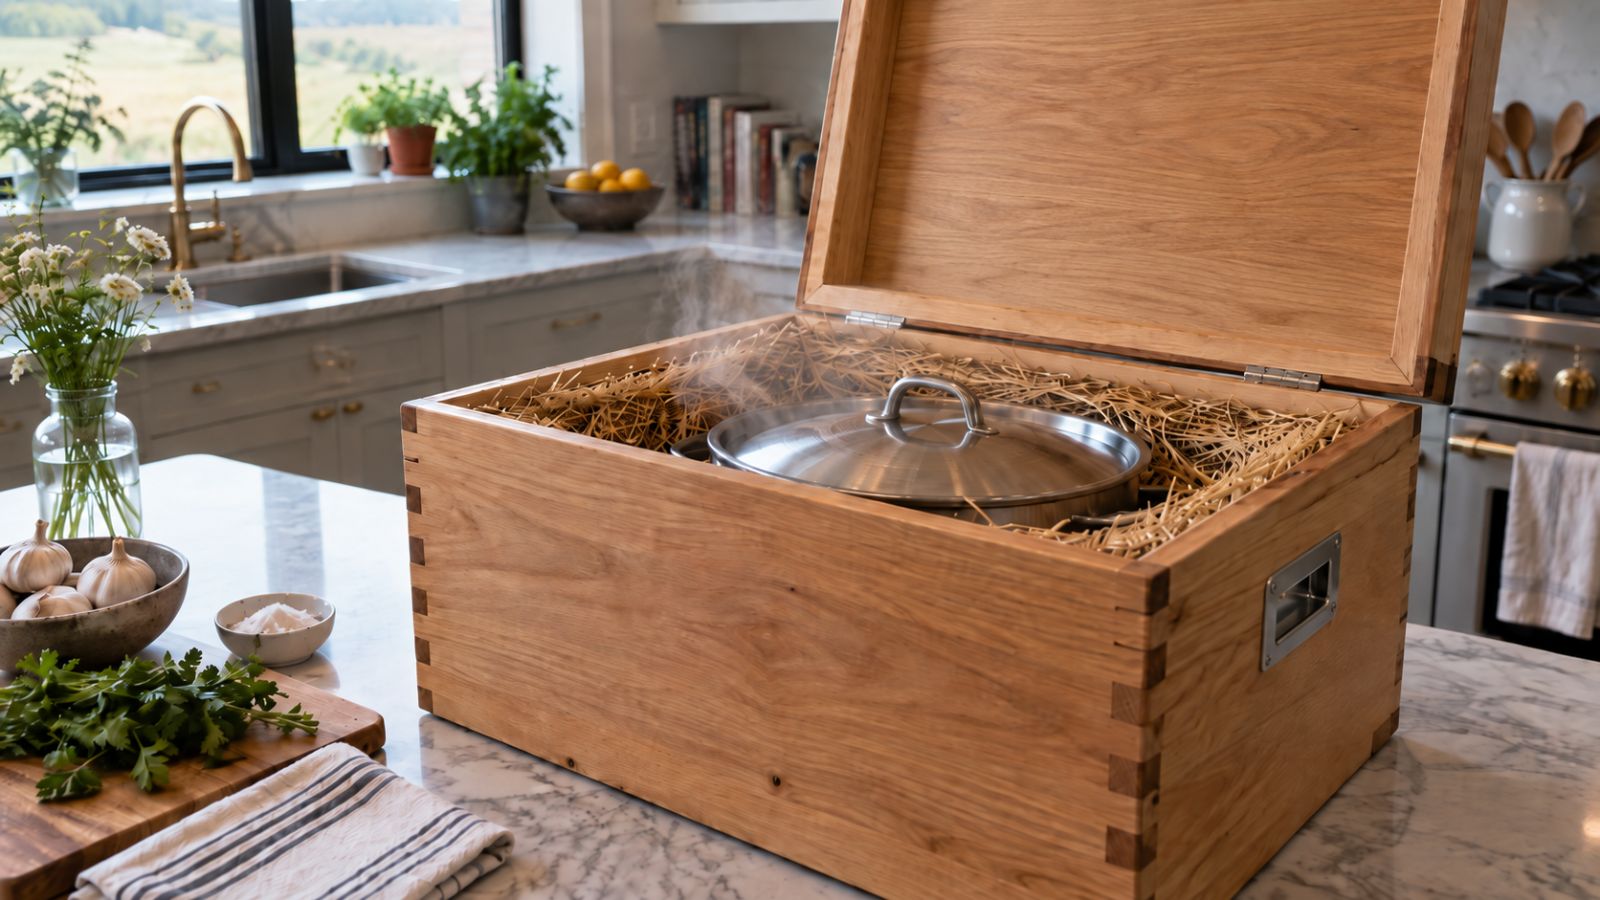
A haybox is an insulated container, traditionally packed with hay or straw, built to hold a just-boiled pot snugly enough that heat loss slows to a crawl. The name stuck even though most people today use wool blankets, towels, or foam rather than actual hay.
The clever bit is that food doesn’t need constant heat to keep cooking. It needs to stay hot. Once your pot has been boiling, most of the remaining cooking happens as the temperature gradually drifts down through the 180°F to 212°F range (82°C to 100°C), which is gentler than a rolling boil and, in my experience, keeps rice and beans from turning to mush the way an unwatched pot on the stove sometimes does.
A Victorian Kitchen Trick With Older Roots
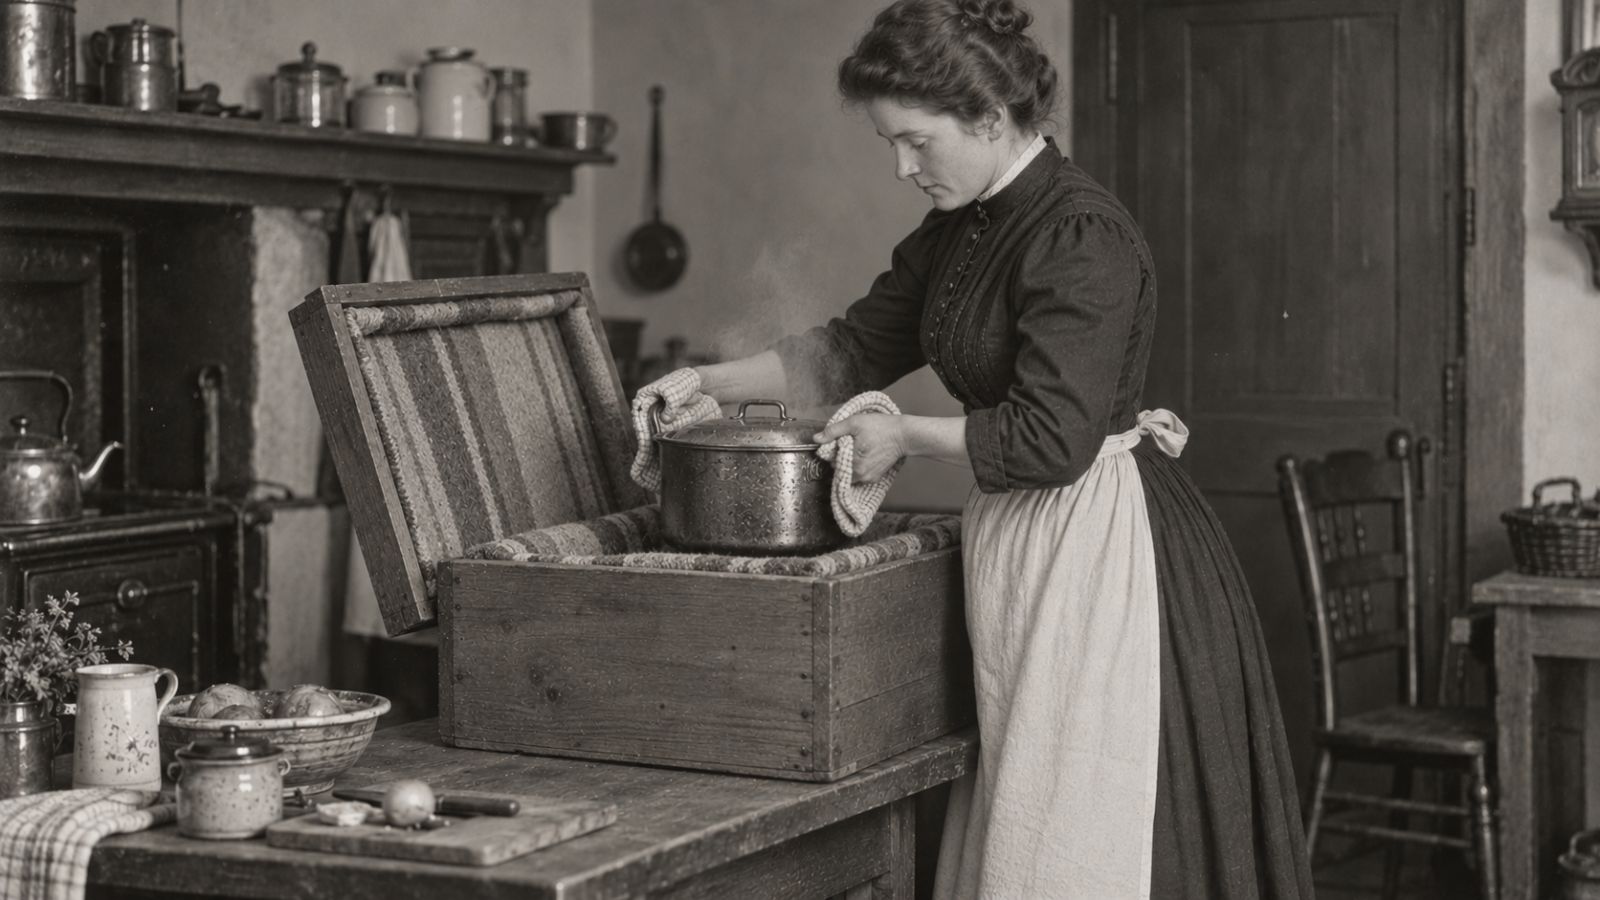
Haybox cooking earned its reputation as a Victorian trick because it became a genuine domestic staple during Queen Victoria’s reign, even though the basic idea existed before she took the throne.
An inventor named Karl von Drais had already built an early insulated cooking box in Germany in the 1810s and 1820s, a good decade or more before Victoria became queen in 1837. But the method didn’t really take off with the public until it was shown off at the 1867 Paris Exposition as the “Norwegian automatic kitchen,” a wooden box lined with wool and felt that kept food cooking for two to three hours after only a few minutes on the fire. That’s squarely inside the Victorian era, and it’s the point where the idea properly caught on in British and European kitchens.
From there it just kept getting more useful. During both World Wars, Girl Guides in the 1940s were taught to build a working haybox out of a large biscuit tin and straw as part of wartime fuel rationing, and the same basic design got passed down through generations of frugal cooks.
How Retained Heat Cooks Food, and Why It Saves So Much Fuel
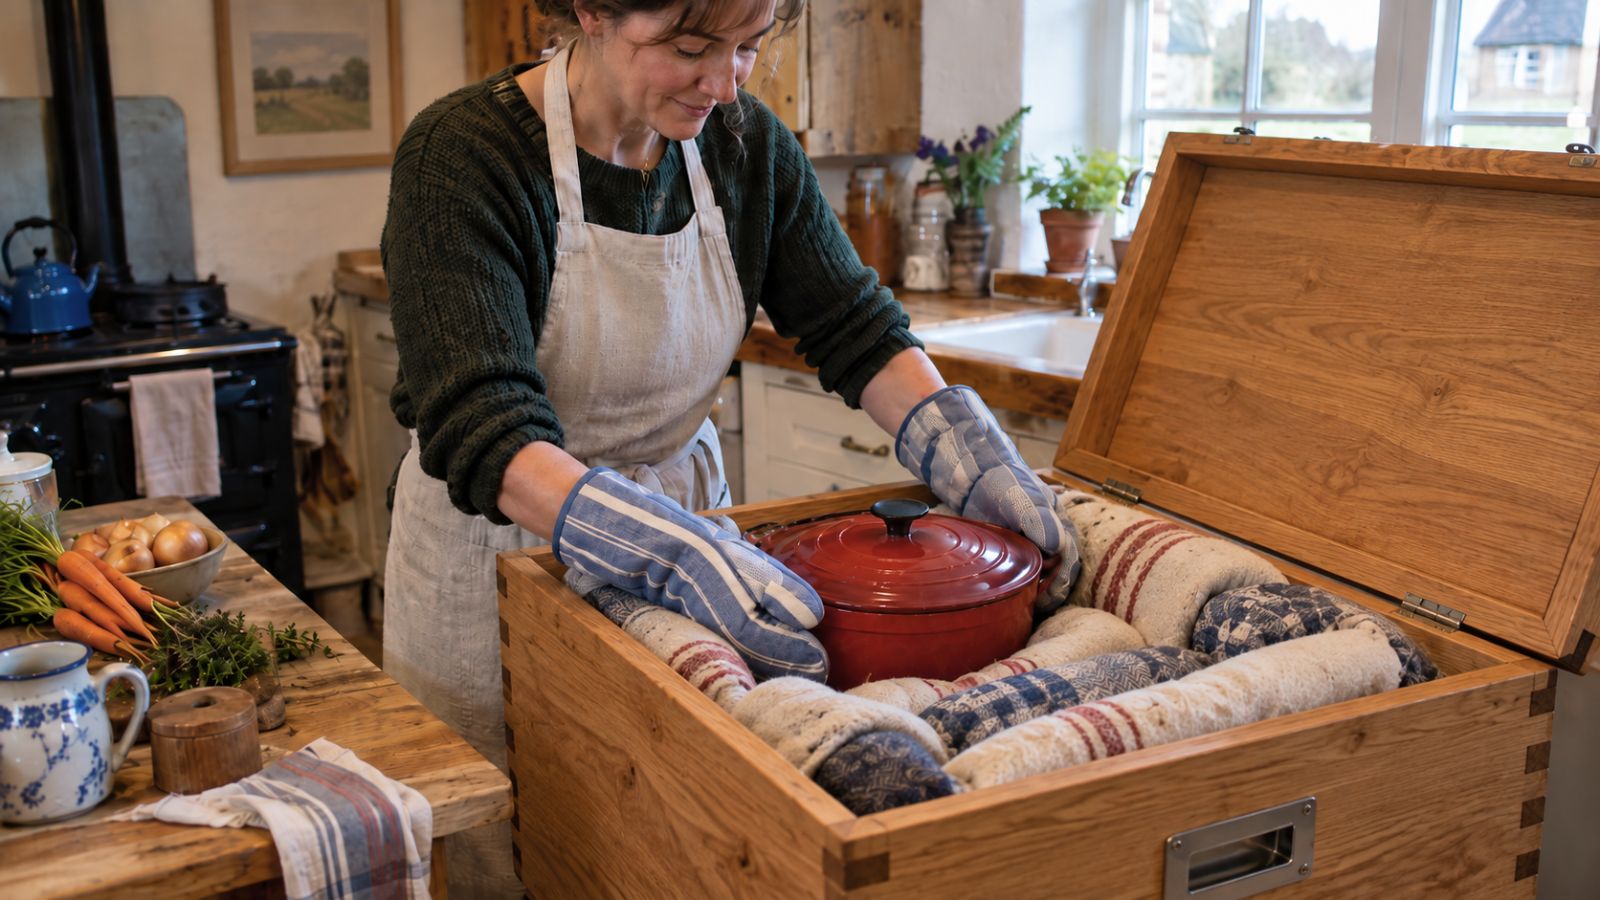
Once a pot reaches boiling point, a haybox stops heat from escaping instead of replacing the heat that’s lost, and that single difference is what saves anywhere from 20% to 80% of the fuel you’d normally burn keeping a pot simmering on the stove.
Think about what happens on a normal stovetop. After food boils, you turn the heat down and keep feeding the pot fuel just to replace the warmth that’s constantly escaping into your kitchen air. A haybox skips that step entirely by trapping the heat that’s already there. Insulation works by holding still pockets of air in place, and still air is a poor conductor of heat, which is the exact same principle behind a wool jumper, a thermos flask, and your loft insulation.
As a rough rule of thumb, expect retained heat cooking to take at least double the normal simmering time, sometimes more if your insulation is on the thin side. That’s a fair trade for walking away from the stove entirely, and unlike simmering, leaving food in a haybox a bit longer than planned won’t scorch it or boil it dry.
What to Use as Your Box and Insulation
You can build a working haybox from a cardboard box, a cooler, or a wooden crate, as long as you pack at least 3 inches (7.5cm) of insulating material around every side of the pot, and closer to 4 inches (10cm) if you’re using something loose and light like towels rather than dense straw.
Hay and straw are the traditional choice, but wool blankets, dry newspaper, rice hulls, sawdust, and even old sleeping bags all work on the same principle. My cardboard-and-towels version cost nothing and still kept a pot of beans properly hot for four hours. Whatever you use, it needs to hold up to cooking temperatures without melting, so skip anything with a synthetic foam or plastic component that could soften near a hot pot.
One thing that trips people up is damp insulation. Damp hay or damp towels conduct heat away far faster than dry ones, so if your material has been sitting somewhere humid, dry it out properly before you rely on it for a real meal.
Modern Retained-Heat Cookers You Can Just Buy
If building one isn’t your idea of a fun weekend, a thermal cooker, sometimes sold as a vacuum flask cooker or shuttle chef, does the exact same job with a vacuum-sealed outer shell instead of loose hay. There are also insulated slow-cooker bags, often called wonder bags, which work like a padded sleeping bag for your pot and are popular for off-grid cooking. Either option skips the DIY step but relies on the same core idea, boil first, then let the insulation do the rest.
Cooking With a Haybox Step by Step
Haybox cooking follows the same five steps every time, whatever you’re making: boil, simmer briefly, transfer, insulate, and wait.
- Bring your food to a full, rolling boil on the stove in a pot with a tight-fitting lid.
- Simmer it gently for a few minutes first, the exact time depends on what you’re cooking, but 5 to 20 minutes covers most dishes.
- Move the covered pot straight into your haybox without letting it sit out and lose heat first.
- Pack insulation firmly around the sides and over the top so there are no gaps for heat to escape through.
- Close the lid and leave it alone. Every time you peek, you lose heat, so resist the urge until it’s meant to be ready.
A tip I picked up after a few underwhelming attempts is to keep the pot as full as reasonably possible. A fuller pot holds more heat and stays hotter for longer than a half-empty one, so if you’re only cooking for one or two people, use your smallest suitable pot rather than a mostly-empty big one.
Foods That Work Best (and How Long They Take)
Grains, legumes, and anything liquid-based cook best in a haybox, and the table below gives realistic starting points, though your own results will depend on how well insulated your box is.
| Food | Boil or Simmer First | Time in the Haybox |
| White rice | 5 minutes | 1 to 1.5 hours |
| Brown rice | 5 minutes | 5 to 6 hours |
| Soaked dried beans | 15 to 20 minutes | 3 to 4 hours |
| Stews and soups | 50 to 60 minutes | 3 to 4 hours |
| Whole potatoes | 15 minutes | 2 to 3 hours |
| Oats or porridge (overnight) | Bring to boil, then transfer | 6 to 8 hours (overnight) |
Some particularly stubborn legumes, chickpeas especially, sometimes need a second round of boiling and re-insulating partway through if they haven’t fully softened after the first stretch. I put oat groats and dried fruit on to boil before bed in the winter, and by morning there’s warm porridge waiting with zero effort and no scorched pan to scrub.
What Doesn’t Work in a Haybox
Steamed puddings, quick-cooking greens, and anything that needs browning, searing, or a sauce reduced down are all poor candidates for haybox cooking. A haybox can’t get hotter than the boiling point you started with, so there’s no way to sear meat, crisp anything, or thicken a sauce once the pot goes in. Delicate vegetables like spinach or green beans also tend to overcook into mush if they sit for hours at near-boiling temperatures, so save those for a quick stovetop finish instead.
Food Safety Rules for Haybox Cooking
The bacterial danger zone for food is 40°F to 140°F (4°C to 60°C), and the whole safety game with haybox cooking is spending as little time as possible drifting through that range on the way down rather than lingering in it.
The danger zone is the temperature range in which bacteria that cause food poisoning multiply fastest, doubling in number in as little as 20 minutes. A well-packed haybox drops through that range slowly enough to be safe for most dishes, but there are a few rules I don’t bend on.
- Always boil meat dishes fully before they go into the box, and bring them back to a full 165°F (74°C) before serving, even if the haybox kept them warm the whole time.
- Never put half-eaten or already-cooling food back into a haybox to “keep it warm.” An insulated box is also a fantastic incubator for bacteria, and it won’t reheat anything, it’ll just hold it at exactly the wrong temperature.
- Keep your pot as full as you can manage. A fuller pot clears the danger zone faster on its way down, which matters more than people expect.
This isn’t a place to get creative if you’re feeding a crowd that includes very young children, pregnant women, older adults, or anyone with a compromised immune system. When in doubt, reheat food fully to 165°F (74°C) rather than relying on residual warmth, and if you’re at all unsure about a specific meat cut’s safe internal temperature, check current guidance rather than guessing.
If Your Food Isn’t Staying Hot Enough
If food comes out of the haybox lukewarm rather than piping hot, your insulation is almost always the culprit. Check for these common causes first: insulation that’s too thin (under 3 inches), insulation that’s gotten damp, a box that’s too roomy for the pot and leaving air gaps, or a lid that isn’t sealing tightly. Fixing any one of these usually solves the problem on the next attempt.
FAQs
How long does food stay hot in a haybox?
Most well-insulated hayboxes keep food genuinely hot, well above 140°F (60°C), for around 4 to 5 hours, and it can still be warm enough to eat without reheating even after 5 hours or more. How long depends heavily on the thickness of your insulation and how full your pot is.
Can I cook raw meat safely in a haybox?
Yes, but always bring the meat to a full boil before it goes into the box and reheat it to at least 165°F (74°C) before serving, regardless of how hot it feels. Meat is the one category where I’d rather be overly cautious than sorry, so when in doubt, reheat fully rather than trusting residual warmth.
Do I need to soak beans first?
Soaking dried beans overnight significantly cuts down their cooking time and lowers the odds you’ll need a second round of boiling. Unsoaked beans, especially dense ones like chickpeas or soybeans, can take considerably longer and sometimes need reboiling partway through if they haven’t softened.
How big should my haybox be compared to the pot?
Leave at least 3 inches (7.5cm) of space on every side of the pot, including underneath and on top, to pack in your insulating material. Too much extra space beyond that just means more air gaps for heat to escape through, so bigger isn’t automatically better.
Can I use a haybox during a power outage or off-grid?
Yes, this is one of its best modern uses. Since it needs no electricity or ongoing fuel once the food has boiled, a haybox will keep cooking a meal through a power cut, and it’s a genuinely useful thing to have set up before camping trips or storm season.
Is haybox cooking the same as slow cooking?
No, a slow cooker uses continuous low electric heat to hold a steady temperature for hours, while a haybox uses no ongoing energy at all after the initial boil and simply cools very slowly over time. They land in a similar place with tender, slow-cooked food, but they get there in completely different ways.
Give It a Try With Something Forgiving First
Start with rice or a simple bean dish rather than anything fussy, since those two are the most forgiving and the quickest to show you whether your insulation is doing its job. Once you’ve got a haybox that reliably keeps a pot hot for hours, you’ll find yourself reaching for it every time you want dinner ready without babysitting the stove. It’s one of those old tricks that never actually stopped being useful, it just went out of fashion for a while.

