Affiliate disclosure: This post may contain affiliate links. Please see full disclosure.
There’s nothing more disappointing than growing garlic for months, only to dig up tiny bulbs that are barely worth peeling. Usually, the problem starts long before harvest. Planting at the wrong time, using small cloves, overcrowding the bed, or growing garlic in poorly drained soil can all leave you with undersized bulbs.
Fall is the best time to plant garlic for a summer harvest, because it gives the cloves time to establish roots and experience the winter cold they need for proper bulb development. I’m a master gardener specializing in organic food growing and permaculture, and garlic is one of my favorite crops because it takes relatively little work once it’s established. With good soil, the right spacing, and a layer of mulch, you can grow plenty of garlic without much fuss.
When to plant garlic in fall
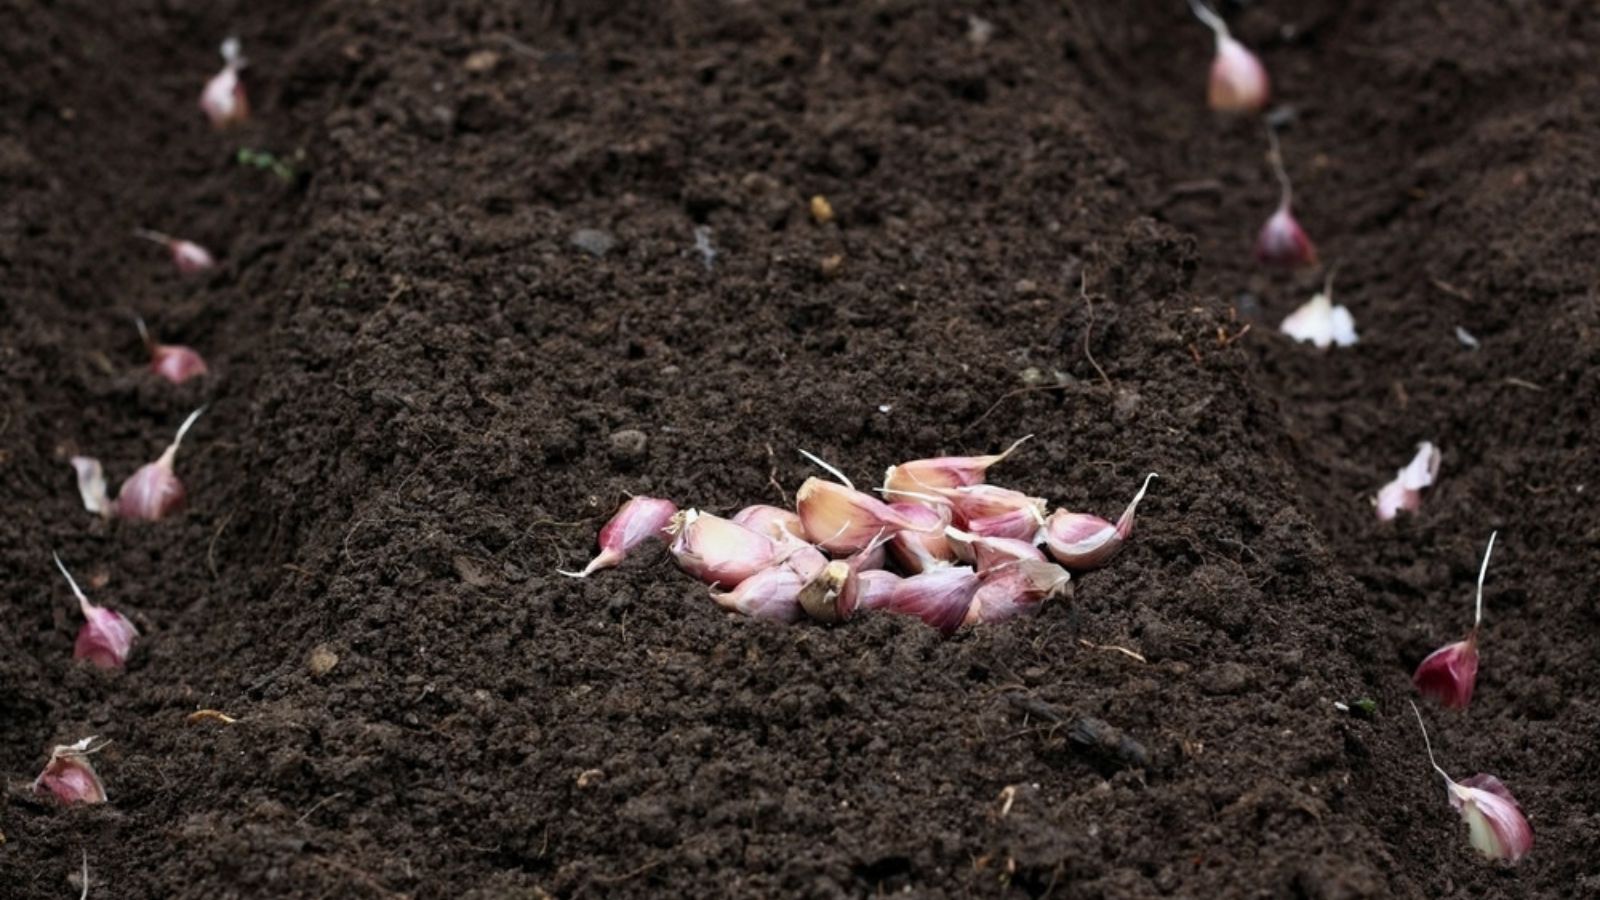
Ideally, you should plant garlic about three weeks before the ground normally freezes. This gives the cloves time to develop roots before winter, but not so much time that they produce lots of leafy growth above ground. In most temperate areas, the planting window falls between September and November, although warmer regions may be able to plant later.
If you live somewhere with long, cold winters, September or October is often a good time to plant. In areas with milder winters, October or November is usually better. I prefer to judge the planting time by the weather rather than sticking to a particular date, because an unusually warm fall can change things considerably.
You don’t need to rush to get garlic planted before the first frost. In fact, planting a week or two after the first killing frost works well in many colder climates. The important thing is getting the cloves into the ground before it freezes solid, while there’s still enough time for root development.
Why garlic needs winter cold to grow bigger bulbs
Garlic needs a period of cold exposure to trigger a process called vernalization. Basically, this is how the plant responds to winter temperatures and prepares itself to form a proper bulb with separate cloves. Without enough cold exposure, you can end up with small bulbs or single, undivided bulbs instead of the usual head of garlic.
Most garlic needs around six to eight weeks of temperatures below 40°F (4°C) for vernalization, although the exact requirements vary between varieties. The cloves establish roots during the cooler months, and when the days grow longer and warmer in spring, the plants begin developing bulbs. This combination of winter chilling, spring growth, and increasing daylight is what makes fall planting so effective.
Cold exposure alone won’t guarantee enormous bulbs, though. The plants also need enough nutrients, moisture, and space to develop properly. That’s why choosing good planting stock and preparing the soil are just as important as getting the planting date right.
How to plant garlic in fall
It’s really not difficult to grow garlic. I grow ridiculous amounts of it, as I cook with it all the time and use it for a variety of home remedies. And, what I don’t use immediately, I cure and store to use all through the year. It is honestly one of the easiest edible plants you’ll grow, as it needs very little from you once it’s in the ground.
Step 1: Choose healthy seed garlic
Start with large, firm bulbs from a reputable seed supplier or local grower. You can plant grocery store garlic, but I don’t recommend it because the varieties may not be suited to your climate, and you don’t know whether they’re carrying pests or diseases. It’s better to buy certified or otherwise clean, disease-free planting stock that’s suited to your growing conditions.
There are two main types of garlic: hardneck and softneck. Hardneck varieties are generally better suited to cold winters, while softneck types often perform well in milder climates and tend to store for longer. I particularly like hardneck garlic because it also produces edible scapes in late spring, giving you an extra harvest before the bulbs are ready.
‘Music’ and ‘German Extra Hardy’ are excellent hardneck varieties for colder climates. Both produce good-sized bulbs when grown in suitable conditions, although the eventual size depends on soil fertility, spacing, and the quality of your planting stock. If you’re buying locally, ask which varieties grow particularly well in your area.
Step 2: Prepare the soil
Garlic grows best in full sun and fertile, well-drained soil with a pH between 6.0 and 7.0. Before planting, remove weeds and leftover crop debris, loosen the soil, and work in some homemade compost or well-rotted manure. You want soil that’s loose enough for the roots to spread and the bulbs to expand without struggling against heavy compaction.
I prefer feeding the soil with compost rather than adding lots of fertilizer, particularly when I’ve already got reasonably fertile garden beds. Compost improves soil structure, supports beneficial soil organisms, and helps sandy soils hold moisture while making heavy soils easier to work. However, garlic is a fairly hungry crop, so if your soil is low in nutrients, you may also need an appropriate organic fertilizer based on your soil test results.
Good drainage is essential because garlic doesn’t tolerate sitting in waterlogged soil, particularly through winter. Poorly drained soil encourages bulb rot and other diseases, so if your garden has heavy clay or stays wet for long periods, consider growing garlic in raised beds. Avoid planting it in the same spot where you’ve recently grown onions, leeks, or other alliums, as crop rotation helps reduce the buildup of pests and diseases.
Step 3: Separate the garlic cloves
Wait until you’re ready to plant before separating the bulbs into individual cloves. Breaking them apart too early can allow the base of the cloves to dry out, which may affect root development. Gently pull the cloves apart, keeping their papery skins intact and avoiding damage to the flat root plates at the bottom.
Choose the largest, healthiest cloves for planting, and put the small ones aside for cooking. Larger cloves generally produce larger bulbs at harvest, so this is one of the simplest ways to improve your crop. Don’t plant cloves that feel soft, have moldy patches, or show signs of damage, as you risk introducing disease into the soil.
Step 4: Plant the cloves at the right depth and spacing
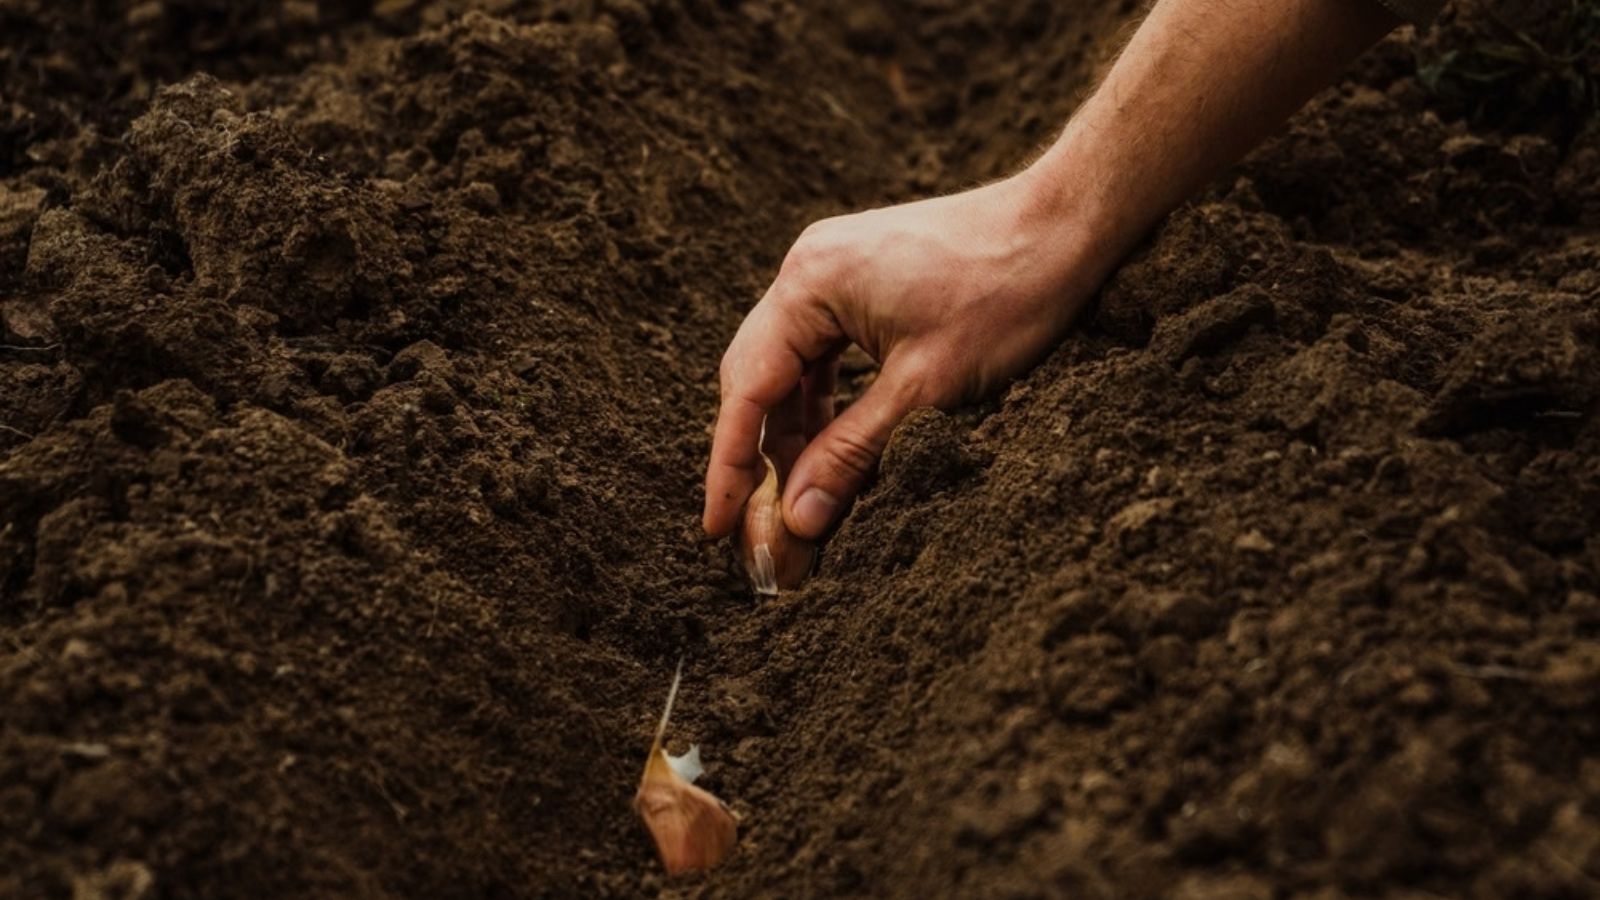
Plant each clove with its flat root plate facing downward and its pointed tip facing upward. I recommend covering the tip with around 2 inches (5 cm) of soil, although you can plant a little deeper, up to around 4 inches (10 cm) of soil over the tip, in particularly cold regions. Getting the depth right protects the cloves from exposure and helps them establish a stable root system through winter.
For bigger bulbs, space the cloves 6 inches (15 cm) apart, with approximately 12 inches (30 cm) between rows. Garlic planted closer together will still grow, but crowded plants tend to produce smaller bulbs because they’re competing for space and nutrients. If you’ve got plenty of growing space, there’s no benefit in squeezing the cloves together.
I prefer making individual planting holes rather than pushing the cloves firmly into the soil. This allows me to set them at the correct depth without damaging the root plates, particularly if the soil is a little heavy. Once they’re in position, cover them with soil and gently firm the surface without compacting it.
Step 5: Water and mulch the garlic bed
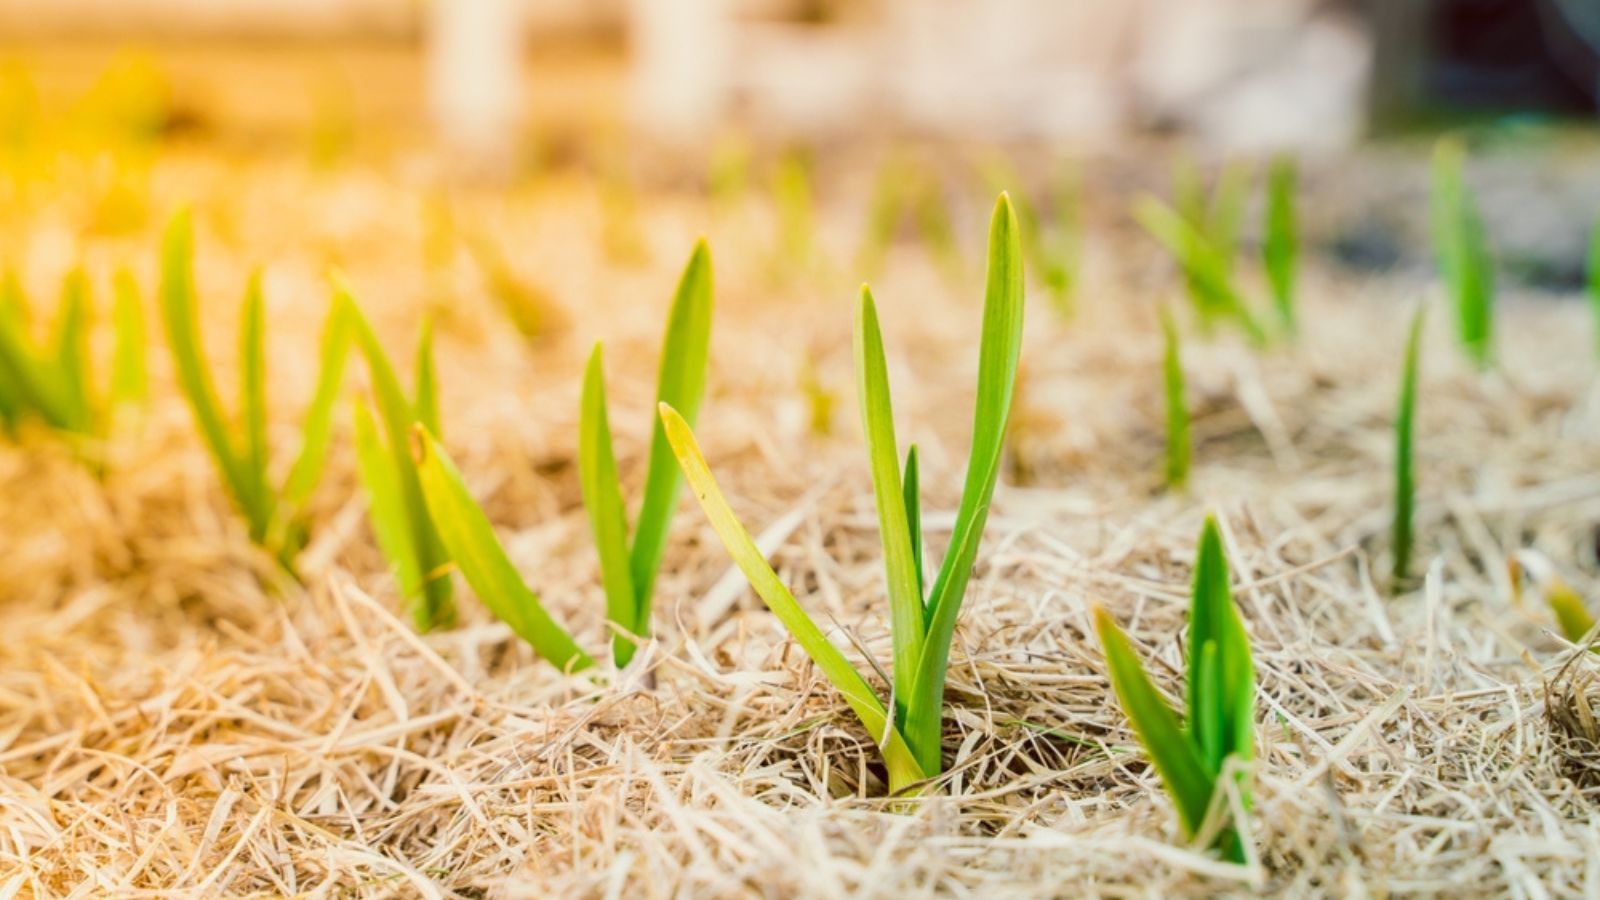
After planting, water the bed if the soil is dry, making sure the moisture reaches the newly planted cloves. You want the soil moist enough to encourage root development, but not soaking wet. If you’ve already had plenty of fall rain and the soil is damp, there’s no need to add more water.
Next, apply 3 to 4 inches (7.5 to 10 cm) of loose straw or shredded leaves over the planting area. Mulching helps regulate soil temperature, prevent frost heaving, conserve moisture, and suppress weeds. Frost heaving is particularly troublesome in areas where the soil repeatedly freezes and thaws, because the movement can gradually push cloves upward and expose them to damaging conditions.
I like using clean straw because it’s light, provides good insulation, and doesn’t form a dense layer that garlic shoots struggle to penetrate. Shredded leaves are also useful, particularly if you’ve got plenty available from your own property, although whole leaves can become matted when wet. In spring, check the bed as the garlic starts emerging, and loosen or move aside any mulch that’s preventing the shoots from growing through.
How to care for fall-planted garlic in spring
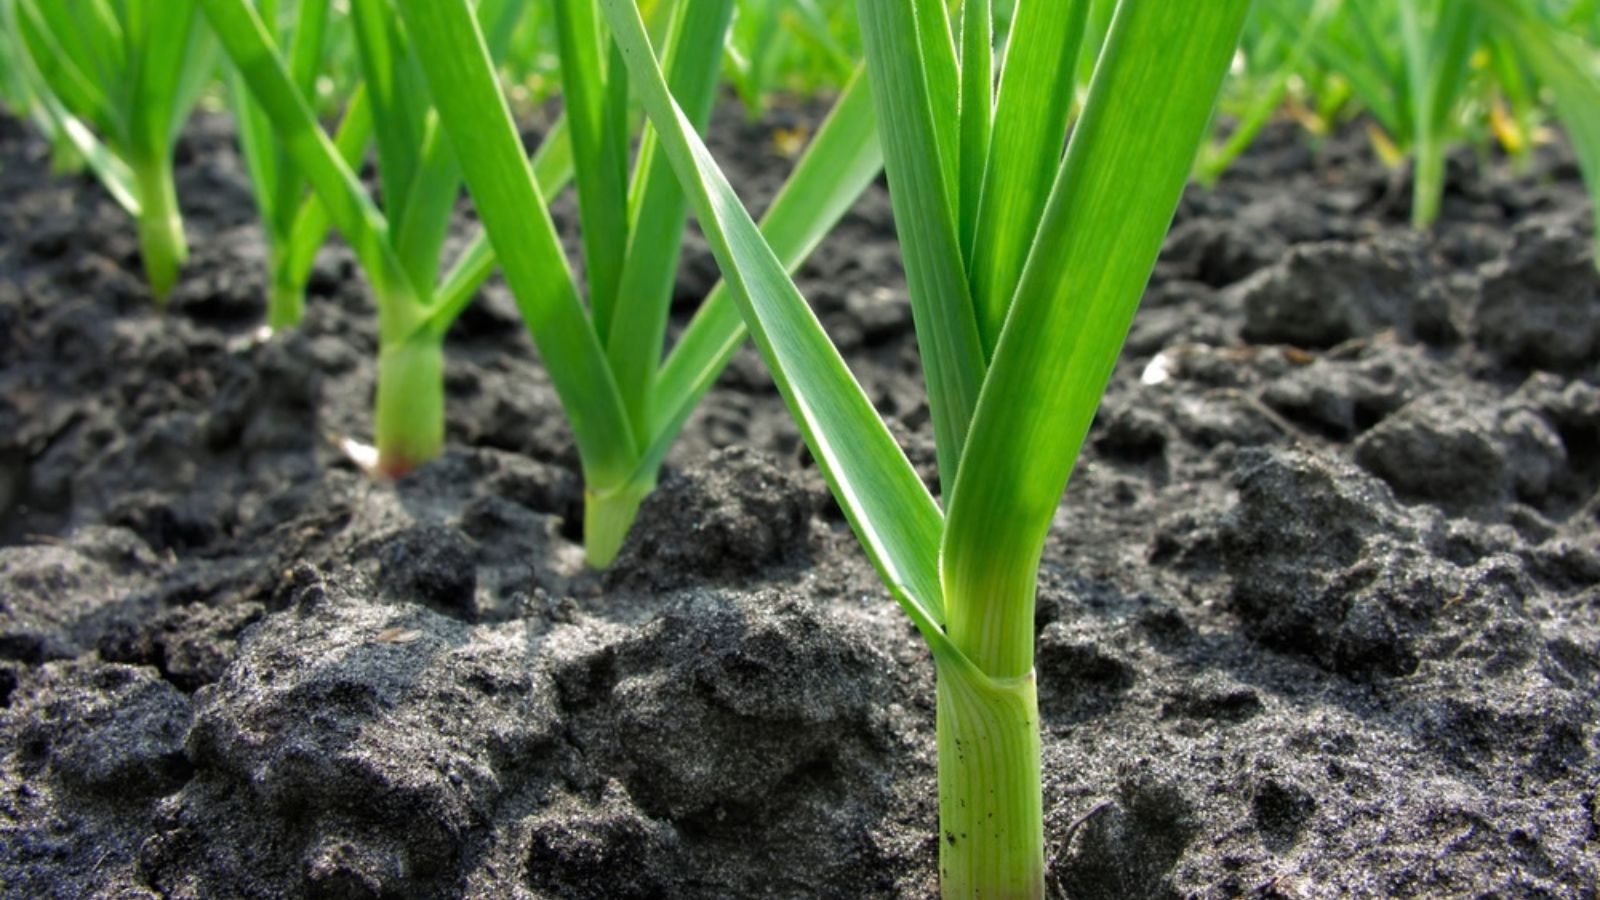
Garlic generally needs very little attention through winter, but once spring arrives and active growth begins, it needs enough moisture and nutrients to produce healthy foliage. Those leaves are important because they provide the energy the plant uses to develop its bulbs. Poor growth in spring often means smaller bulbs in summer, even if everything went well during fall planting.
Keep the soil moist and control weeds
Garlic needs consistent moisture during active growth, particularly when the bulbs are beginning to develop. Aim for approximately 1 inch (2.5 cm) of water per week, including rainfall, and adjust according to your soil type and weather conditions. Sandy soils dry out more quickly than heavier soils, so you’ll need to check them more frequently.
Keep the bed free from weeds throughout spring and early summer, as garlic doesn’t compete particularly well for light, water, or nutrients. Your mulch should help reduce weed growth, but you’ll still need to remove anything that comes through it. Be careful when weeding around established plants because their roots are relatively shallow and easily disturbed.
Feed your garlic early in the growing season
Garlic needs nitrogen to develop strong leaves and support bulb production. If your soil needs additional nutrients, feed the plants with an appropriate organic nitrogen fertilizer when active growth begins in spring. A second light feeding a couple of weeks later can be useful, especially in beds that weren’t particularly fertile to begin with.
Avoid applying excessive nitrogen later in the season, once the plants are developing their bulbs. Late nitrogen applications can delay maturity and reduce the storage life of garlic, so more fertilizer isn’t always better. I prefer to concentrate on getting the soil in good condition before planting, then provide extra nutrients only when the plants actually need them.
Remove hardneck garlic scapes
If you’re growing hardneck garlic, you’ll notice thick, curly flower stalks emerging from the centers of the plants in late spring or early summer. These are called garlic scapes, and removing them helps redirect energy into bulb development. Leaving scapes on hardneck garlic can reduce the eventual bulb size by as much as 48%, so it’s worth keeping an eye out for them.
Cut the scapes while they’re still young and tender, before the flower heads fully develop. You can use them in pesto, stir-fries, soups, and plenty of other dishes, so there’s no need to waste them. They have a lovely, mild garlic flavor, and harvesting them gives you something useful from your garlic bed several weeks before the bulbs are ready.
When to harvest fall-planted garlic
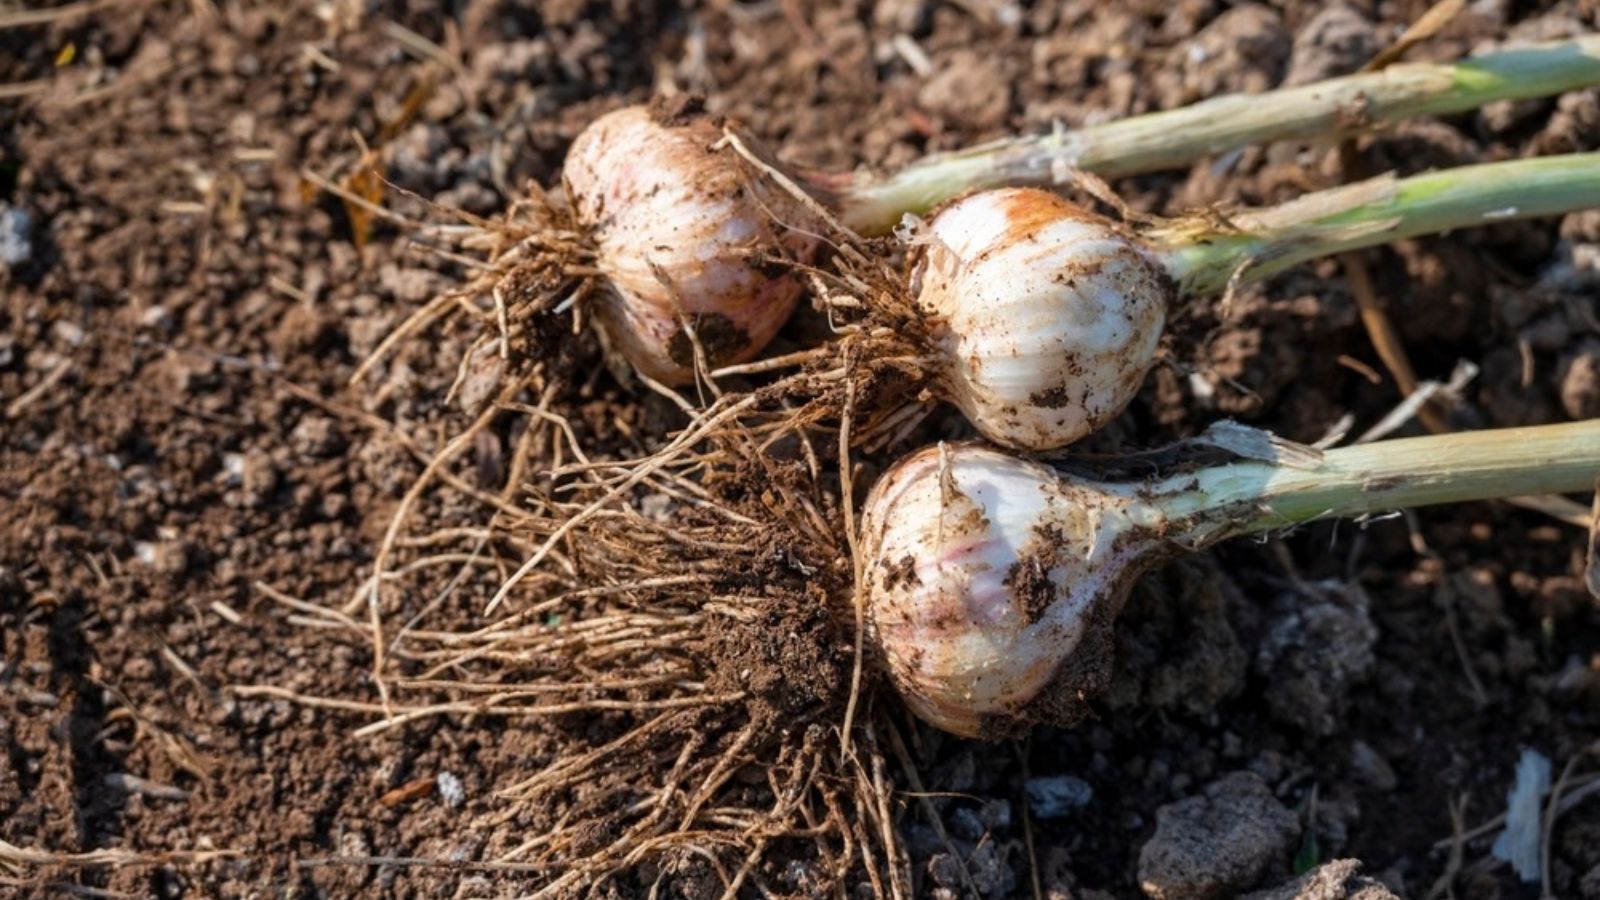
Most fall-planted garlic is ready to harvest in early to midsummer, usually around June or July, although the timing depends on your climate and the variety you’re growing. Rather than relying on a particular date, watch the leaves for signs of maturity. As the bulbs finish developing, the lower leaves gradually turn brown while the upper leaves remain green.
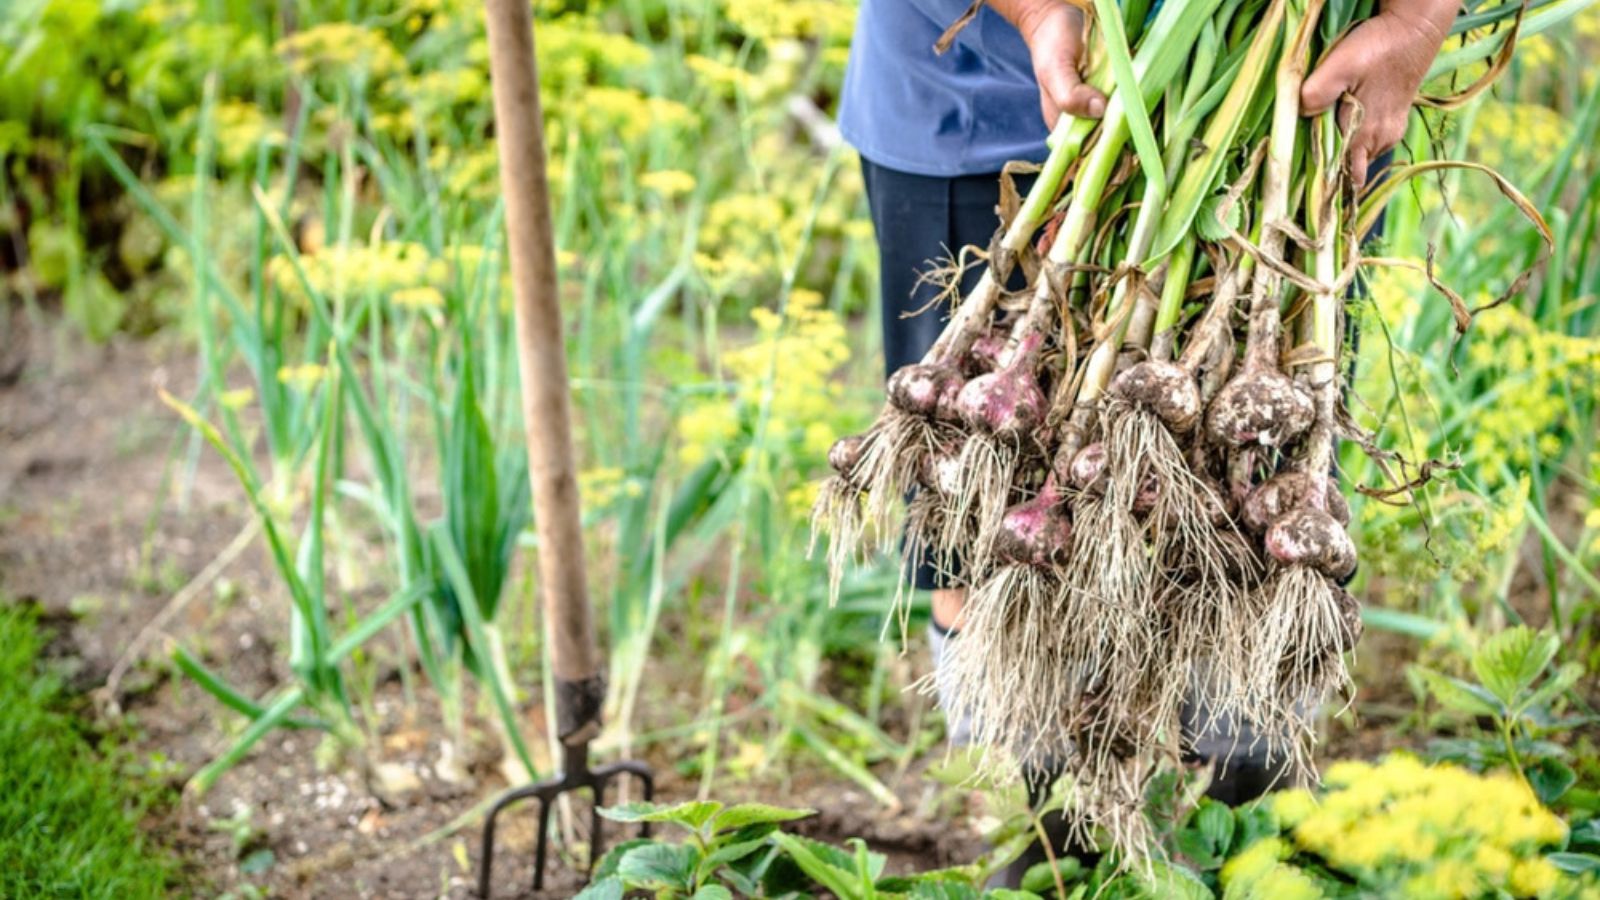
For hardneck garlic, the lower three leaves turning brown is a good indication that harvest time is approaching. Don’t wait until every leaf has died, because the protective wrappers surrounding the bulbs can begin to deteriorate, reducing their storage life. Carefully loosen the soil with a garden fork and lift the bulbs without bruising or cutting them.
Once harvested, cure the garlic in a dry, shaded, well-ventilated place for approximately 3 to 4 weeks. The outer wrappers should become dry and papery, and the bulbs should feel firm before you move them into storage. Keep your cured garlic somewhere cool, dry, and out of direct sunlight, rather than sealing it in plastic bags where moisture can build up.
Common mistakes when planting garlic in fall
One of the biggest mistakes is planting garlic too early while the soil is still warm. Although a little green growth before winter isn’t necessarily a problem, you ideally want the cloves to establish good roots without producing excessive foliage. Waiting until fall temperatures have cooled gives the cloves a better start.
Planting too closely together is another common problem, particularly in smaller vegetable gardens where it’s tempting to fit as many cloves as possible into a bed. Garlic needs adequate space to develop properly, and overcrowding can leave you with a larger number of disappointing little bulbs rather than fewer, good-sized ones. The same applies to planting tiny cloves instead of selecting your best planting stock.
Poor drainage is another issue worth taking seriously, especially if you live somewhere with wet winters. Garlic needs moisture to establish roots, but prolonged waterlogging encourages rot and can kill the cloves before spring. Preparing the soil properly and using raised beds where necessary can make a considerable difference to your harvest.
Finally, don’t neglect the garlic once spring arrives. Even though it’s a relatively low-maintenance crop, insufficient moisture, nutrient deficiencies, and heavy weed competition can all reduce bulb size. Regular checks and basic care through the growing season will give your plants a much better chance of producing a worthwhile harvest.
Save your best garlic bulbs for next fall
One of the things I love most about growing garlic is that you can save part of your harvest to plant again the following year. Set aside some of your largest, healthiest bulbs, cure them properly, and store them somewhere suitable until fall. As long as the stock remains healthy and disease-free, you can continue growing garlic without having to buy fresh planting bulbs every season.
It’s a simple way to save money, reduce waste, and make your vegetable garden a little more self-sufficient. And once you’ve found varieties that grow well in your soil and climate, you can keep growing those same varieties year after year. Give your garlic the right start in fall, and you’ll have a much better chance of harvesting big, healthy bulbs next summer.
You might also like…
The Garlic Planting Mistake That Can Cost You Next Summer’s Harvest