Affiliate disclosure: This post may contain affiliate links. Please see full disclosure.
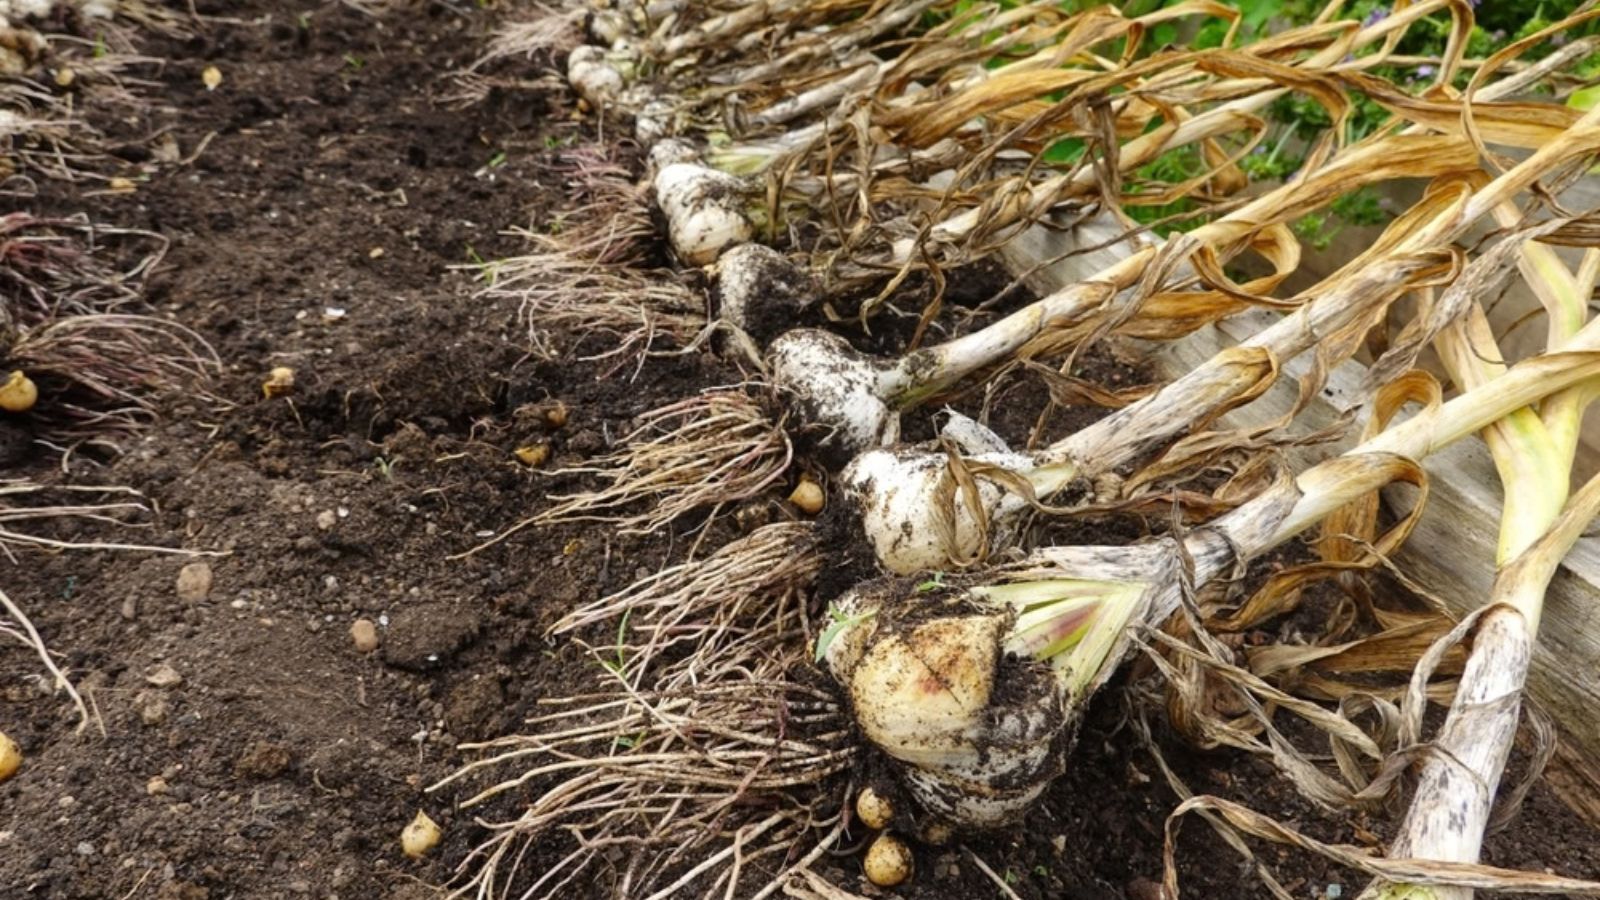
Garlic is one of those crops that seems almost ridiculously easy until you dig it up the following summer and find half the bulbs are tiny, soft, or missing altogether. You planted good cloves, you waited patiently all winter, and the shoots even looked reasonably healthy for a while. So what went wrong?
Very often, the problem started before the garlic ever went into the ground. If you plant garlic in soil that stays wet for long periods, particularly through winter, you’re giving the cloves a miserable start. Poorly drained soil can make Fusarium bulb rot and other bulb diseases a major problem for garlic, and once a clove has rotted underground, there isn’t much you can do to rescue it.
Garlic is tough, but it isn’t a swamp plant. Getting the drainage right when you plant in fall is one of the simplest things you can do to protect next summer’s harvest.
Garlic needs moisture, but it also needs drainage
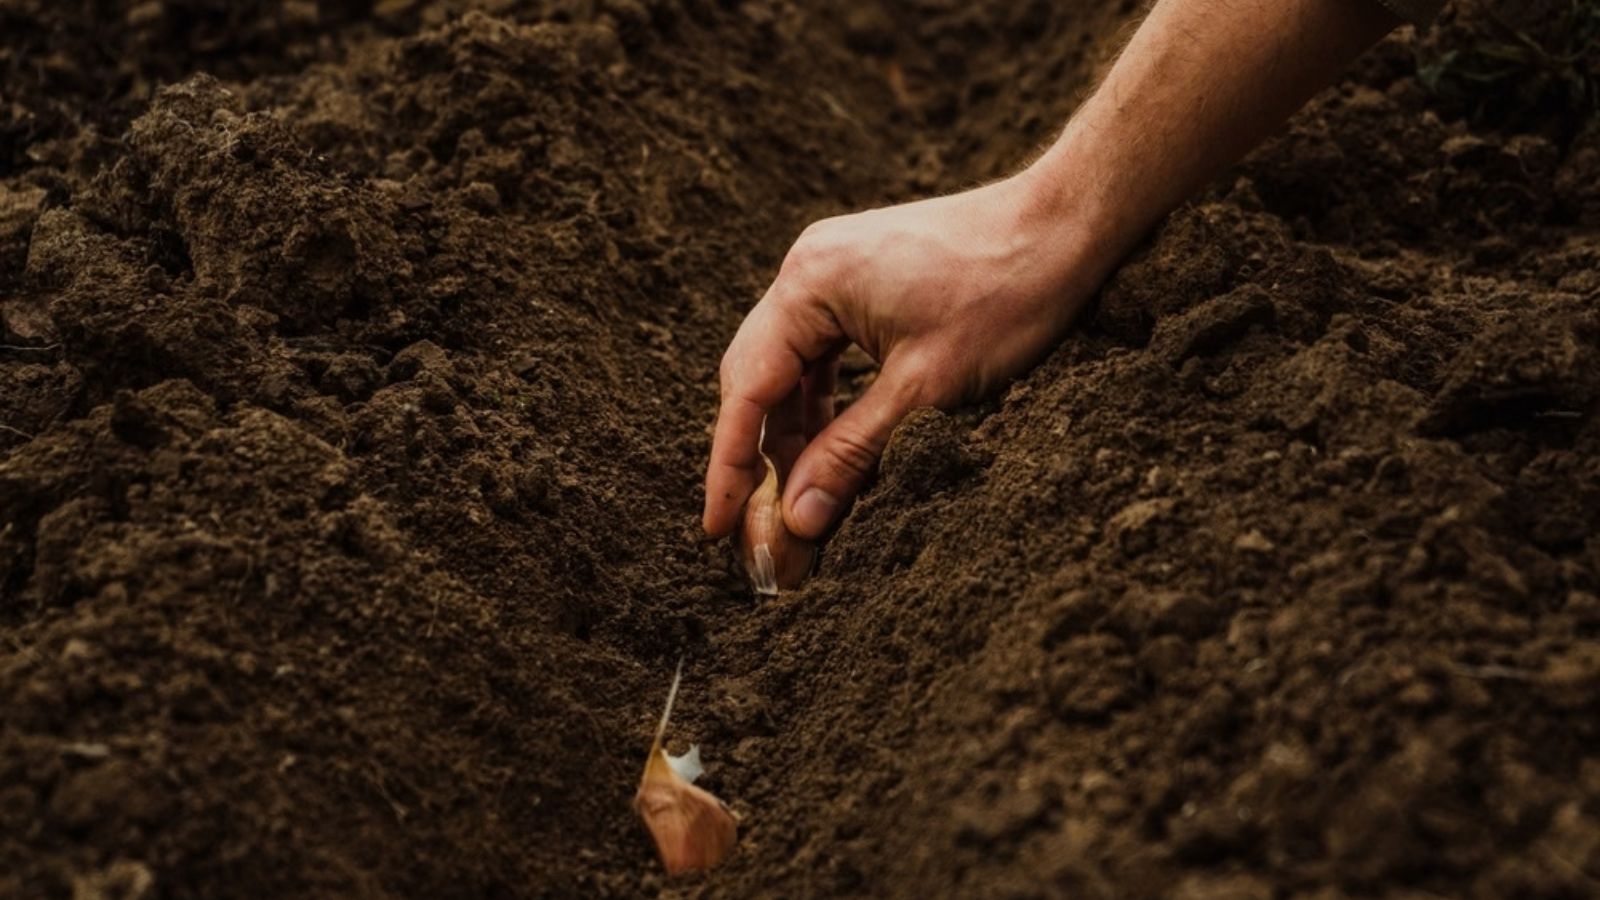
Garlic does need water, so I’m not suggesting you keep it bone dry. The problem is soil that stays saturated after rain, with the cloves sitting in cold, airless mud for days at a time. Garlic grows best in fertile, moist, well-drained soil, and all three parts of that matter.
This is especially important with fall-planted garlic because it spends months in the ground before you see much happening above the surface. Garlic develops its root system through fall and winter even when there is very little top growth. Those roots still need decent soil conditions even though the bed can look as though it’s doing absolutely nothing.
Heavy clay isn’t automatically a disaster, either. Clay can be fertile, productive soil once you learn how to work with it. The issue is badly compacted or low-lying clay that holds water for so long that your garlic is effectively sitting in a cold puddle.
Check the bed after proper rain
Before I commit a garlic crop to a bed for the next eight or nine months, I want to know what that bed does when the weather gets wet. A sunny patch that looks perfect during a dry September afternoon can be a completely different place after three days of fall rain.
Look for standing water, obviously, but also pay attention to soil that stays slick and saturated long after neighboring beds have drained. Dig down several inches and have a look at what’s happening below the surface, too. The top inch can look perfectly respectable while the soil underneath is still horribly wet.
Moist soil is fine. You should be able to squeeze it together without water running out of it, and it should break apart again rather than smearing into a dense lump that would make a decent plant pot all by itself. If the bed regularly stays soggy for days, I wouldn’t put garlic there without improving it first.
Don’t fix one tiny hole and ignore the rest of the bed
One mistake I see with heavy soil is improving only the little hole where each clove is going. You dig into the clay, add a handful of beautiful loose compost, tuck the garlic into it, and feel like you’ve given it the deluxe treatment.
Unfortunately, the roots aren’t going to stay inside that handful of compost. They need to grow out into the surrounding soil, and water still needs somewhere to drain. A lovely loose planting pocket surrounded by dense, saturated clay doesn’t solve the real problem.
I prefer to improve the whole planting area instead. Well-rotted compost helps make heavy soil easier to work and, over time, encourages the kind of crumbly structure I want in my vegetable beds. I’m not trying to turn clay into fluffy potting mix; I just want water to move through the bed instead of sitting around the garlic.
Raise the bed if the ground is genuinely wet
Sometimes improving the soil isn’t enough, particularly if you’re dealing with naturally heavy ground or a low spot where water collects every winter. In that situation, raising the garlic above the wettest soil is a much more sensible solution than repeatedly planting cloves and hoping they’ll cope.
In heavy soil, raising the garlic bed around 10 to 12 inches can provide much better drainage. You don’t need to rush out and buy an expensive raised-bed kit, either. You can mound the existing soil into a broad raised bed, edge it with suitable untreated lumber, or build a permanent bed if that’s useful elsewhere in your vegetable garden.
This is one of those bits of work that pays you back for years. I’d rather spend an afternoon sorting out one decent bed than keep buying planting garlic to replace cloves that rot in the same soggy patch every winter.
Start with the best cloves you have
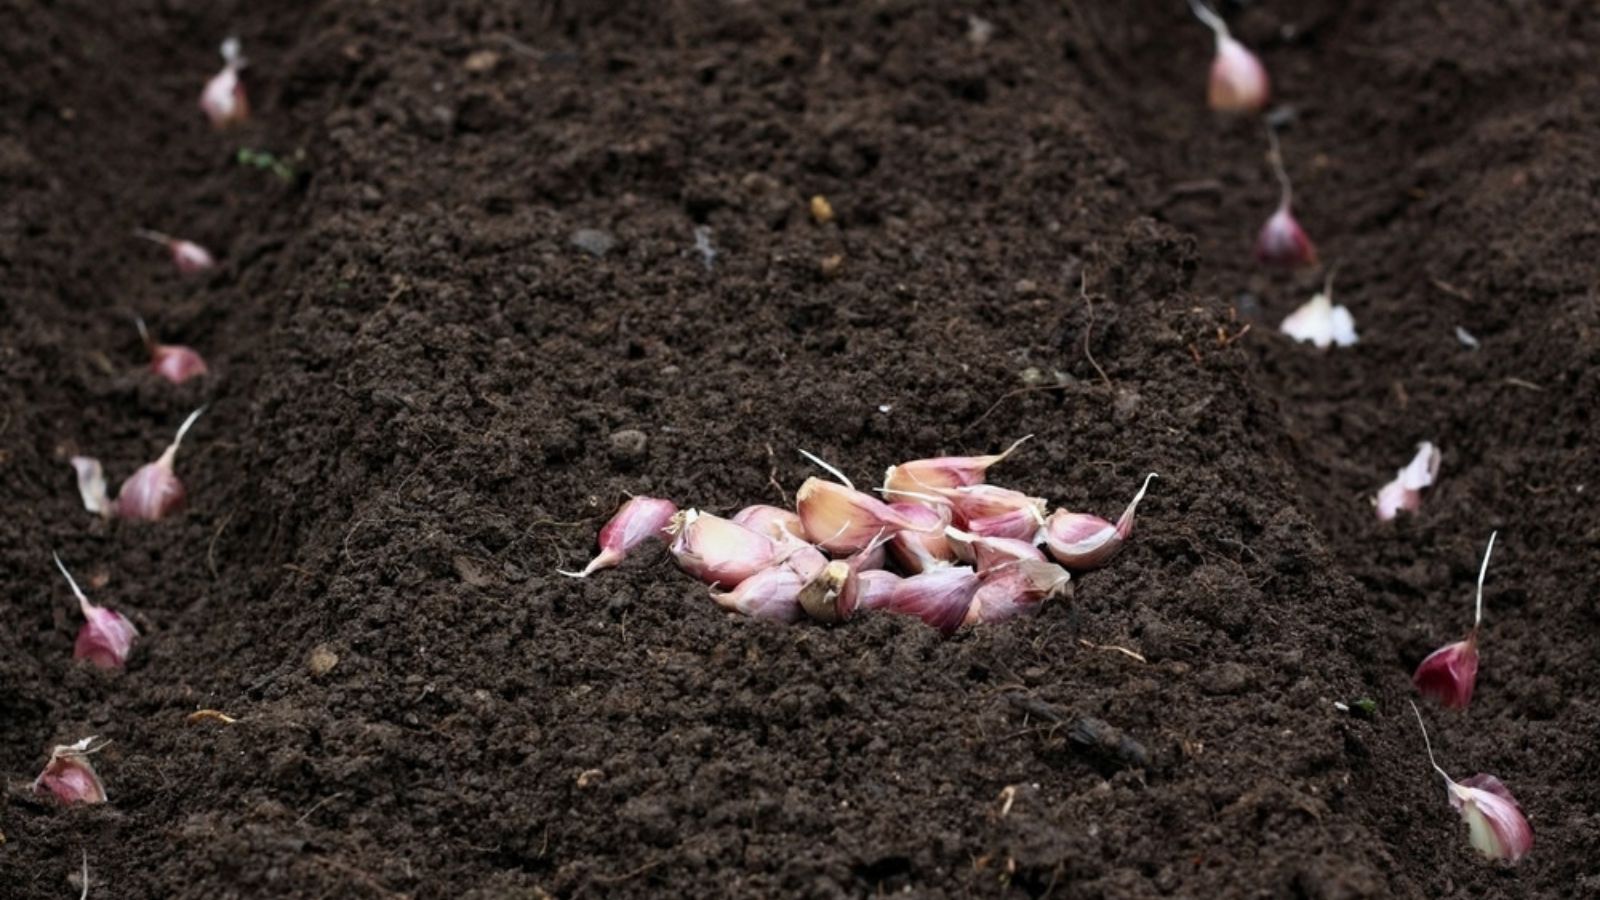
Once the bed is sorted, don’t sabotage yourself by planting dodgy garlic. I use firm, healthy cloves and leave anything soft, damaged, moldy, or generally questionable in the kitchen rather than putting it back into the garden.
Garlic should be grown from clean, disease-free, well-developed bulbs, with the largest unpeeled cloves kept for planting. That does mean resisting the temptation to eat every enormous clove and plant all the little leftovers. I’ve done enough gardening to know that the “I’ll just plant the rubbish bits” approach rarely produces the impressive crop you were hoping for.
It’s also worth choosing garlic that suits your climate rather than assuming all garlic behaves exactly the same way. Hardneck types are generally a better fit for colder winters, while softneck garlic stores particularly well and is the type most commonly used for braiding. If you’ve grown a variety successfully for several years, saving some of your best bulbs for replanting is an easy way to become less dependent on buying new stock every fall.
Plant the cloves properly
Break the bulbs into individual cloves shortly before you’re ready to plant them, and leave the papery skins in place. Each clove goes into the ground with the flat root end downward and the pointed tip facing upward.
There is some variation in recommended planting depth and spacing depending on climate and growing system, but you don’t need to overcomplicate it. Planting cloves about 2 inches deep and 2 to 4 inches apart works well in a home garlic bed. If I’m planting particularly chunky cloves and I have the room, I tend to give them a little more space rather than packing them together.
That extra room matters because garlic has to produce plenty of healthy leaf growth before it can build a decent bulb. Crowding garlic too closely can reduce bulb size. Squeezing another dozen cloves into a small bed isn’t much of a victory if you end up harvesting dozens of fiddly little bulbs.
Mulch helps, but it can’t repair bad drainage
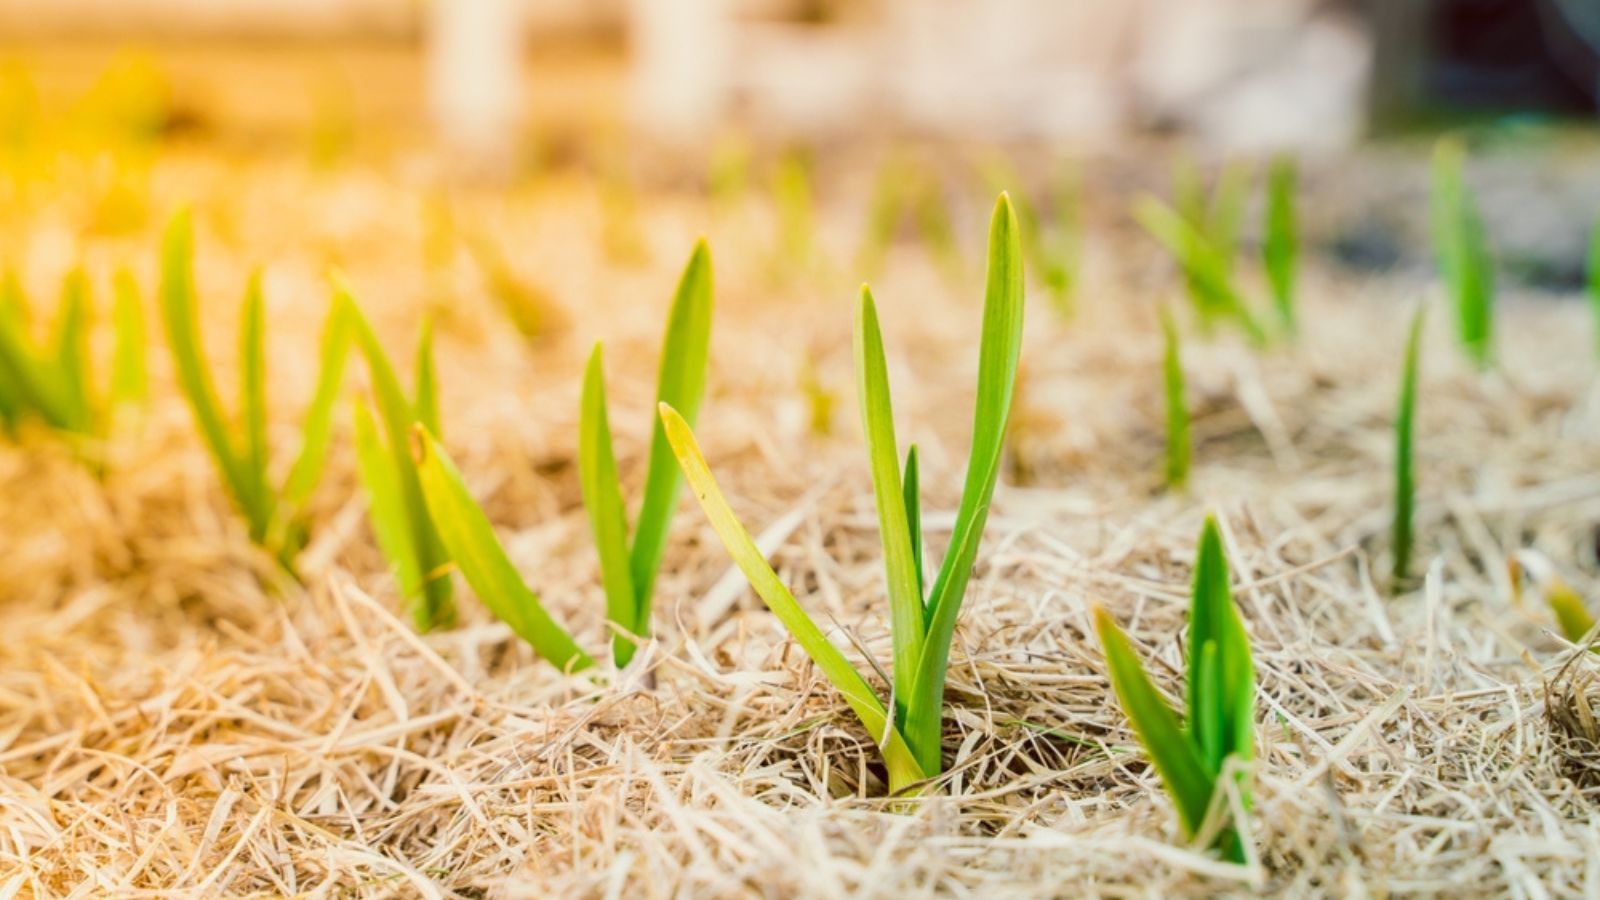
I like mulching garlic because it keeps weeds down and gives the bed some protection through winter. Straw is particularly handy, although clean shredded leaves can work well, too, if that’s what you already have.
A 2- to 4-inch layer of straw helps conserve soil moisture, reduce frost heaving, and suppress weeds around garlic. That’s useful, especially because garlic isn’t a brilliant competitor once weeds start racing away in spring.
What mulch won’t do is fix saturated soil underneath it. If the bed is already holding far too much water, adding several inches of organic material to the surface doesn’t give that water anywhere to go. Drainage comes first, and mulch is something you add once the basic soil conditions are right.
Don’t water wet soil just because you’ve planted something
I think gardeners sometimes water newly planted crops almost automatically. We’ve put something in the ground, so apparently we must now stand over it with a watering can and make the whole thing feel official.
With fall garlic, look at the soil and the weather first. If regular rain is already keeping the bed nicely moist, you don’t need to keep adding water. Garlic wants consistent moisture, not permanently soggy soil.
Water becomes more important once the plants are growing strongly and building bulbs in spring. Garlic needs a steady supply of moisture during active growth, while irrigation should stop as the crop approaches maturity so the bulbs can mature properly and disease risk is reduced. Again, the key is giving the plant the water it needs without leaving the roots sitting in saturated ground.
What wet-soil trouble looks like in spring
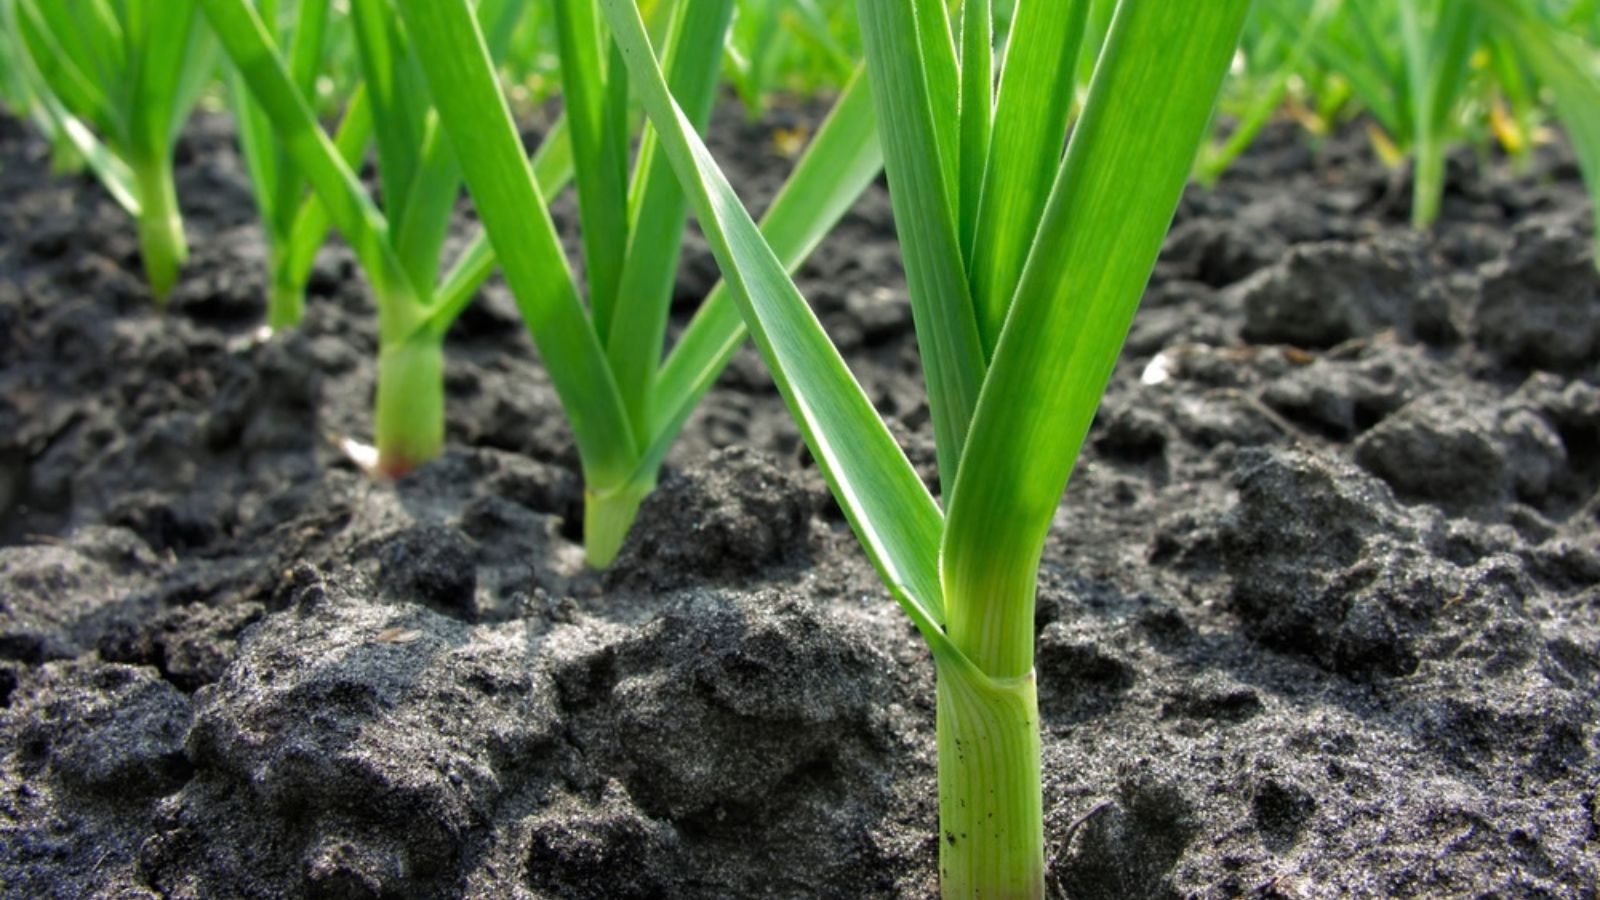
Healthy garlic should put on strong green growth as the weather warms. The bed doesn’t have to look perfectly uniform, because there are always a few cloves that grow faster or slower than their neighbors, but you should see reasonably vigorous growth across the row.
If you’ve got repeated gaps, weak shoots, or yellowing plants concentrated in the wettest part of the bed, I’d investigate before reaching for fertilizer. Gently dig around one of the struggling plants and check the clove and the developing roots. Soft, discolored, decaying tissue tells you far more than the leaves alone.
A plant with damaged roots isn’t going to be fixed by throwing more feed at it. If waterlogging is the real problem, you need to deal with the drainage before you plant garlic there again.
Good garlic starts with the ground

There really isn’t much mystery to growing garlic. Give it healthy planting stock, sun, fertile soil, enough moisture, and somewhere for excess water to go, and it will mostly get on with the job.
That’s one of the reasons I love growing it. You can turn one decent clove into a whole bulb, store your harvest for months, and keep some of the best bulbs to plant again the following fall. Once you’ve got a variety that performs well in your garden, you’ve got the beginnings of a wonderfully simple little self-sufficient cycle.
But none of that works particularly well if your cloves spend winter sitting in saturated soil. Before you plant this fall, check the bed after a proper rain. If it turns into a bog, improve it, raise it, or move the garlic somewhere drier, because fixing that problem now is a whole lot easier than digging up rotten cloves when you should be harvesting fat bulbs next summer.