

Affiliate disclosure: This post may contain affiliate links. Please see full disclosure.
Harvest sweet potatoes once they’re a useful size and before cold weather threatens the roots. Don’t wait for a hard frost to tell you they’re ready. The growing season, the variety, the size of the roots, and the temperature of the soil matter much more than a date on the calendar.
And the job isn’t finished when you’ve dug them up. Sweet potatoes have thin, easily damaged skins, need a warm, humid spell to cure properly, and then want a storage space that’s cool but not cold. Handle them like ordinary potatoes and you could lose a perfectly good harvest before you’ve eaten much of it. As someone who grows a substantial amount of my own food, that’s exactly the kind of avoidable waste I want to prevent.
Choose the harvest date by root size and weather, not yellow leaves alone
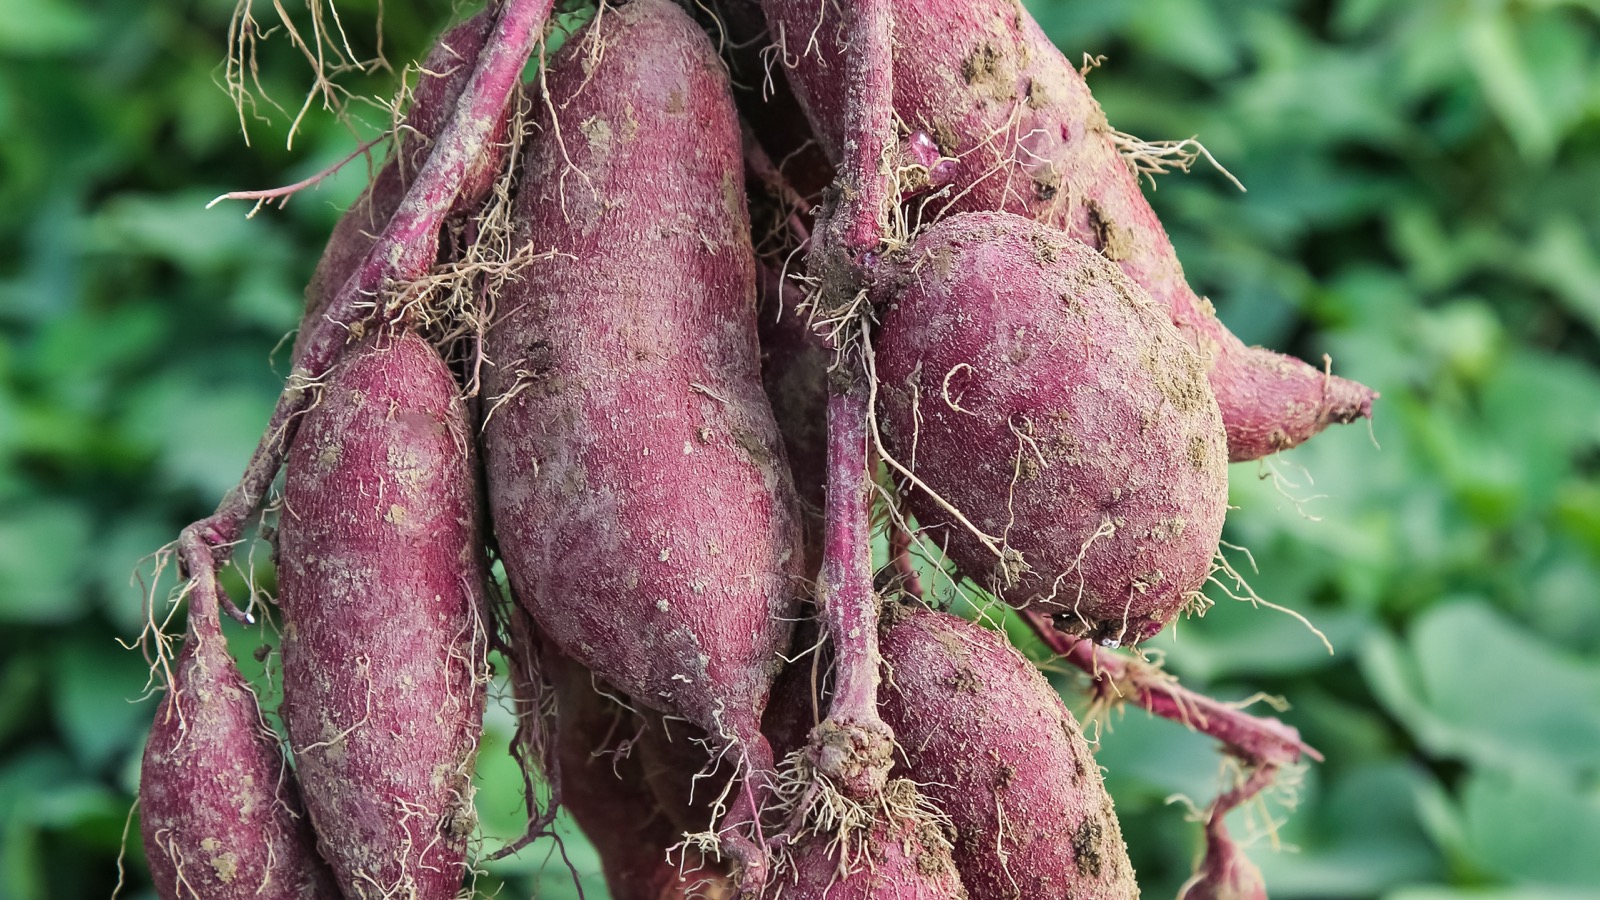
Most sweet potato varieties need around 85 to 120 days from planting their slips to make a decent crop, although the exact time depends on the variety, how warm the soil stays, and the growing season. Checking the roots after roughly 80 to 85 days is more useful than relying entirely on the estimated maturity date on the plant label. These roots keep swelling while conditions allow, rather than reaching one obvious point of ripeness like a tomato.
I would check a representative plant by carefully loosening the soil at the edge and seeing how large the roots are. You can harvest smaller sweet potatoes for the kitchen, but if they’re still very slender and the weather is warm, leaving them longer will usually give you more food. If you have several plants, inspect one or two rather than disturbing the whole bed. Different plants can develop at different rates, even when they went into the ground on the same day.
Yellowing foliage may happen as the season draws to a close, but it isn’t a foolproof ripeness test. Stressed plants can yellow because of drought, disease, or cooling weather. Equally, healthy vines may stay wonderfully green when the roots are already large enough to eat. My priority is always the actual crop, not whether the leaves have put on an appropriately autumnal display.
Sweet potatoes may have orange, white, or purple flesh and very different skin colors, depending on the cultivar. Their fleshy, swollen structures are storage roots rather than ordinary potato tubers. The fact that one variety produces a different size, shape, or flesh color doesn’t mean it needs to be harvested at the same moment as another. Check the variety’s expected season and judge the roots you actually have.
Get them out before the soil turns cold

The safest plan for a crop you’re hoping to store is to lift it before the first damaging frost, especially if the forecast shows several cold nights in succession. Sweet potato growth slows as soil temperatures drop toward 60°F (16°C), and prolonged colder conditions can damage the roots’ ability to keep well. You don’t gain much by leaving roots in soil that’s no longer warm enough for them to put on worthwhile growth.
The precise warning threshold varies somewhat among growing guides, but soil temperatures around or below 50°F (10°C) can cause chilling injury. Damaged roots may later develop discolored flesh, poor flavor, or rot in storage. That can happen even if the surface looks reasonably sound when you dig them. The forecast is a reason to act before the problem, not an invitation to wait until you’ve got blackened vines.
If a light frost catches the tops unexpectedly, it doesn’t necessarily mean every underground root is ruined. Cut away the damaged vines and lift the sweet potatoes promptly while the soil is still workable and not severely chilled. If you absolutely cannot dig immediately, covering the rows with loose soil can buy a little protection, but I wouldn’t treat that as a long-term solution. A hard freeze is a different matter, and a frost cloth over the leaves cannot promise to keep the roots safe from prolonged cold.
Don’t use the same harvest date everywhere in the United States. A grower in a warm southern climate has a very different autumn from somebody in the Upper Midwest or a cooler mountain location. If an early cold spell is approaching and the roots are smaller than you’d hoped, lift them anyway. A modest harvest you can actually use beats a large one left in the ground to deteriorate.
Lift sweet potatoes gently, without pulling on the vines

Start by cutting the sprawling vines back so you can see the crowns and where each plant is growing. For a small patch, a garden fork is useful because you can work under the roots gradually, but it still needs care. Push it into the soil well outside the crown, loosen a broad area, and work inward as you discover where the roots have spread. If the soil is loose enough, finish exposing individual roots with your hands.
Don’t yank a plant up by its stems and hope the sweet potatoes come with it in one piece. Roots can be long, oddly shaped, and unexpectedly far from the crown. Cuts, scuffs, and bruises shorten their storage life, and the skin can rub off surprisingly easily when they’re freshly dug. Put each root down gently rather than dropping it into a bucket or tossing it across a garden bed.
The soil itself makes a difference. Rock-hard, bone-dry ground can scrape the skins as you lift the roots, while saturated soil clings in heavy lumps and can hide damage. I’d choose a day when the soil is workable, without waiting for perfect conditions if frost is close. Carefully loosen the earth and support the root as it comes free. Take your time here. A few extra minutes harvesting can save far more food than a clever storage trick later on.
Brush away big clumps of soil with your hands, but don’t wash or scrub roots you’re going to cure and store. Leave the delicate skin alone. Keep the harvested roots shaded rather than leaving them spread across the garden in strong sunshine for hours. And use clean, shallow containers, preferably with some airflow, instead of piling a heavy crop on top of itself.
Sort the damaged roots before you put anything away
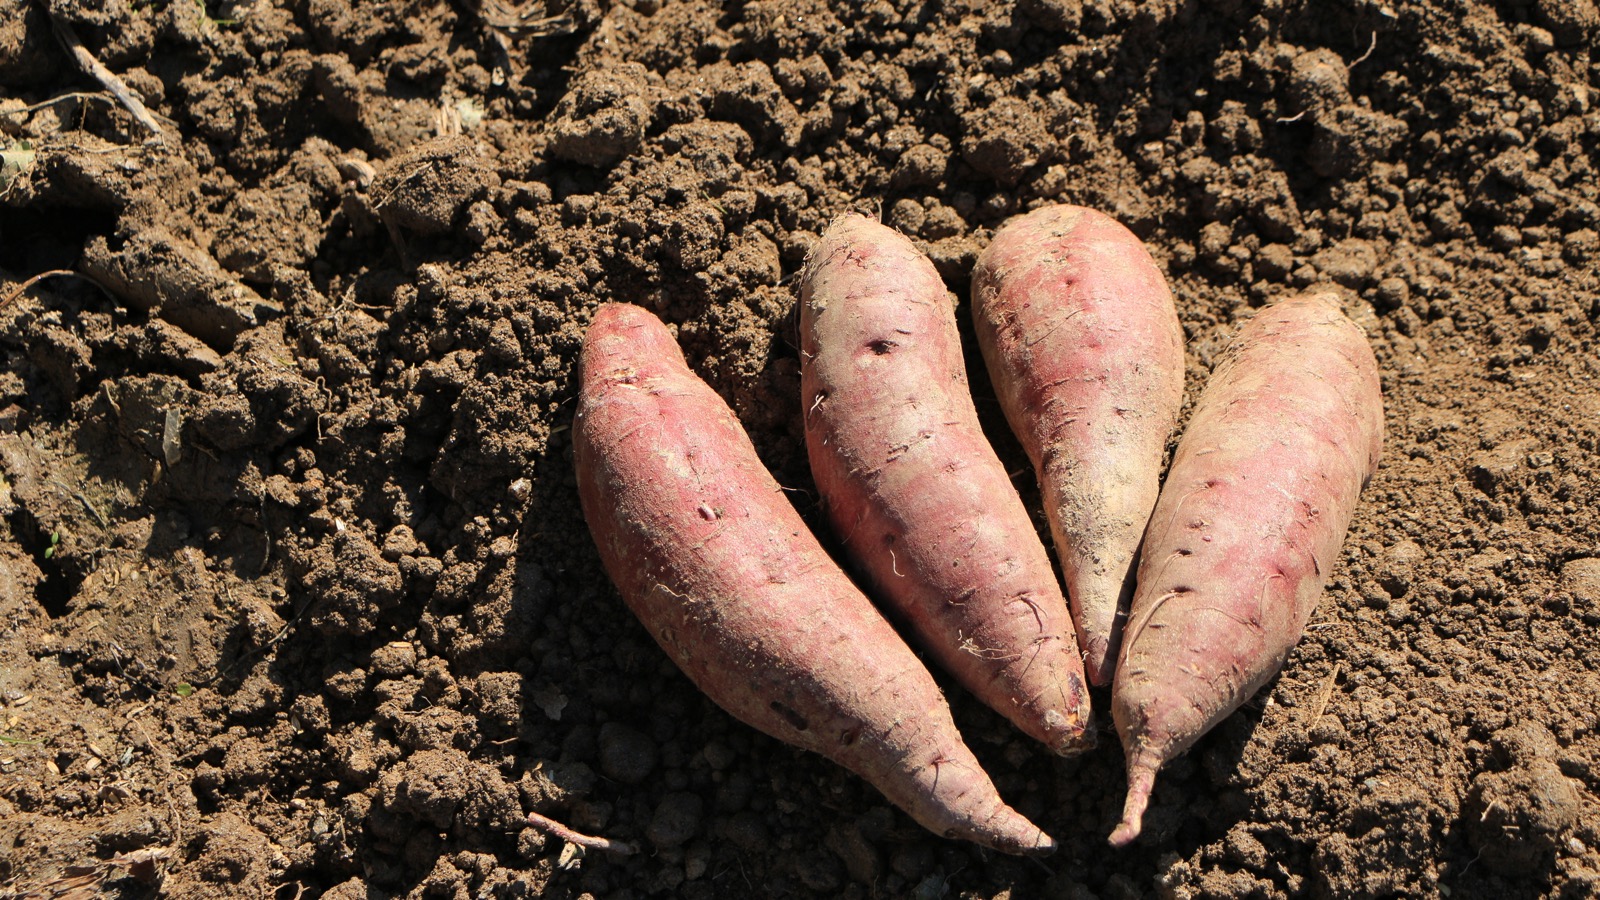
I recommend separating the crop as you harvest, while you can still see which roots were scraped, cut, or bruised. Make a storage group of firm, sound sweet potatoes with intact skins. Put small but sound roots in their own group if you like, because they’re handy for meals and may need using sooner. Then set aside any freshly cut or lightly damaged roots for early cooking rather than long-term storage.
A shallow skin scrape isn’t the same thing as rot. Warm curing can help small surface injuries close, but it can’t magically put a root back together after a deep fork wound or rescue flesh that’s already breaking down. If a root is soft, leaking, moldy, or smells wrong, discard it. Don’t put it next to healthy ones and hope that a week somewhere warm will sort it out.
The sweet potatoes you’ve accidentally speared with a fork aren’t necessarily wasted. If the damage is fresh, the surrounding flesh is sound, and you can prepare them promptly, cook the usable portions rather than trying to store the injured root for months. I like sorting into ‘store’, ‘eat soon’, and ‘discard’ straightaway. It’s a simple system and far less irritating than finding a rotting root hiding beneath the good ones in January.
Cure sweet potatoes warm and humid, not cool and dry

Proper curing helps the roots heal minor injuries, reduces moisture loss, and encourages the development of their characteristic sweetness. The standard target is roughly 80 to 85°F (27 to 29°C) with 85% to 90% relative humidity for about five to ten days, depending on root condition and the method. Warm, humid curing is a different job from keeping the harvest through winter. Once the roots have cured, you need to change the conditions.
A warm room on its own isn’t always enough. If it’s too dry, roots can shrivel instead of healing well. If you seal them in a plastic container with no airflow, condensation and decay become the next problem. The aim is humid air around the roots, with good ventilation and no water droplets sitting on their skins. The roots shouldn’t feel wet.
This is where a lot of otherwise useful garden advice gets a bit unrealistic. Most people don’t have a spare humidity-controlled room sitting at 85°F (29°C). Nor should you spend a fortune heating the house simply to mimic a commercial curing shed. You can work with what you’ve got, provided you’re realistic about the compromise and how long the roots may keep.
A practical way to cure a small homegrown crop
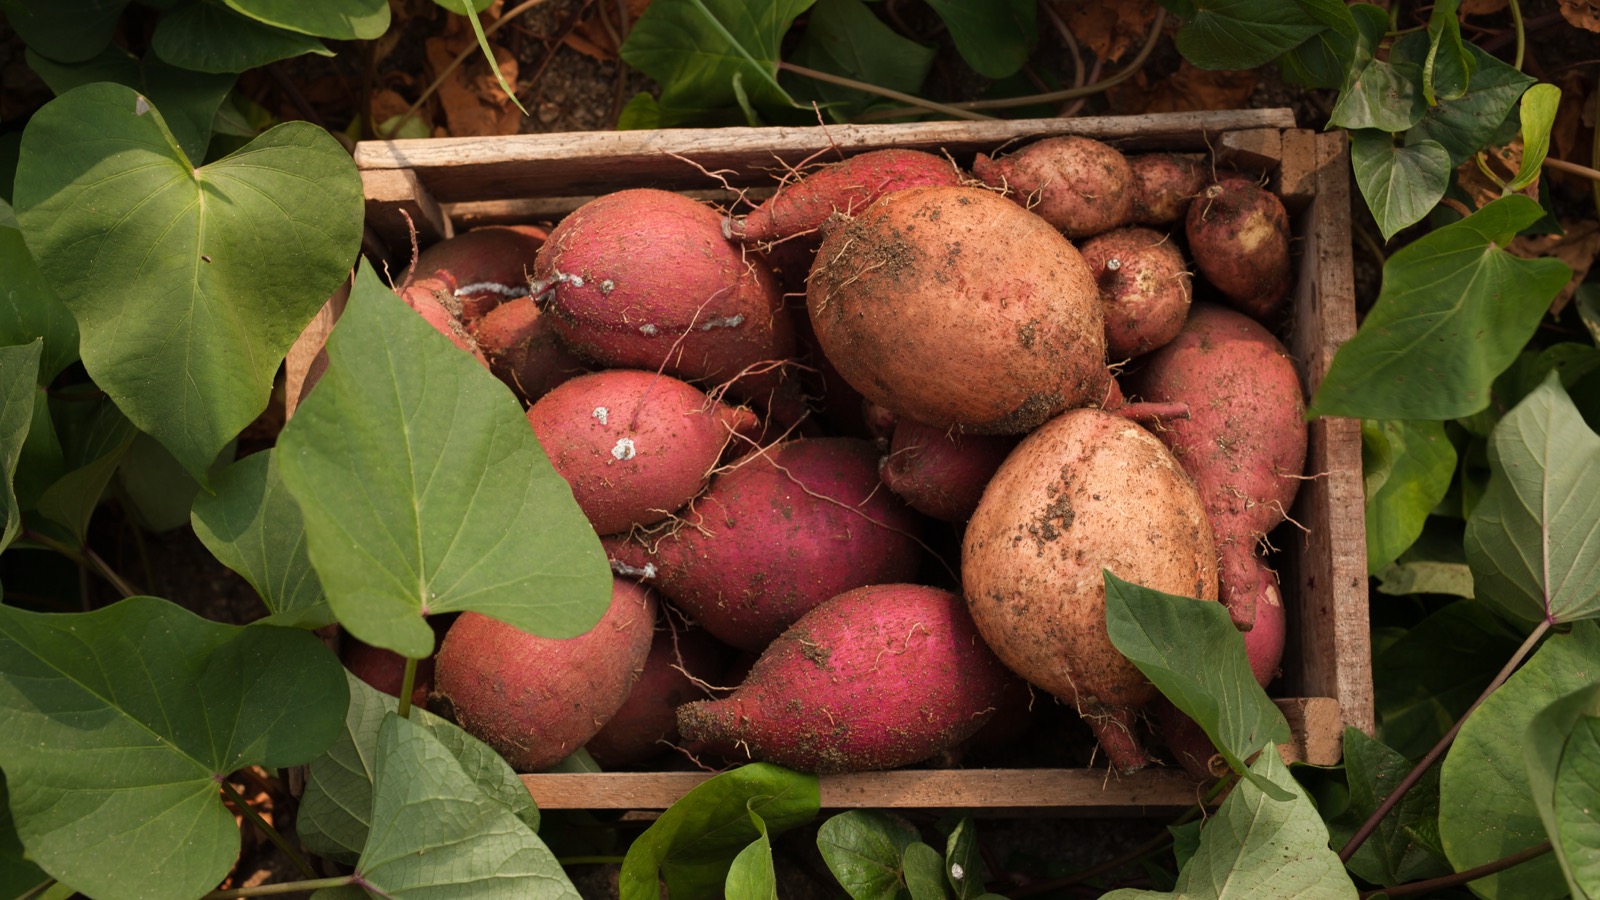
For a few roots, start with a clean, ventilated crate or shallow tray in the warmest suitable sheltered spot you have. Lay them in one layer where possible, with a little room between them. A lightly damp towel draped over a ventilated crate can help maintain humidity, but keep the towel from sitting against the roots and make sure the covering doesn’t trap moisture or stop air movement. A small thermometer and humidity meter are more useful than guessing how tropical the room feels.
Use a porch, warm greenhouse, or garage only if you can keep the conditions reliably warm enough day and night. An empty greenhouse that is beautifully warm at midday can be far too cold by dawn. Likewise, a warm conservatory can overheat in full sun. Protect the roots from direct sunlight, rain, and animals. Do not put a space heater next to cardboard, fabric, or other flammable storage materials.
If your available curing spot is merely comfortably warm rather than close to 85°F (29°C), healing may take longer and may not be as effective. Cooler curing conditions can require a longer period, but extending the time is no guarantee that a cold room will achieve the same result. Check the roots frequently, discard any that begin to spoil, and don’t mistake a week beside a radiator for controlled curing.
You can cook a freshly dug, sound sweet potato without waiting to cure it. It may taste starchier and less sweet than one that’s had time to develop, but curing is particularly valuable when you want flavor and extended storage life. If proper curing isn’t practical, use the crop sooner and preserve some by freezing rather than promising yourself it will keep for six months in a warm cupboard.
Move cured roots to a cooler, ventilated storage spot

After curing, sweet potatoes keep best at about 55 to 60°F (13 to 16°C), with reasonably high relative humidity, generally around 85% to 90%. Lower temperatures can cause chilling damage, while excessively warm storage encourages sprouting. Think cool pantry or suitable temperature-controlled room, not refrigerator. A basement may be appropriate if it stays in that range, but an unheated garage that approaches freezing is not.
Choose a dark spot with airflow. Store the roots in shallow boxes, open crates, or baskets rather than sealed plastic bags. Leave them as undisturbed as possible, and avoid heavy stacking that puts pressure on the ones underneath. You don’t need special decorative bins. You need somewhere that stays at a sensible temperature and lets you spot trouble before it spreads.
When people talk about root-cellar storage, the temptation is to put every harvested root crop in the same cool corner. Don’t. Ordinary white potatoes tolerate substantially cooler storage than sweet potatoes, and many carrots and beets like still colder, moister conditions. Sweet potatoes are tropical plants with a completely different response to chilling. Even though we call them potatoes, treating them all alike is a surprisingly effective way to waste food.
Under good curing and storage conditions, four to six months is a realistic guide for many sweet-potato harvests, and some well-managed crops last longer. That isn’t a guarantee for a basket of roots in an ordinary home. Temperature changes, bruises, cultivar, and how well the roots cured all affect the result. I’d plan to eat the most vulnerable roots first instead of assuming they’ll all last until spring.
Check the harvest regularly and use questionable roots first

Take a look through the stored roots at least weekly. Shriveling can mean they’re losing moisture, particularly in a dry, overly warm room. Sprouting can point to temperatures that are too high. Soft spots, damp decay, mold, or an odd smell need attention promptly. Remove any deteriorating root, inspect its neighbors, and make sure the storage space hasn’t become too warm, too cold, or too damp.
Don’t use visible mold or a wet, rotten patch as a cue to simply trim off the bad section and save the rest. Discard spoiled roots. But a sound root that has developed an insignificant scuff or started sprouting without rot can be moved into the next few meals rather than abandoned at the bottom of a crate. Use your judgment, and don’t let a perfectly good crop turn into a science experiment.
If the whole lot is in danger of spoiling, cook and freeze the sound roots. For freezing, cook sweet potatoes until almost tender, cool them, then peel and freeze them sliced or mashed in suitable containers. It’s a useful way to rescue a surplus before storage problems turn it into waste. Wash them before cooking, of course, even though you deliberately left them unwashed for curing and storage.
The same thinking applies when you’re planning next year’s crop. If the first cold weather always arrives before your roots get beyond pencil size, choose an earlier-maturing variety, plant only after the soil is properly warm, and make the most of a sunny, sheltered growing spot. There’s no magic curing technique that can make up for an entire missing summer of growth.
Once you know your local frost pattern and have somewhere appropriate to cure and store the harvest, sweet potatoes are a satisfying way to extend homegrown food well past the growing season. Lift them before damaging cold, handle them gently, and remember that the warm, humid stage comes first. The cooler storage stage comes afterward.
You might also like…
How To Store Potatoes So They Don’t Sprout Before Winter Is Over
Why Are My Potato Plants Flowering?