
Affiliate disclosure: This post may contain affiliate links. Please see full disclosure.
Before you bring an outdoor plant back inside, lift the pot and check underneath it. The rims, drainage holes, saucers, and little gaps around the container can shelter insects you won’t spot by admiring the leaves.
After decades of organic growing, I’m much more interested in finding a problem early than spraying every plant on principle. A few minutes with a good light, a soft brush, and a watering can can save you weeks of chasing pests around your houseplants. And remember, the insects hiding under the pot aren’t necessarily the same ones feeding on the plant.
Start with the pot rim and base
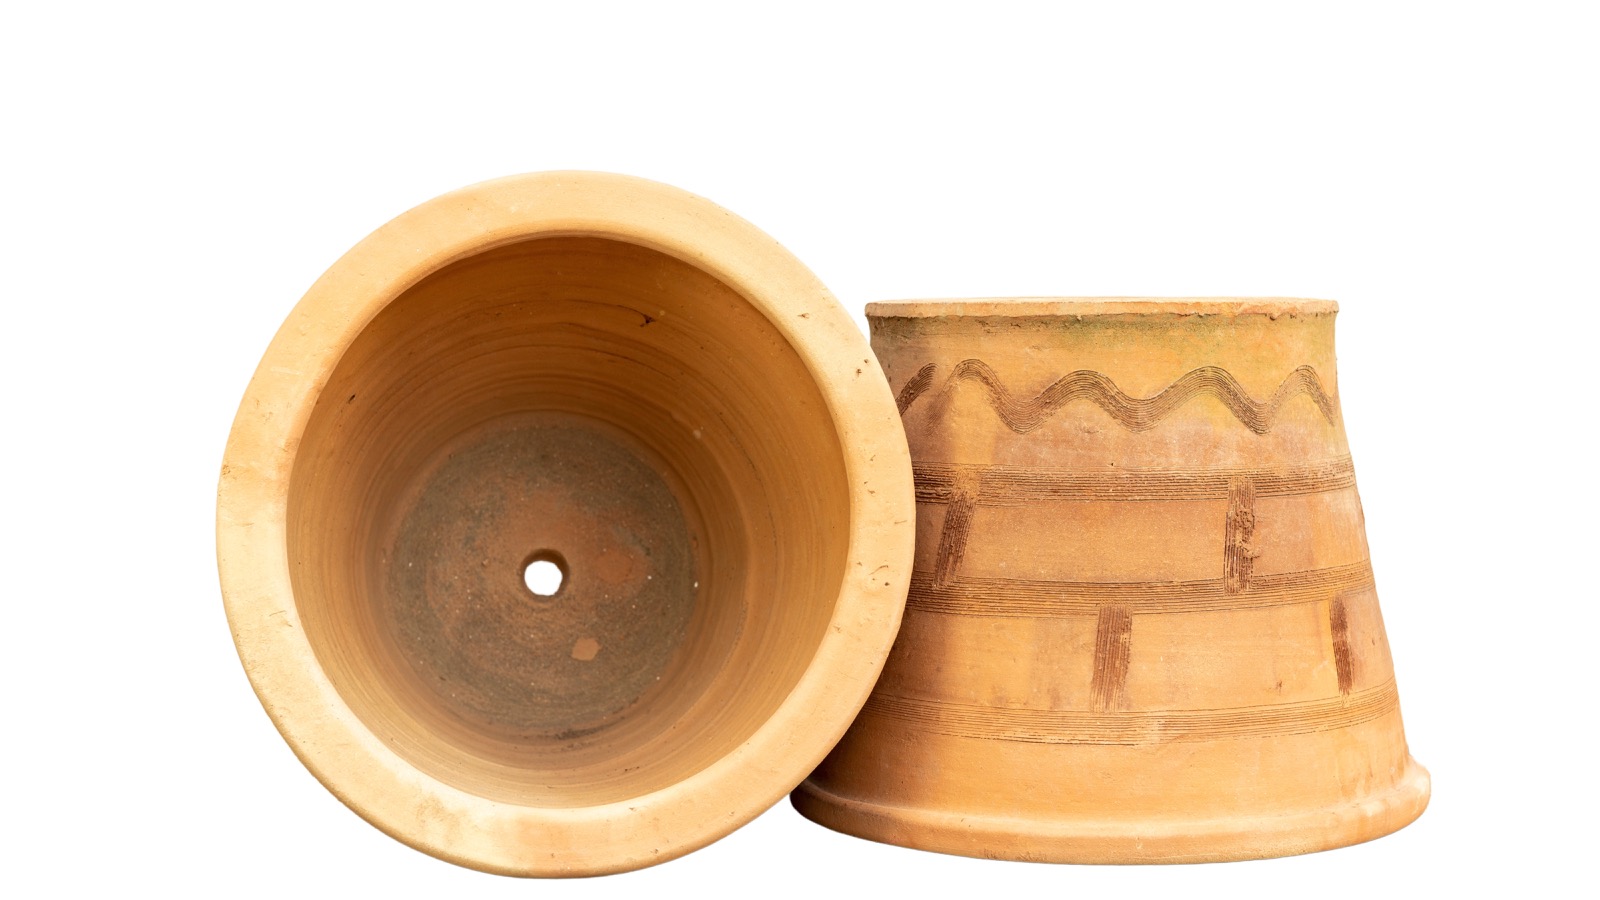
Run your fingers around the outside of the rim, then look underneath any rolled lip or decorative ridge. Those sheltered, often damp spaces are easy to overlook, especially on large terracotta or ornate pots. Look for earwigs, slugs, tiny insects, and anything that looks like eggs. Remove what you find rather than carrying it indoors.
Next, carefully tilt the container and inspect its base. Check every drainage hole, including the narrow space between a nursery pot and its decorative outer pot. Plants that have stood directly on soil or paving all summer may have ants, pillbugs, millipedes, or other small creatures sheltering beneath them or entering through the holes. Drainage holes can provide a route into the potting mix, not just a place for water to escape.
Now lift the saucer. Check both surfaces, the groove where the pot sits, and any dried leaves stuck to the bottom. Empty standing water, brush out debris, and wash the saucer before reusing it. If there’s a decorative cachepot, take the inner pot right out and inspect the space between them.
One important distinction: scale insects and mealybugs are more likely to be attached to plant tissue than lounging under your saucer. The pot inspection catches other hitchhikers, while the next checks help you find the sap-feeding pests.
Look under leaves and into stem joints
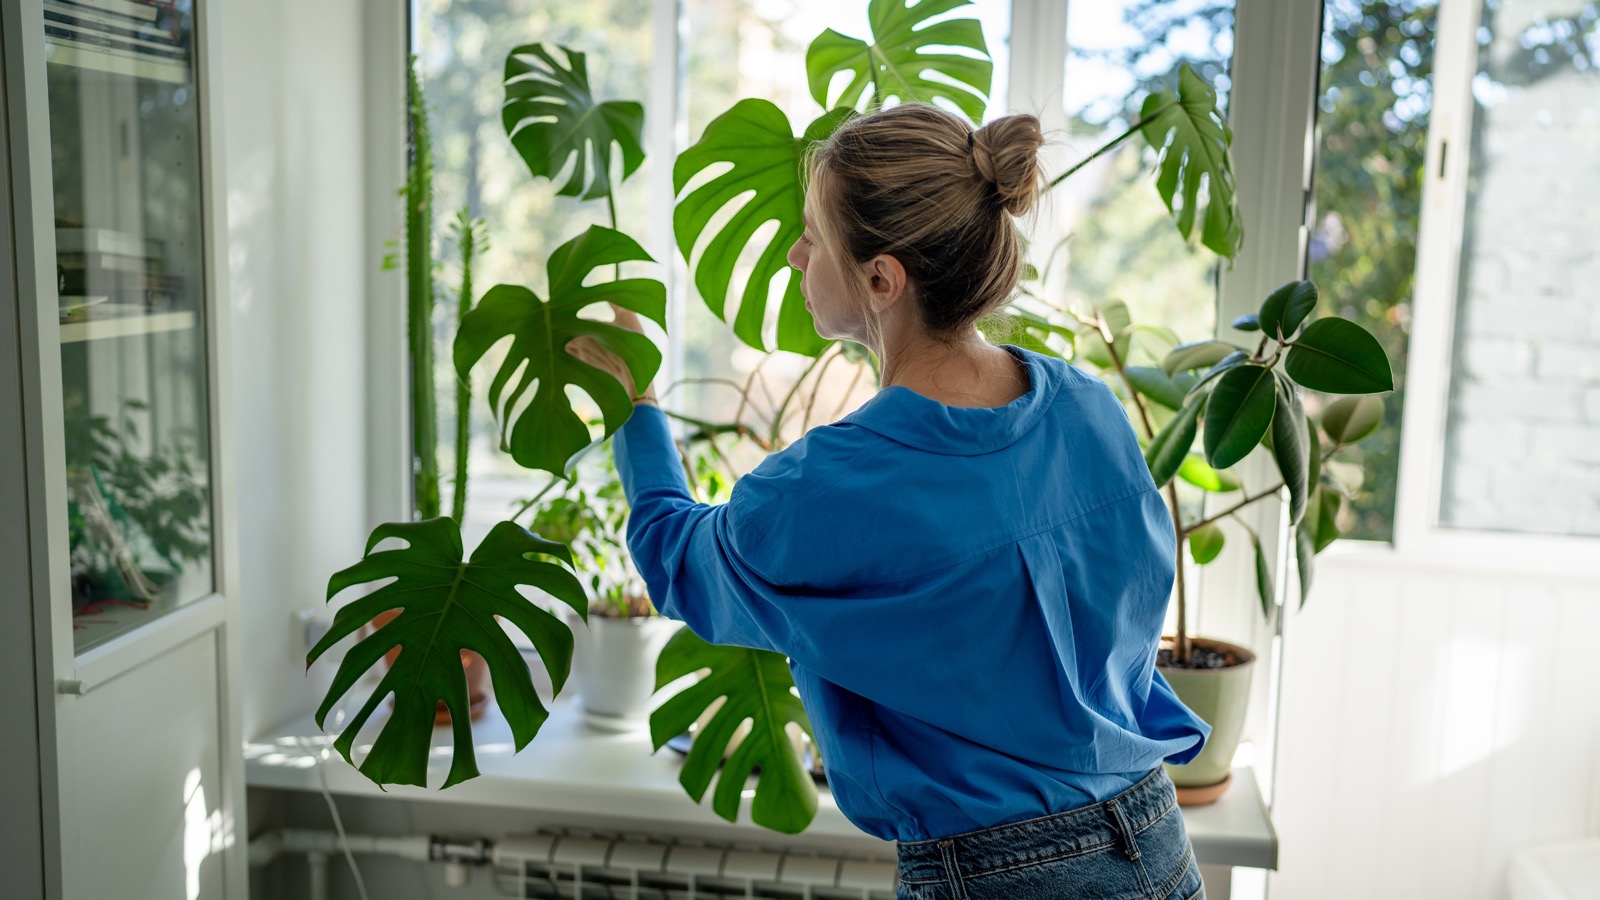
Turn leaves over one by one, particularly on dense, bushy plants. Small pale speckles, fine webbing, or moving pinpricks may signal spider mites. Aphids and whiteflies also favor sheltered leaf surfaces. A small hand magnifier helps enormously when you can’t tell whether a speck is dirt or something alive.
Then inspect leaf bases, unfurling new growth, flower buds, and the points where stems branch. Mealybugs look like little white cottony flecks tucked into the crevices; scale insects often look like tan or brown bumps fixed to stems or leaf veins. These protected feeding sites are exactly why a casual glance at the top of a plant misses so much.
Feel for sticky residue, too. That shiny coating, called honeydew, can be left by aphids, mealybugs, and some scale insects. It may be easier to notice than the pests themselves. Check the plant again even if the leaves otherwise look healthy.
Don’t ignore the soil surface

Clear away fallen leaves and dead stems. Check the top of the potting mix, especially around the stem and along the inside wall of the pot. Small flies lifting off damp soil may be fungus gnats. Tiny jumping springtails are usually more of a nuisance than a plant threat, so don’t assume everything that moves requires treatment.
If ants are streaming in and out of the drainage holes, look more closely for a nest in the mix. Repotting may be necessary when ants have established themselves in the pot. I wouldn’t disturb healthy roots or replace every scrap of soil just because a plant has spent time outdoors, though. Match the remedy to what you actually find.
Clean first, treat only when needed
While the plant is still outdoors, brush dirt and loose debris from the container. Wash the pot’s exterior, bottom, rim, saucer, and decorative outer pot with water and a little mild soap, then rinse them thoroughly. Avoid saturating the potting mix merely to wash the outside.
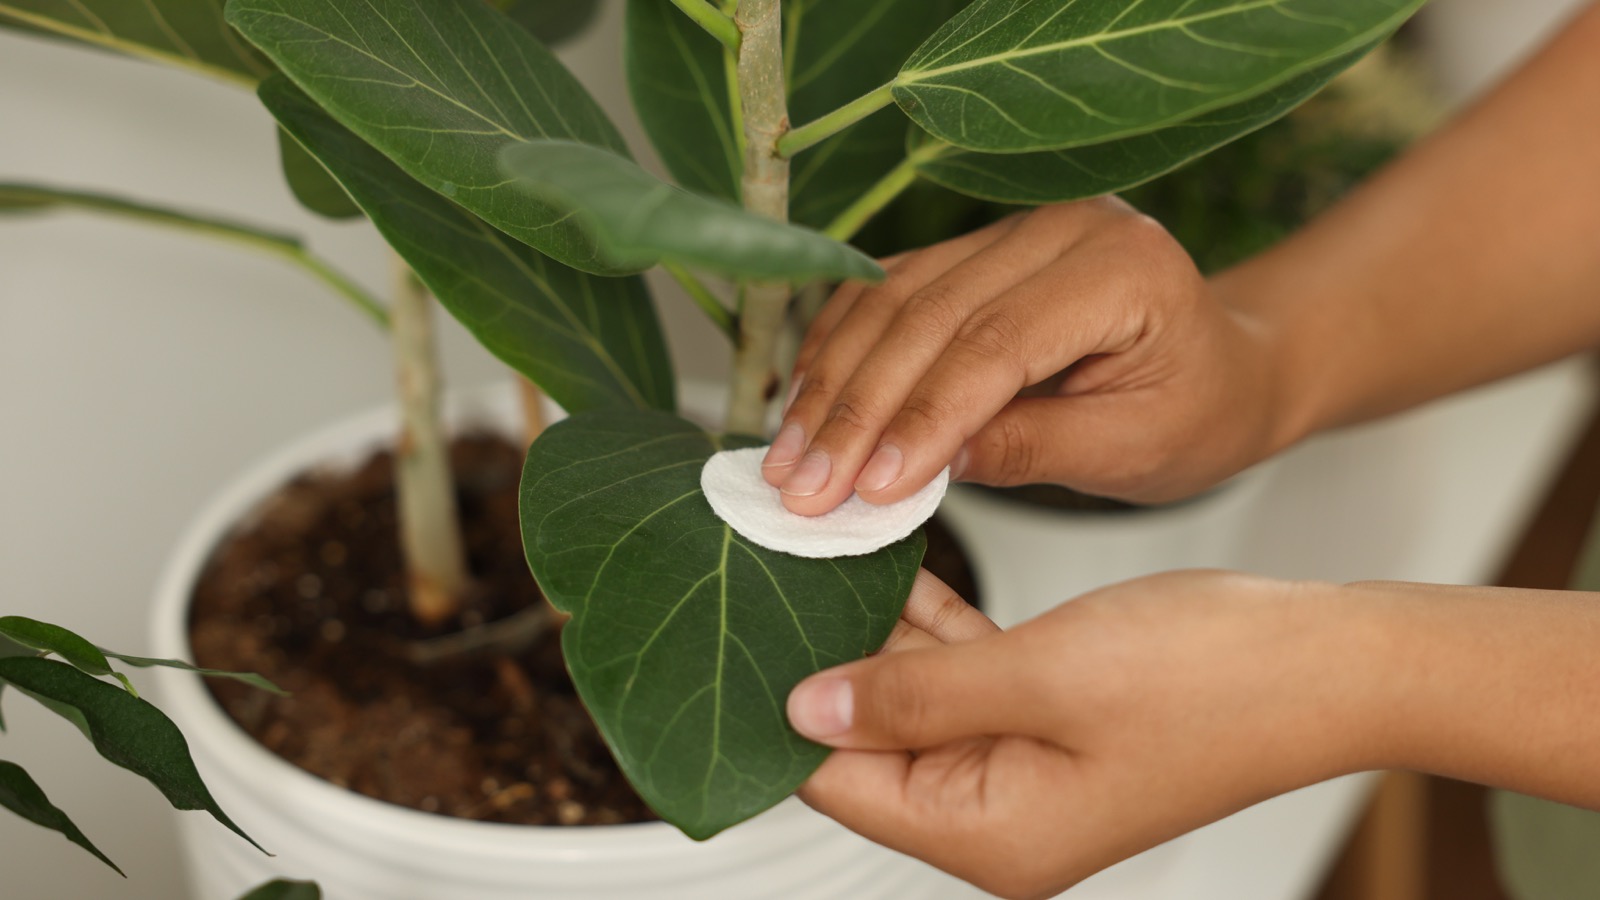
For sturdy, smooth-leaved plants, a gentle but thorough rinse can dislodge aphids, mites, and other soft-bodied pests. Support delicate stems, direct water at the leaf undersides, and give foliage time to dry. Fuzzy-leaved plants and species that resent wet foliage need a gentler approach, such as wiping suitable surfaces individually.
If you find only a few pests, start small. Pick off large hitchhikers, wipe leaves, remove a badly infested shoot if the plant can spare it, or use a cotton swab to lift individual mealybugs. Physical removal and washing can handle many minor houseplant infestations.
For a persistent infestation, identify the pest before choosing a product. A properly labeled insecticidal soap or horticultural oil may be appropriate for some pests and plants, but both can injure sensitive foliage if used incorrectly. Follow the label, test a small area first, and keep treated plants away from children and pets as directed. Don’t substitute an improvised dish-detergent spray or treat every apparently healthy plant ‘just in case.’
Give returning plants a little space
Even a careful inspection won’t reveal every egg or newly hatched pest. I recommend keeping returning plants away from established houseplants for at least a week or two. A separate room is better than simply putting pots a few inches apart on the same shelf.
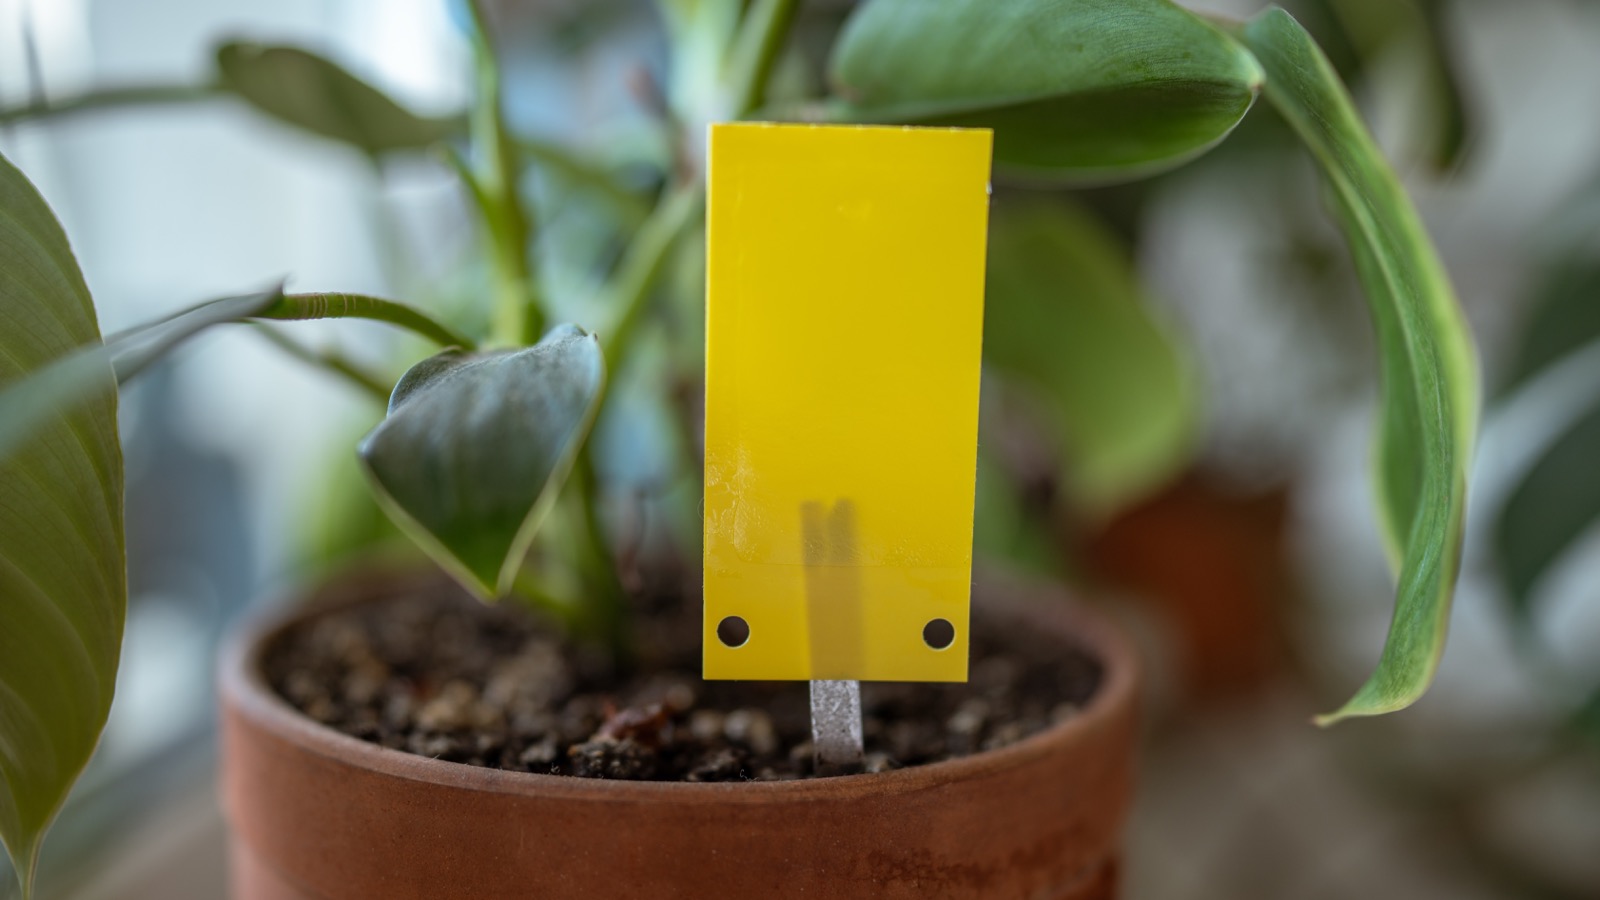
During that time, recheck leaf undersides, stem joints, pot rims, and saucers whenever you water. Yellow sticky cards can help you detect adult fungus gnats or whiteflies, although they won’t solve an infestation on their own. If pests appear, keep the plant isolated and continue monitoring beyond that initial period until the problem is controlled.
Bring plants indoors before cold nights damage them; don’t leave a tender plant outside just to complete a quarantine period. Find it a separate indoor spot instead. Healthy plants deserve the right light and less frequent watering as growth slows, not an automatic dose of insecticide. The aim is to bring the plant in, without bringing its uninvited guests along.
You might also like…
Is it too late to plant garlic? Here’s when you can still get it in the ground