Affiliate disclosure: This post may contain affiliate links. Please see full disclosure.
Amaranth can give you tender cooking greens during summer and a later harvest of tiny edible seeds. The trick is choosing a food variety that suits your goal, then leaving enough of the plant intact if you want grain as well as leaves.
For a home garden, I’d treat the leaves as the more straightforward harvest and grain as a project worth trying on a small scale. Picking a bunch for dinner is quick. Separating a bowl of seeds from flower fragments takes more patience, and the size of the flower head can give you an exaggerated idea of how much food you’ll bring indoors.
Choose your amaranth for the harvest you want
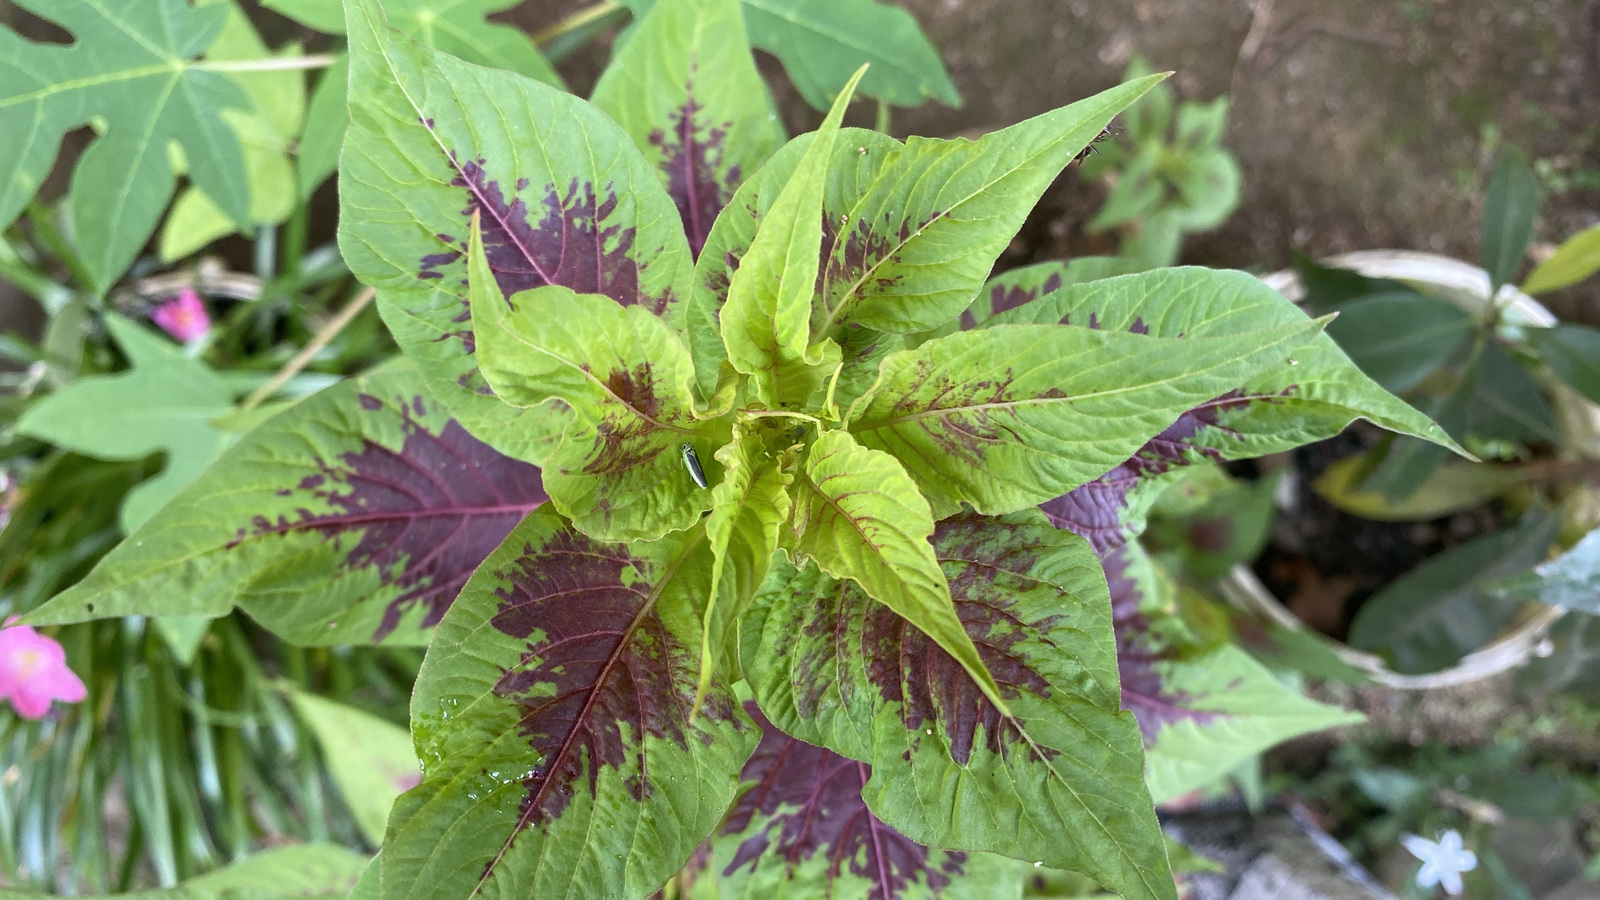
For regular greens, look for seed sold as vegetable or leaf amaranth. These varieties are selected for useful foliage rather than simply impressive flowers. ‘Hong Kong Red’, an Amaranthus tricolor variety, is grown for tender cooking greens. Other vegetable amaranths are sold under names such as Chinese spinach or callaloo, although common names can refer to different plants, so read the botanical name and growing description.
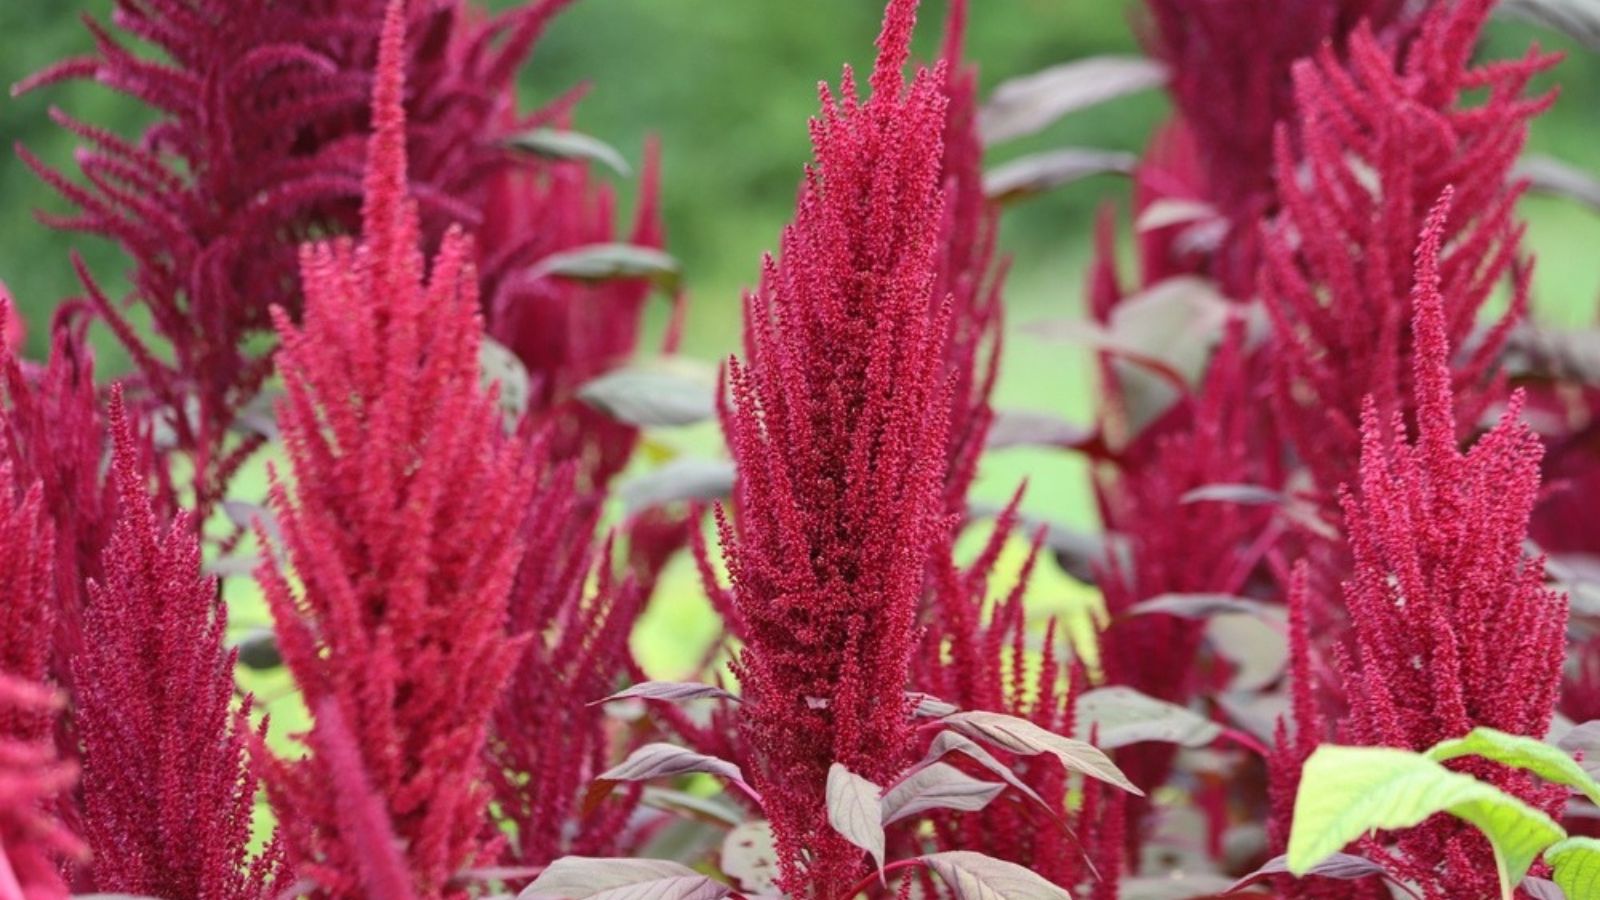
For a deliberate grain crop, choose a variety described specifically for edible seed production. Grain amaranths include Amaranthus hypochondriacus and A. cruentus, as well as some A. caudatus varieties. They aren’t cereal grasses, but their seeds are used much like grain, which is why amaranth is called a pseudocereal.
‘Golden Giant’ is a grain variety with edible young leaves, golden seed heads, and a listed maturity of around 90 to 110 days. It can reach 6 to 8 feet, so it needs a different place in the garden from a compact crop grown for bunches of leaves.
Don’t buy an ornamental amaranth purely for its color and assume it will be equally useful for grain. Start with a named food variety and clear harvest information. Globe amaranth, Gomphrena, is a different plant despite the shared common name.
Sow shallowly once the soil is warm
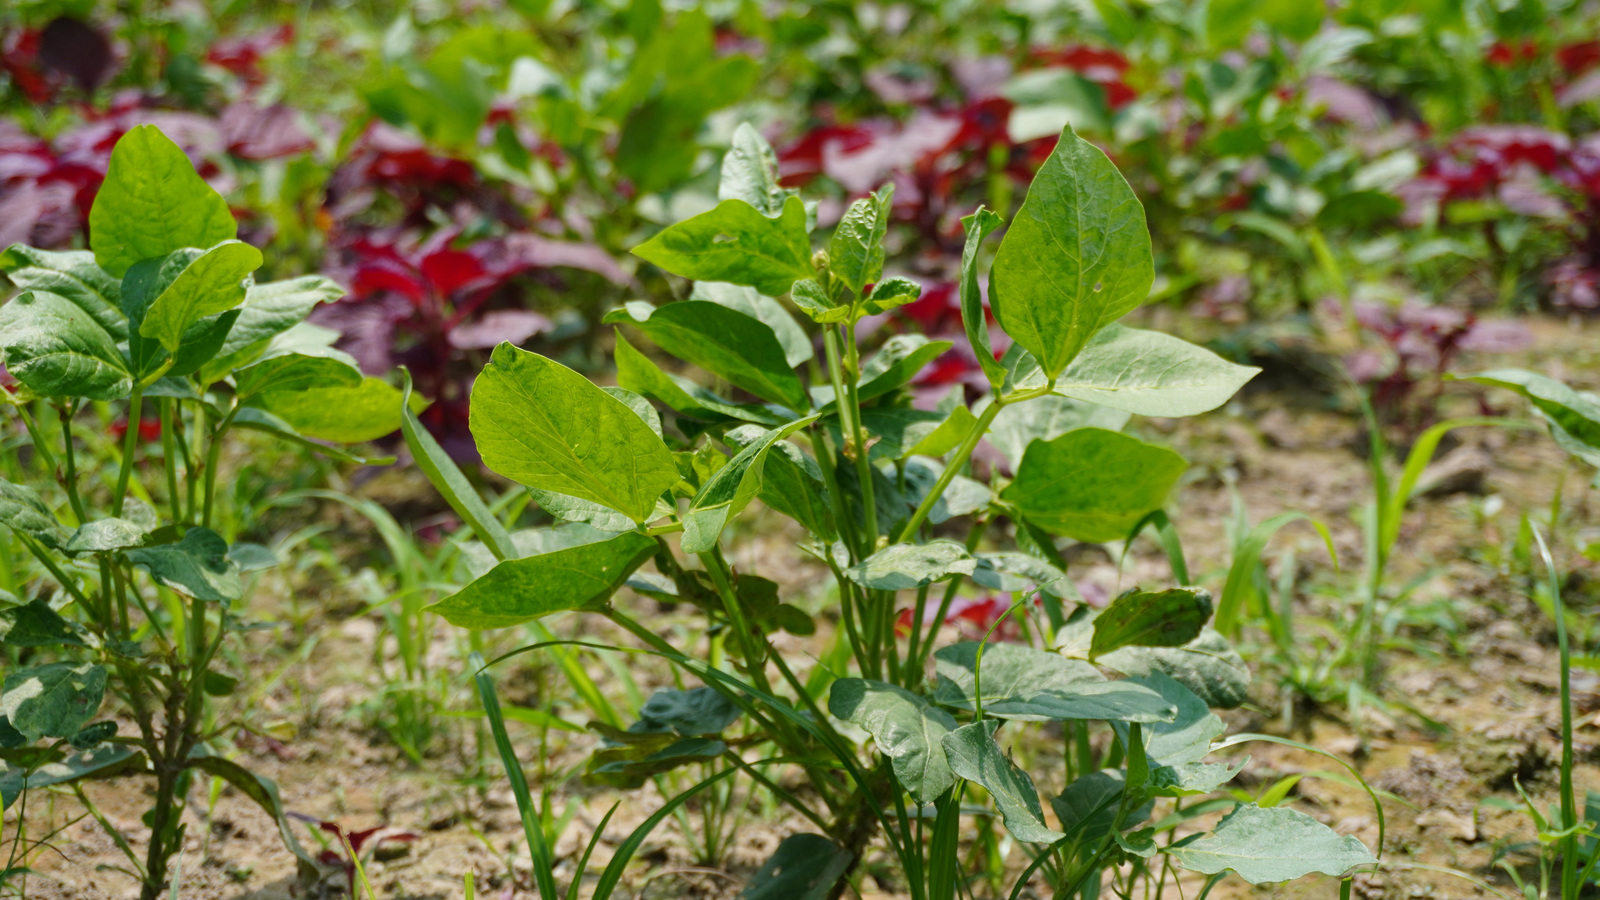
Give amaranth a sunny, well-drained position after frost risk has passed. For grain types, wait until the soil is at least about 65°F (18°C). Cold, wet ground is a poor start for a heat-loving crop, especially when you need it to mature seed before the growing season ends.
Rake the surface into a fine seedbed and remove competing weeds. Sow thinly at the depth on the packet, commonly around 1/8 to 1/4 inch, then water gently. These are tiny seeds; a heavy covering of soil or a forceful jet from the hose makes establishment harder.
Keep the surface evenly moist until seedlings establish. Thin them rather than leaving every seedling in a crowded clump. Vegetable varieties may be grown fairly closely for young greens, while tall grain plants need more room. As examples, ‘Hong Kong Red’ is thinned to about 6 to 10 inches, while ‘Golden Giant’ needs around 12 to 15 inches between plants. Use the spacing for your actual variety.
Where summers are short, starting in modules can buy time. Follow the variety’s indoor-sowing instructions, harden the seedlings off, and transplant while they’re still manageable, disturbing the roots as little as possible. An early start helps, but it doesn’t guarantee that a late grain variety will ripen in a cool season.
Keep the plants growing and decide which ones are for grain

Water young plants reliably and keep weeds down while they’re small. Established amaranth can cope with some dry conditions, but consistent moisture supports good growth of edible leaves and grain. Drought tolerance isn’t a reason to let a leafy crop repeatedly wilt.
As an organic grower, I’d start with a well-prepared bed and moderate fertility rather than keep feeding a tall plant simply because it looks impressive. Use your soil’s condition and the variety’s requirements to guide any additions. Check plants for aphids, flea beetle damage, and leaf spots as you would other vegetables.
Allow for the mature height before the plants shade a neighboring crop. Stake tall grain varieties early if the site is windy, before the stems are carrying heavy seed heads.
If you want both harvests, mark a few plants for grain. Take only modest early leaf pickings from those plants and leave plenty of healthy foliage. Use the rest for regular greens. Repeatedly cutting a plant back or removing its flower heads works against the aim of producing a mature seed crop.
Pick young leaves and use them while they’re fresh
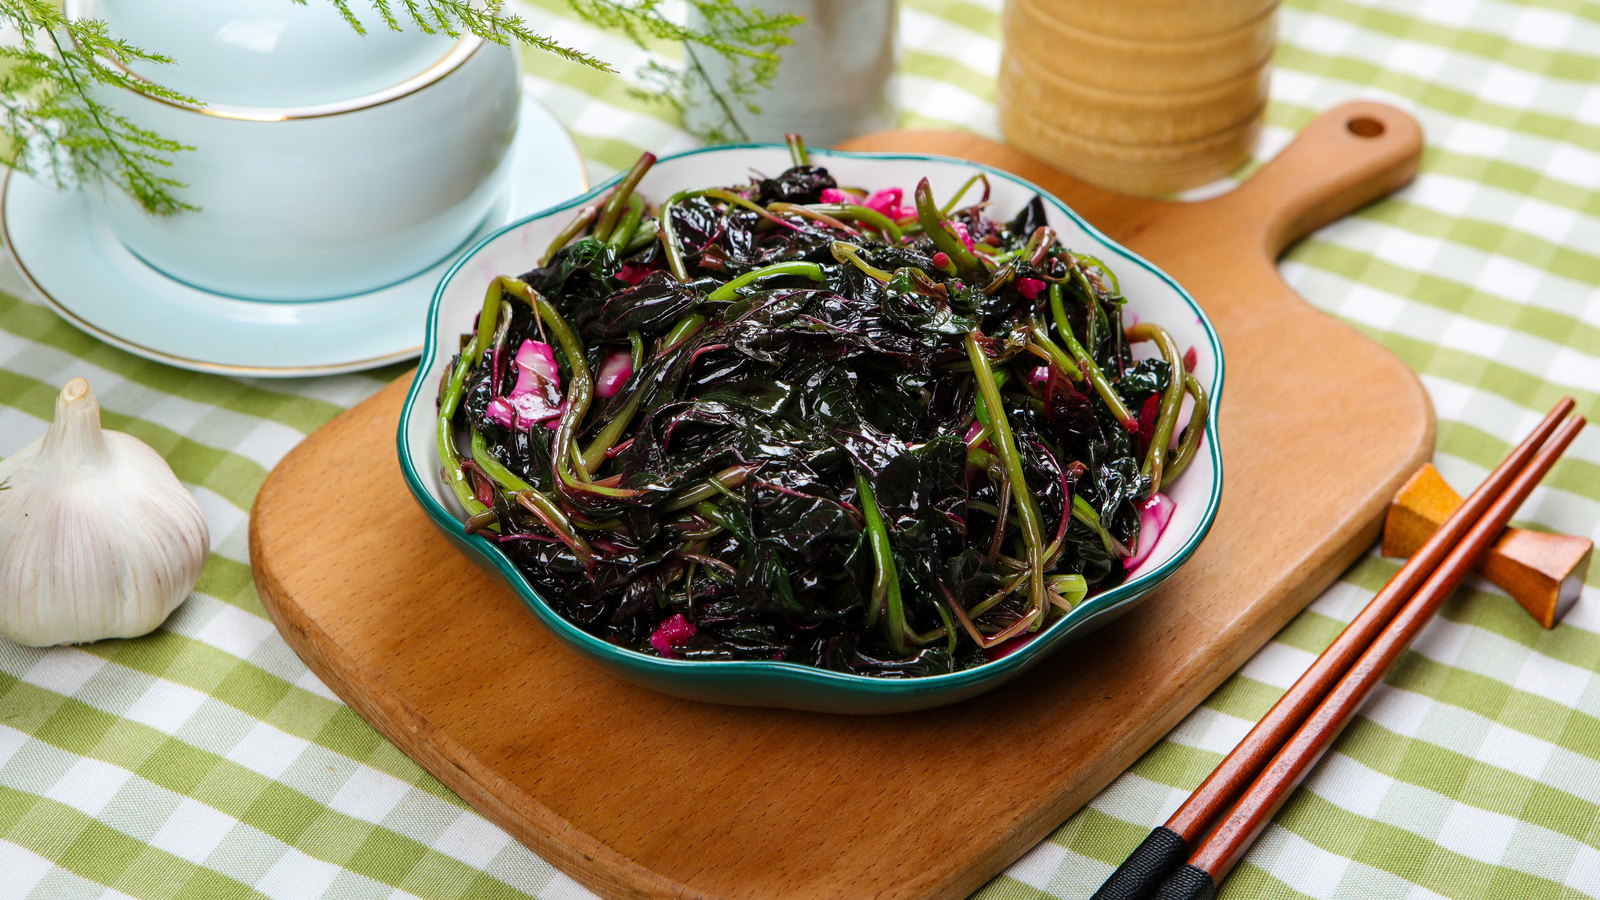
Harvest tender leaves and shoot tips once the plants are established and large enough to spare them. Pick individual leaves or cut leafy shoots above a node so the plant can branch. The exact timing depends on warmth and variety; many vegetable types become useful within several weeks of sowing.
For plants dedicated to leaves, cutting back can produce another flush of tender growth. Leave a healthy lower framework rather than cutting into a bare woody stem and expecting an instant replacement crop. A small succession sowing can be more useful than trying to keep one aging plant productive indefinitely.
Cook amaranth leaves as you would spinach. Rinse them, remove tough stems, and add them to a stir-fry, soup, or a pan of onions and tomatoes. Older leaves and stems need more cooking and may be less pleasant than the young growth.
Pick near mealtime where possible, as the leaves wilt quickly. If you’re saving some for another day, cool and refrigerate promptly. Cooked greens can also be frozen, which is often more useful than allowing a leaf crop to grow tall and coarse.
Harvest seed when it releases from the head
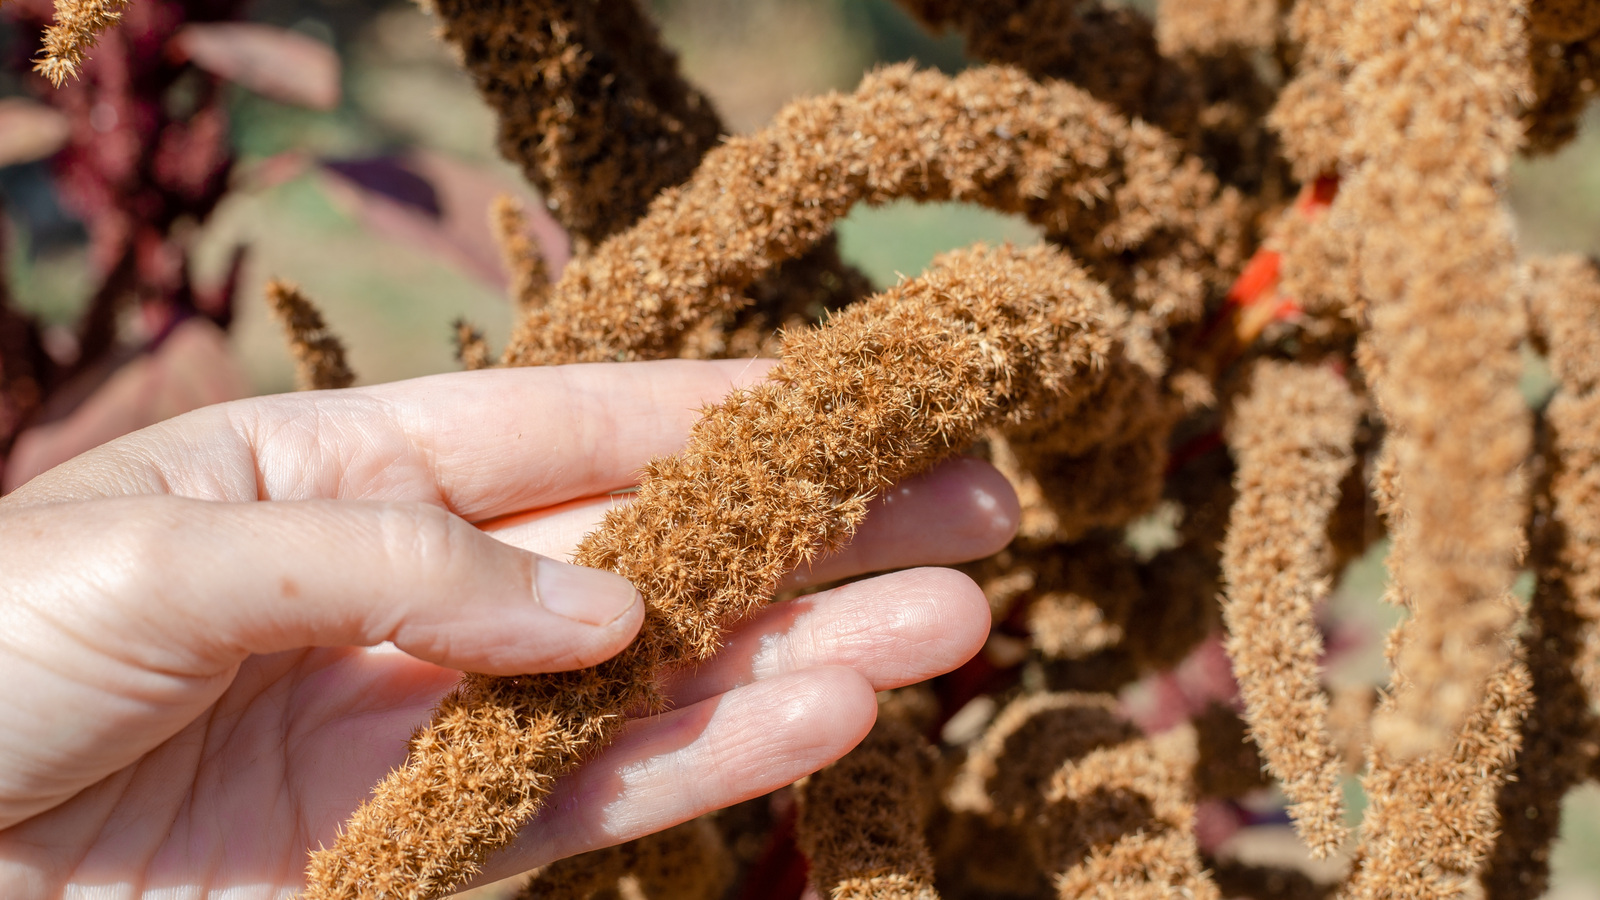
Test a maturing seed head by gently rubbing a small section over a clean bowl. When firm seeds release readily, you can begin harvesting. Don’t judge by the color of the flower alone, and don’t wait for every last seed if the ripe ones are already falling.
Cut ready heads on a dry day after dew has gone. Handle them over a clean tray or sheet to catch what drops. Gloves are useful with prickly flower heads. Spread the heads in a single layer in a dry, well-ventilated place protected from birds and rodents to finish drying before threshing.
Different plants and parts of a head may finish at different times. Harvest in stages if needed, particularly when wet weather is approaching. You need mature seed; cutting a very immature head and putting it indoors won’t make up for a growing season that was too short.
Threshing simply means releasing the seed. Rub or shake the dry heads over a clean container, then remove the largest stalk and flower pieces by hand.
Expect seed cleaning to take longer than picking leaves
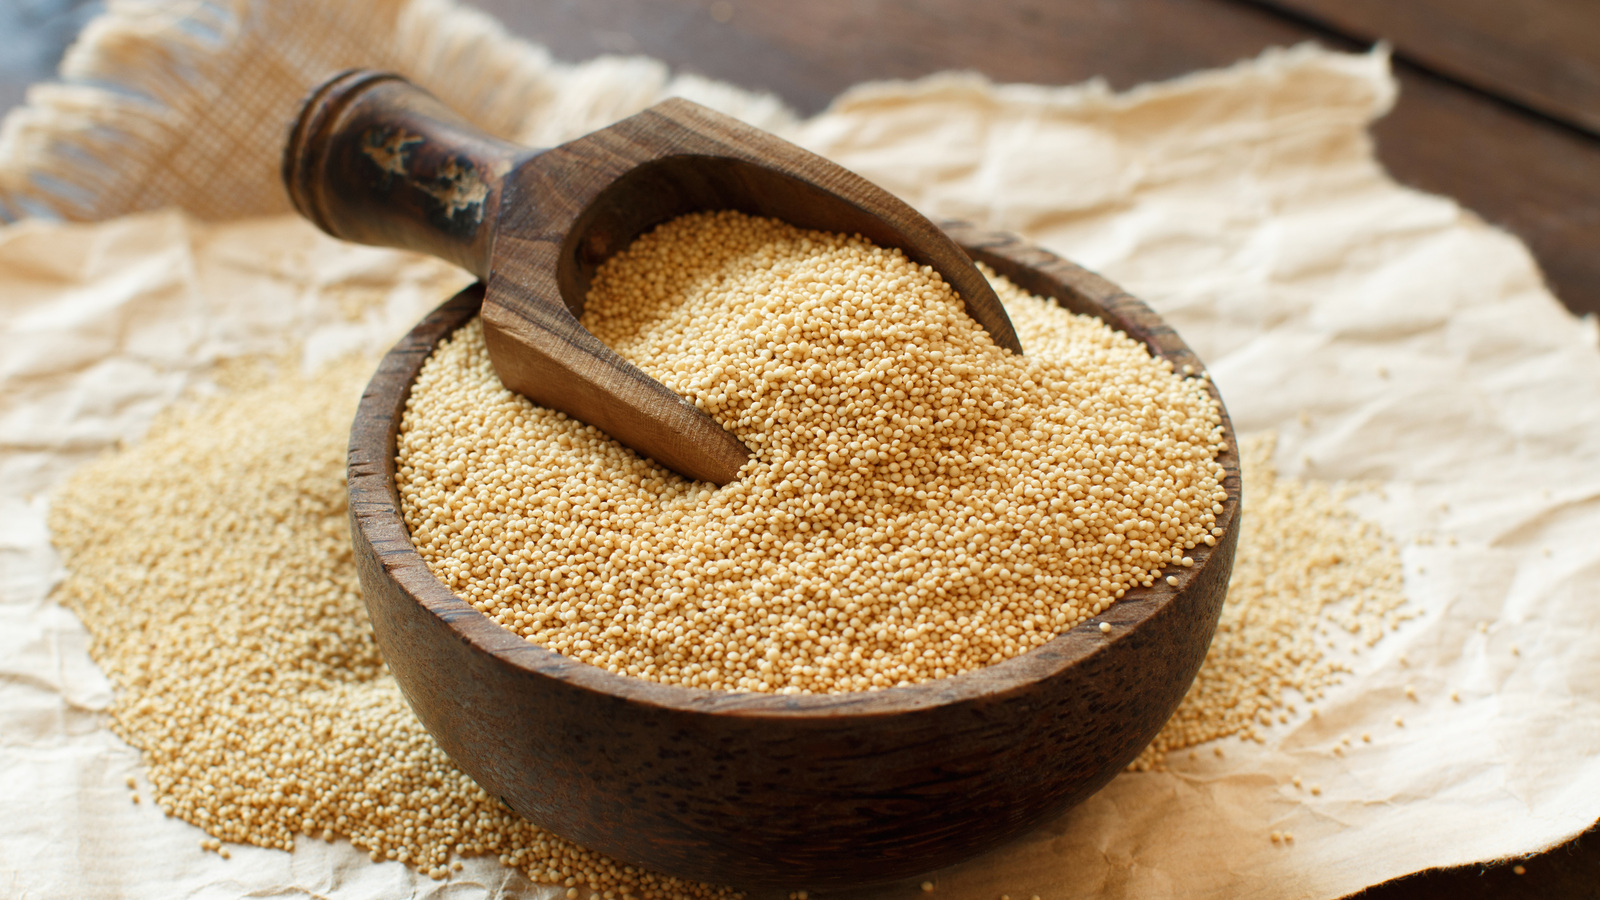
Use screens or sieves to separate coarse debris from the grain, but test each one with a spoonful first. Amaranth seeds are only about a millimeter across. A kitchen sieve that looks fine enough may let your harvest fall straight through.
Winnowing separates lighter chaff from the heavier seed with moving air. Try pouring a small amount between two bowls in a very gentle breeze, over a sheet that will catch losses. Start cautiously. A strong gust or fan can carry away good seed along with the bits you meant to remove.
Repeat screening and winnowing as needed, then check for grit, insects, and remaining fragments. The harvest you can actually cook is the cleaned grain, not the weight of everything you shook off the flower heads.
Dry grain properly before storing it. For longer storage, grain-moisture testing is more reliable than assuming a dry flower head means dry seed; a local Extension office can advise on testing a small sample. Don’t seal warm or damp grain in a jar. For a small first harvest, cooking the cleaned seed promptly and freezing cooked portions is a practical alternative to guessing at pantry storage.
Cook a little grain before expanding the patch
Rinse the cleaned grain immediately before cooking in a sieve fine enough to retain it, or a clean cloth lining a sieve. Don’t rinse a storage batch and then put it away damp.
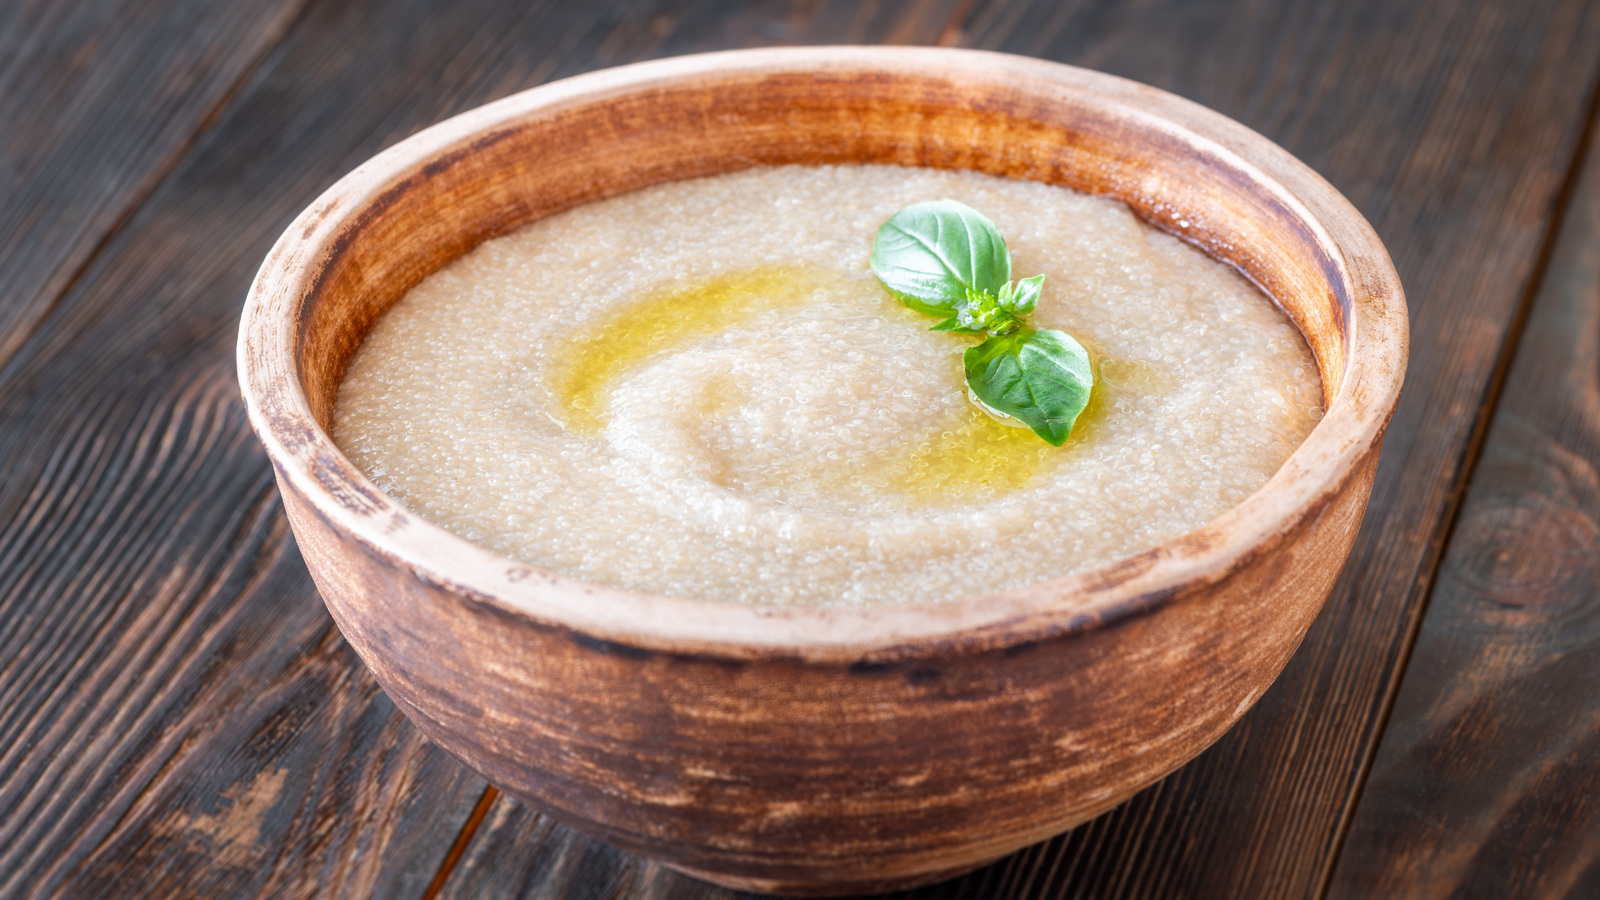
For a basic cooked batch, use about 2 cups of water or broth per cup of amaranth and simmer for roughly 15 to 20 minutes, adjusting liquid and time until tender. Expect a soft, thick texture rather than separate, fluffy grains of rice. Add more liquid if you want porridge, or stir a modest amount into soup.
The seed can also be popped or milled, but those are additional kitchen jobs. Try eating a small quantity of purchased food-grade amaranth before assigning a large bed to grain. It is much better to discover which recipes you like before harvesting a crop you don’t enjoy cooking.
Keep a record of the space planted, the cleaned grain harvested, and the time spent processing it. A few plants can give you an interesting addition to meals; replacing a household’s grain supply requires a very different scale of growing and handling. Your own results are a better basis for expanding than an impressive photograph or a maximum yield quoted for one plant.
Manage self-seeding instead of letting it choose next year’s bed
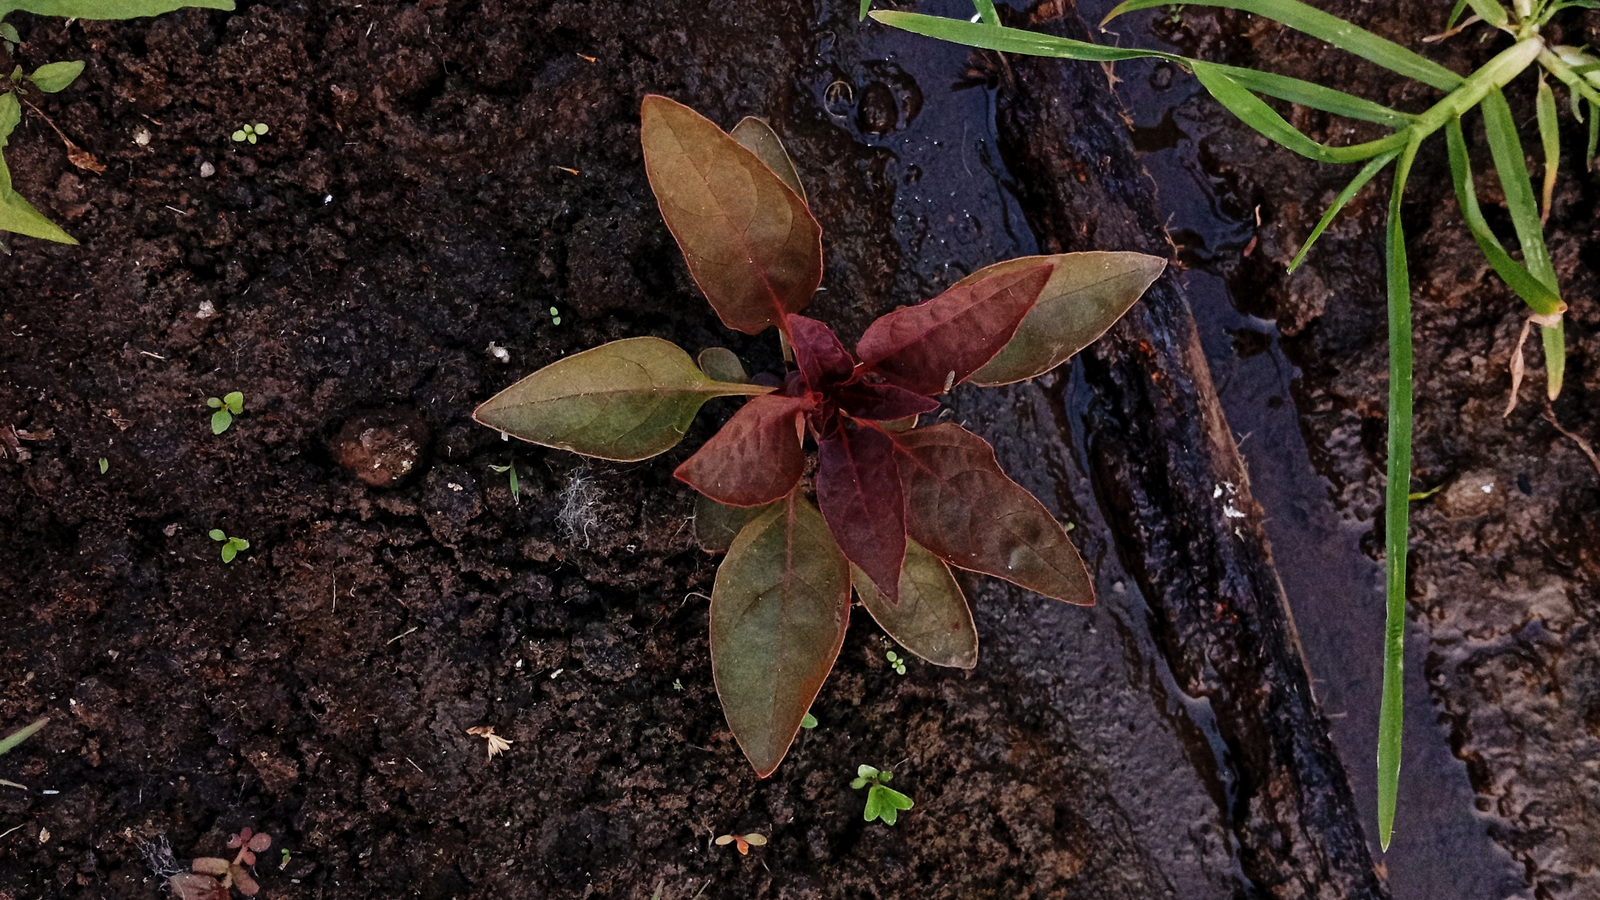
Amaranth can drop seed before you finish harvesting, and volunteers may appear in later seasons. Remove unwanted seedlings while they’re small, and cut unwanted flower heads before the seed ripens. A plant grown only for greens doesn’t need to reach seed maturity at all.
Catch seed over a sheet when processing outdoors, and avoid spreading mature heads around in mulch or unfinished compost if you don’t want volunteers. Save any seed you intend to sow in a separate, labeled packet. Different amaranths can cross, so saved seed may not reproduce the original variety exactly.
I’d begin with a short row for greens and a few grain plants where their height won’t be a nuisance. That gives you something useful to cook early, and enough seed-handling experience to decide whether the second harvest deserves more space next year.