

Affiliate disclosure: This post may contain affiliate links. Please see full disclosure.
A low hoop tunnel can keep one vegetable bed productive well beyond its usual fall finish, without the expense or fuss of a greenhouse. All you need is a handful of bendable hoops, a suitable cover, and something to hold the edges down when the wind gets ideas of its own.
I grow a substantial amount of my own food, and for a small patch of winter greens, I’d choose a removable tunnel over anything elaborate. You need to be able to lift the cover to pick leaves, check the soil, and let heat out. Building something you can’t conveniently open defeats half the point.
Choose greens that already tolerate the cold
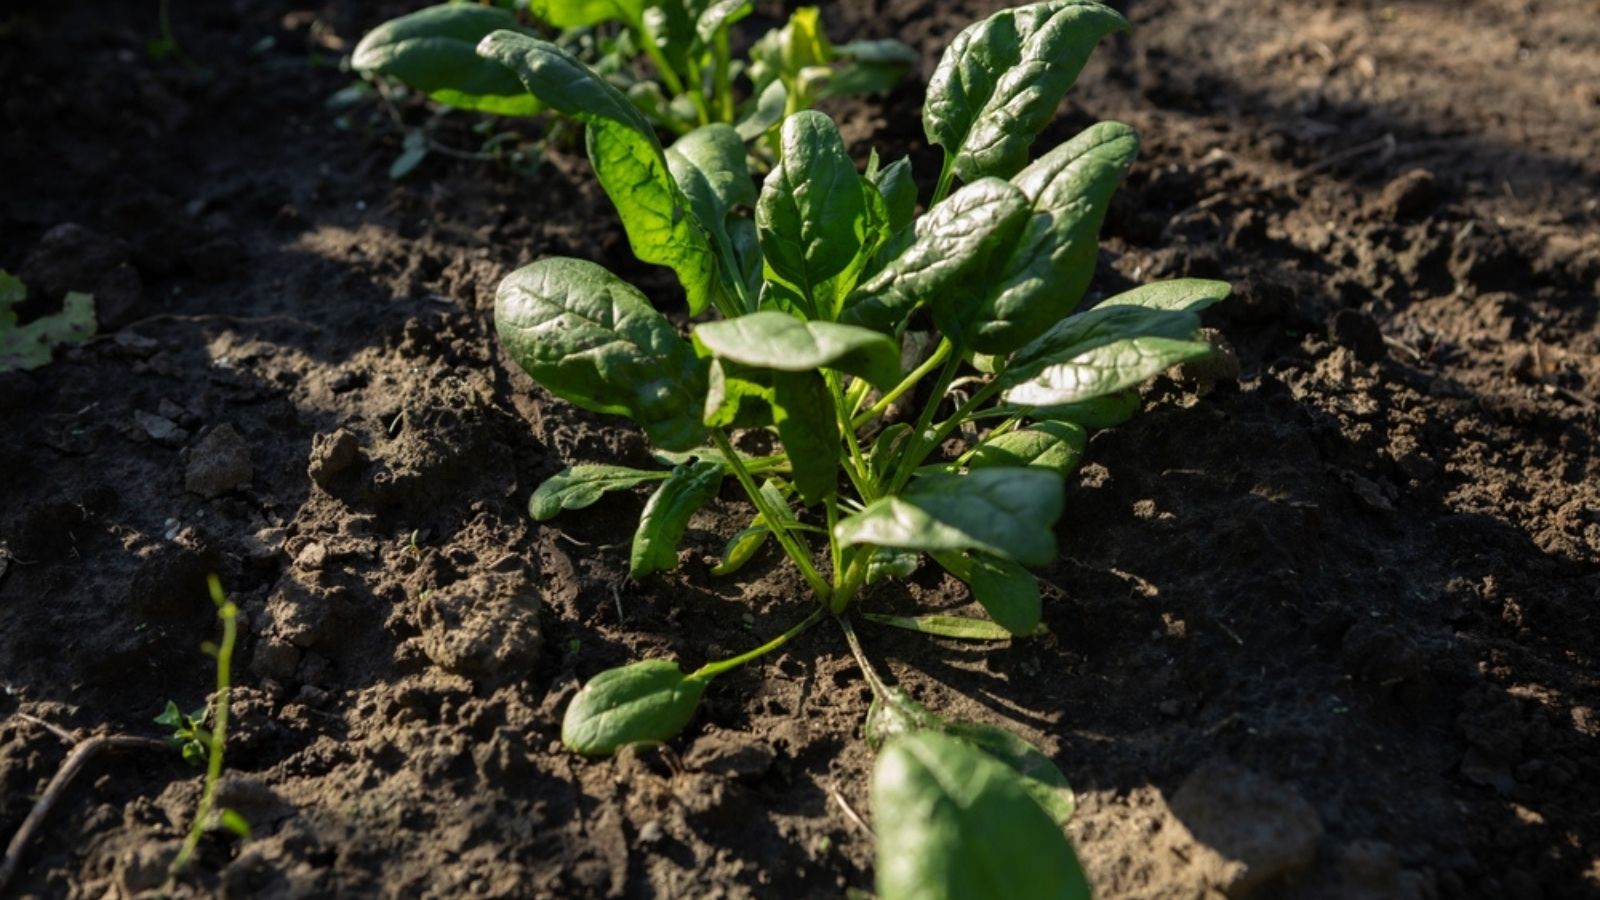
A tunnel helps hardy crops cope with frost and wind; it doesn’t turn winter into summer. For an established bed, I’d prioritize spinach, winter-hardy kale, corn salad (mâche), tatsoi, and cold-tolerant leaf lettuce. Spinach is especially useful for cool-weather picking, while lettuce is more vulnerable when a freeze is long or severe. If you’re unsure what to protect first, check which of your lettuce plants are actually likely to survive the next frost.
Get the crops established while there’s still enough autumn light and warmth for them to put on growth. In the depths of winter, even the hardiest leaves grow slowly or stop for a while. A low tunnel is best thought of as a way to protect the harvest you’ve already grown and help plants resume earlier in spring, not a promise of a fresh bowl of salad every day.
What you’ll need for one existing bed
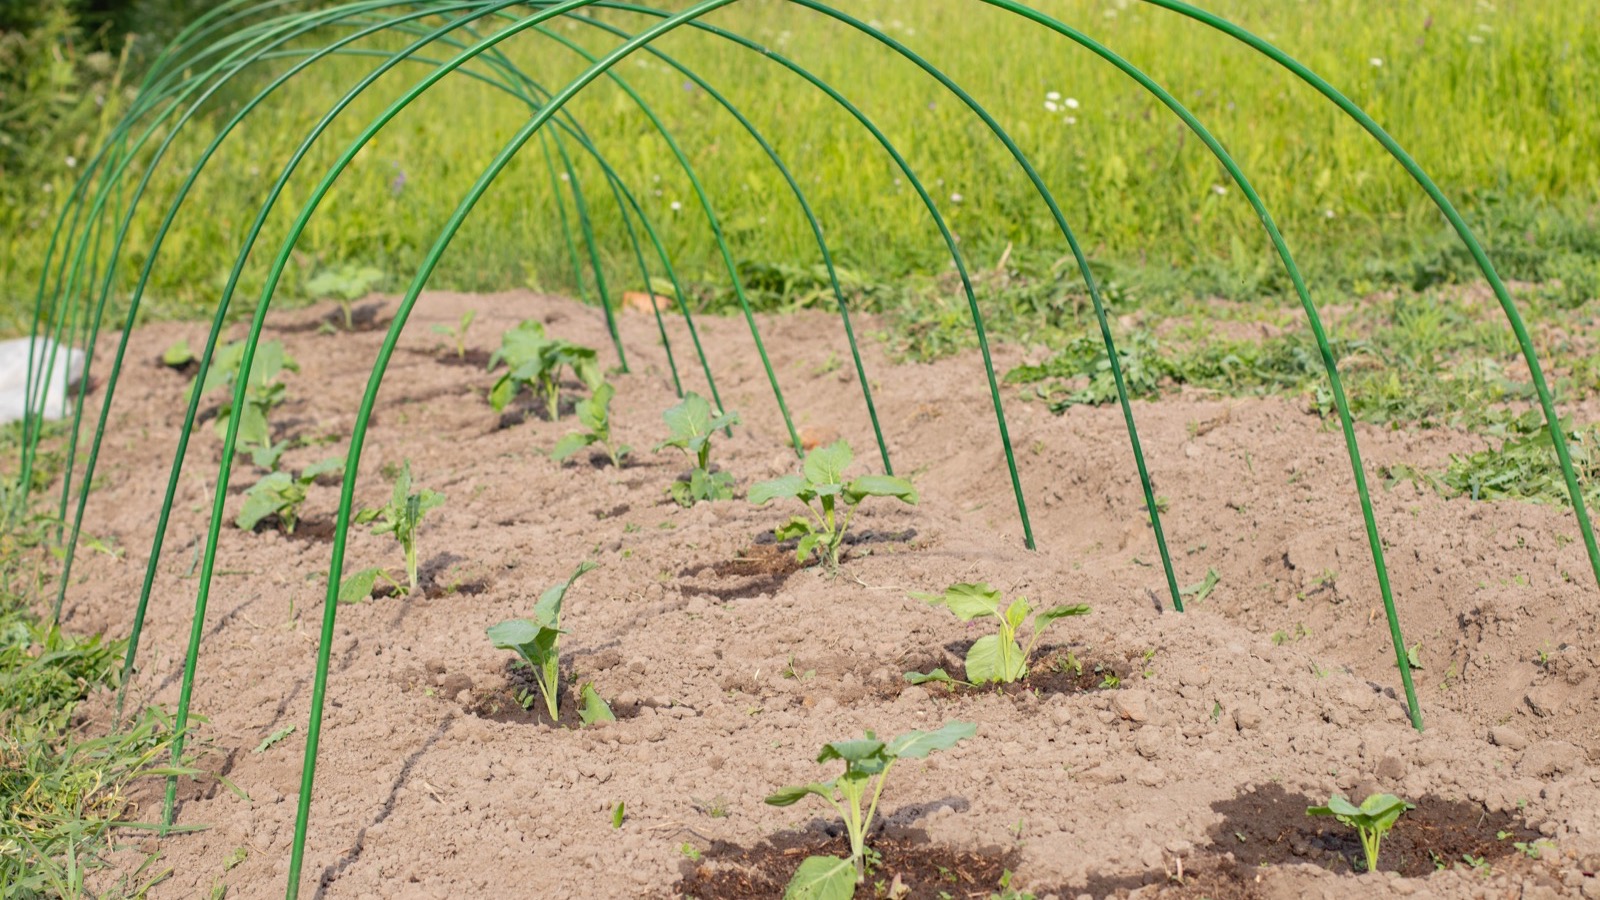
For a typical 4-by-8-foot raised bed, keep the shopping list short. You may already have some of this in the shed:
- For a 4-by-8-foot bed, five 10-foot lengths of flexible 1/2-inch PVC pipe make sturdy-sized arches about 2 feet apart. Suitable wire or purpose-made hoops also work; choose stronger metal supports where heavy snow is normal.
- For a wooden raised bed, ten 12-inch-long, 3/4-inch PVC sleeves (two per hoop) and pipe straps or conduit clamps to attach them. For a bed at ground level, use suitable ground stakes or push-in hoops instead.
- A sheet of frost-rated, breathable row-cover fabric, often sold as frost cloth or horticultural fleece. Measure across the curved hoops, not just the flat bed, and allow generous spare material at both ends.
- A few clips and movable weights such as sandbags, boards, or bricks for securing the cover without permanently sealing it.
- Optional for harder winter weather: UV-stabilized greenhouse plastic and an inexpensive thermometer you can read at crop height.
For an ordinary small bed, the basic setup is much less involved than a walk-in hoop house. You can use the same frame again in spring and swap the fabric for insect mesh or shade cloth when conditions call for it.
Build the removable frame
- Mark the hoop positions. Put one near each end of the bed, with the others spaced evenly between them, about 2 feet apart. Make the arches high enough to clear the tallest greens, with room for leaves to grow without brushing the cover.
- Fit the supports. On a wooden raised bed, fasten the short 3/4-inch PVC sleeves vertically to the outside boards with sturdy pipe straps, one opposite each sleeve on the other side. Keep the sleeves aligned. For a soil-level bed, place matching ground anchors securely in the soil.
- Bend the hoops into place. Insert one end of each flexible 1/2-inch pipe into its sleeve, gently arc it over the bed, and seat the other end opposite. Check that every hoop is stable. A length of twine or cord secured along the tops can help keep the arches in line.
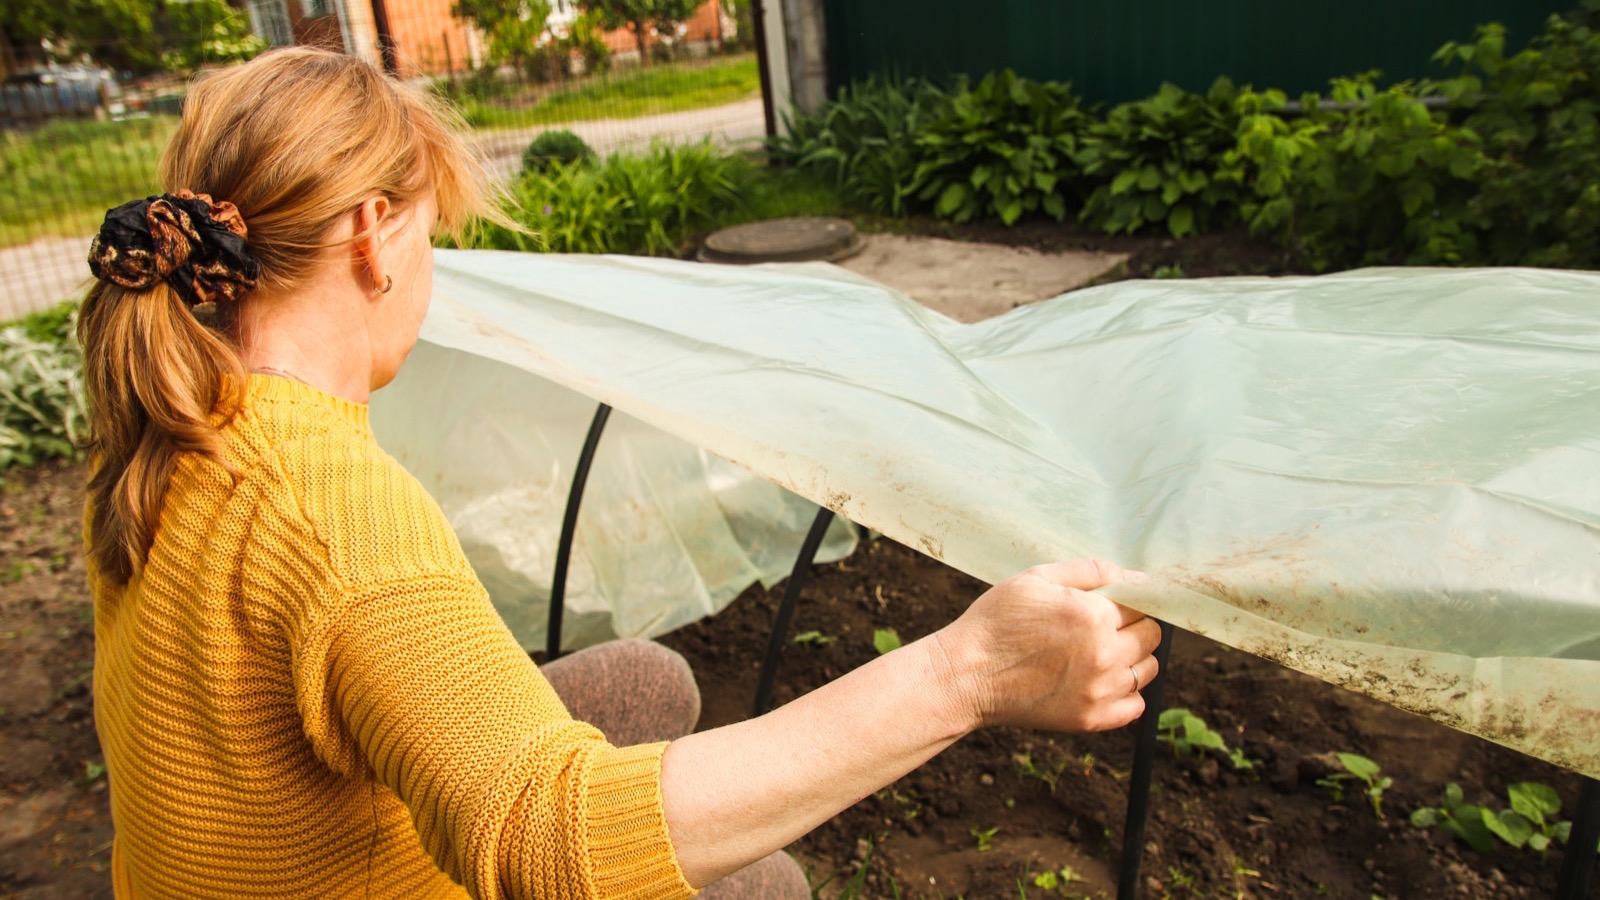
- Drape the fleece over the whole frame. Pull it across without stretching it drum-tight. Leave enough overhang to reach the ground on both sides, then gather and close each end so cold air can’t blow straight through.
- Anchor one long side firmly and keep the other easy to lift. Use movable weights and clips on the access side so harvesting takes seconds rather than dismantling the entire tunnel. Check the anchors after the first windy night.
If you’re covering an in-ground bed rather than a raised one, a simple wire-hoop tunnel can be even quicker: bend the wire, push both ends deeply into firm soil, then cover and anchor it. The principle is the same. Just don’t count on flimsy wire or ordinary PVC to carry a substantial wet snow load.
Use fleece for most frosty nights
I’d start with breathable frost cloth, not plastic. Proper horticultural fleece lets air and rain pass through, so the bed is less likely to become a damp, stuffy box. It also helps soften cold wind and gives plants a little extra protection from frost. Heavier grades generally provide more cold protection, but they also block more light. Very thin insect netting isn’t a substitute for an insulating frost cover.
For a mild or moderately frosty spell, a well-secured layer may be all your established spinach or hardy greens need. Keep it down to the soil all around the bed, because covering just the leaves while leaving big gaps around the bottom is a poor way to hold onto the warmth coming from the ground. And remember that fleece buys a margin of protection, not a guaranteed safe temperature.
Save plastic for colder spells, and be ready to remove it
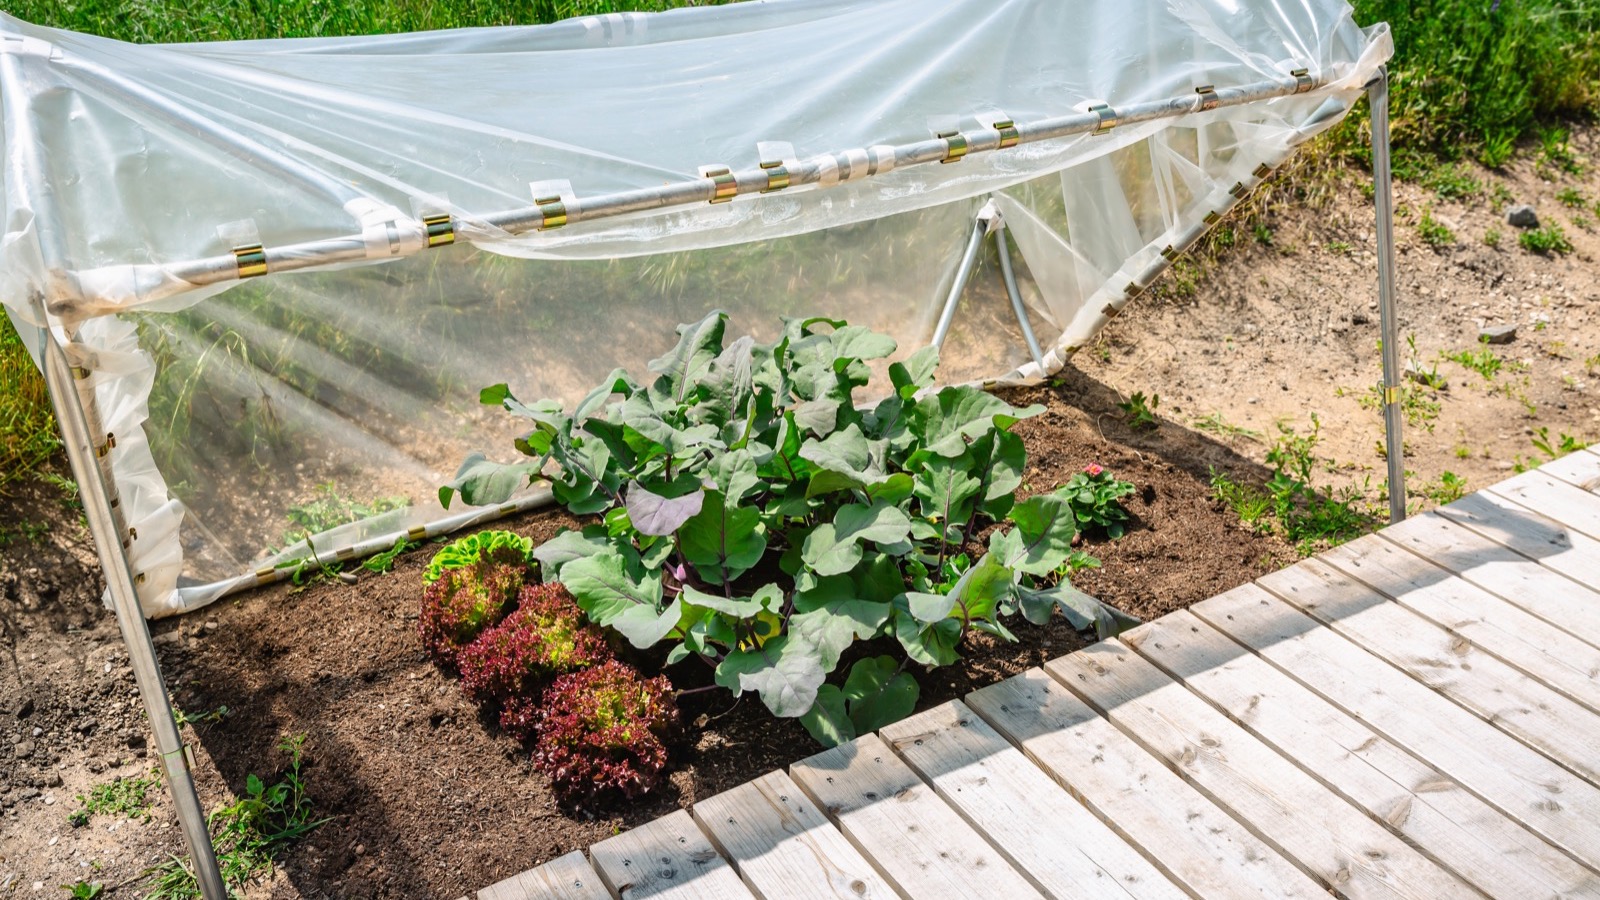
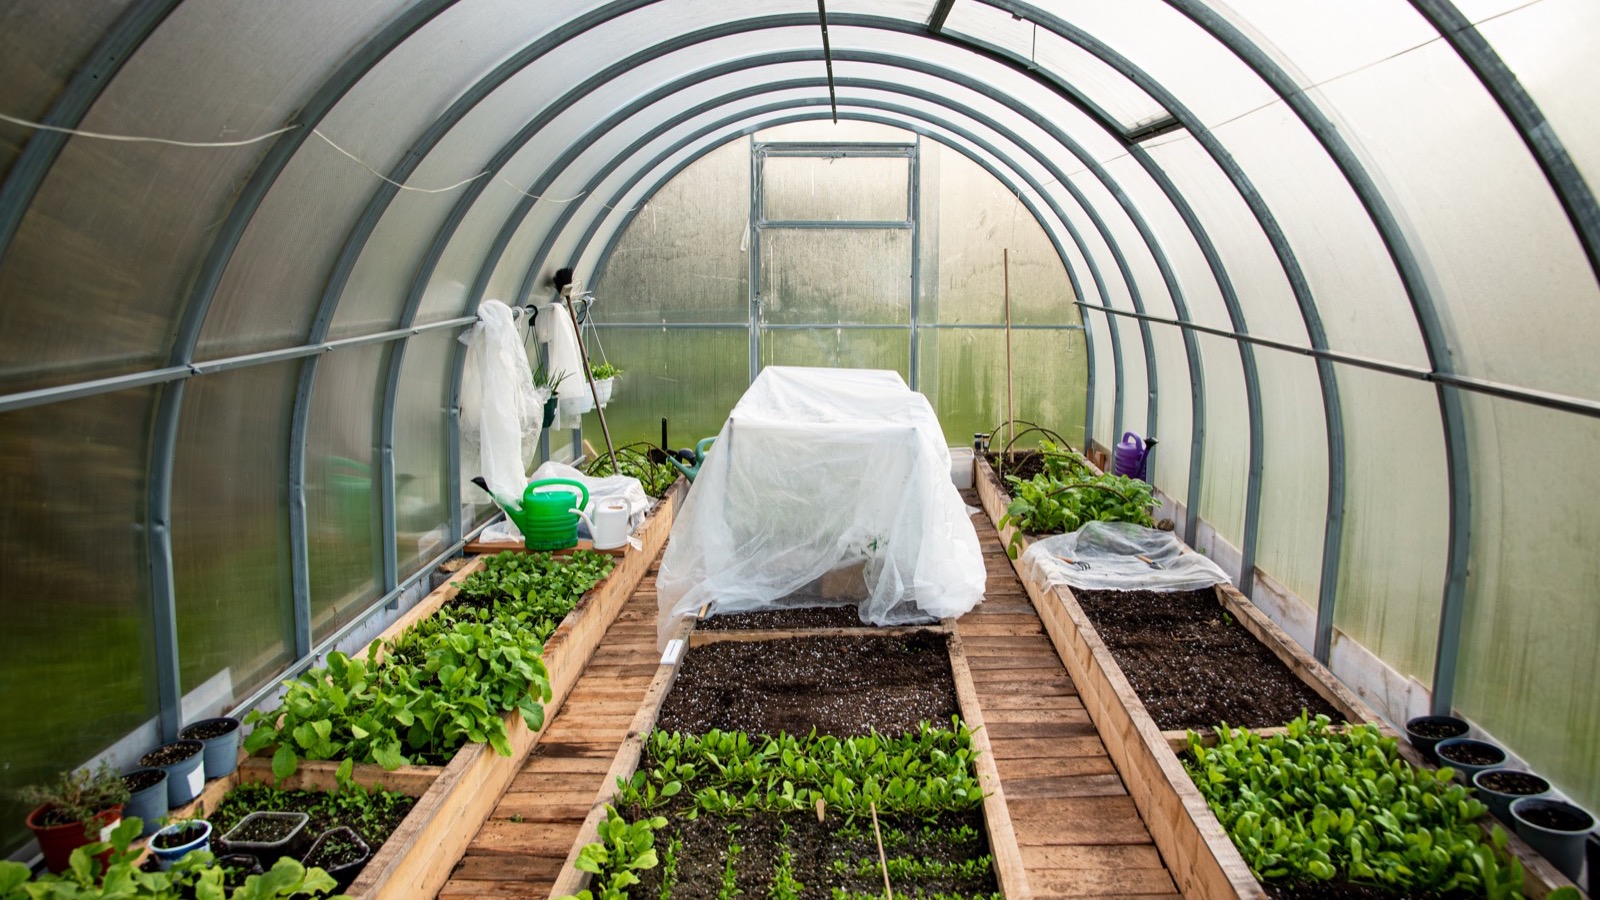
Clear greenhouse plastic can help when temperatures fall further, especially if you layer it over the fleece. Use UV-stabilized horticultural film rather than flimsy household plastic, and support it on the hoops so it doesn’t rest on the foliage. In prolonged cold, a 4- to 6-mil plastic outer layer is a common low-tunnel option, but it needs more attention than fleece alone.
Plastic keeps rain out and traps moisture and daytime heat in. That’s useful for a freezing night, but less useful for lettuce sitting in a sealed, sunny enclosure the next day. Don’t leave a clear plastic tunnel shut for weeks just because the calendar says winter. In a snowy region, strengthen the frame and clear accumulating snow safely; extra plastic doesn’t make a lightweight frame snowproof.
Vent on mild days and check the soil

On a sunny morning, check the temperature beneath the cover, not just the outdoor forecast. A little tunnel can heat up surprisingly quickly. Open an end or lift and clip up the access side when the air inside starts warming too much; if it’s around 55°F (13°C) outside on a bright day, I’d certainly be checking and venting a plastic-covered tunnel. Close it again before the afternoon cools if frost is forecast overnight.
Look at the soil while you’re there. Fleece allows rain through, but plastic doesn’t, and roots still need some moisture. If the top layer is dry beneath the surface, water the soil lightly during a mild part of the day rather than soaking the leaves before a freezing night. Remove any decaying foliage and deal with persistent condensation by improving ventilation.
My preference is a modest bed of healthy, well-established greens under a cover I can open in seconds. Harvest outer leaves when they’re thawed and usable, leave the growing centers intact, and take the tunnel down when it isn’t needed. Dry the covering before folding it away, and you can get more than one season’s use from the same simple frame.
You might also like…
What Temperature Is Too Cold for Peppers?
How (and why) to deep-clean greenhouses, polytunnels, and cold frames