Affiliate disclosure: This post may contain affiliate links. Please see full disclosure.
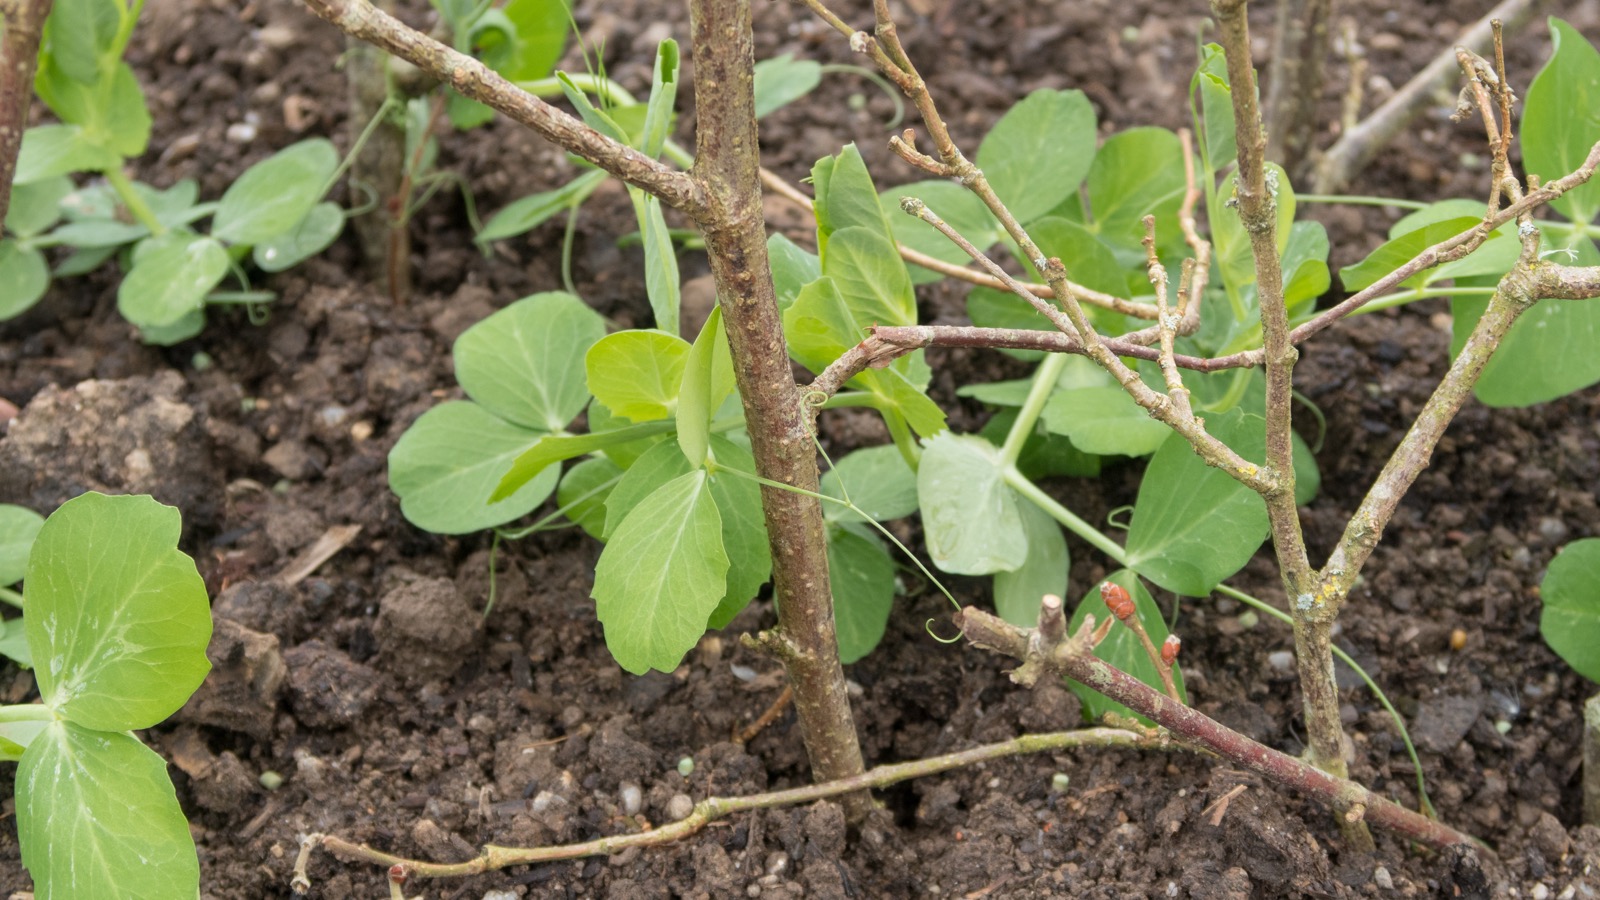
Pea sticks are forked, twiggy branches pushed into the soil to give climbing pea tendrils something to grab. They were keeping garden peas upright long before rolls of plastic netting appeared in garden centers, and if you’re already pruning shrubs or fruit trees, they can cost you absolutely nothing. For shorter varieties, I much prefer a row of well-branched sticks to a sagging sheet of plastic mesh. You get a support the plants can find for themselves, without wrestling with tangled netting at the end of the season.
As a master gardener and permaculture specialist who grows a substantial amount of my own food, I’m always looking for ways to make one garden job supply another. Healthy twiggy prunings are a particularly good example. Rather than piling everything into the garden-waste bin, you can save the right branches and put them straight to work in the vegetable beds. The trick is choosing the right wood and making sure your support is tall and sturdy enough for the peas you’re actually growing.
A pea stick needs plenty of little branches, not just one straight pole
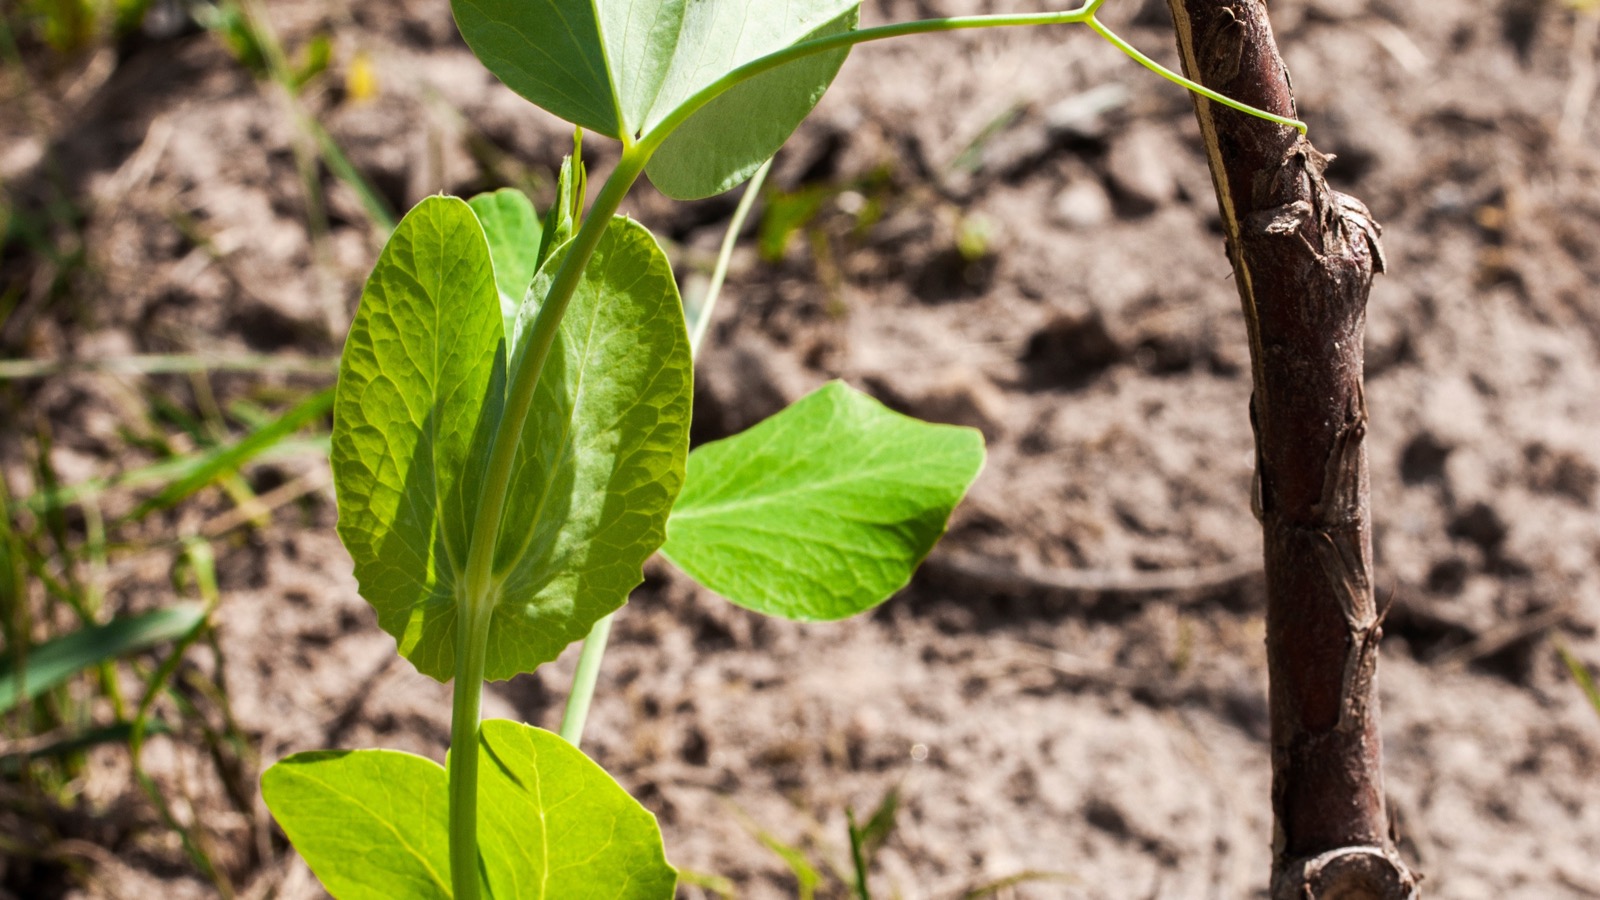
Peas climb by means of slender tendrils. When a tendril meets a suitable thin twig, it curls around it and helps hold the plant upright. That is why the highly branched tips of hazel stems make such good pea sticks. A single smooth bamboo pole is useful as a structural support, but it offers far fewer places for little pea tendrils to take hold. A twiggy branch gives them dozens.
Look for a roughly upright central stem with lots of smaller forks and side shoots along its length. It doesn’t need to be perfectly symmetrical. In fact, an irregular spread of twigs can be handy because neighboring plants approach the support from different directions. What you don’t want is one long, bare stick with all its tiny branches bunched at the very top.
Traditional pea sticks often come from coppiced hazel, where the strong straight stems are harvested for larger garden structures and the thinner, branchy tops are saved. Hazel prunings can provide both tall poles and fine supports, so there’s very little reason to waste the usable parts. You don’t need a hazel tree, though. Healthy, twiggy birch, dogwood, and suitable shrub or fruit-tree prunings can serve the same purpose.
Choose clean, strong wood and get rid of the dangerous bits
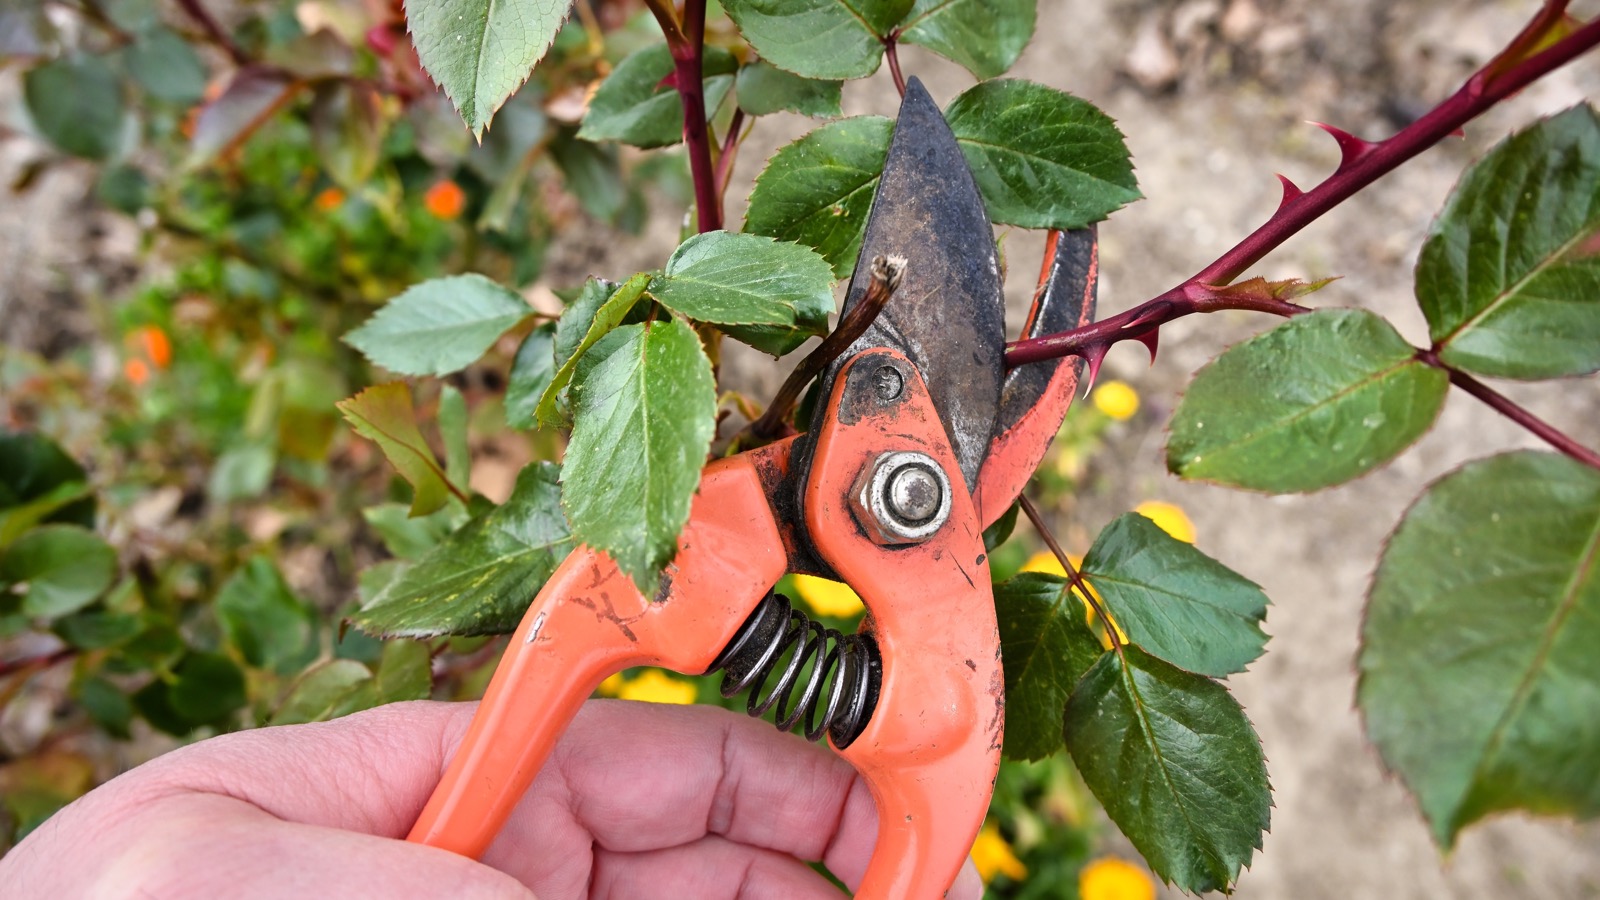
I’d sort through prunings on the ground before taking any into the vegetable bed. Start by shaking off loose leaves and debris. Pick branches that are reasonably firm rather than rotten, splintering, or so brittle that the side shoots snap when touched. Trim any thorny growth, jagged ends, and sharp stubs that could catch your hands, snag clothing, or damage tender pea stems.
Keep branches showing cankers, suspicious dieback, or other clear signs of disease out of the pile. Diseased plant material needs appropriate disposal and shouldn’t be carried into healthy crops as a convenient support. A piece of wood that looks dry because it was cut in winter is fine; one that is soft with rot or covered in suspect lesions is a different proposition.
One small trap is willow. It can make an attractive woven frame, but fresh willow stems may root when inserted into moist ground. Unless you’re deliberately creating a living structure, I’d stick to hazel or another well-behaved branch source. And only cut wood from plants you own, or where you have permission. Don’t raid a living hedgerow just because you need pea sticks, especially when birds are nesting.
I don’t bother treating the wood with preservatives, and I certainly wouldn’t use painted, pressure-treated, or chemically contaminated scraps around edible crops when clean prunings are available. A pea support generally only needs to last the growing season. Natural weathering is perfectly acceptable.
Match your pea sticks to the height on the seed packet
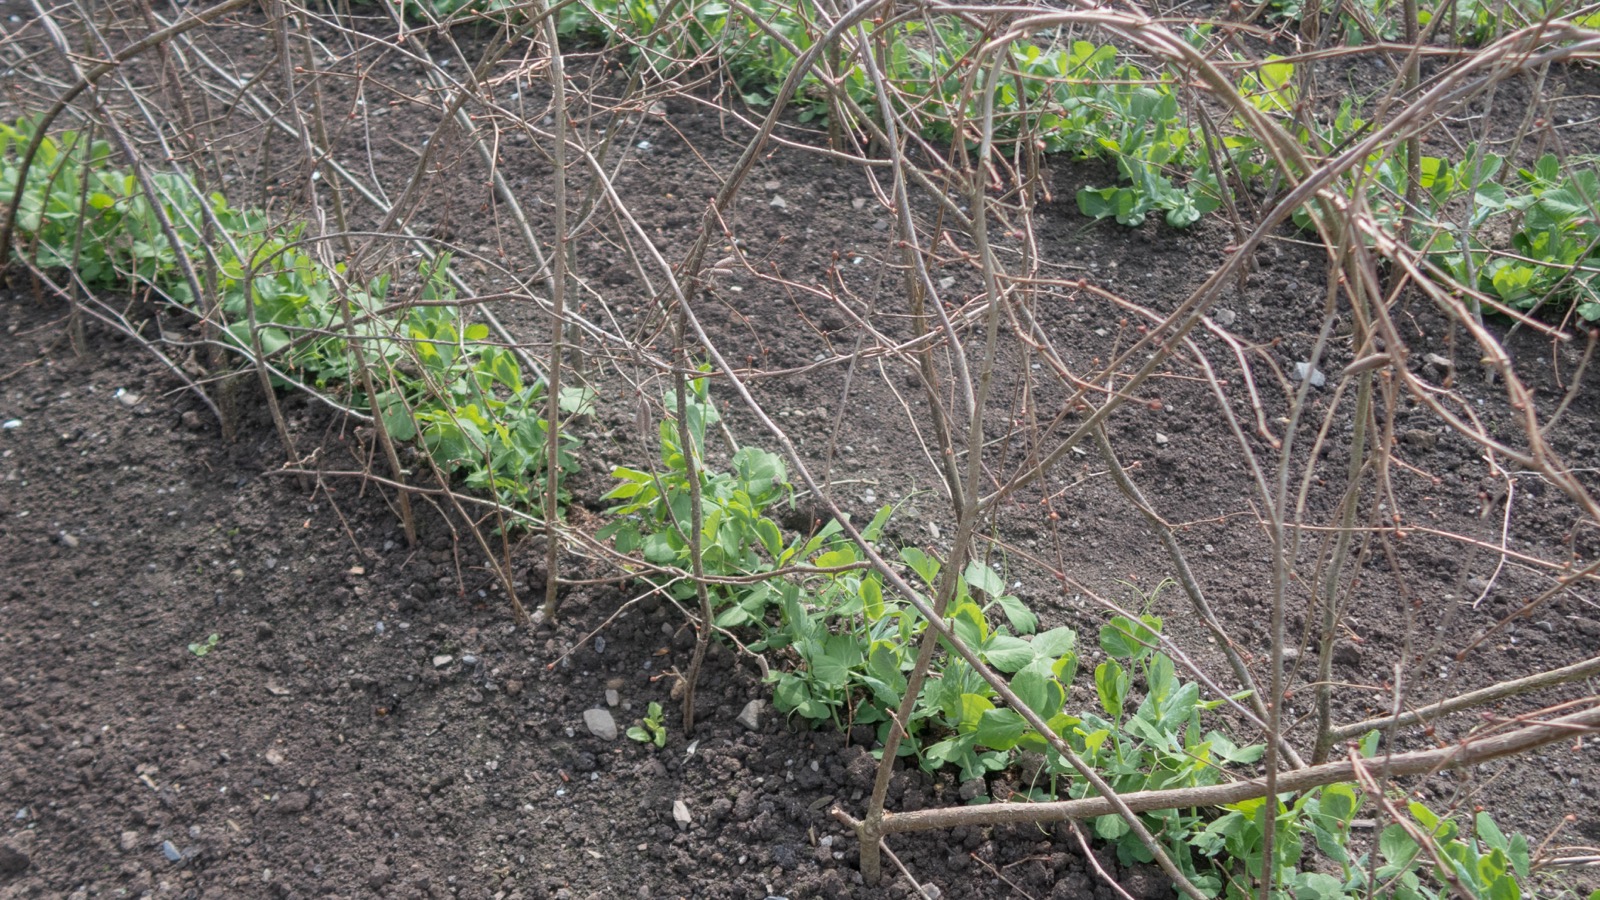
Not all peas need the same support. Compact cultivars can finish around 18 inches (45 cm), while tall climbing varieties may reach 6 feet (1.8 m). If you ignore the mature height, even a lovely-looking framework can leave the top half of your crop flopping over once the plants flower and start filling pods.
For dwarf peas that finish around 18 to 24 inches (45 to 60 cm), short, densely branched sticks reaching about the same height above the soil, or a little taller, are generally sufficient. Some very short varieties support themselves to an extent, but a few branches still help hold the outer stems away from the ground and keep the pods easy to find. This is where simple pea sticks really shine.
For medium-height peas, choose longer, stiffer prunings, with plenty of fine side branches all the way up. Check your actual variety rather than assuming that ‘sugar snap’ or ‘shelling pea’ tells you its height. Those names describe the type of pod, not whether the vines will reach your waist or climb well above your head.
For six-foot varieties such as the tall types mentioned in our spring pea-growing advice, a few floppy twigs won’t do. You need a properly braced framework with robust uprights at least as tall as the eventual vines above ground level, and enough additional length to anchor them securely. You can attach or weave twiggy material through that frame for the tendrils, but the taller structure has to carry the weight of wet, mature plants in wind. If you don’t have long, strong branches, a reusable wooden trellis is the sensible alternative.
Put the supports in before the peas need rescuing
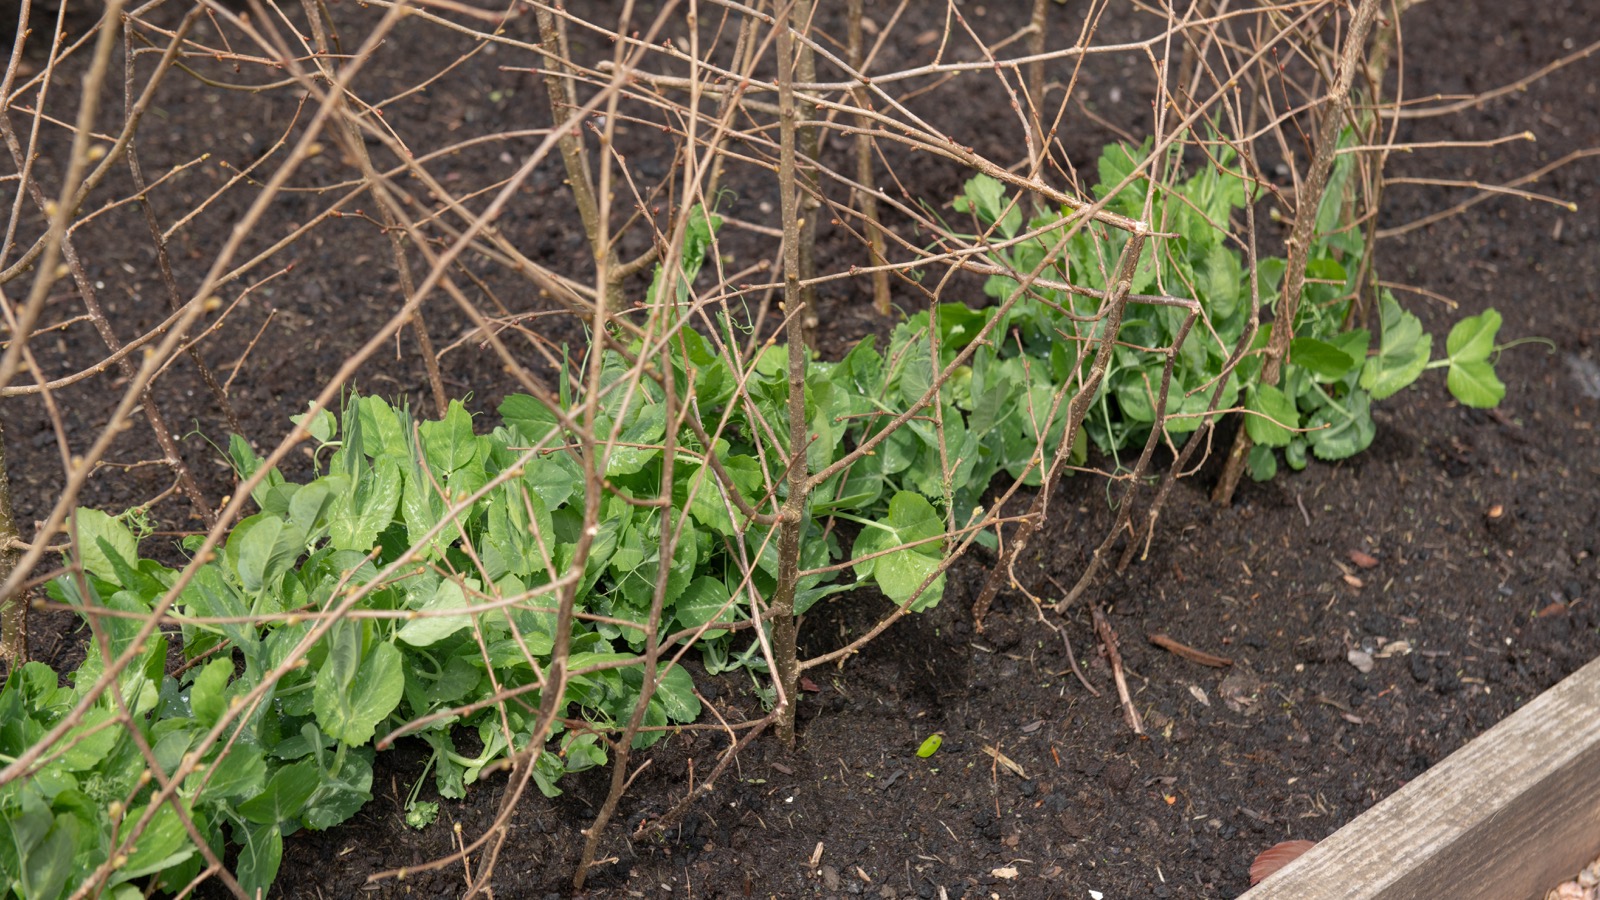
The best time to install pea sticks is at sowing or planting time, or as soon as the seedlings emerge. Young peas should have their support ready before they start to sprawl. It’s much easier to place branches in bare soil than to push them through a mat of tangled tendrils later, when every adjustment risks snapping stems or disturbing roots.
For a small row, push the thicker, cut ends into the soil along both sides, with the twiggy portions leaning slightly inward. Space them close enough that their side branches overlap and form a loose, brushy tunnel above the seedlings. A few inches between the larger uprights is usually more useful than placing one lonely branch every couple of feet. Your aim is to give each young plant somewhere to latch on as it reaches outward.
This interwoven hazel-stick method also works around a small circular or oval planting. Arrange the sturdy bases around the outside of the peas and bring the upper twigs loosely together. Don’t tie the whole thing into a tight bundle; leave space for air, light, the developing pods, and your hand when it’s time to harvest.
Push each main stem deeply enough that it won’t wobble when you nudge it. Firm the soil at its base, then test the whole row with a light shake. In a raised bed or a container, be especially careful not to puncture the liner or damage established roots. If you’re adding branches after emergence, insert them just outside the young plants rather than through their centers.
The tendrils generally do most of the work once they reach the twigs. If a shoot starts growing away from the support, guide it gently back toward a branch. I wouldn’t wind the main stem around a pole or tie it hard against the wood. Pea stems are comparatively brittle, and they need room to move and thicken.
Build a stronger natural frame for climbing varieties
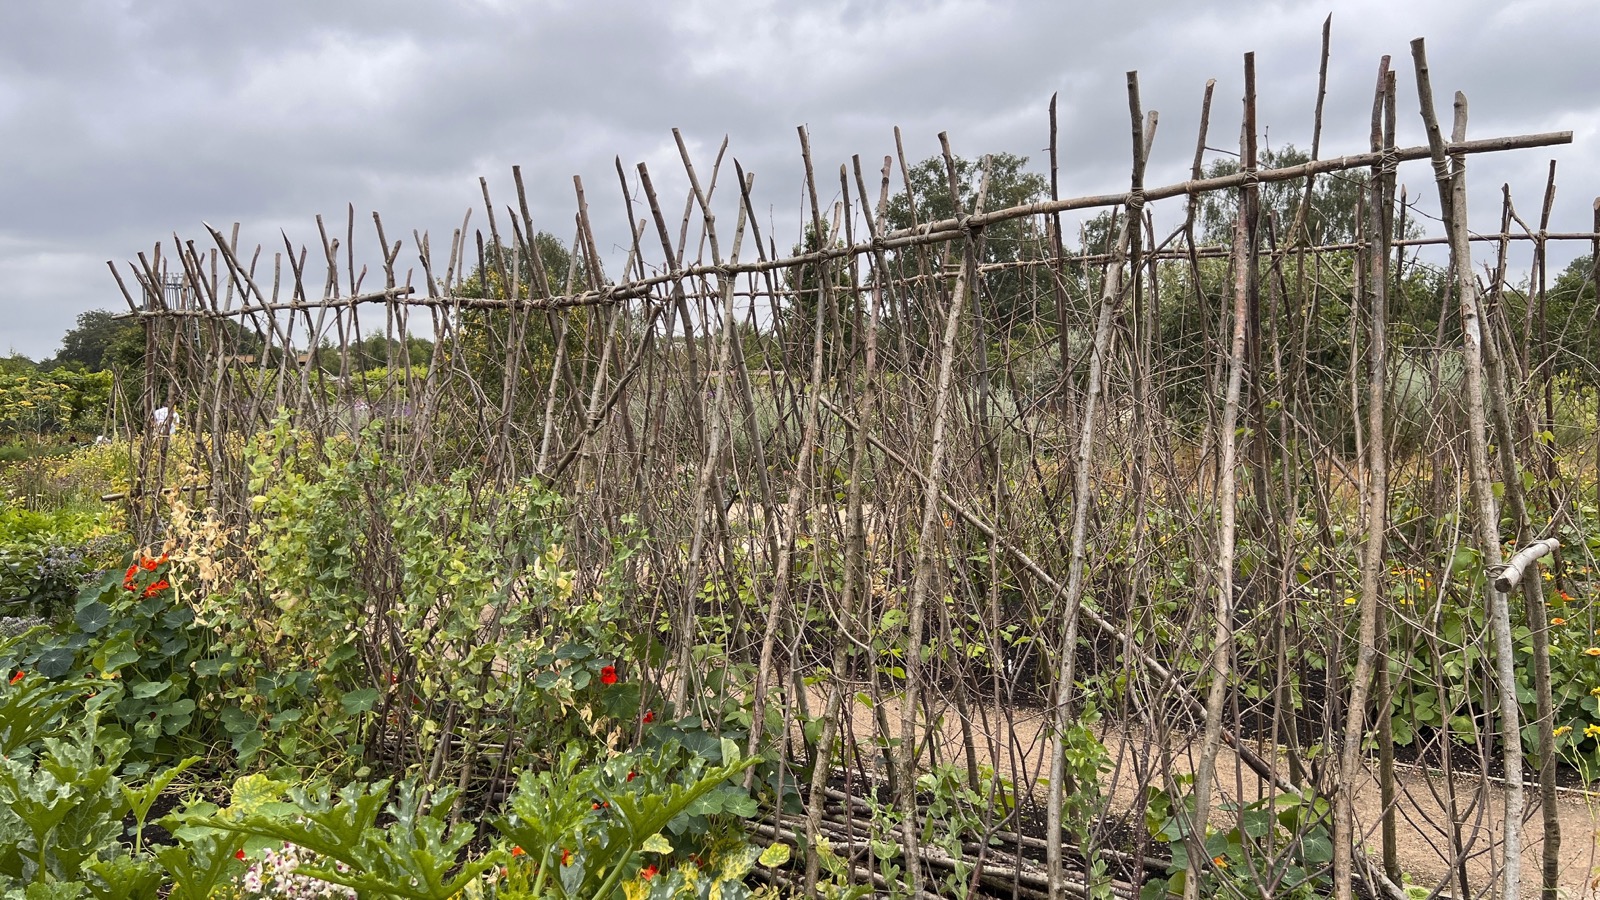
For medium to tall peas, I like a row of strong uprights with smaller forked sticks woven or wedged between them. Start with two sturdy stakes at the ends of the bed and add intermediate uprights where necessary. Fix a crosspiece or secure natural twine across the top to stop the frame leaning. Use the twiggy branches to fill the gaps from near soil level upward, giving the vines a continuous route to climb.
A paired A-frame or tent shape can be useful where a tall row catches the wind. Plant peas at the feet of the two sides, angle the strong poles toward each other, and tie the ridge securely. Then weave twigs horizontally or diagonally between the main members. A tall pea support needs a firm foundation and enough height for the chosen cultivar; the fine branches are the grips, not a substitute for the main structure.
Check that the lowest twiggy growth is within reach of the first tendrils. If the first branches begin a foot above the soil, you haven’t helped your seedlings much. Equally, avoid packing the frame so densely that the vines become an impenetrable hedge. You should still be able to see flowers, reach ripening pods, and inspect the foliage for problems.
For pots, make a smaller arrangement from three or four sturdy branched stems set around the edge, with their tips lightly joined. Dwarf peas are generally the better choice for containers because a six-foot wall of foliage can turn a lightweight pot into a sail. A broad, stable pot matters just as much as the support itself.
Why I prefer pea sticks to loose plastic netting
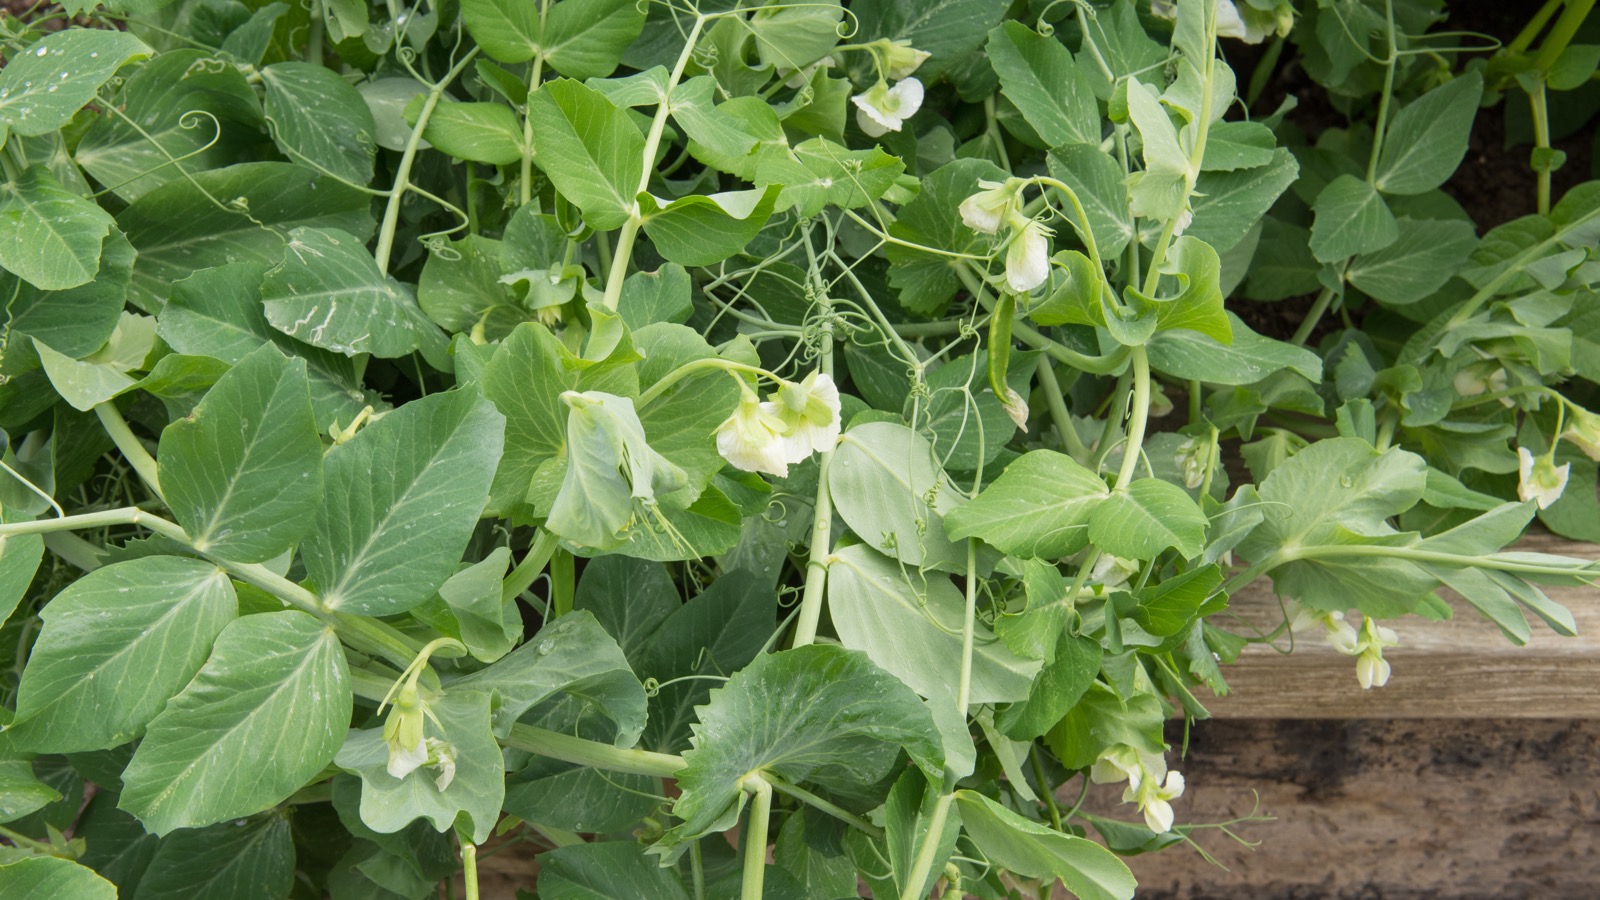
The most obvious benefit is that you can make them from something you already have. There’s no roll of plastic to buy, cut, fasten, untangle, and eventually dispose of. The twiggy structure is attractive in its own right, and by the time the peas are growing strongly, the vines disguise most of it. It also gives the tendrils contact points at a range of heights and angles.
Plastic pea netting can work perfectly well when stretched tightly on a proper frame. I don’t claim branches are stronger than every manufactured trellis, particularly for the tallest cultivars. What I dislike is the cheap, floppy mesh that collapses into the crop and is difficult to remove without pulling the vines to pieces. It often has little use left after a season or two.
There’s also a wildlife concern. Loose plastic garden netting can entangle hedgehogs and other animals, while poorly maintained nets can also catch birds. The risk isn’t confined to vegetable beds, and it isn’t inevitable if a net is installed and managed properly. Still, there’s no reason to introduce a potential tangle of thin plastic to support a short row of peas when a bundle of clean branches does the job.
If you do use netting to protect plants from birds or support tall vines, keep it taut, check it regularly, and roll it up safely when not needed. Don’t leave loose lengths lying on the ground or in a hedgerow. Remember too that twiggy pea sticks are climbing supports, not a complete barrier against hungry pigeons or other animals. If your seedlings need protection, choose and manage that protection separately.
Keep checking the supports as the pea plants grow
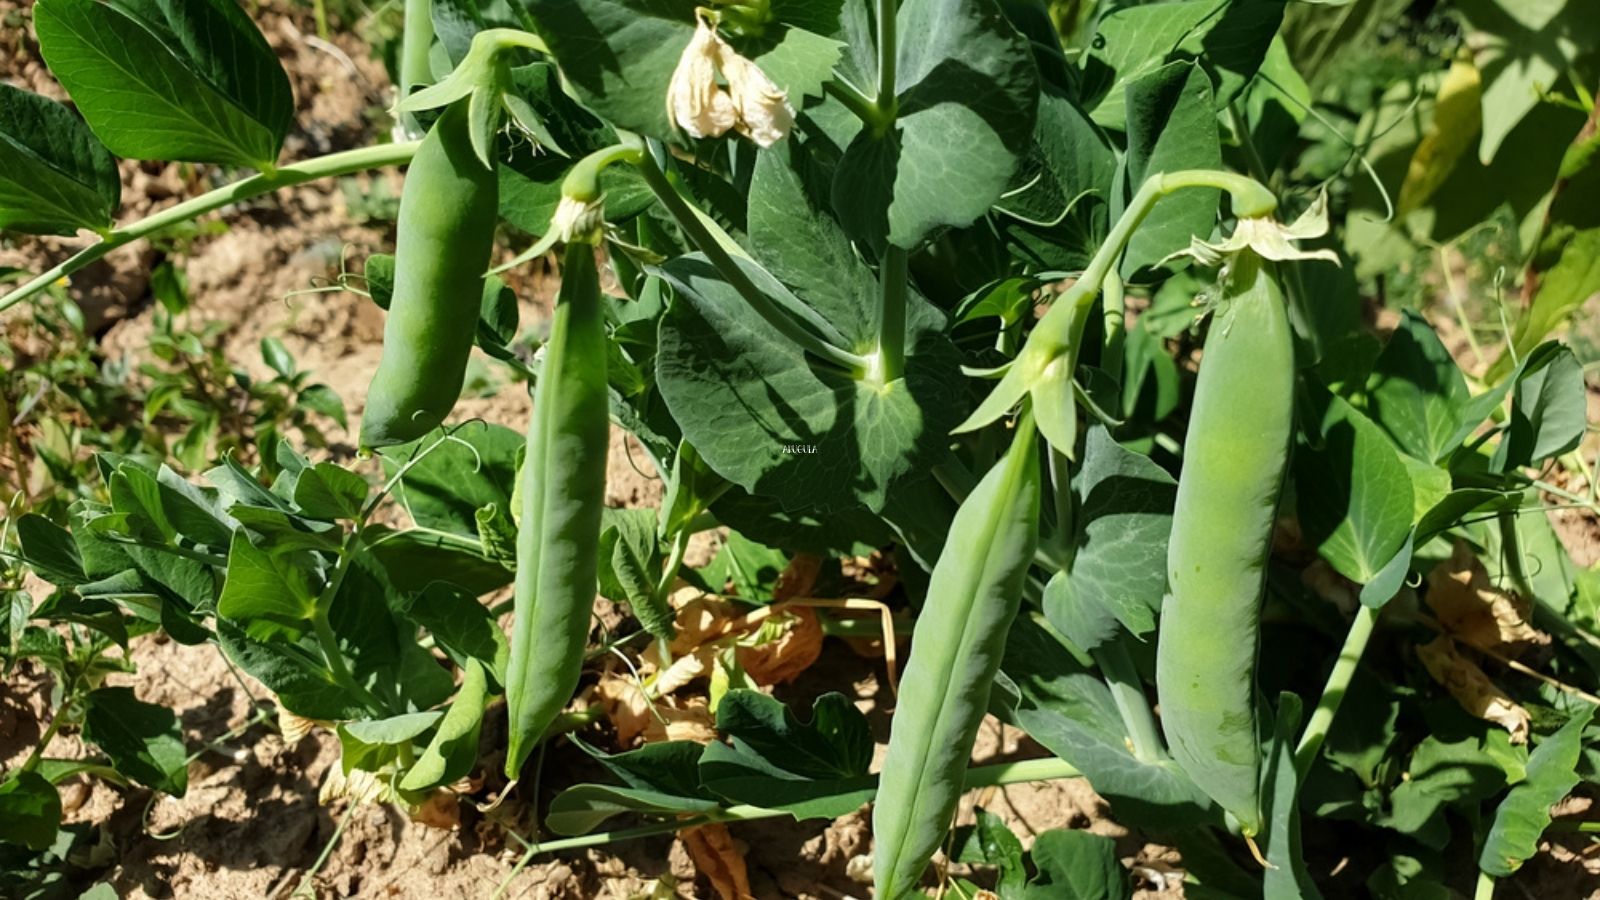
Once the peas begin climbing, give the framework a quick inspection whenever you water or harvest. Make sure the larger sticks remain anchored, especially after heavy rain or strong wind. If a branch is leaning, correct it early rather than waiting until there’s a heavy mass of vines on top. Add another sturdy support outside the row if needed, taking care not to drive it through the roots.
Keep paths and access to the crop clear. A long, eye-level twig that was easy to walk past in March can be a nasty surprise by summer, especially once it’s hidden among foliage. Trim dangerous protrusions while the branches are still easy to reach. I don’t want to have to fight a woody thicket to pick a handful of peas.
The supports don’t replace basic pea care. Water the soil during dry spells, particularly as flowers and pods develop, and keep enough space around the planting for air movement. Pick pods regularly as they mature. A tidy framework makes all of this easier because the crop stays upright and the pods aren’t buried beneath fallen stems.
Reuse or recycle the branches when the harvest ends
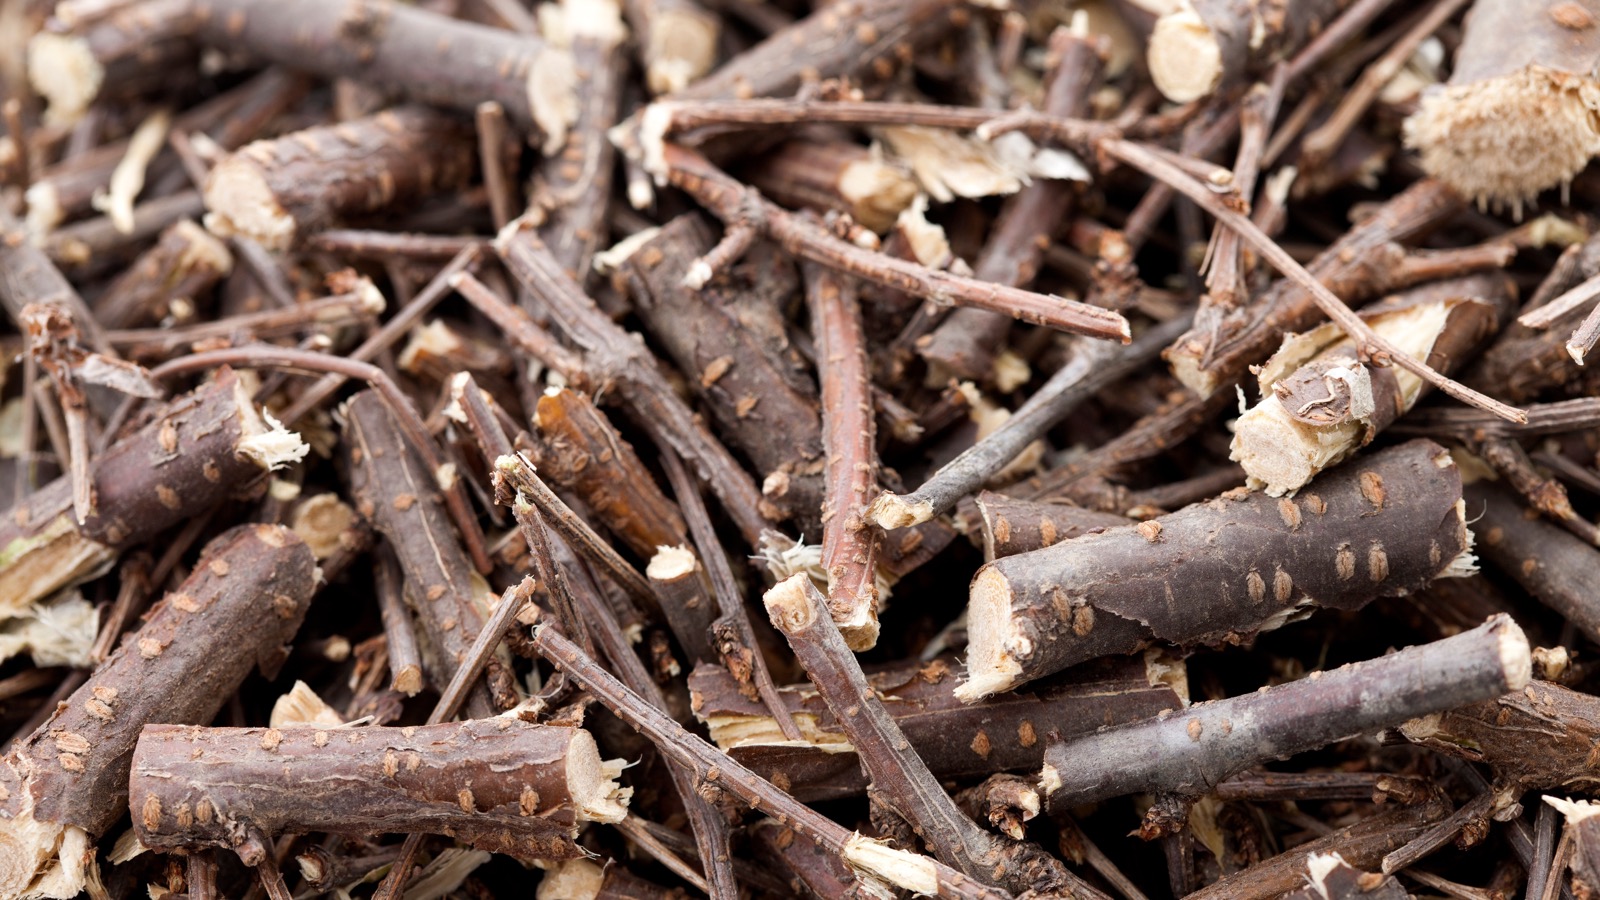
At the end of the season, cut the spent pea vines away instead of yanking the whole support structure over. Untangle what comes away easily, then remove the larger sticks one at a time. If they’re still sound, brush off the soil and store them dry for next year. You may be surprised how many useful branches survive more than one crop.
Brittle, broken pieces can be chopped for suitable green-waste processing or added to your composting system in manageable sizes, provided the material is healthy. Keep diseased debris out of the reuse pile and deal with it appropriately. This is another reason I prefer natural material: when its useful life is finished, there isn’t a sheet of plastic tangled through all the spent vines.
I’d start by saving a handful of clean, forked branches the next time you prune a shrub and seeing how they work with a short row of dwarf peas. Once you understand what shape the tendrils like and how much strength the vines need, it’s easy to make a longer support. A good old-fashioned pea stick costs little or nothing, does a useful job, and turns garden prunings into something worth keeping.
You might also like…
10 Ways to Protect Plants From Frost
Peace lily still drooping after watering? Check this before you water again
What Should You Do With Your Garden In the Fall? 20 Essential Fall Gardening Tasks