Affiliate disclosure: This post may contain affiliate links. Please see full disclosure.
A clean, translucent milk jug with holes in the bottom and the cap left off can start hardy seeds outdoors while your garden bed is still frozen. The jug shelters the potting mix from wind and heavy rain, lets in light, and warms up in the sun. You need a few seeds, some potting mix, and a place outdoors where you’ll remember to check it.
As a master gardener who grows a substantial amount of my own food, I’d use the jugs for crops that can cope with the season they’ll sprout into. A jug is an inexpensive way to raise kale or start a native flower that needs winter chilling. It can also get surprisingly hot in sunshine and cold again after sunset. Plan for both once you have seedlings.
Choose seeds that suit a winter start

Start with the packet. Look for seeds described as hardy or suitable for sowing outdoors in early spring. For native flowers, look for specific directions about cold, moist stratification. That’s a period of damp chilling that helps break dormancy in some seeds. Check the species and the number of weeks it needs. Milkweeds, for example, are a group of plants with different germination requirements, so use the instructions for the one you have.
For the vegetable garden, try kale, cabbage, broccoli, or lettuce in late winter. These can germinate in cooler conditions, and the seedlings are more forgiving of chilly weather than tomatoes or peppers. They don’t need months of chilling just because they’re in a jug. I’d save the jug space for crops I want to transplant and sow carrots in their final bed when conditions suit them.
Keep heat lovers for later. If you have a long season, you can experiment with tomatoes in a jug once conditions are warm enough for them to germinate and survive outdoors. If you have a short season and want a head start, start peppers indoors with warmth. A few sunny afternoons can coax tender seeds up while the nights are still cold enough to kill the seedlings.
Work backward from your weather and the seed packet

In a cold-winter garden, put out seeds that need a long cold, moist spell in midwinter, allowing enough time for the packet’s chilling requirement. For example, late November through January is a window for winter stratification in Maryland. In a colder garden with a later spring, you may have more time to get those seeds out. Save the cool-season vegetables for late winter or early spring so they’re less likely to sprout long before the bed is ready.
In a milder winter, a jug can warm up early. January and February are common starting points in parts of Georgia, but check your local vegetable planting calendar and the weather where the jugs will sit. If the garden soil is already workable and it’s time to sow that crop, you may be able to sow it directly. Where winter seldom provides enough cold for a native seed’s chilling requirement, follow its packet directions for moist chilling in the refrigerator before sowing.
Make a jug that drains from the bottom and vents at the top

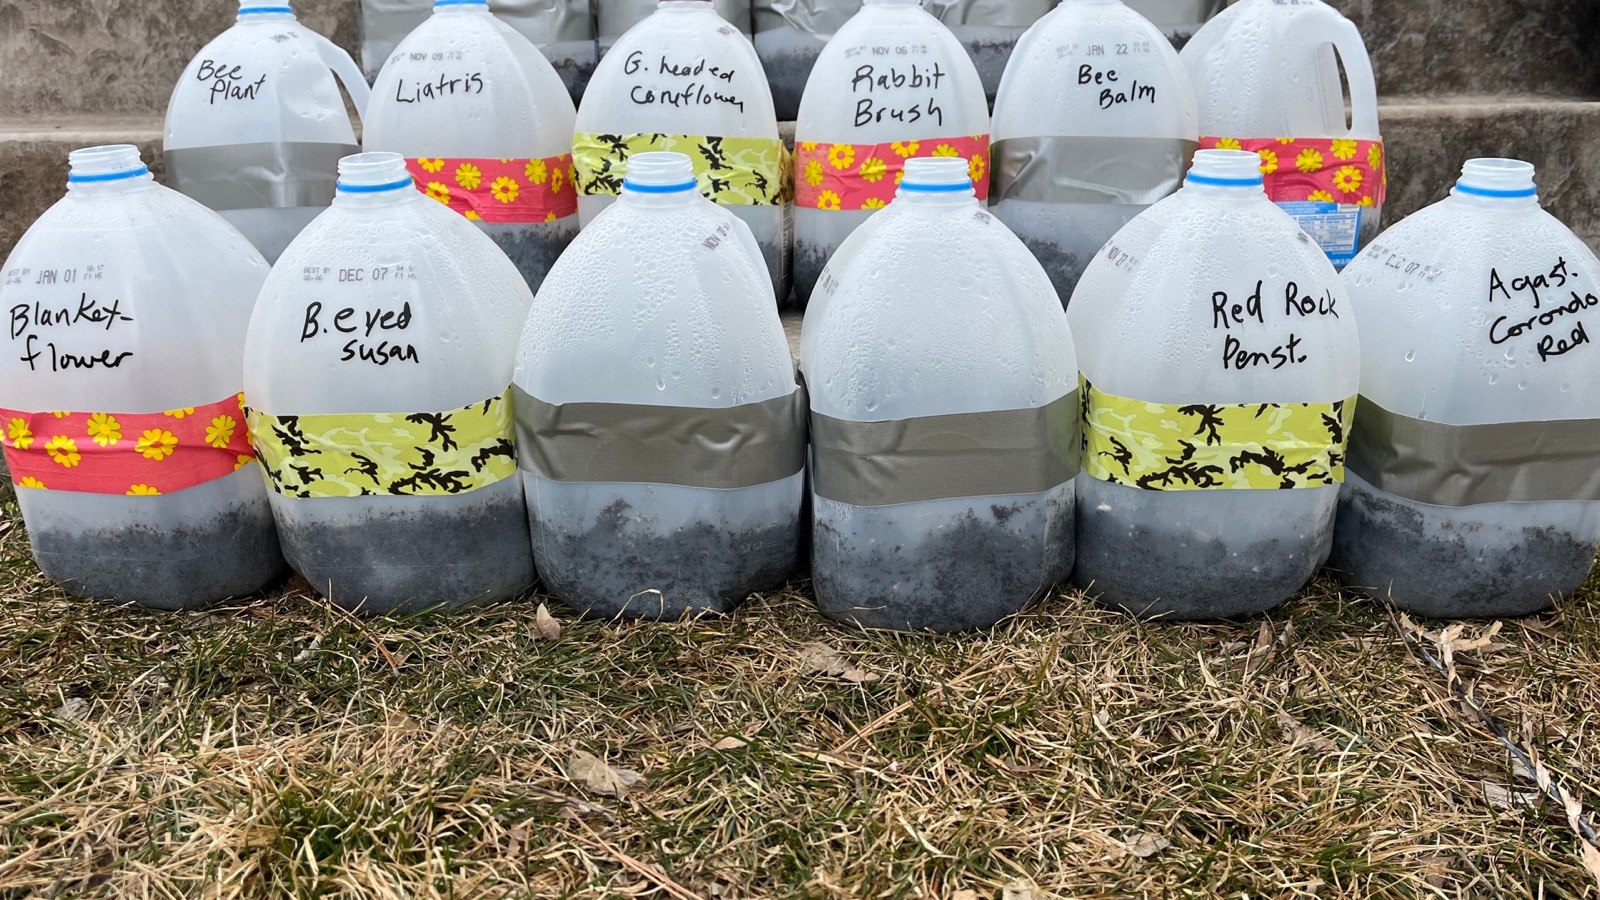
Use a washed, clear or translucent gallon milk or water jug. Set it on a stable surface and make five to ten small drainage holes across the bottom. Pour in a little water to check it drains. Cut horizontally around the jug below the handle, leaving a short uncut section under the handle as a hinge. Leave enough depth in the base for about 3 to 4 inches of mix. Remove the screw cap and leave it off so air and precipitation can get in. If you use a clear lidded food container instead, make ventilation holes in its lid as well as drainage holes in its base.
Add 3 to 4 inches of moistened seed-starting mix. You want it evenly damp with the excess water drained away. Sow one variety per jug so the seedlings are ready for the same care at roughly the same time. Use the packet’s planting depth, including surface sowing for seeds that need light. Space them out. A few extra seeds are fine, but a solid mat of seedlings is awkward to separate. Label the jug inside and out with the variety and date, then tape the cut seam shut. Leave the spout open.
Set the jugs upright outdoors where they get daylight and can catch rain or snow, with some shelter from strong winds. Keep the bases out of puddles so the drain holes can do their job. A crate can keep a few jugs from tipping without blocking their openings.
Open the tops as the seedlings grow
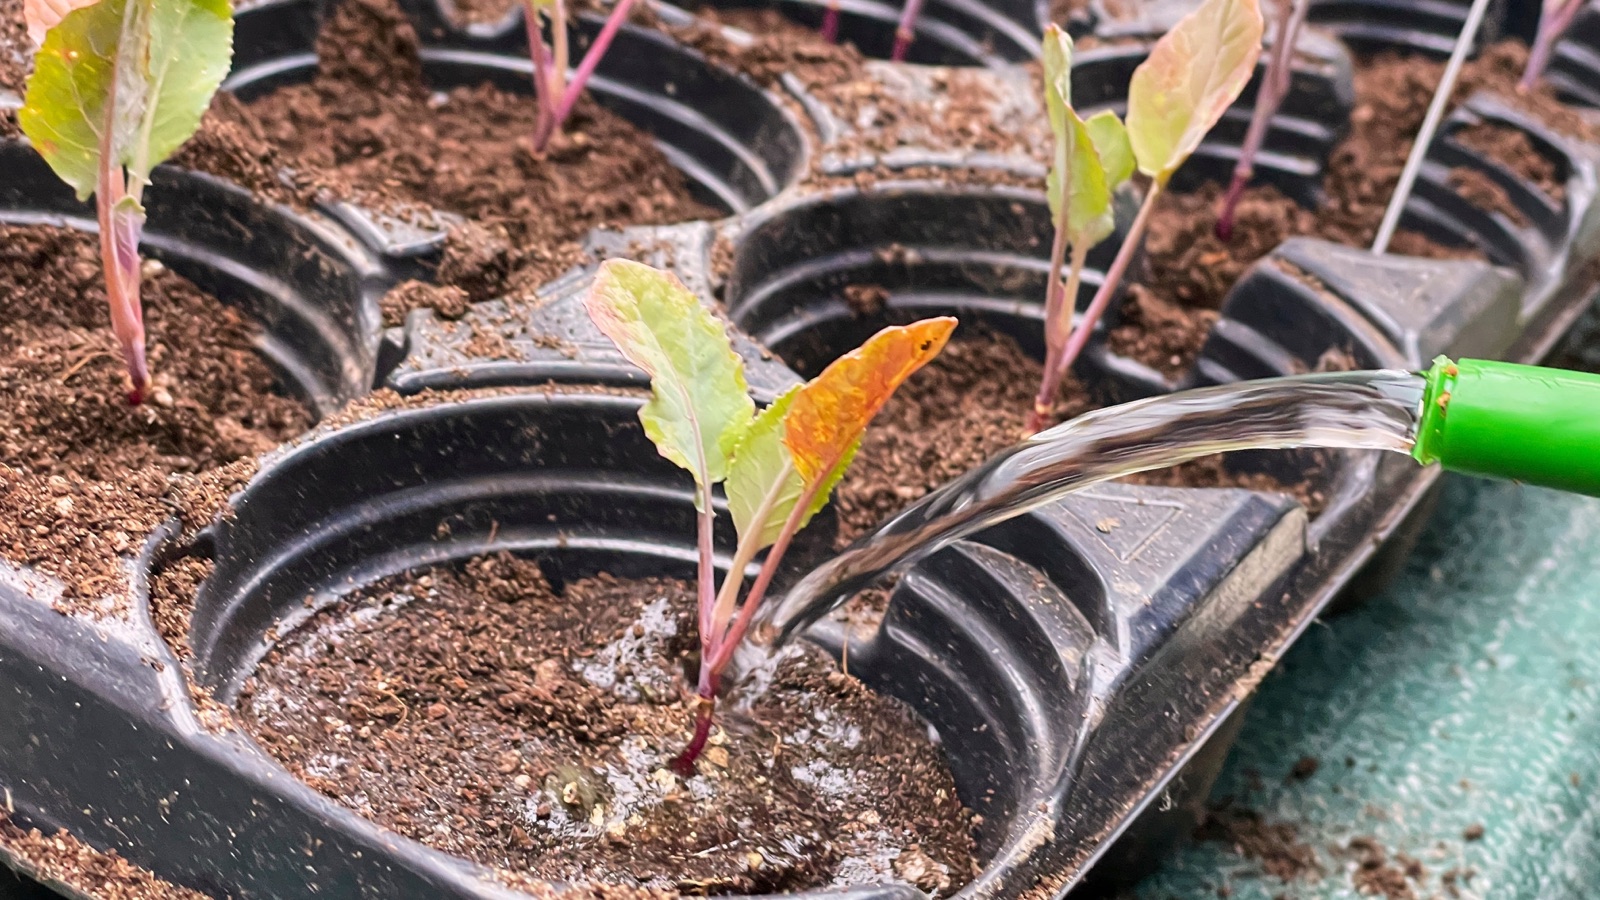
Check the mix periodically even before germination, especially after dry weather. If it’s drying, water gently so you don’t wash the seeds into one corner, and let the jug drain. Once you see green, check more often. A jug can heat up quickly on a sunny day even when the air is cold. Peel back the tape and open the hinged top for more airflow when it warms up. Close the top again on chilly nights, with the cap still off. If a freeze threatens seedlings that can’t take it, use frost cover or move the jugs somewhere sheltered overnight.
Gradually leave the tops open longer so seedlings get used to full outdoor sun and breezes. Once they have true leaves and are sturdy enough to handle, lift them by the leaves or ease out the root ball and tease it apart gently. Plant when the bed is ready and the forecast suits the crop. If the seedlings are ready first, pot them on so the roots have room. I’d rather move a handful of sturdy plants into pots than leave them tangled in a jug waiting for the weather to cooperate.
You might also like…
Seed Saving Basics: How to Save Seeds for Beginners