

Affiliate disclosure: This post may contain affiliate links. Please see full disclosure.
Slice oranges evenly, dry them with low heat and good airflow, then check the cooled slices before putting them away. For food storage, the center of the fruit needs to be properly dry, not just the rind. A slice can look lovely held up to the light and still contain more moisture than you want in a pantry jar.
I’d start with two or three oranges and find out how you like using them. Whole dried slices are useful for flavoring tea and slow-cooked dishes, but the peel can be tough and the white pith bitter. They aren’t candied oranges, and drying doesn’t turn the rind into a sweet, tender snack.
Wash sound oranges and keep the peel food-safe
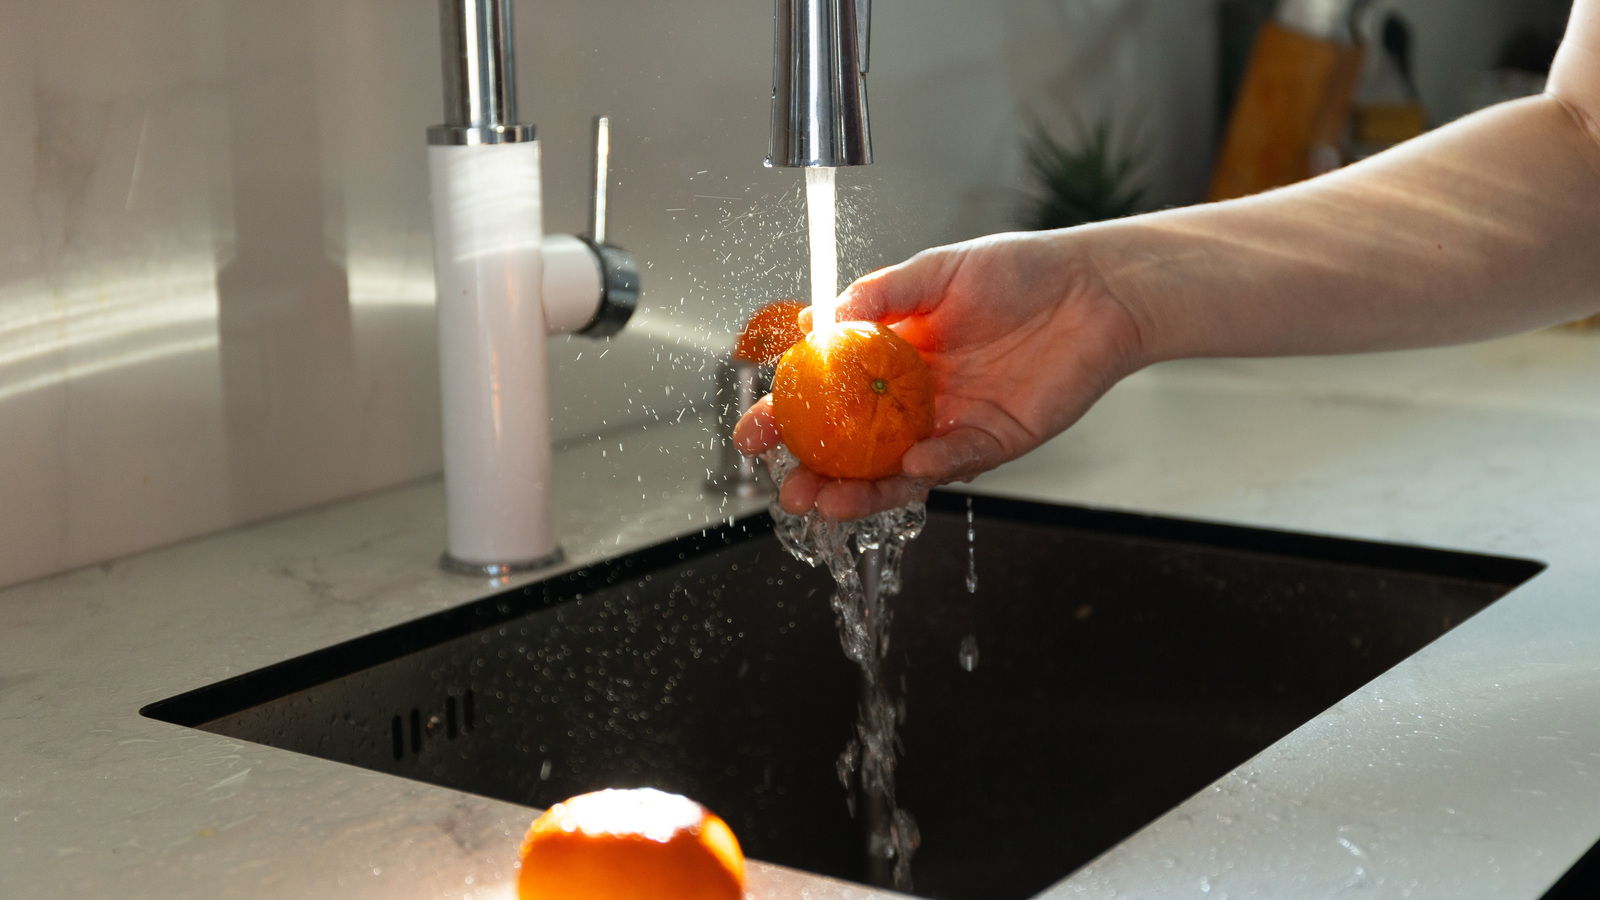
Choose firm oranges without mold, decay, or soft, damaged patches. Seedless varieties save a little preparation, while thinner-skinned fruit gives you less rind to deal with. Use oranges sold for eating, and check any labeling about whether the peel is suitable for culinary use.
Wash the whole fruit under running water, rubbing the surface and using a clean produce brush as needed. Wash before cutting so the knife doesn’t carry surface dirt into the flesh. Dry with a clean towel. Soap and household cleaning products don’t belong on the fruit.
Keep edible slices separate from craft supplies throughout preparation and storage. Once a slice has been sprayed with fragrance, painted, glued, or hung where it collects dust, keep it for decoration. Don’t return it to the tea jar.
Cut even rounds and arrange them without overlaps
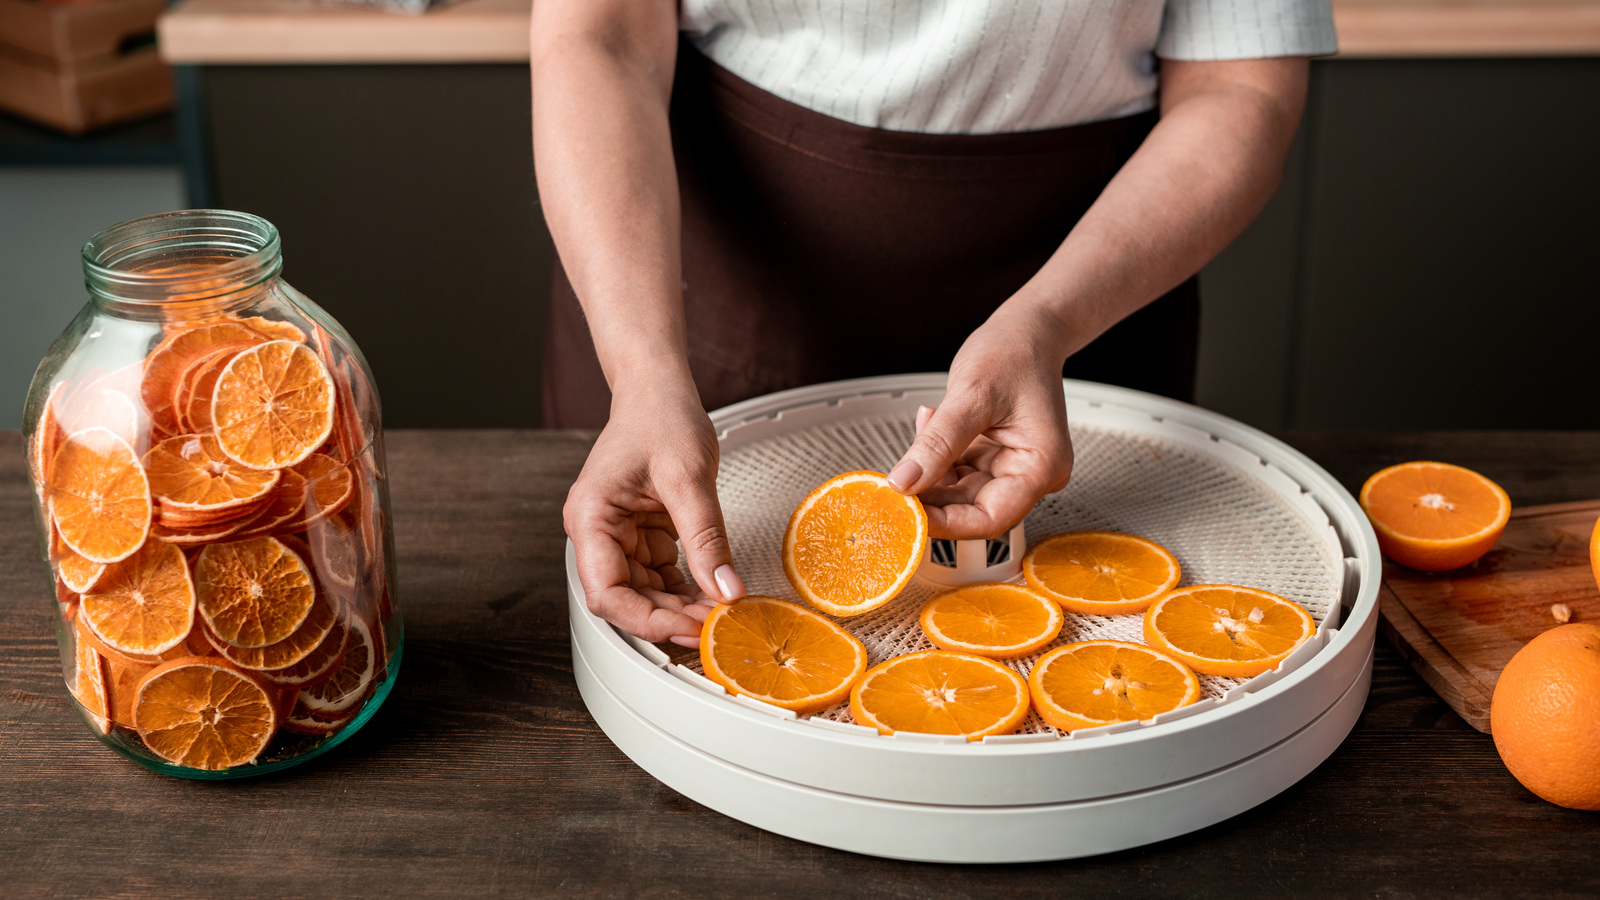
Use a sharp knife to cut across the orange into rounds about 1/8 to 1/4 inch thick. Aim for the same thickness throughout the batch. A thick wedge on one side of a slice will take longer to dry than the thin edge on the other.
Remove seeds and set aside the mostly-rind end pieces for another use. If you use a mandoline, use its food holder and follow its safety instructions rather than trying to push the last slippery bit of orange across the blade.
Blot away pooled juice with a clean towel, then arrange the rounds in a single layer on food-safe drying trays. Leave room for air to move around them. Overlapping slices hide wet surfaces and make checking the batch more awkward.
I’d keep very small rounds on a separate tray from large ones. You can remove them as they finish without waiting for the thickest, juiciest slices.
Use a dehydrator for steady low heat
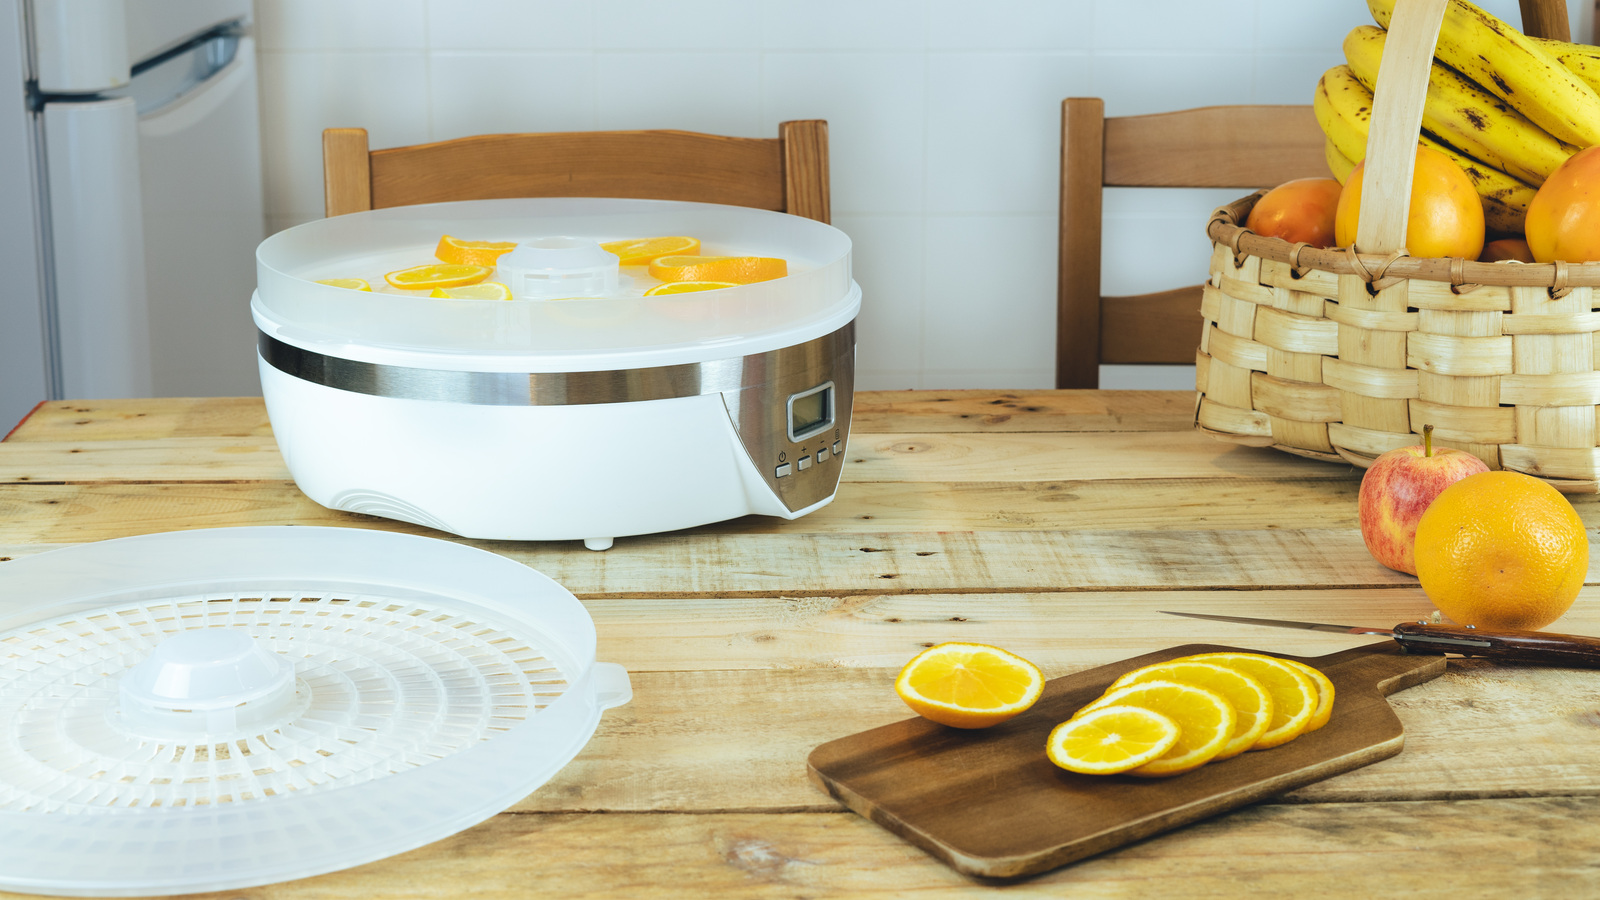
A useful setting for orange slices is 135°F (57°C), with roughly 7 to 15 hours as a planning range. Follow your machine’s citrus instructions if they differ, including its guidance on tray liners and loading.
The timer tells you when to check, not when the fruit is guaranteed to be finished. Slice thickness, juice content, airflow, and room humidity all affect drying. Start checking before the earliest expected finish, and remove individual slices only when they pass the cooled dryness check.
Rotate trays if your machine dries unevenly, following its instructions. Keep its air intake and vents clear. Filling every tray with overlapping fruit won’t save time if you then have to pick out damp pieces and start again.
Check whether your oven can dry fruit gently
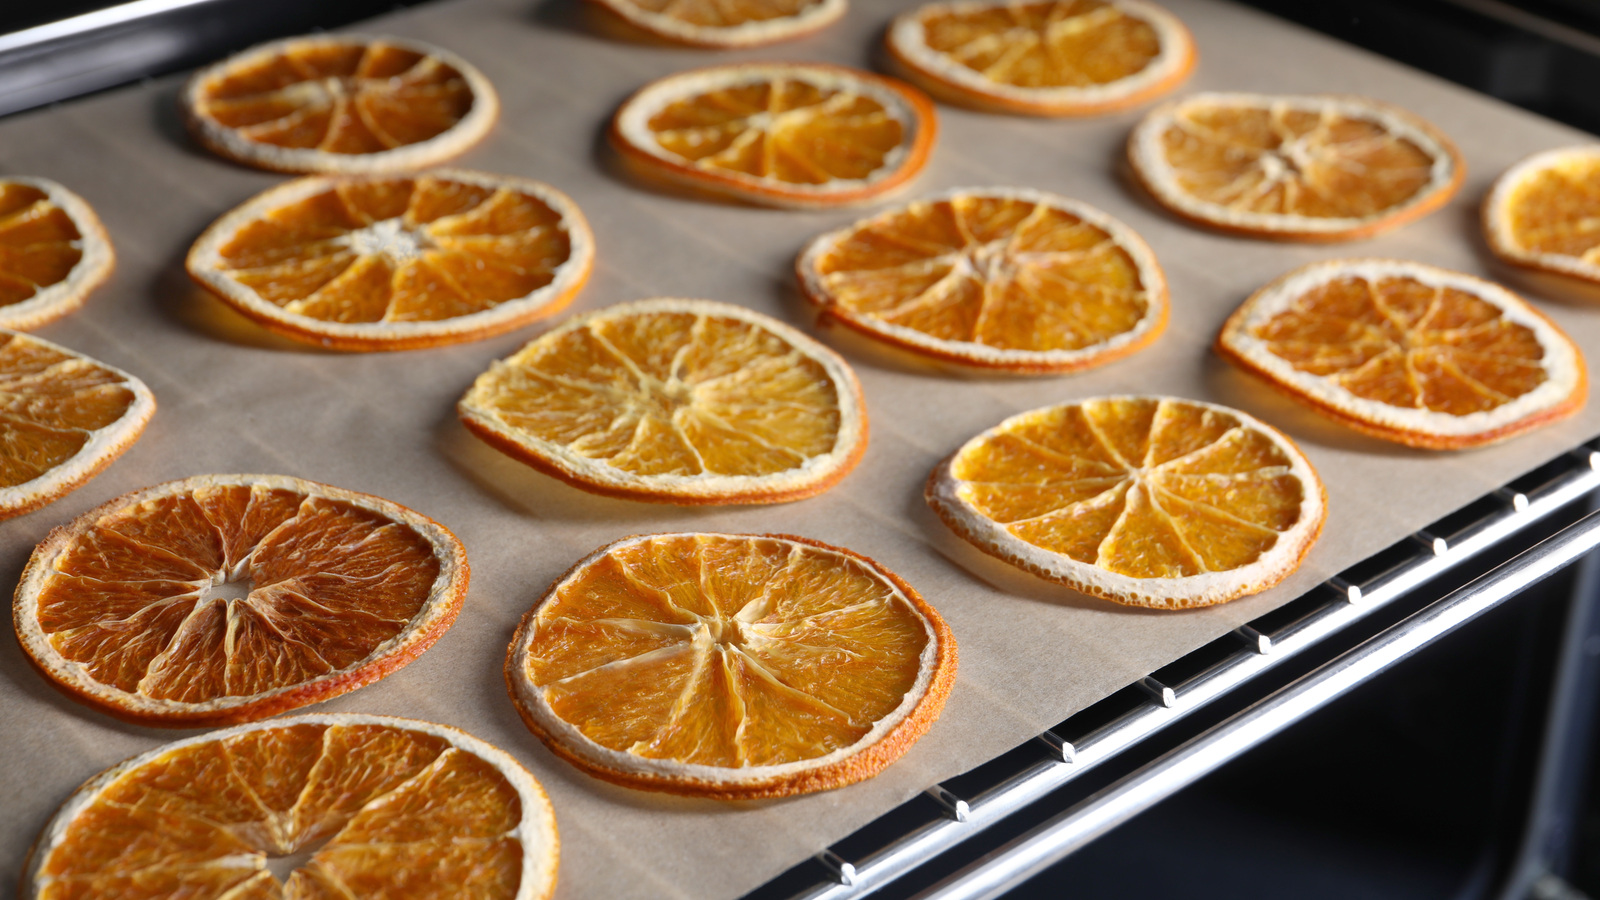
For oven drying, you need a low, reasonably steady temperature and a way for moist air to escape. Fruit-drying conditions are around 140 to 150°F (60 to 66°C). Use an oven thermometer near the food rather than relying entirely on the dial.
A dehydration setting is useful if your oven has one. Follow the appliance instructions for ventilation and door position; don’t assume every oven should be propped open. If your oven’s lowest setting is much hotter, it gives you less control over drying edible fruit for storage.
Use food-safe, oven-safe racks or trays that leave room for air circulation. Parchment on a baking sheet can help prevent sticking, but you’ll need to turn the slices so both sides dry. Rotate trays as needed, checking regularly for uneven drying or browning.
Allow several hours and potentially much longer. Don’t transfer a dehydrator’s timetable directly to an oven. Raising the heat to hurry things along can leave the outside hard while moisture remains inside. Darkening edges aren’t proof that the middle is dry.
Cool a few slices before testing the centers
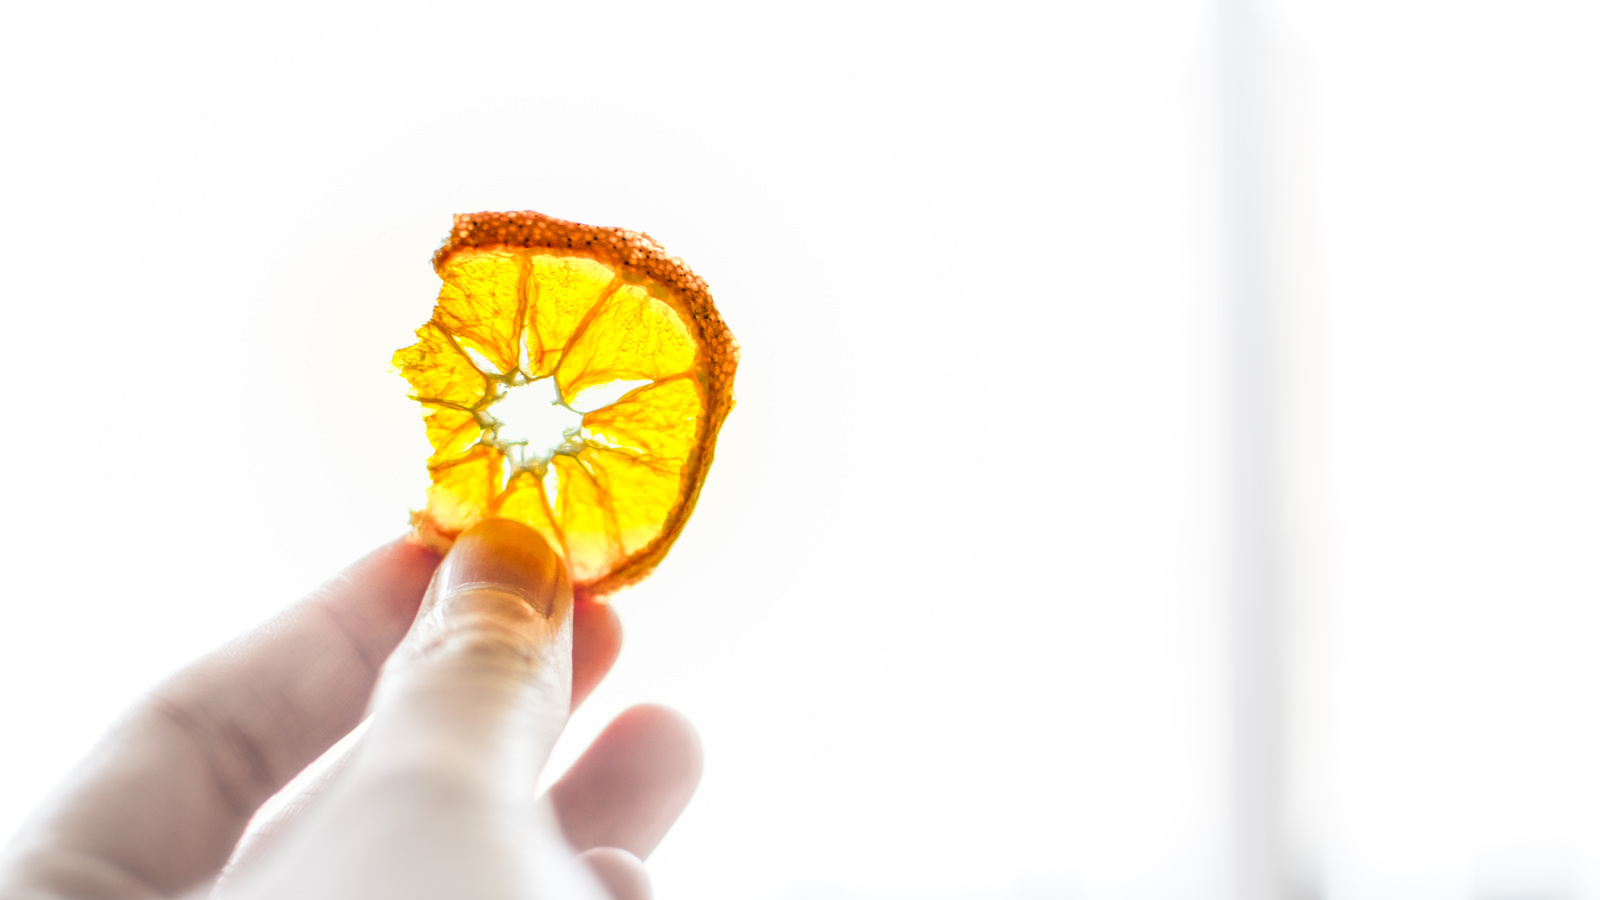
Take samples from different parts of the batch, including the thickest rounds, and let them cool to room temperature. Warm fruit is more flexible, so checking it straight from the tray can mislead you.
For crisp dried orange rounds, look for slices that snap when cooled and show no remaining moisture. Break or cut a sample through the fleshy center and check for damp pockets. A hard rind surrounding soft, wet pulp needs more drying.
Return unfinished pieces to the dryer and check again after further drying and cooling. Don’t judge a whole batch by one thin slice that happened to be nearest the fan.
Cool the finished fruit completely before sealing it, generally about 30 to 60 minutes. Don’t leave it sitting out overnight, especially in a humid kitchen, where it can take up moisture again.
Condition the dried slices before pantry storage
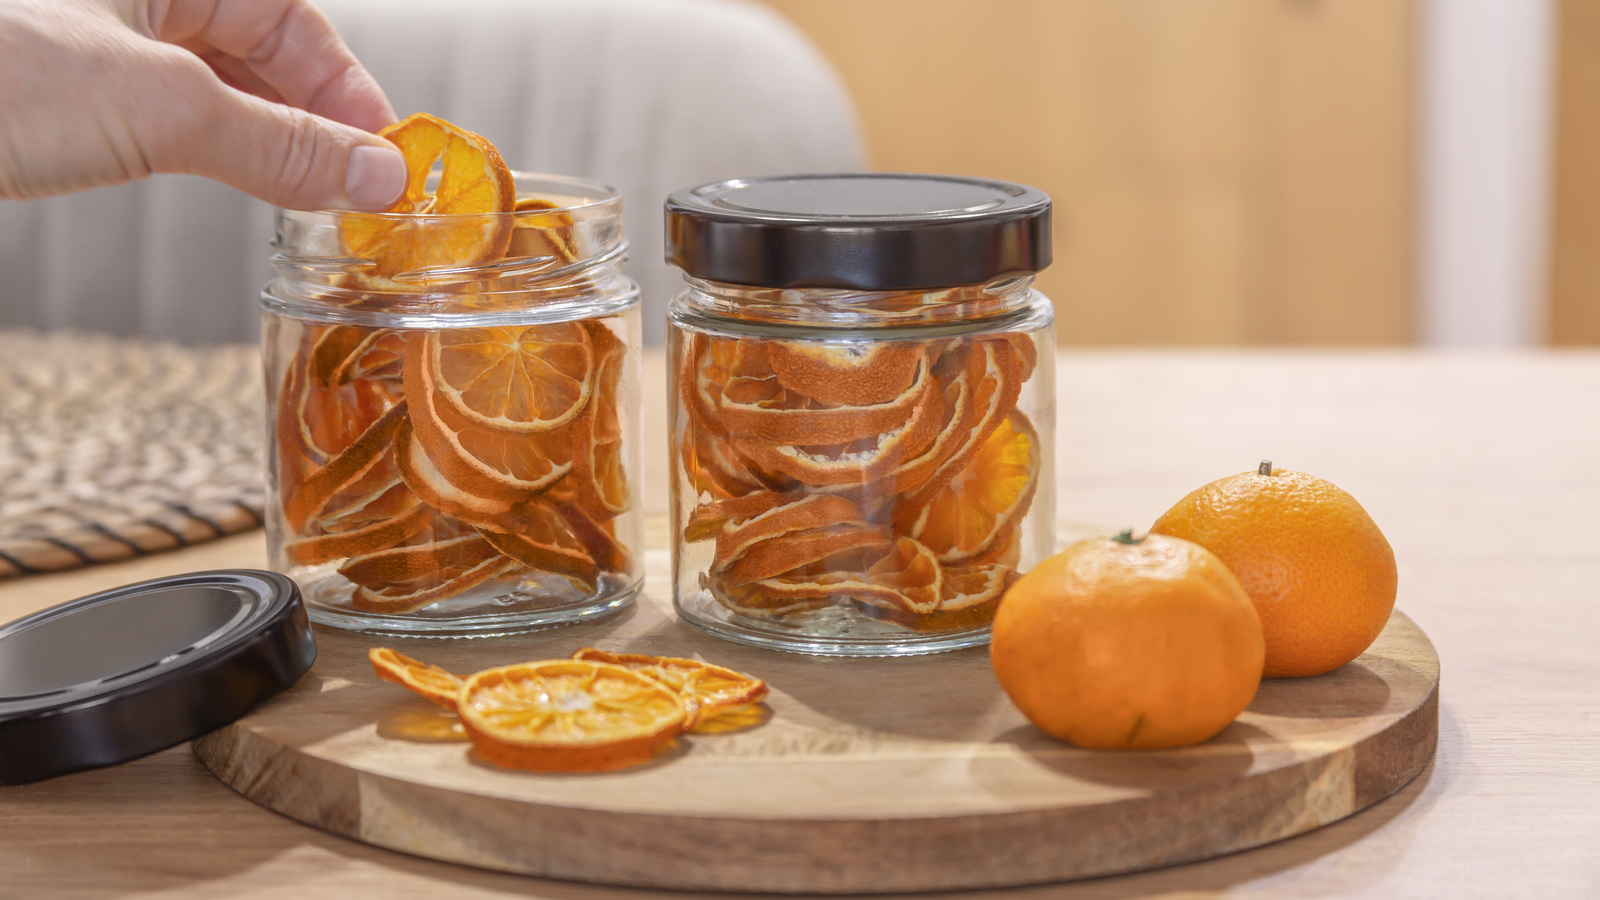
Condition dried fruit for 7 to 10 days to help even out small differences in moisture between pieces. Put the cooled slices loosely into clean, dry glass or food-grade plastic jars and close the lids. Leave room to move the slices rather than packing them tightly.
Shake the jars gently each day to separate the pieces and check for condensation. If moisture appears, return the unspoiled slices to the dehydrator for further drying, cool them, and repeat the conditioning stage. If you see mold, discard the affected batch. Don’t try to save it by scraping or drying it again.
Conditioning follows proper drying. It isn’t a way to make obviously damp fruit safe in a closed jar.
Store small amounts away from heat and moisture
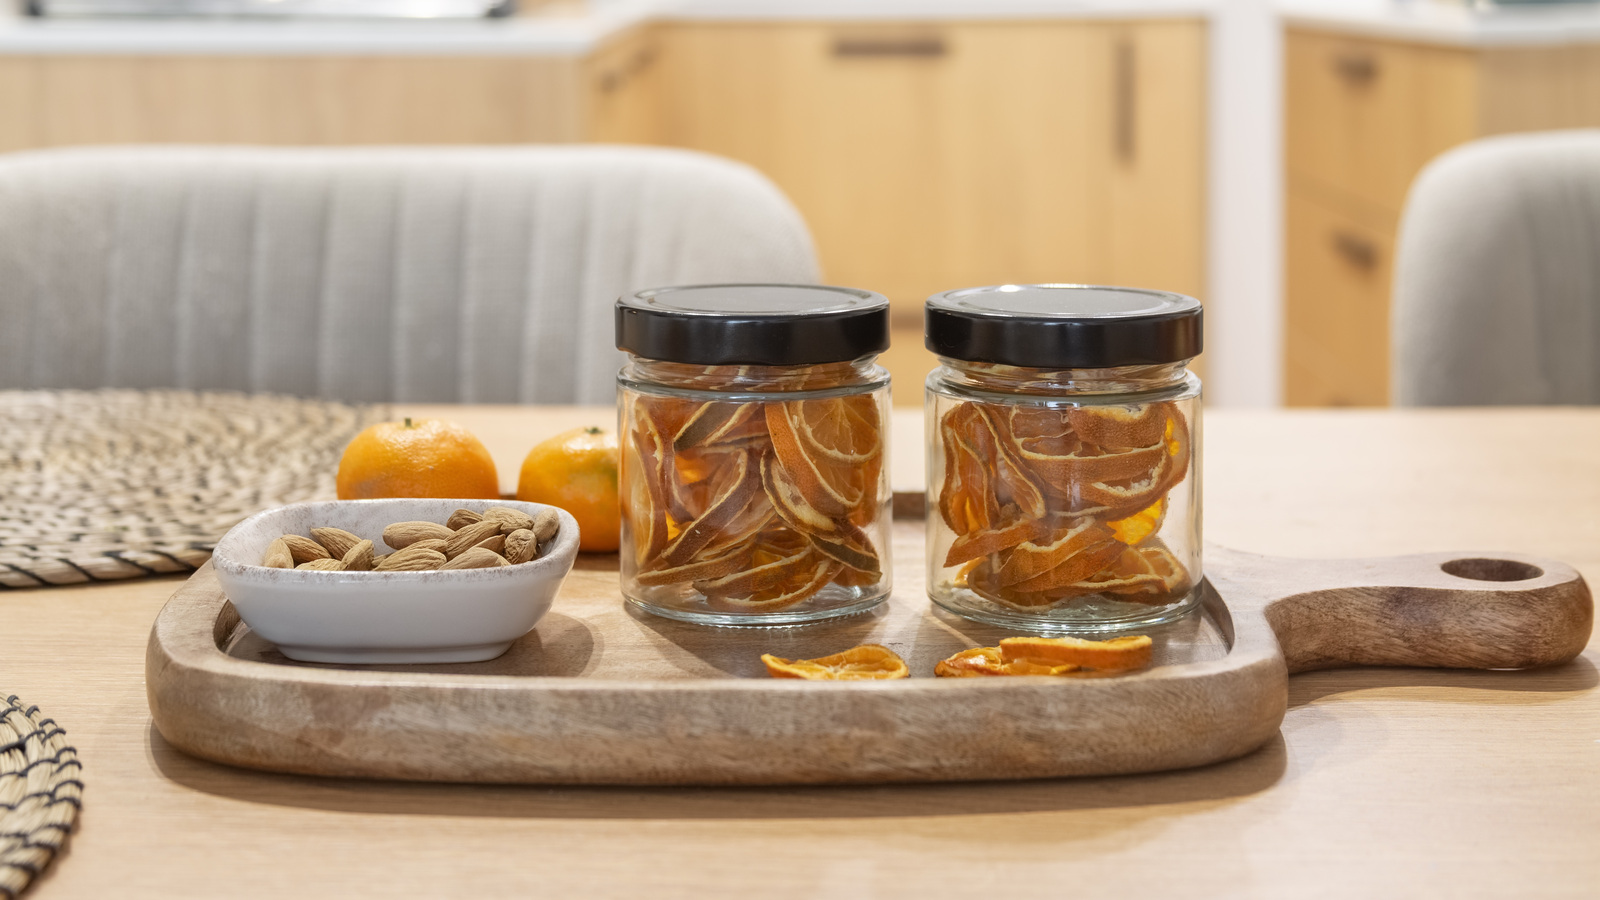
After conditioning, package the slices in clean, dry containers with tight-fitting lids. Label them with the contents and drying date, and keep them in a cool, dark cupboard away from the stove and kettle.
Small jars make sense if you only use a slice or two at a time. Opening one large container repeatedly exposes the whole supply to kitchen air. Use dry hands or utensils and close the lid promptly.
Properly stored dried fruits generally keep well for six to 12 months, but that is a broad quality range, not a guarantee for every homemade batch of oranges. Warm storage shortens quality life, and the citrus aroma may fade before the slices look much different. I’d dry an amount you’ll use over the coming months rather than plan around the longest possible date.
Check periodically for moisture, mold, or off odors. Discard spoiled fruit. Airtight packaging protects properly dried food; it doesn’t correct incomplete drying.
Use the slices for flavor, with realistic texture expectations
For tea, start with one slice in a mug of black tea or plain hot water. Let it steep, taste, and remove it when the flavor suits you. Leaving lots of peel in the cup for a long time can give a bitter result. A little honey is optional.
In cooking, try a slice in a liquid-rich braise or a pot of spiced fruit, then remove it before serving if the rind remains tough. Start sparingly and taste as the dish cooks. Rehydrating softens dried orange, but it won’t restore the juicy texture of a fresh segment.
Finely chopped or ground, thoroughly crisp slices can add citrus flavor to a spice rub or baking mixture. Whole-slice powder includes the pith, so it isn’t a direct substitute for fresh zest. Grind a small amount to try before committing the whole jar.
For a softer edible cake decoration, candied orange may suit you better. For an occasional cup of orange-scented tea, a small jar of properly dried rounds is a useful thing to have.

