Affiliate disclosure: This post may contain affiliate links. Please see full disclosure.
Water beading on the inside of your chicken coop means moist air is hitting a cold surface. If you see it morning after morning, open up the airflow above the roost and take out any wet bedding. Then check where the water is coming from. A tightly shut coop can trap the moisture your flock produces overnight, and a leaking drinker or a pile of wet droppings adds to the problem.
Read the wet patches before you clean them up
I keep chickens, and I’d rather look inside the coop first thing in the morning than guess what went on overnight. Take a flashlight and look at the underside of the roof, the inside of the windows, and the bedding under the roost. Do it before you leave the door propped open. The coop can air out enough during morning chores to hide what the birds have been sitting in all night.
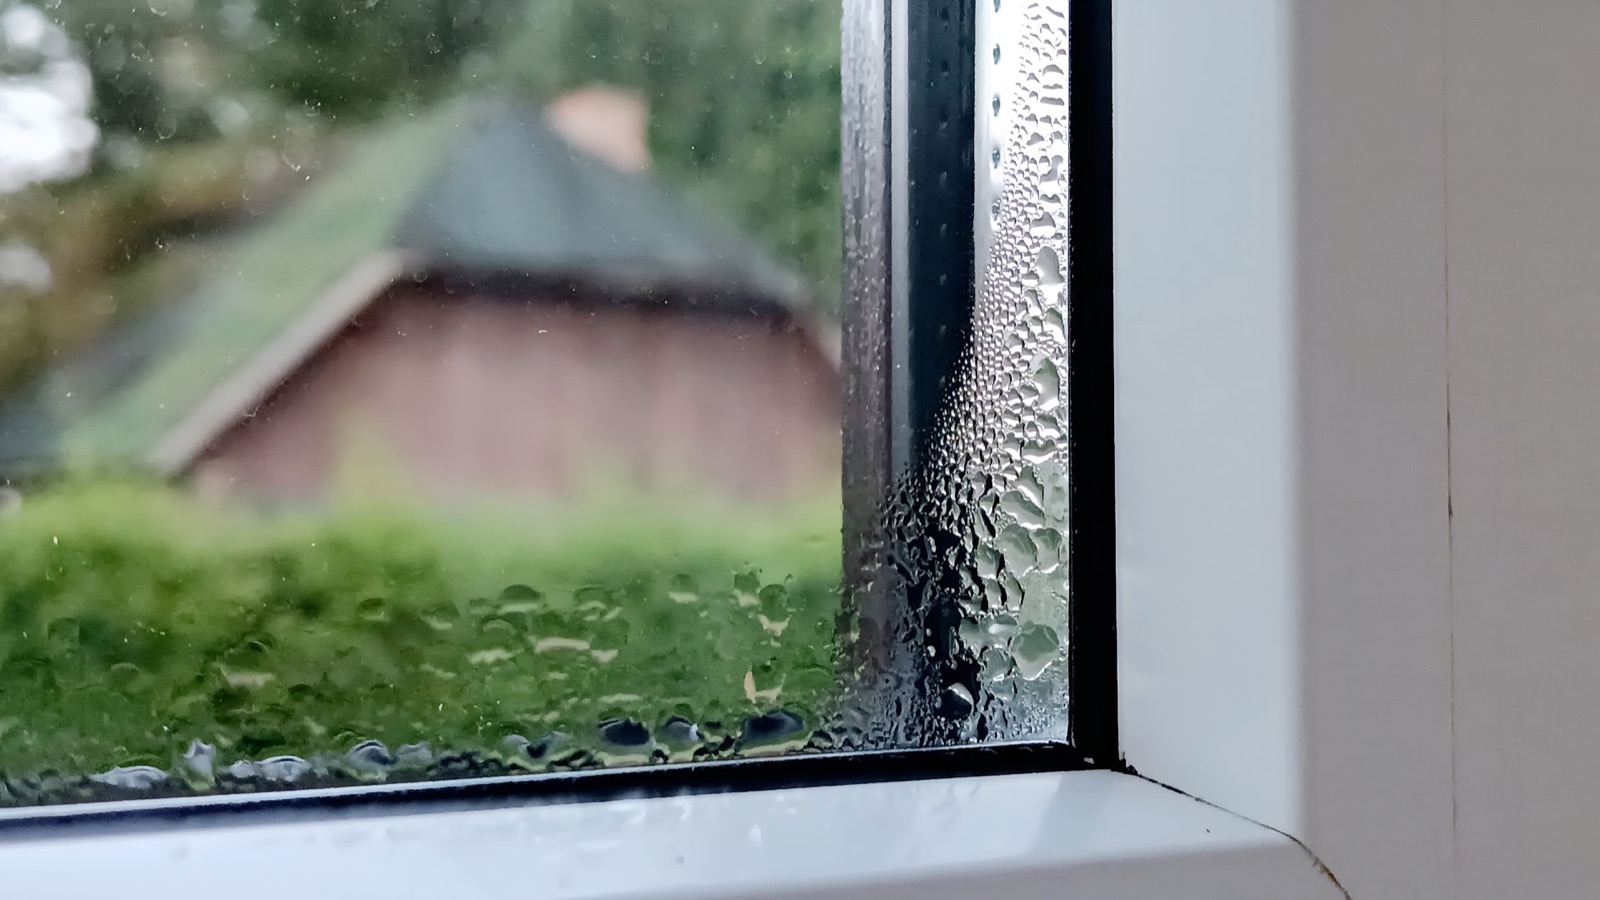
Fine beads on several cold surfaces, or frost on the inside of the roof, point toward condensation. The hens breathe out moisture all night, their droppings add more, and water vapor condenses when it meets a sufficiently cold surface. On a very cold night, the first place you notice it may be a single pane of glass or a bare metal roof panel. I’d take repeated wetting or drips reaching the bedding as a reason to act.
A wet patch that starts below one roof seam after rain or thaw calls for a look at the roof and flashing. A patch centered on the drinker points to a spill, a leak, or a stand that rocks when the birds jostle it. Pull back the surface litter before you decide it’s dry. You can have fluffy shavings on top and a wet mat underneath. And you can have a roof leak and condensation in the same coop, so check both if the pattern fits.
Move fresh air above the birds
Start with the vents you already have. Look for cobwebs, dust, snow, or winter covers blocking them. If you’ve wrapped the run or covered gaps against the wind, check whether you’ve also covered the coop’s high openings. A door you open at breakfast can’t do the job of ventilation while the birds are shut in overnight.
Give fresh air a way in and damp air a way out near the roof. Sheltered openings high in the walls, under the eaves, or at the gable ends can work well. The exact layout depends on the coop and where the wind hits it. Well-placed vents can usually ventilate a small coop without a fan. Cover openings with firmly attached welded hardware cloth and use a hood or overhang where rain or snow can blow in.
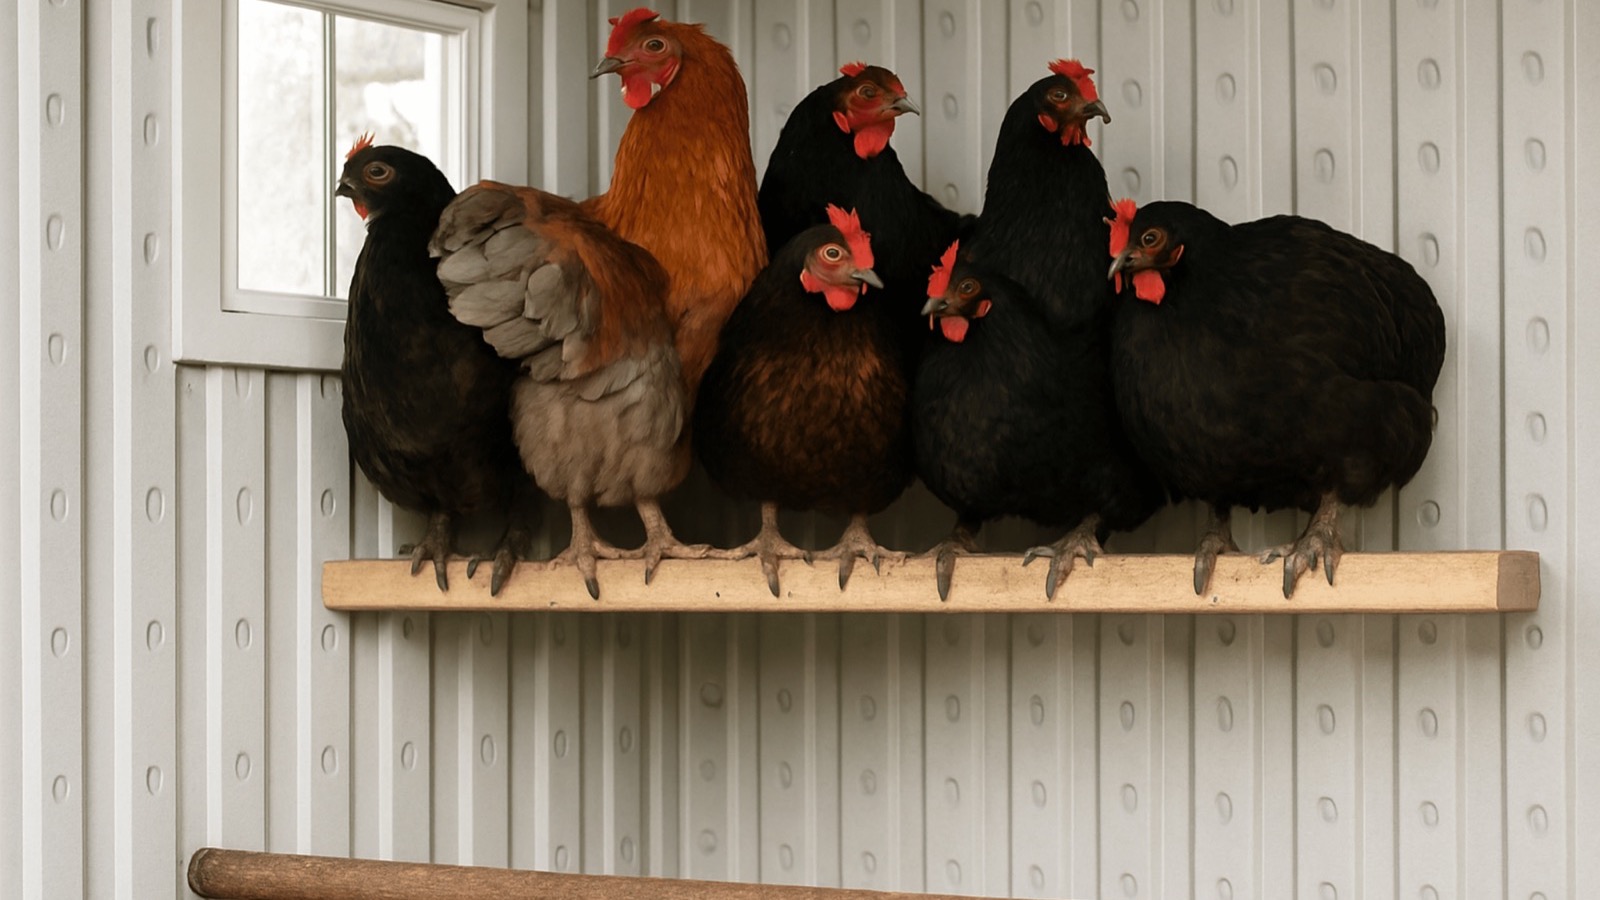
On a windy day, close the coop as you would at night and hold a strip of tissue where the hens’ heads sit on the perch. If it streams steadily sideways, trace the airflow back to the opening. A gap by the door may need sealing, a vent may need a deflector that sends the air up, or the roost may need moving. Keep a sheltered high opening working while you fix the direct blast. Check both ends of the perch. The quiet end can feel quite different from the spot nearest the windward wall.
Get wet bedding and droppings out of the coop
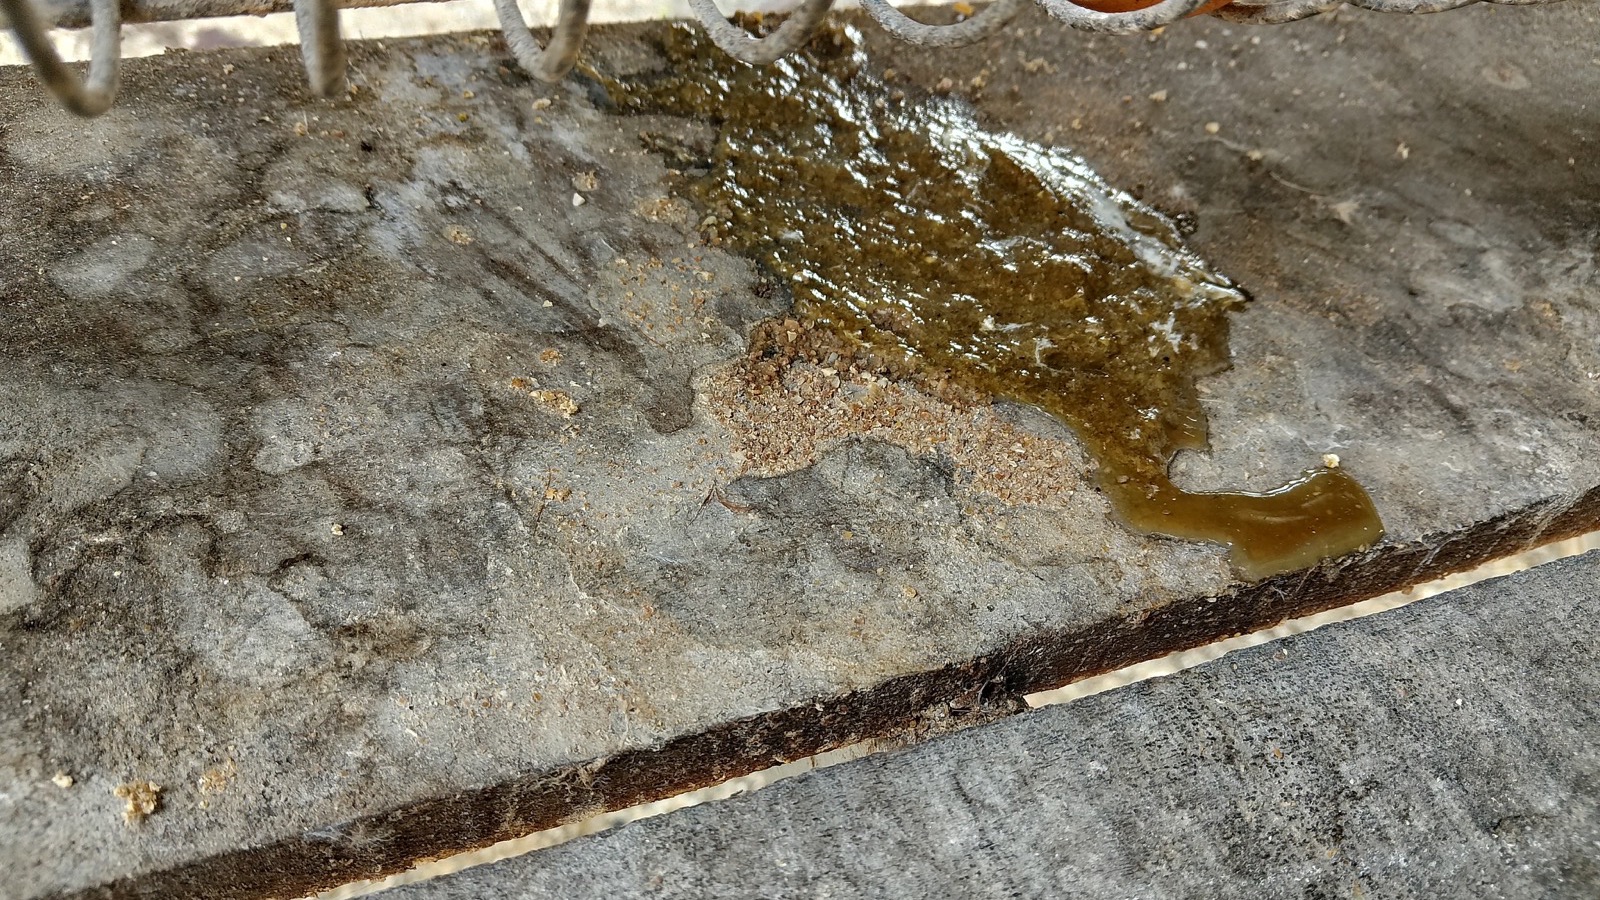
Start beneath the roost, where manure tends to collect overnight. A removable board or tray makes it easier to scrape out the concentrated mess without replacing every bit of dry bedding. Scoop out damp, caked litter down to the floor. If the floor is wet, find the source and give it a chance to dry before putting down fresh, absorbent bedding. I’d leave clean, dry shavings where they are. There’s no sense throwing them out because one corner got soaked.
A deep layer of bedding can help insulate the floor, but wet sections still need to come out. If the bedding is clumped, wet underneath, or smells sharp, adding another layer of shavings just hides the work. Check the spots that get wet again fastest. Level the drinker, repair drips, and raise it on a stable platform the birds can comfortably reach. If you move it into a sheltered run, make sure the flock still has access to clean, unfrozen water whenever the birds are awake.
Watch the flock as well as the windows
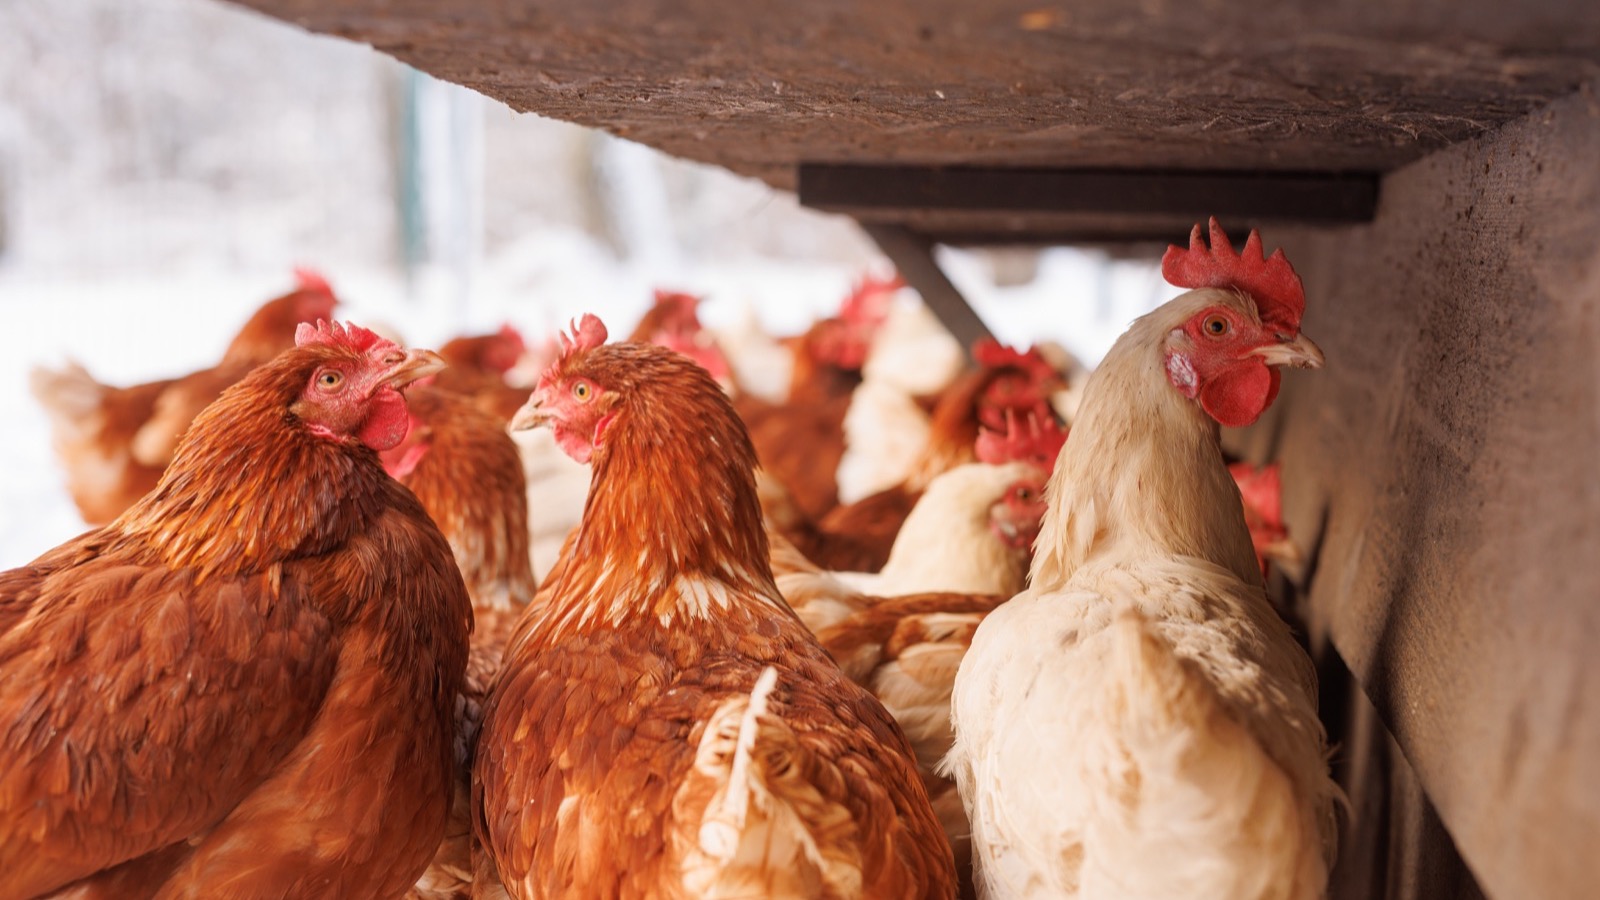
Wet litter and accumulated manure can raise ammonia levels and irritate the birds’ airways. If you notice a sharp smell when you open the coop, clean out the wet material and improve air exchange. Use the smell as a cue to act, and use the condition of the bedding and surfaces to keep checking even when there’s no obvious odor.
Cold and high moisture together also raise the risk of frostbite on combs, wattles, and toes. Look for gray or black areas or tissue that feels brittle, and contact a poultry or avian vet if you suspect frostbite. If a bird is coughing repeatedly, has discharge around the eyes or nostrils, or is struggling to breathe, call a vet promptly. When several birds become ill together or there’s an unexplained sudden death, call about possible infectious disease before moving birds off the property. Fresh air helps correct the coop conditions while you get advice about the birds.
After you’ve cleared the vents and removed the wet litter, check again before opening up on the next cold morning. Look at the same window, the same stretch of roof, and the same patch under the roost. If water keeps returning, follow where it appears first. That will tell you whether to look harder for a leak or give the coop more sheltered airflow.
You might also like…
Chickens stopped laying eggs? Here’s what you need to check this winter