Affiliate disclosure: This post may contain affiliate links. Please see full disclosure.
Putting garden tools away with soil and sap still stuck to the metal is a good way to find rusty blades when spring rolls around. The most useful end-of-season chore isn’t complicated: clean your steel trowels, spades, and pruners, dry them completely, and protect exposed steel before putting them somewhere dry.
When you grow a substantial amount of your own food, you learn pretty quickly that looking after your tools is cheaper and less frustrating than replacing them. I recommend giving your everyday hand tools a proper clean after their last big job of the season, even if you’re still gardening through winter. It takes surprisingly little time when you tackle them before the mud turns into concrete.
Get the soil off before you put the tools away
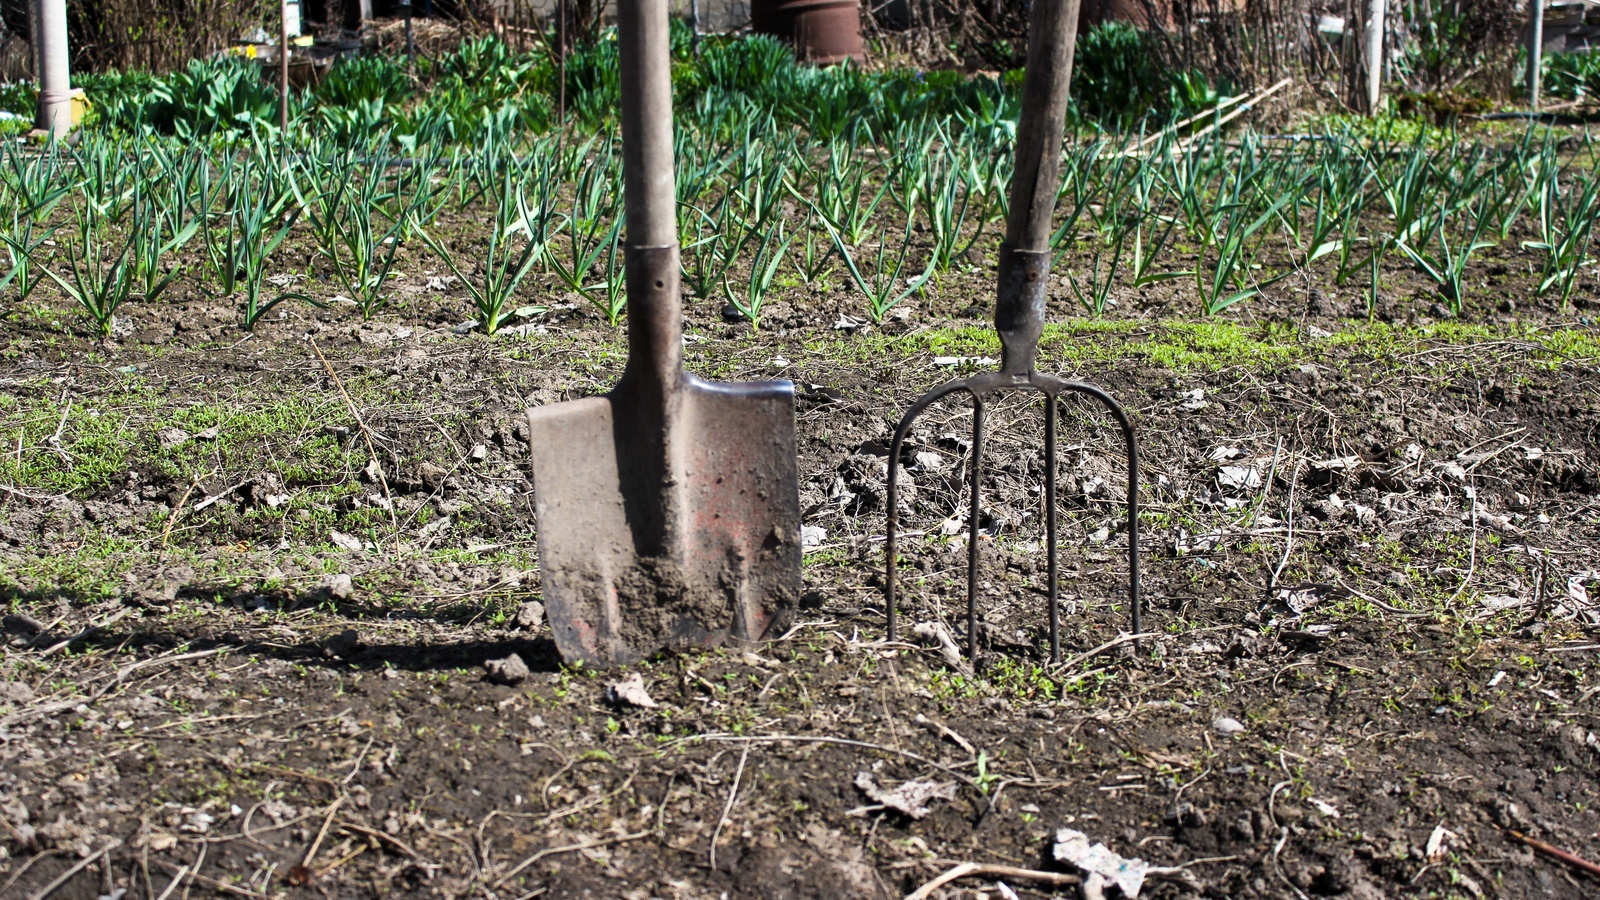
Start with your spade and trowels. Knock off loose dirt, then use a stiff brush or wooden scraper to remove the stubborn stuff around the blade, socket, and where the handle meets the metal. If the soil is properly caked on, a little warm water and dish soap will help. There’s no need to soak the whole tool, particularly if it has a wooden handle.
Once the dirt is gone, pay attention to any orange-brown patches on ordinary carbon steel. Light surface rust can usually be rubbed away with fine steel wool or sandpaper. Be gentle around painted, coated, or plated surfaces, though. You don’t want to scrub away the finish that’s already protecting the tool.
This isn’t just about appearances. Soil left on metal holds moisture against it, while dirt around moving parts can make tools harder to use. I would much rather spend a few minutes with a brush now than fight a seized-up tool when I’m trying to get the first spring planting done.
Don’t forget the sticky sap on pruners
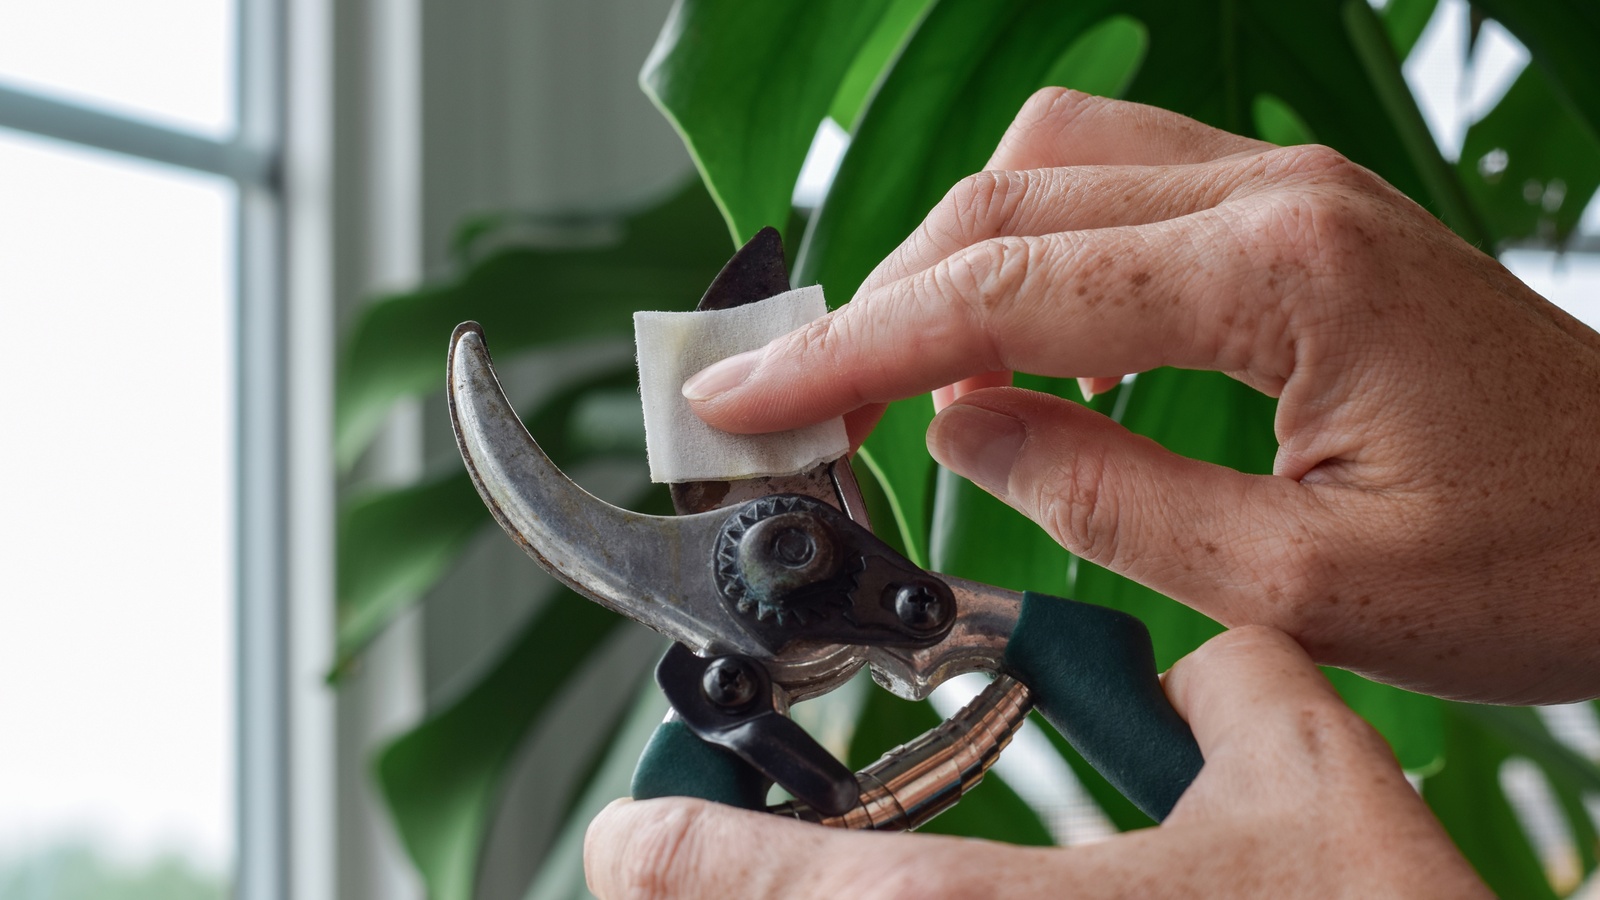
Pruners need slightly different treatment because sap can cling to their blades and around the pivot. Wipe off plant residue with a cloth first, then use warm, soapy water for ordinary grime. For stubborn resin or sap, a little rubbing alcohol on a cloth can help remove the buildup. Use it in a ventilated area, away from flames, and follow the tool manufacturer’s guidance on cleaning any special blade coating.
Work carefully around the cutting edge, and never run a finger along it to check whether it’s clean. A small brush or cloth is much safer. If you’ve been pruning visibly diseased plants, clean the debris away and disinfect the cutting surfaces with a method suitable for your tool and the disease risk before using them on healthy plants. Ordinary sap removal and disinfection aren’t the same job.
Check the spring and pivot while you’re there. A pruner that feels stiff may need cleaning and a tiny amount of suitable lubricant at the joint, rather than a newly sharpened blade. Blade misalignment can also cause poor cuts, even when the cutting edge is reasonably sharp.
Dry every nook and cranny
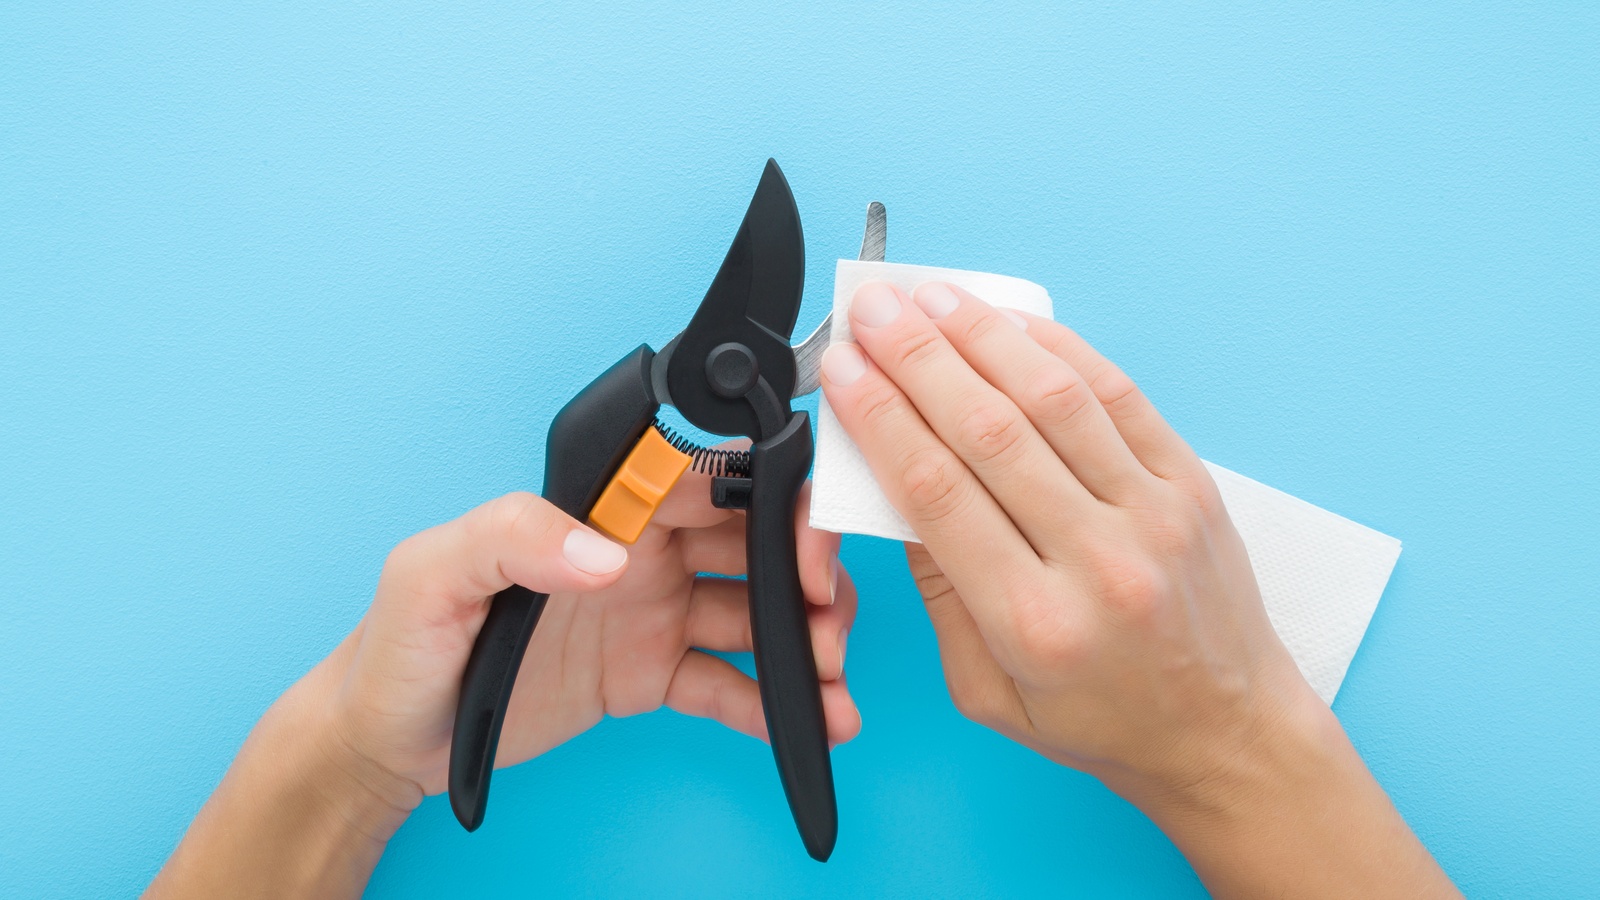
This is the bit I really wouldn’t skip. Washing off mud and then putting a still-damp spade straight into a cold shed doesn’t solve much. Dry the blade, socket, and handle with an old towel. On pruners, carefully blot around the pivot, spring, and any tight spaces where water collects.
Let the tools finish air-drying somewhere sheltered with good airflow before applying oil. Make sure there’s no moisture trapped beneath a folding blade, inside a joint, or around a metal ferrule. A tool can look perfectly dry across its broad surfaces while water is still hiding where corrosion starts.
Sharpen only the edges that need it
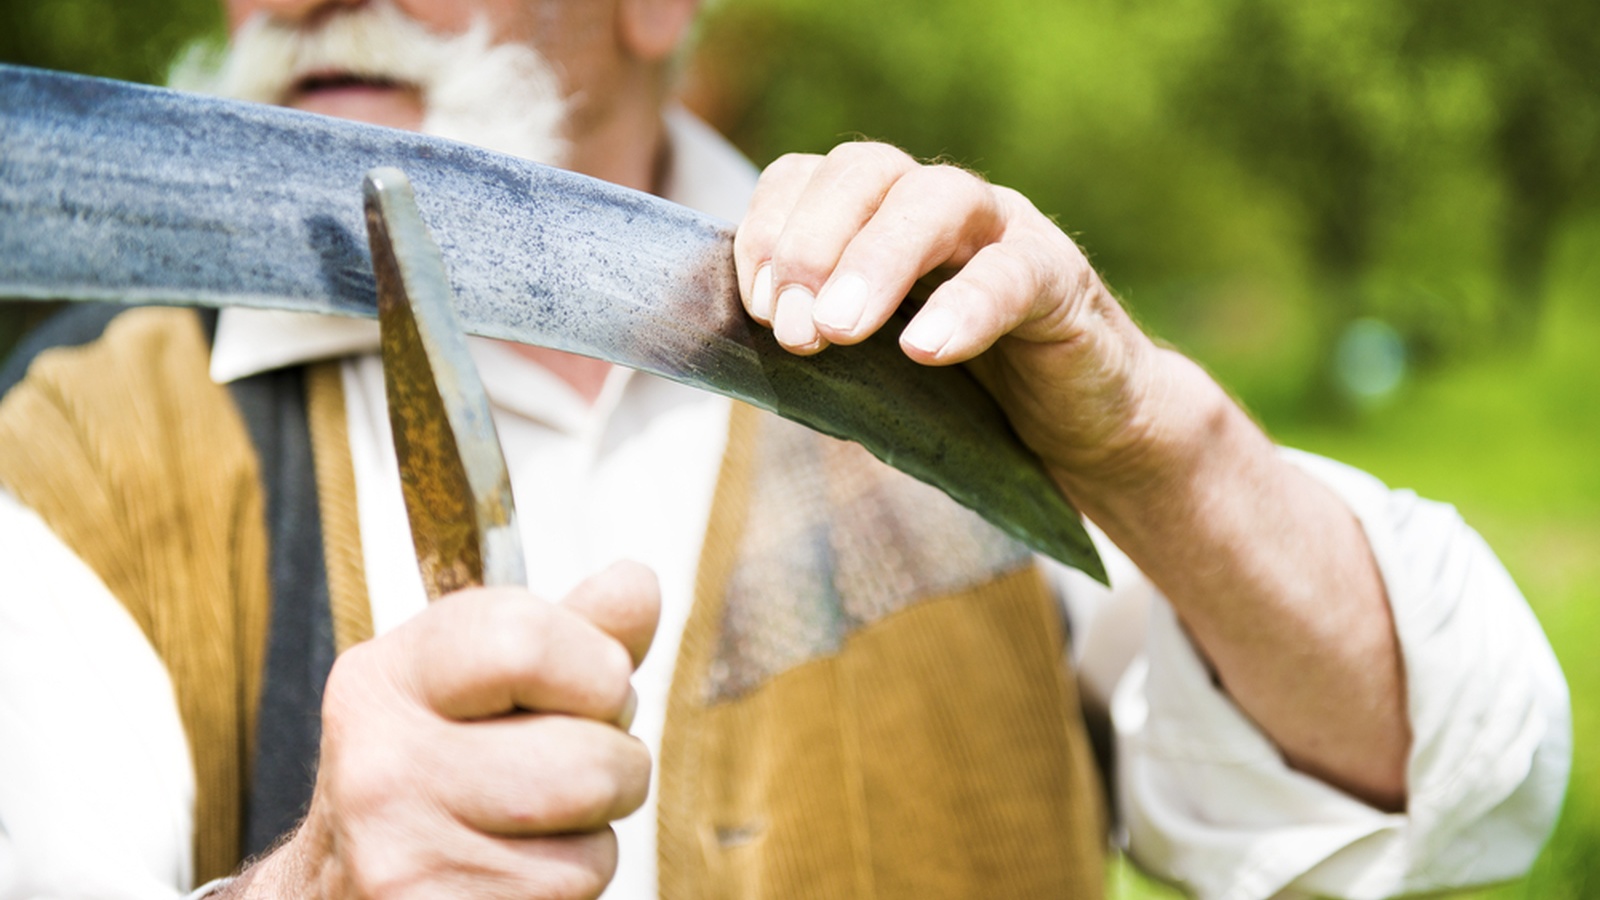
A sharp spade edge cuts into soil more easily, and a sharp bypass pruner makes cleaner cuts than a dull one. But that doesn’t mean every garden tool needs grinding down before winter. A pointed planting trowel generally needs cleaning more than sharpening, and you can easily remove too much metal if you keep filing an edge that is already sound.
Inspect blades for nicks, damage, and dull areas. If sharpening is needed, secure the tool, wear eye protection, and use an appropriate file or sharpening stone to follow the existing bevel. With bypass pruners, sharpen only the manufacturer’s specified cutting face, not both sides as though it were a kitchen knife. Replace or professionally repair badly damaged blades rather than trying to grind your way through a serious defect.
It’s also worth checking whether a loose pivot, bent blade, or worn part is the real problem. Sharpening can’t fix faulty alignment. Inspecting tools as you clean them helps catch these little faults before they become annoying jobs next season.
Give bare steel a thin protective coat
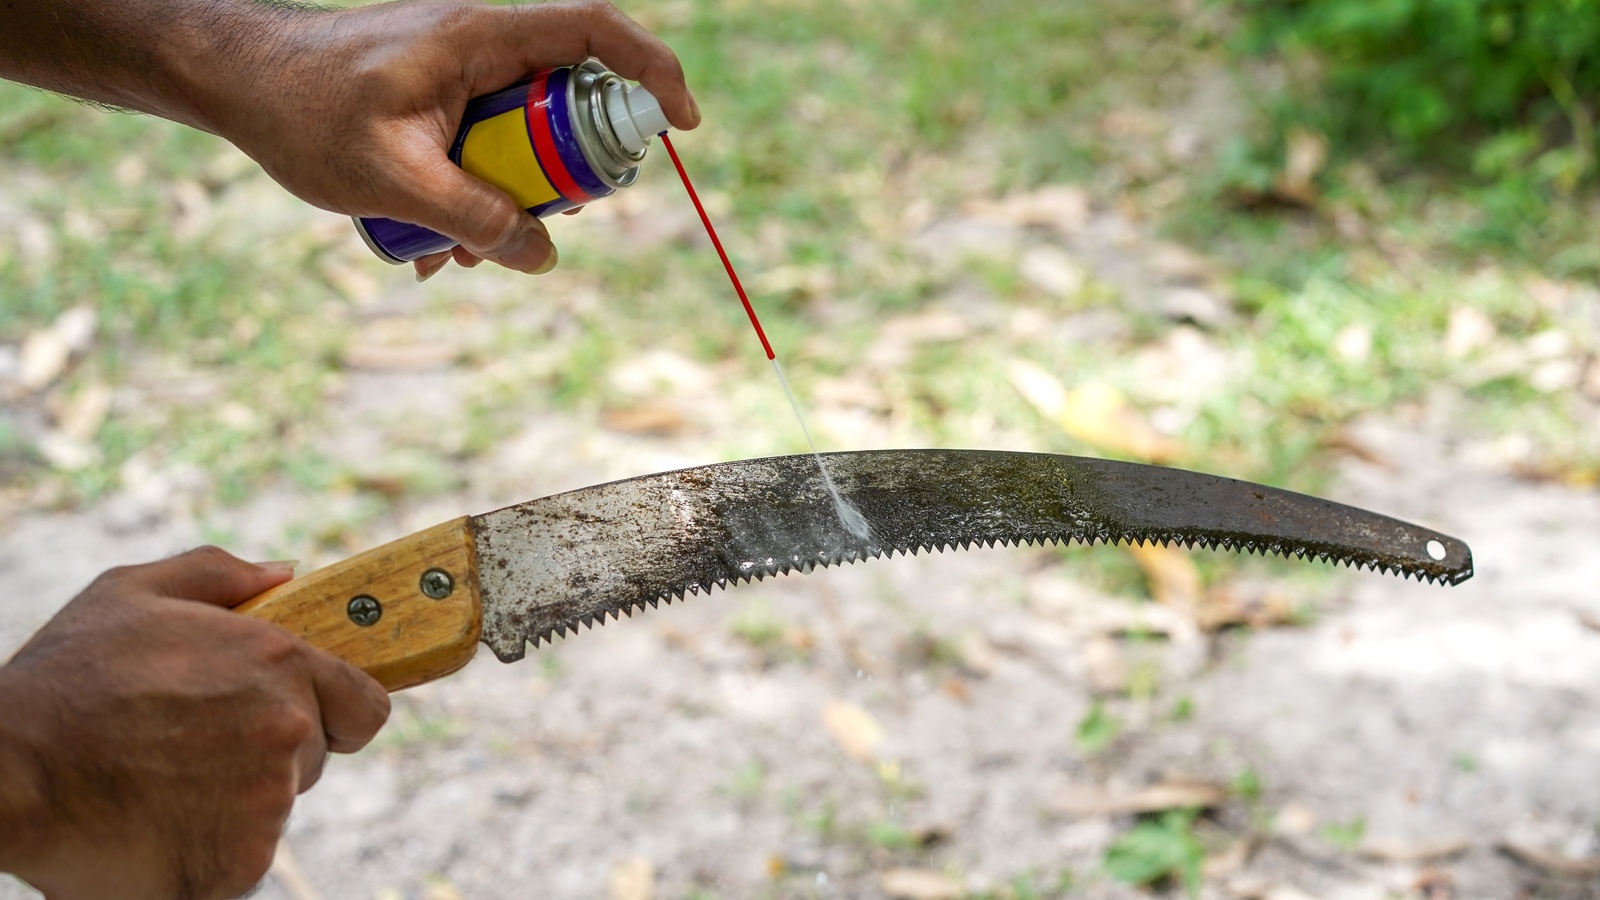
When the metal is clean and completely dry, wipe the unpainted steel with a cloth carrying a small amount of light mineral oil or another suitable tool-protecting oil. You’re aiming for a thin film, not a greasy coating that drips off the blade. Remove the excess with a clean cloth.
Pay particular attention to the bare steel on older spades, trowels, and pruner blades. Stainless steel and factory-coated tools generally need less protection, so check the manufacturer’s care instructions before applying anything. A little lubricant at a pruner’s moving joint can help it operate smoothly, but it shouldn’t be slathered over the handles.
A light oil coating helps protect cleaned steel during storage. If you garden organically, there’s no need for elaborate treatments or a bucket full of oily sand. A reusable rag and a few drops of the right product are plenty for a small collection of hand tools.
Store them where winter damp can’t reach them
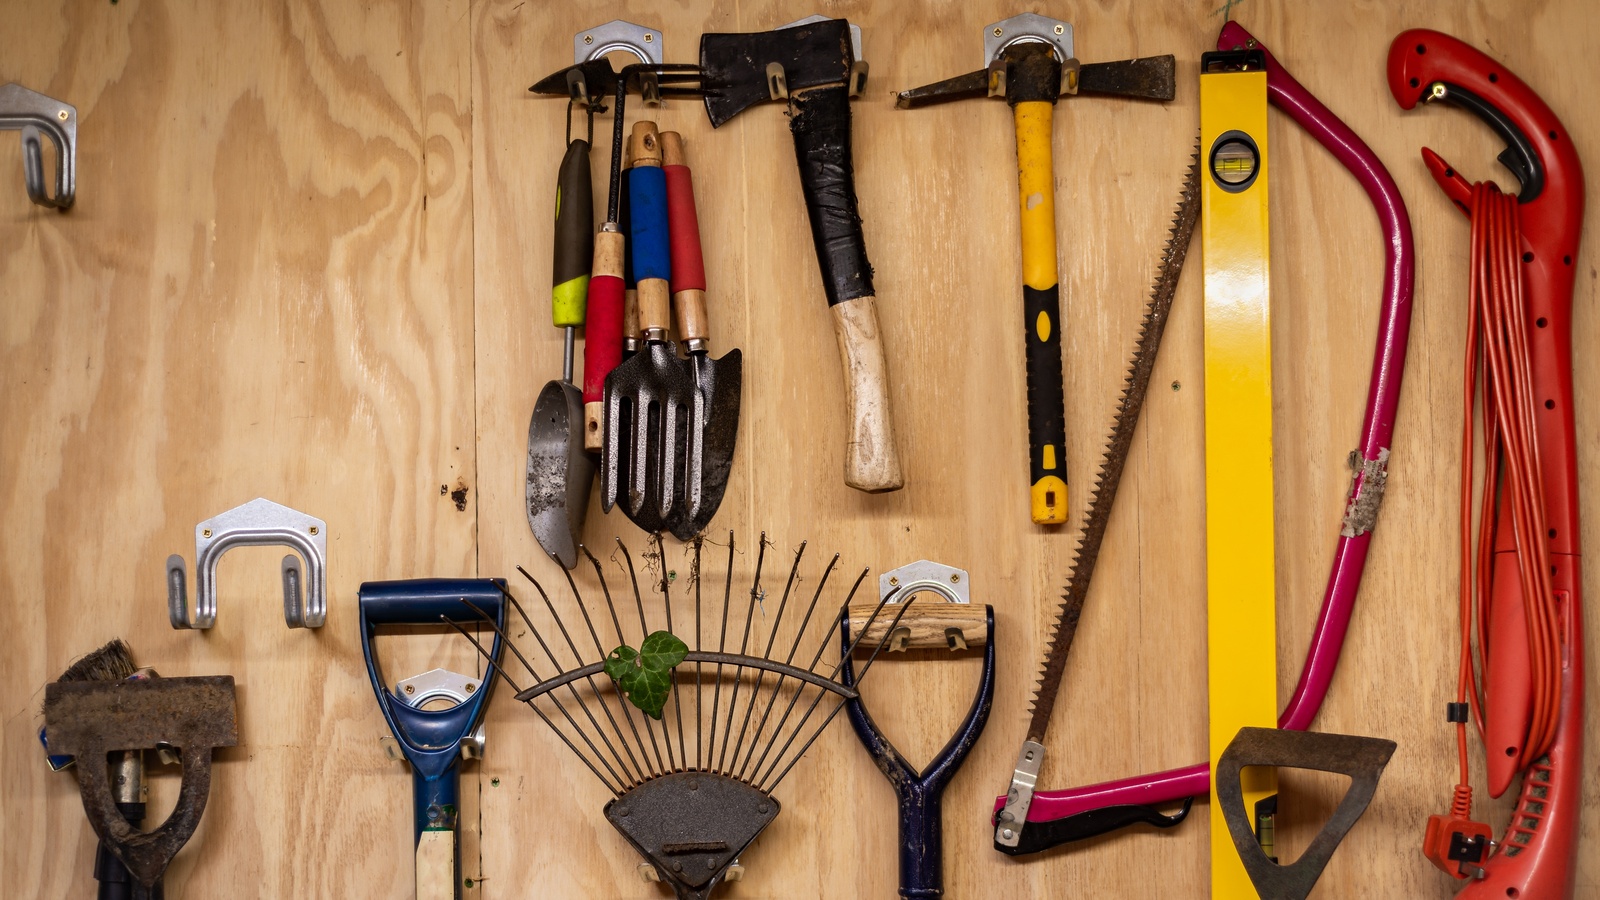
Even beautifully cleaned tools can rust if they’re left on wet ground or propped against a leaking shed wall. Hang your spade on a sturdy rack, keep trowels in a dry container or on hooks, and store pruners with the blades closed and locked. Keep sharp edges from knocking together, and place tools where nobody will brush against them or knock them over.
I prefer storage that makes the tools easy to see and grab, because tools buried under bags of compost tend to stay damp and get forgotten. Keep wooden handles off bare earth and wet concrete, too. If a handle feels rough, a little sanding can remove splinters; sound unfinished wood may benefit from a suitable light oil treatment.
You don’t need a heated workshop. You need a reasonably dry, sheltered place, some airflow, and tools that weren’t put away wet. A little care alongside your other fall garden jobs means you’ll be ready to dig and prune when the growing season gets busy again, instead of starting it with a rusty mess.
You might also like…
Must-Have Tools That Will Make or Break Your Homestead Dreams
What Should You Do With Your Garden In the Fall?