
Affiliate disclosure: This post may contain affiliate links. Please see full disclosure.
First cold snap hits, you’re feeling pretty smug.
Wood stacked. Pantry full. Boots by the door.
Then a pipe freezes. Or the basement leaks. Or the furnace quits at 2 a.m. and suddenly you’re standing in the hallway in your socks questioning your life choices.
Most of the time, it isn’t “bad luck.”
It’s a tiny winter job that got ignored.
So, here are 20 small home winterizing jobs that save your butt. All the stuff you’ll wish you did before the temperature drops.
1. Disconnect hoses and drain outdoor faucets

If I could make one winter rule, it’d be this: never leave a hose attached once frost is in the forecast.
When a hose stays hooked up, water sits inside the faucet and the pipe in your wall. Once temperatures hit freezing, that water can turn to ice. Pipes can start freezing any time they’re at 32°F (0°C), but the real trouble usually kicks in once temps drop below about 20°F (-6°C) and stay there. That’s when pipes can freeze solid and burst, especially in poorly insulated walls
The fix is ridiculously simple. Take off every hose and spray nozzle. Tip them up so they drain and stash them for the season. If you have a shutoff valve inside the house for those outdoor faucets, close it, then crack the outside tap open so any leftover water can escape.
It’s five minutes of annoying, and it can save you thousands in repairs.
2. Wrap exposed pipes in unheated spaces

Any pipe that lives in an unheated spot is living on the edge. I’m talking crawl spaces, unfinished basements, garages, and the backs of cabinets on outside walls.
Pipe insulation doesn’t have to be fancy. Those foam sleeves that look like pool noodles are cheap and you can cut them with scissors. I slide them over everything I can reach, especially near corners and bends where pipes are closer to cold exterior walls.
If you’ve got a trouble area that always gets cold, you can add electric heat tape that’s specifically rated for pipes. Follow the instructions like they’re gospel. The goal is to keep pipes just warm enough that water keeps moving and doesn’t freeze into a solid plug.
3. Fix the drafts around your doors

If you can see daylight around a closed exterior door, you’re basically heating the yard.
A thin line of light might not look like much, but air leaks add up. The U.S. Department of Energy points out that sealing air leaks with weatherstripping and caulk is one of the cheapest ways to cut heating costs and improve comfort.
At night, I like to turn on a bright light inside, step outside, and look around the door. Any glow means air leakage. You can also shut a dollar bill in the door; if it slides out easily, the seal is weak.
Replacing tired, flattened weatherstripping with new foam or rubber takes some fiddling, but once that door closes with a soft “thunk” instead of a rattle, you’ll feel the difference immediately.
4. Stop the cold creeping under the door
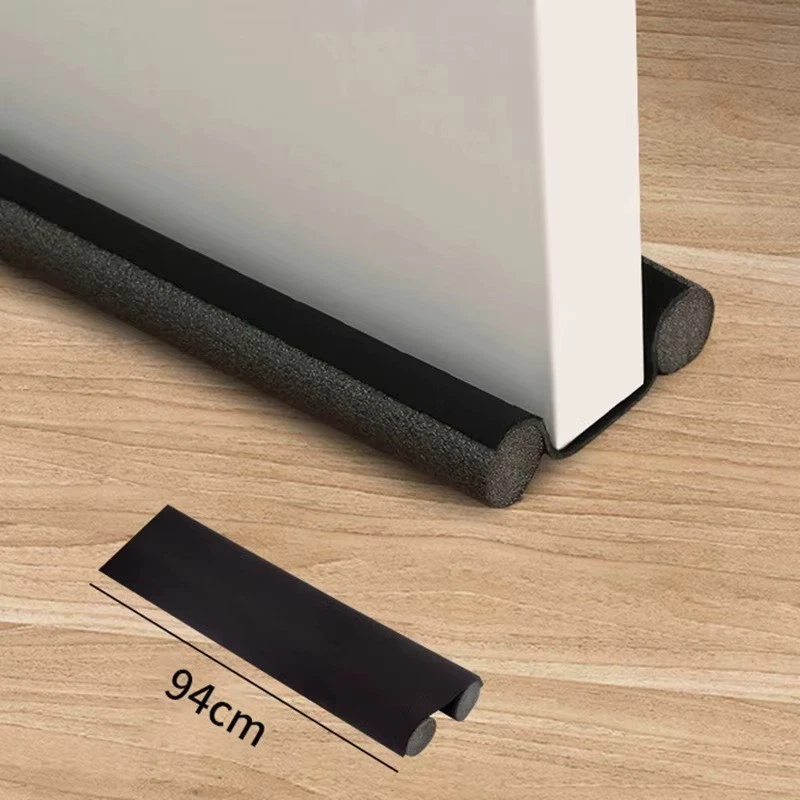
Even if the sides and top of the door are sealed well, that little gap at the bottom can be a wind tunnel. Your ankles know.
A simple door sweep or threshold stops cold air from sneaking under. I like the kind that actually screws to the door so it doesn’t shift around. You want it just brushing the threshold, not dragging hard.
On doors we hardly ever open in winter, I’ll use a sweep on the outside and a draft snake on the inside. It’s not glamorous, but it stops that icy river of air that makes a room feel colder than the thermostat says.
5. Tame drafty windows without replacing them

New windows are nice. They’re also expensive. Most of us can get a lot of the same comfort just by sealing what we’ve already got.
Energy folks recommend caulking the stationary parts of the window (where frame meets wall) and using weatherstripping where the moving parts meet, so the window still opens.
Outside, look for cracked or missing caulk around the frames and trim. Scrape off the worst of the old stuff and run a fresh bead of exterior caulk. Inside, stick foam weatherstripping where the sash meets the frame so you don’t feel that chilly leak.
For really cranky old windows, I’m a big fan of those clear plastic window film kits. They’re not pretty when you’re installing them, but once you shrink them tight with a hair dryer, they’re barely noticeable and make a huge difference.
6. Clean the gutters before they turn into ice traps
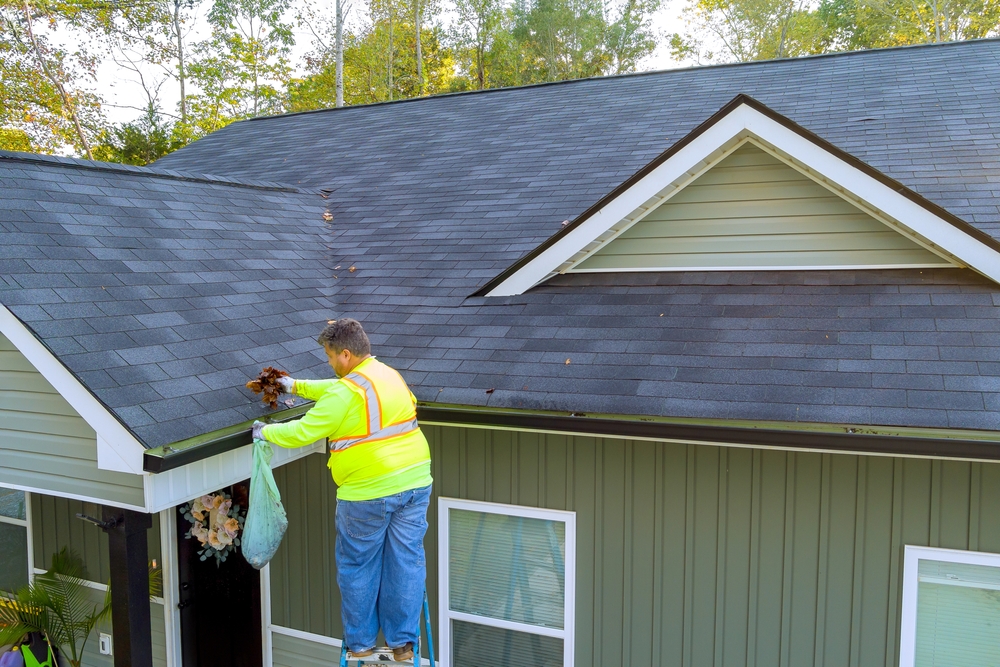
Clogged gutters don’t just drip on your head. They cause water to back up, freeze, and melt in all the wrong places.
When meltwater can’t drain, it can refreeze at the roof edge and form ice dams. Those ice dams can push water under shingles and into your walls, or send sheets of water pouring down next to your foundation every thaw.
Before real winter sets in, I like to do one grubby gutter day. Scoop out the leaves and grit, then flush each section with a hose to make sure water flows freely down the spouts. If it backs up, you’ve got a clog to clear.
It’s a nasty job, but cleaning gutters is still cheaper than fixing rot and repainting ceilings.
7. Send downspout water away from the foundation
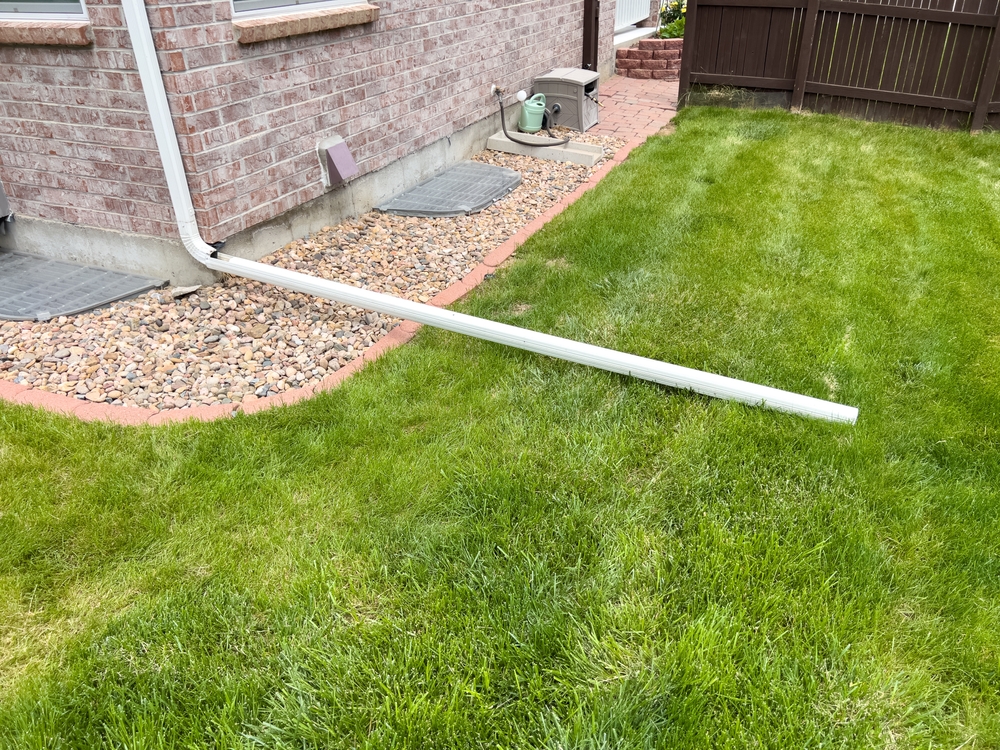
Even if your gutters are spotless, it doesn’t help much if all that water just dumps right at your foundation.
Every downspout should send water several feet away from the house. Little plastic or hinged metal extensions are cheap and easy to attach. I aim for at least three to six feet, more if you’ve got a slope that directs water back toward the house.
This is extra important if you already have a slightly damp basement, heavy clay soil, or you live where winter rainstorms are a thing. Keeping water away from the foundation reduces the freeze–thaw pressure that can crack walls and push water into your basement.
8. Look at your attic insulation and hatch

If your attic is under-insulated, you’re literally feeding your heating dollars to the sky.
In a lot of U.S. climates, homes do well with attic insulation in the ballpark of R-38 to R-60, which often looks like at least 10–14 inches of fluffy insulation. Check what’s normal for your region, but if you can see the tops of the joists clearly, you probably need more.
Then look at the attic hatch itself. A bare piece of plywood is like leaving a small window open. I like to add foam weatherstripping around the opening so the hatch seals when it’s closed, and glue a layer or two of rigid foam board on top of the hatch to insulate it.
A tighter, warmer attic also helps prevent ice dams, because less heat is escaping to melt snow unevenly on the roof.
9. Seal the random gaps where things poke through your walls

Cable line coming in. Gas pipe on the side of the house. Dryer vent. All those little penetrations are famous draft spots.
Walk around outside and really look. You’ll usually find some places where the siding or brick has a gap around a pipe or vent hood, or where old caulk has cracked and fallen away.
For small gaps, exterior-grade caulk is enough. For larger holes, you can use expanding foam made for doors and windows so it doesn’t bow things. Around anything that gets hot or needs clearance, make sure you’re using products rated for that use.
Plugging those little gaps keeps warm air in, cold air and mice out, and makes the whole house feel less “leaky.”
10. Change your furnace filter and let it breathe
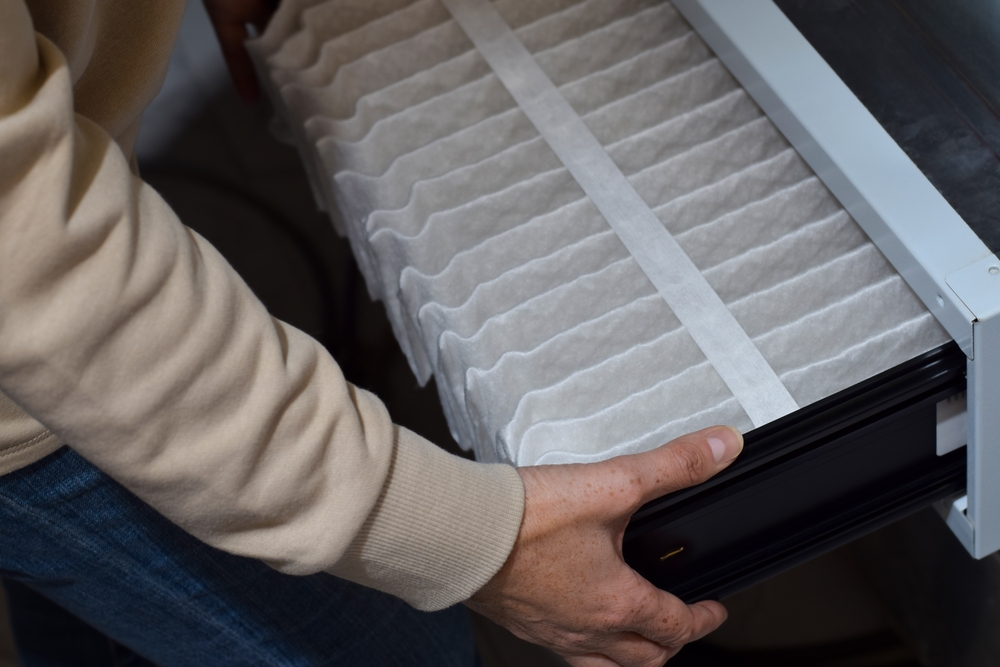
A forced-air furnace with a clogged filter is like you trying to jog with a thick scarf over your mouth.
Dirty filters make the blower work harder, which can overheat the furnace and shorten its life. They also move less warm air around, so the house feels chilly even when the thermostat says it shouldn’t.
Most systems like a fresh filter every one to three months in heating season, especially if you have pets or live on a dusty road. Check your manual for the right size and type; a super restrictive filter can strain things too.
While you’re at it, take the vacuum to the return air grilles and floor registers. Mine collect enough dog hair to build a second dog.
11. Give the thermostat a quick sanity check

Sometimes the house isn’t actually cold. The thermostat is just confused.
Make sure it’s firmly on the wall, not hanging crooked or barely attached. If it’s in direct sunlight, above a heat register, or right by a drafty door, it’s going to lie to you about what the room actually feels like.
If your thermostat uses batteries, change them before the coldest part of winter. Many experts suggest keeping indoor temps at or above the mid-50s °F (around 13°C) when you’re away, just to protect pipes and keep the house stable.
Programmable or smart thermostats can save money, but don’t set huge temperature swings. Dropping the house to 45°F might save a bit on fuel, but it makes your plumbing nervous.
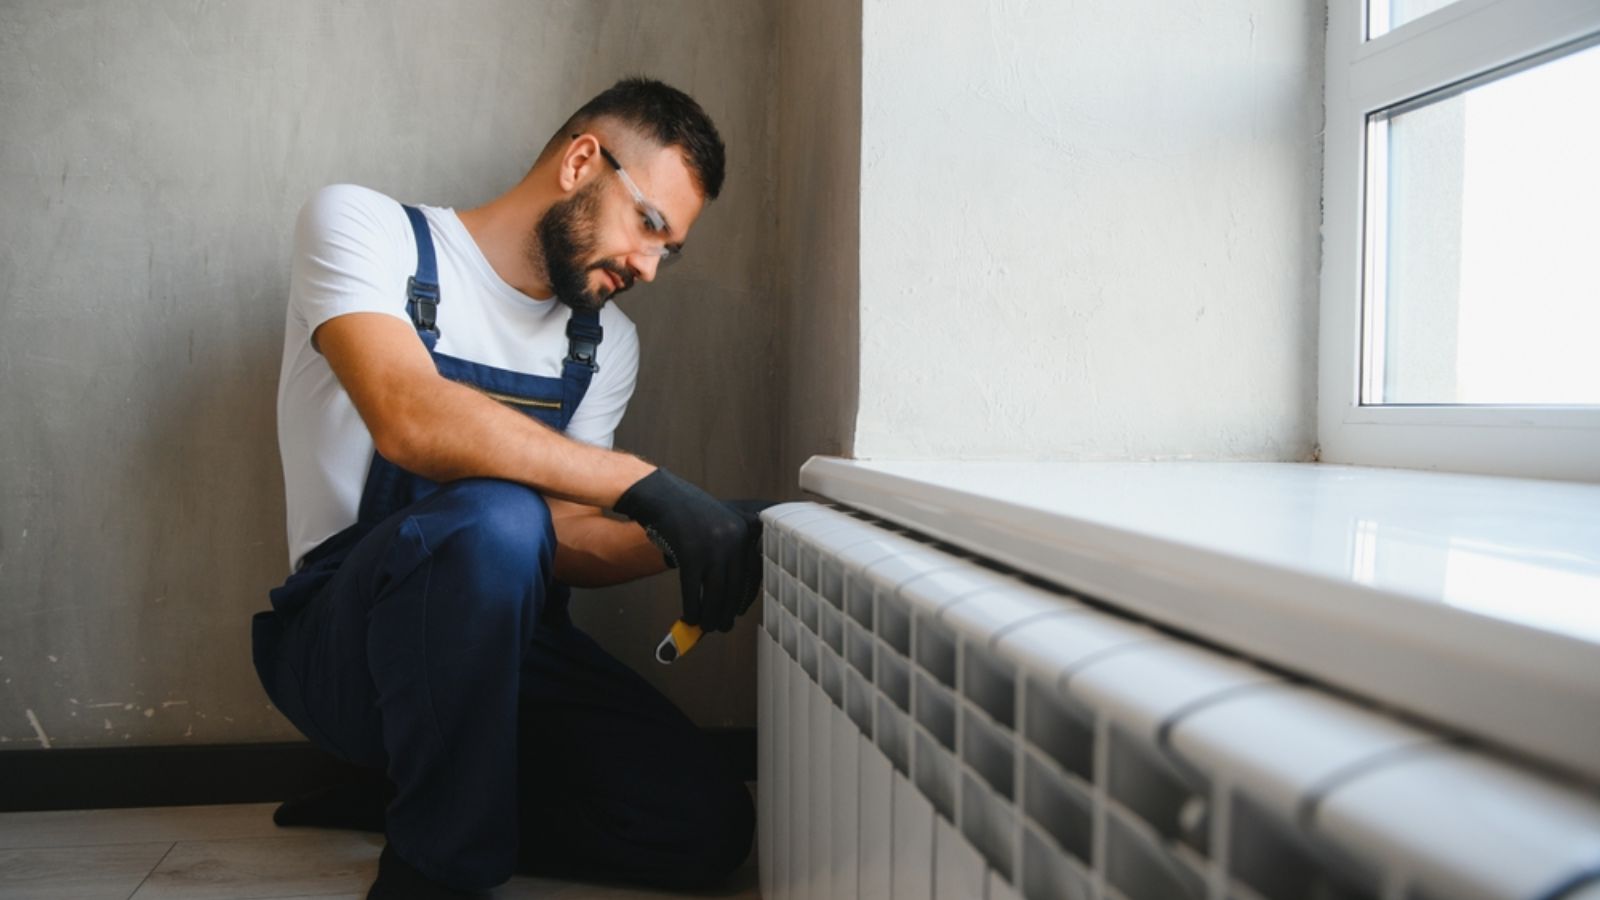
12. Bleed radiators or baseboard heaters if you have them
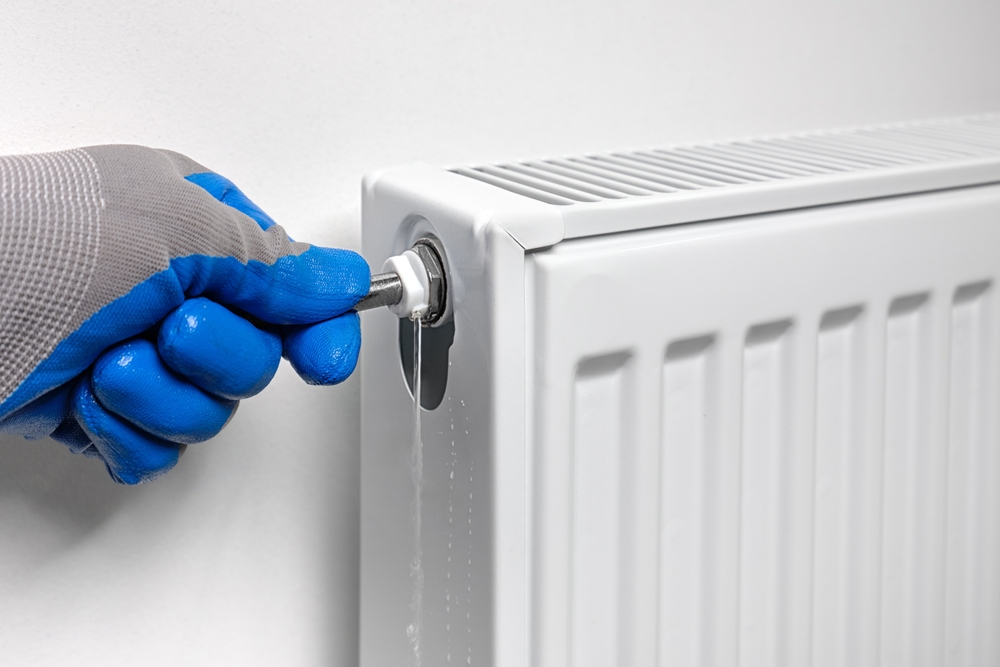
If you’re on hot water heat instead of forced air, your radiators or baseboards need a little love too.
You’ll know you have air in the system if the top of a radiator is cold while the bottom is hot, or if you hear glugging and knocking in the pipes. Air bubbles keep hot water from filling the radiator, so the room never gets as warm as it should.
Most systems have small bleed valves at one end of the radiator or baseboard. With the heat on, you crack that valve carefully with a key or screwdriver until air spits out and then you get a steady stream of water. Close it up and move on.
If you’re not sure which valves are which, this is a good one to watch a plumber do once and then take over next year.
13. Flush sediment out of your water heater (if it’s not ancient)
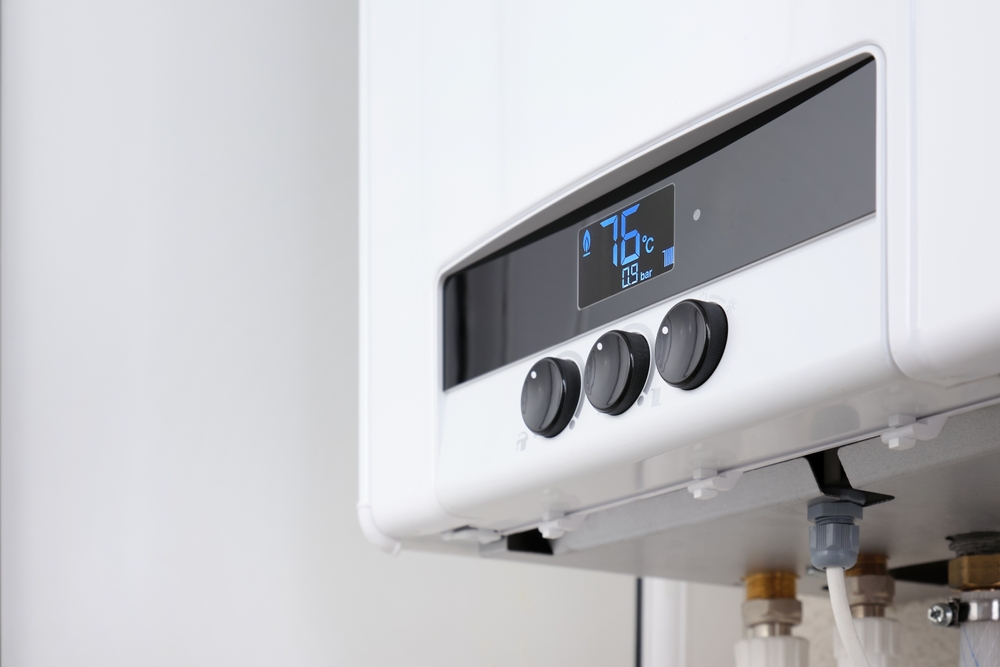
Over time, minerals and sediment settle at the bottom of a tank water heater. That gunk insulates the water from the burner or element, so the heater has to run longer and harder. Many manufacturers and plumbing pros say flushing the tank every year or so helps the heater last longer and work better.
The basic idea is simple: turn off power or gas, let things cool a bit, hook a hose to the drain, and let water run out until it’s mostly clear instead of cloudy and gritty.
One big caution though: if your heater is old and has never been flushed, suddenly disturbing a decade of sediment can sometimes cause leaks. In that case, I’d rather plan for replacement than gamble during the coldest month of the year.
14. Clean the dryer vent, not just the lint trap
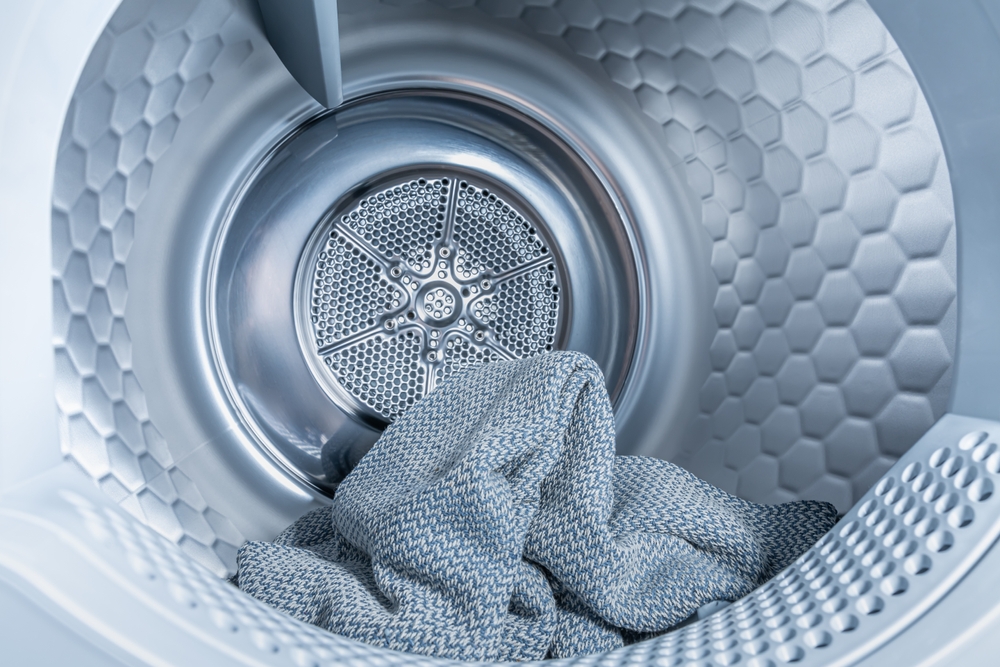
The little screen inside the dryer door is only part of the story. Lint builds up in the flexible hose and the vent pipe to the outside too, and that stuff is extremely flammable.
At least once a year, I unplug the dryer, pull it out, and disconnect the hose. Then I vacuum out the hose, the port on the back of the dryer, and the vent duct in the wall as far as I can reach. You can buy long brush kits for this if your run is a bit longer.
Then I head outside and check the vent hood. The flap should move freely and close when the dryer’s off. If it’s stuck open with lint or spider webs, you’re losing heat and inviting rodents.
15. Flip your ceiling fans for winter
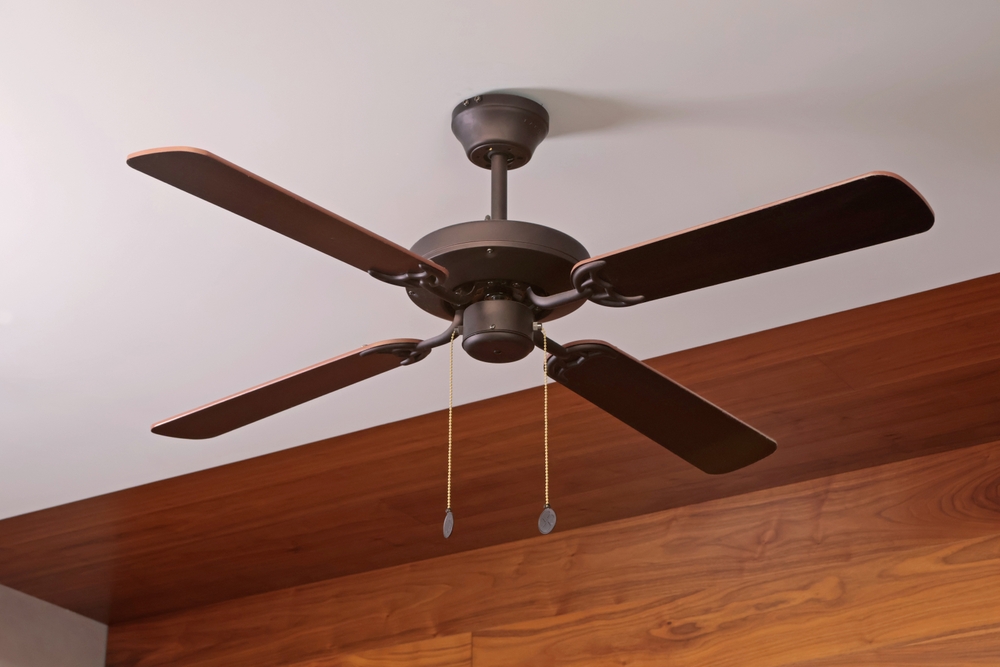
Ceiling fans have a tiny switch on the motor that changes the direction they spin. In summer, you want a breeze blowing down. In winter, you want them gently pulling air up in the middle and pushing warm air down along the walls.
Set the fan to its lowest speed in that winter direction. You shouldn’t feel a strong draft. The goal is just to stir the air enough to move the warm air that collects at the ceiling back down to where actual humans live.
It’s a tiny tweak that can make rooms feel warmer at the same thermostat setting, which adds up over a whole heating season.
16. Make sure bathroom and kitchen fans actually close
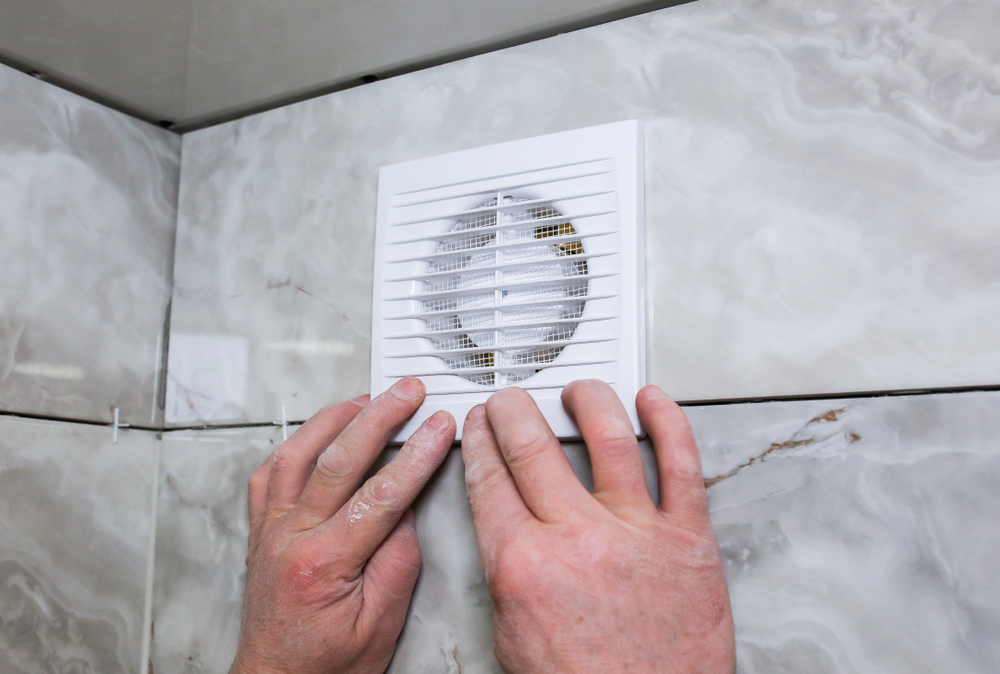
Exhaust fans are great for getting moisture out. They’re less great when the outside vent flap gets stuck open and turns into a permanent hole in your building envelope.
With the fan off, go outside and look at the vent hood. The little damper should be closed when the fan’s off and swing open when you turn the fan on. If it’s broken or missing, replace the hood.
Inside, give the fan cover a quick cleaning so it can actually move air. A fan matted with dust is basically just buzzing for no reason.
17. Watch indoor humidity before your windows cry

Winter air outside is dry, but inside can go either way. Too dry and your nose, skin, and wooden furniture are miserable. Too damp and your windows drip, mold grows, and the house feels clammy.
Most housing and health folks say indoor humidity around 30–50% is a good target, with the lower half of that range better in winter to avoid condensation on cold surfaces
If your windows are running with water, turn on bathroom fans during and after showers, use the range hood while cooking, and pull furniture a bit away from outside walls so air can move. A small dehumidifier in a damp basement or laundry room can make a big difference.
If the opposite is true and everything feels desert-dry, a humidifier set in that same 30–40% range keeps things comfortable without fogging up windows.
18. Test smoke alarms and carbon monoxide detectors
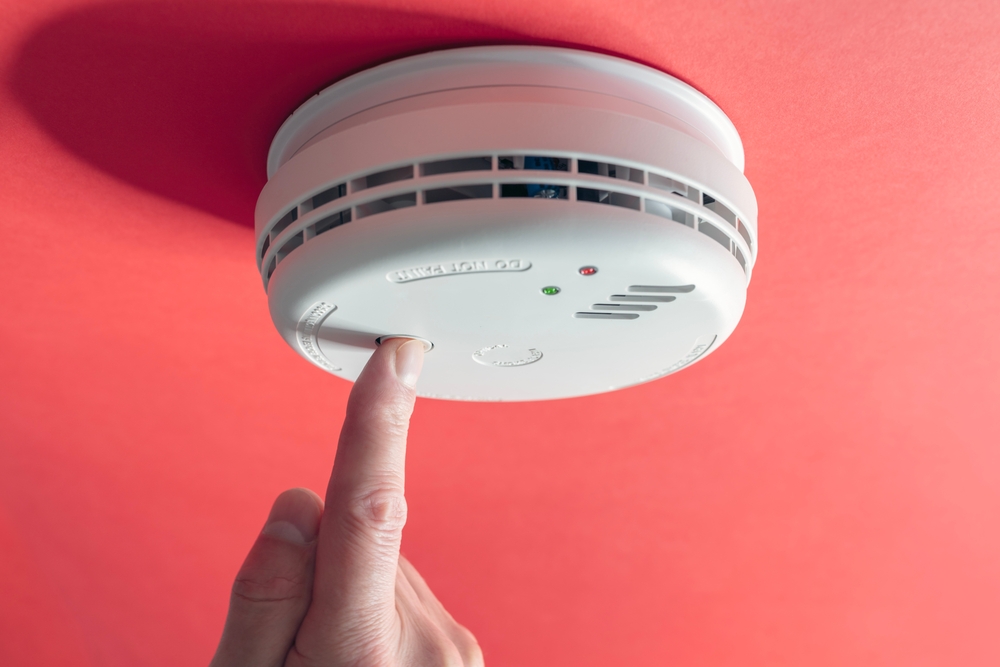
This is boring, and it’s the most important thing on this whole list.
Winter means furnaces, fireplaces, woodstoves, and sometimes space heaters running harder and longer. If something goes wrong with venting or combustion, you want alarms that actually work.
Hit the test button on every smoke alarm and CO detector. Swap batteries if they’re more than a year old. Look at the manufacturing date stamped on the back; most units need replacing every seven to ten years, even if they still “beep.”
If you burn any fuel at all for heat, you need carbon monoxide detectors on each level of your home and near bedrooms. It’s not optional.
19. Find and label the main water shutoff before you need it
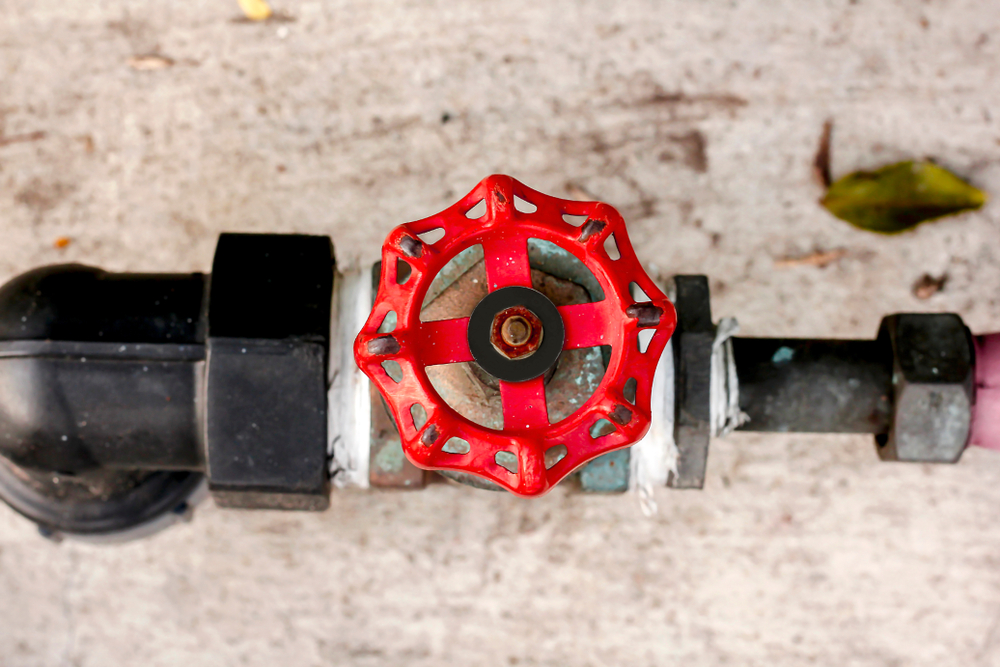
The worst time to learn where your main shutoff valve is located is while water is pouring through the ceiling.
On a calm day, follow where the main water line enters your home. The main shutoff is often right there, or near the meter. Turn it off and on once to make sure it still works and isn’t frozen in place.
Then label it clearly. I like bright tape or a big tag, plus a marker note on the nearby wall. Show every adult and older kid in the house where it is. When a pipe bursts, being able to kill the water in seconds instead of minutes is the difference between a big mess and a disaster.
20. Stash a tiny winter emergency kit for household “uh-ohs”

I don’t mean a full doomsday bunker. Just a small bin or tote with the basics you grab when something goes sideways at 11 p.m. in January.
Mine lives in the basement and holds a couple of foam pipe insulation sleeves, duct tape, plumber’s repair tape, a decent flashlight with spare batteries, a basic adjustable wrench, a spare furnace filter, and a small electric space heater with tip-over protection. The space heater is only for supervised, temporary use in a room that’s gone cold, never as a long-term fix.
When something leaks, cracks, or quits after dark, that little kit lets you stabilize the problem until daylight and a proper repair.

